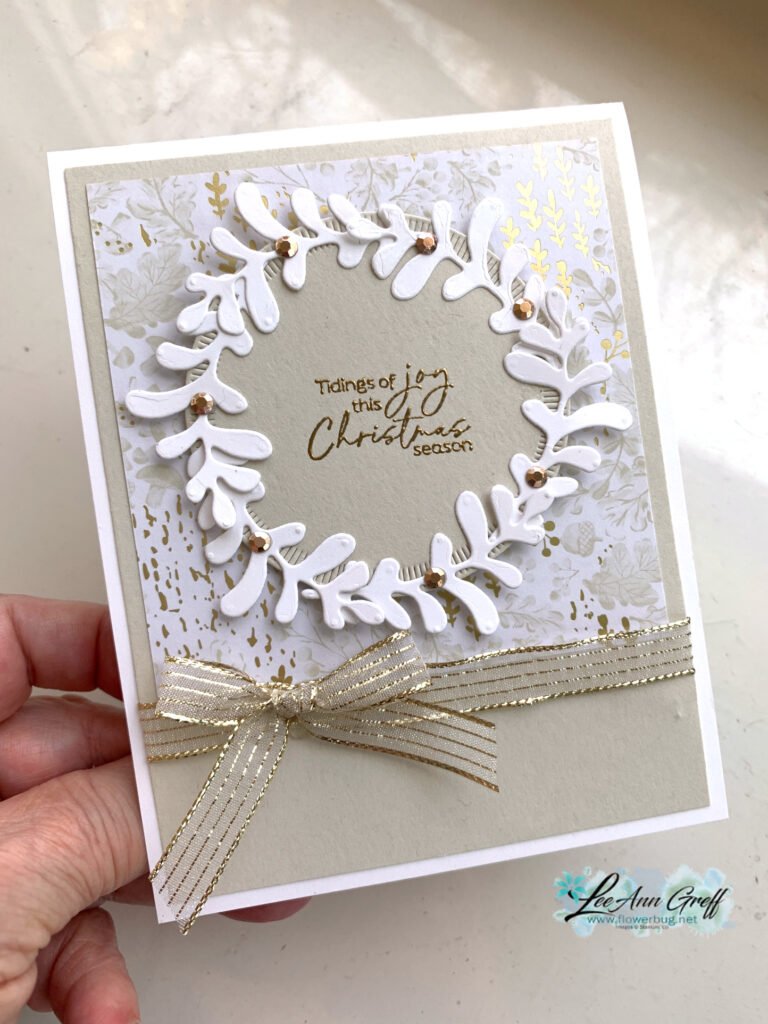
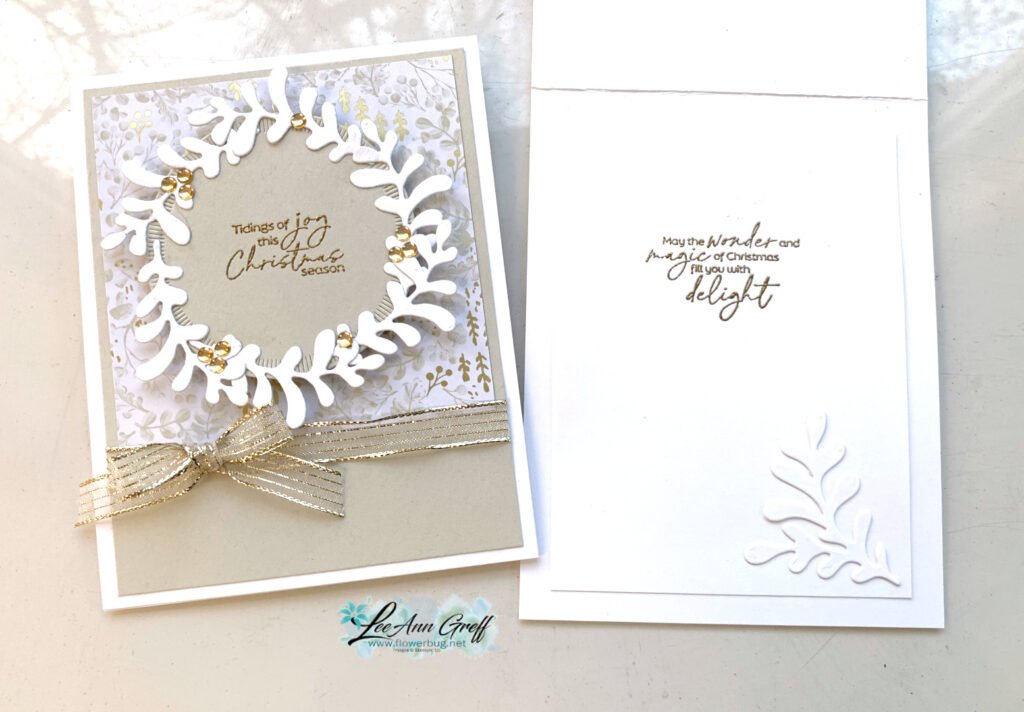
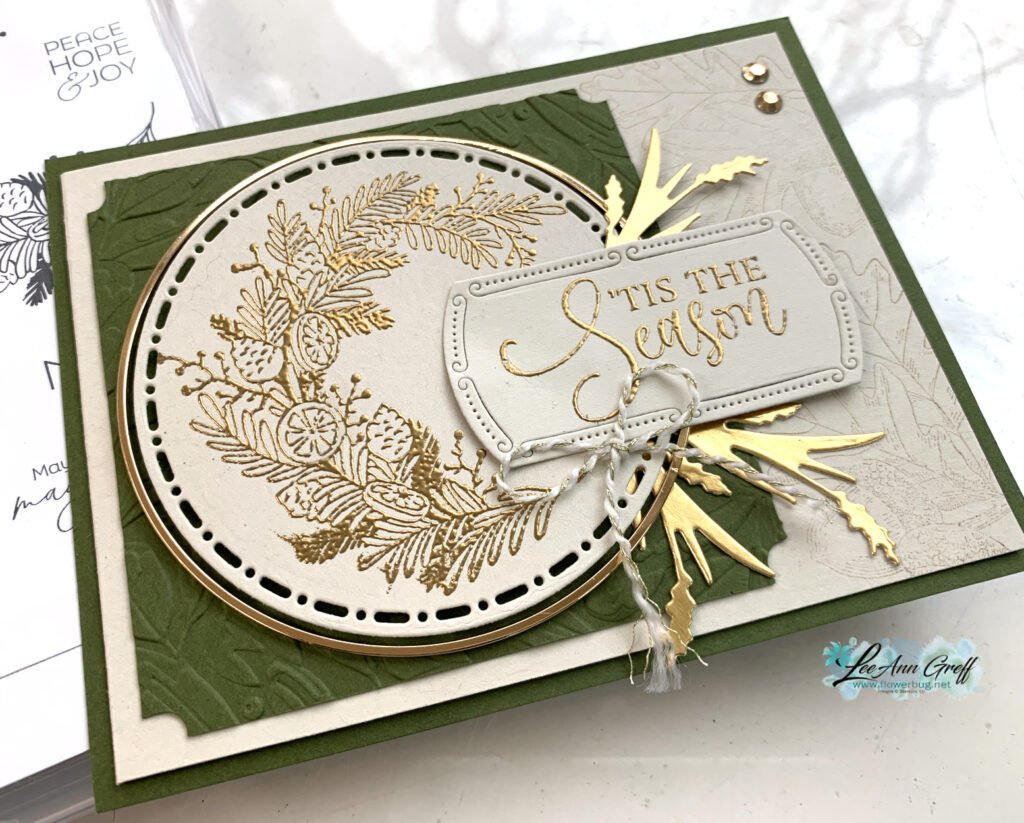
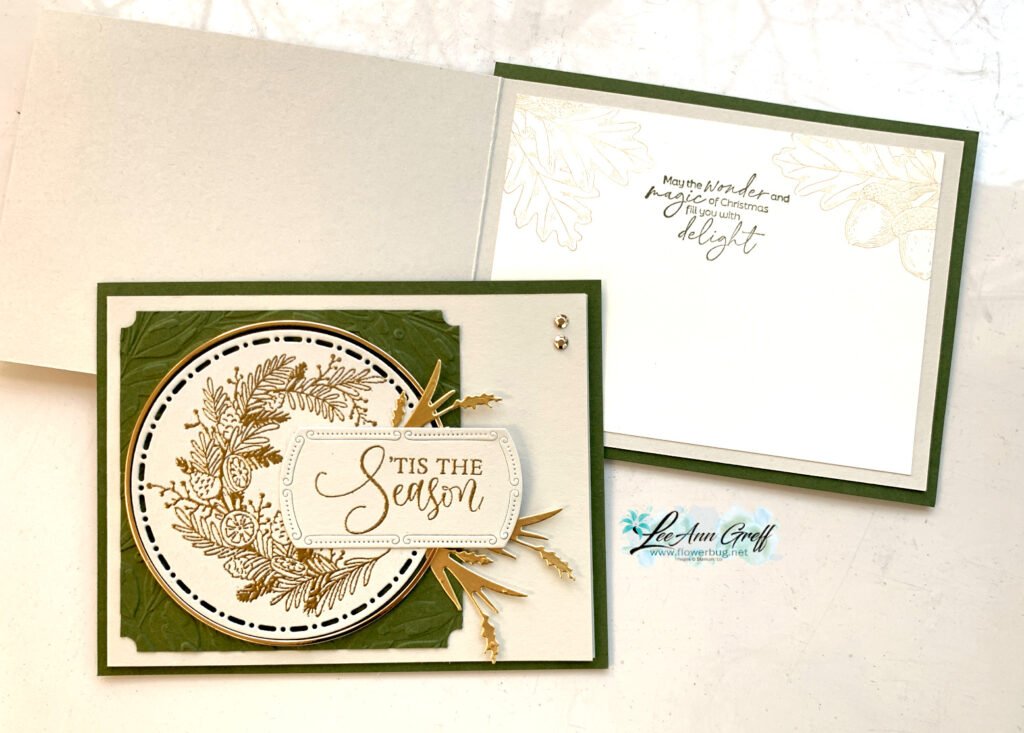
I chose the Merry, Bold & Bright designer paper for one of my card kits this month because it's filled with fun, bright & colorful designs that can be used for Christmas, Birthdays or other celebrations. They're my theme for these colorful cards I created this month.

Aren't they fun? Each one is a fun fold card that truly shows off the neat prints in the designer paper. I know they don't look like fun folds but they are!
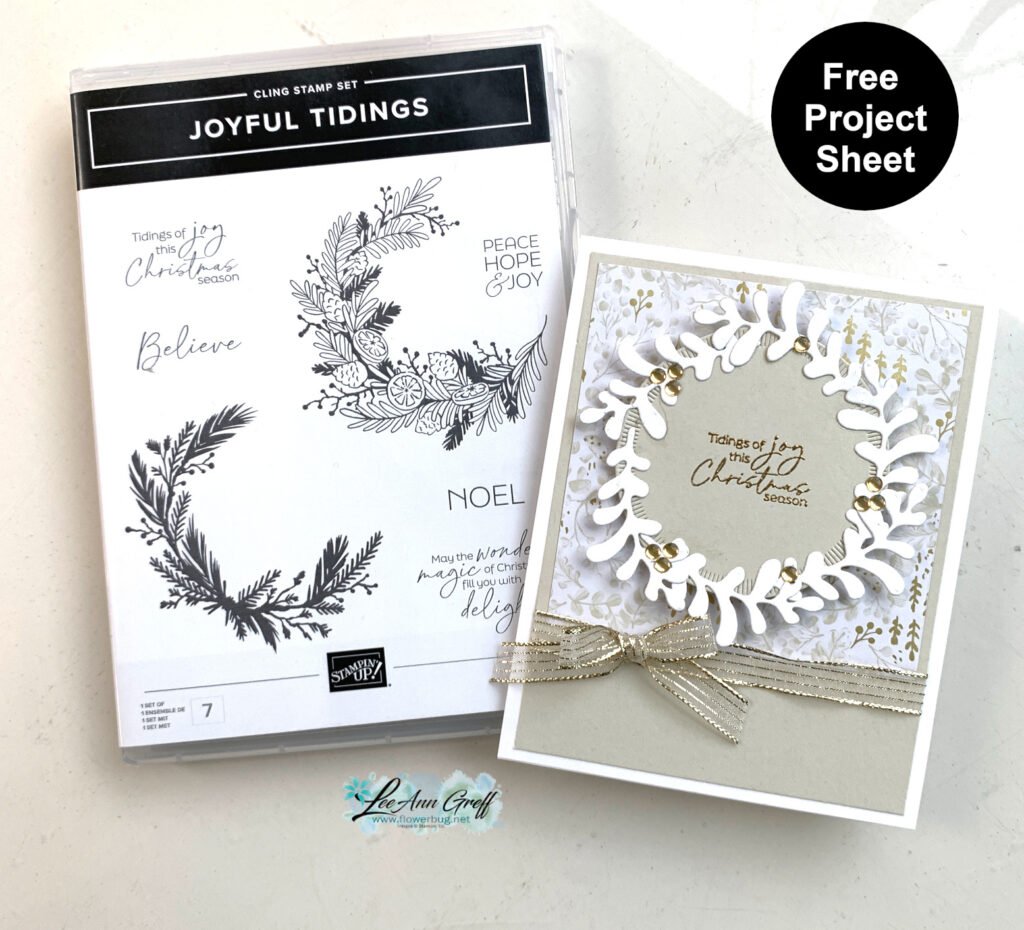
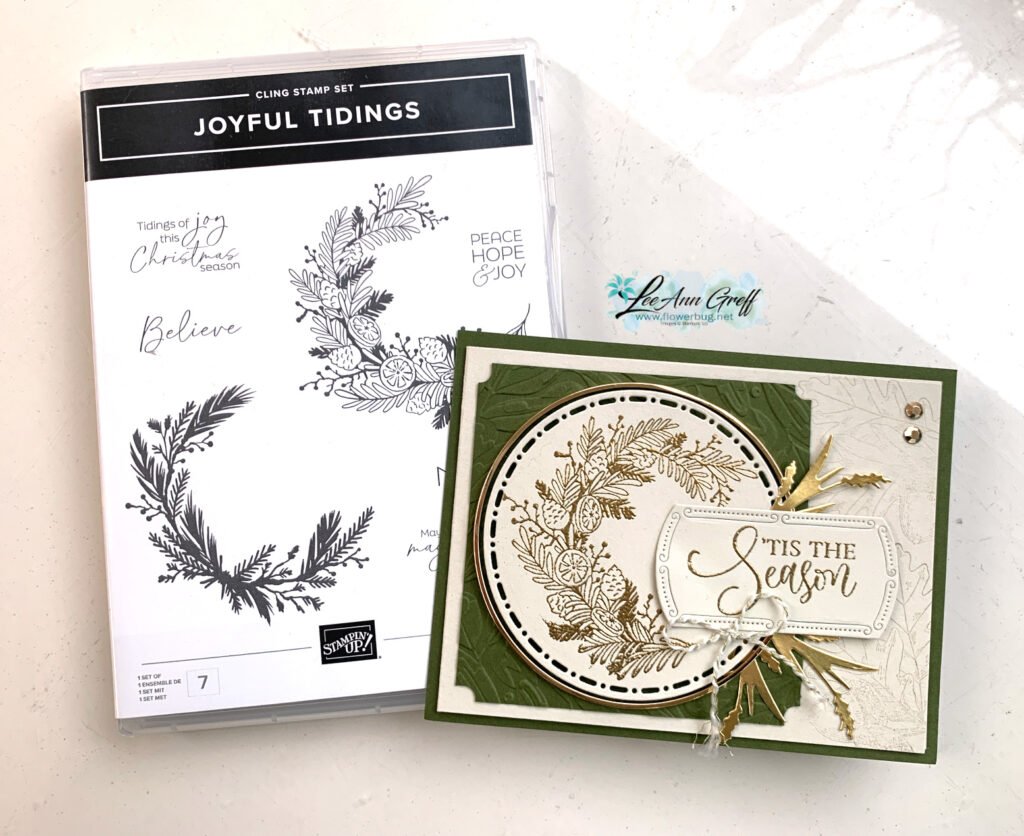
As I usually do with my monthly kits to go I am including approximately $20 in product along with the pre-cut cards. You also have the option of getting the PDF tutorial only.
This is the kit my monthly subscribers will receive. If you'd like to receive a pre-cut cards kit (with extra products to make more) each month click here. It's $28 plus shipping and they get bonus free products every few months.
This kit includes the following: Reserve yours here.
- 1/2 pkg of the Merry, Bold & Bright designer paper (6" X 12)
- a share of Iridescent white ribbon
- a share of the Iridescent Adhesive-backed circles
- the pre-cut cards including punched and die-cut pieces
- the PDF tutorial (a $15 value)
The PDF tutorial is an option for those who have their own products. It's $15 and can be found here. It includes photos, step by step directions, measurements and a supplies list.

I have two NEW kits available this month plus a few extras too! Save money and order multiple kits! See them all here.
~~~
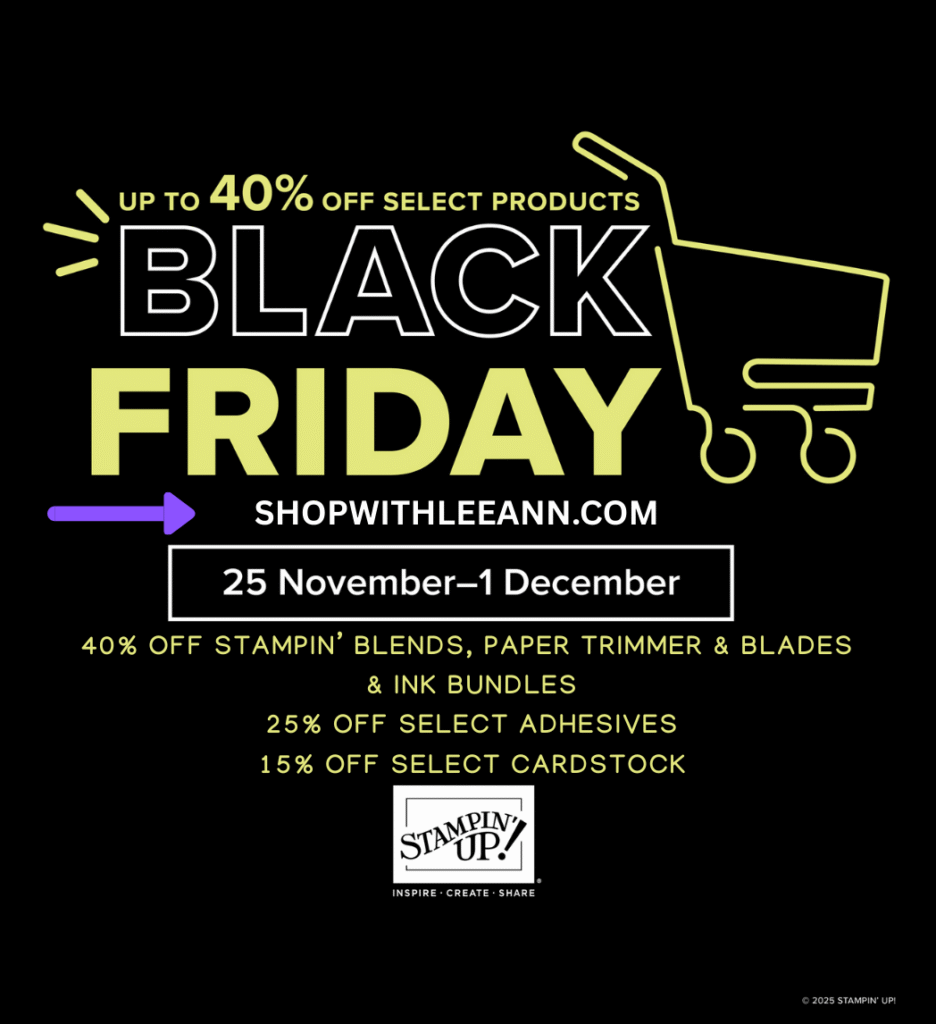
November Specials:
*current host code: HTHK4TQU or 4GHXYSDQ


Leave a Reply