Here’s the news on the July Stampin’ Up! specials:
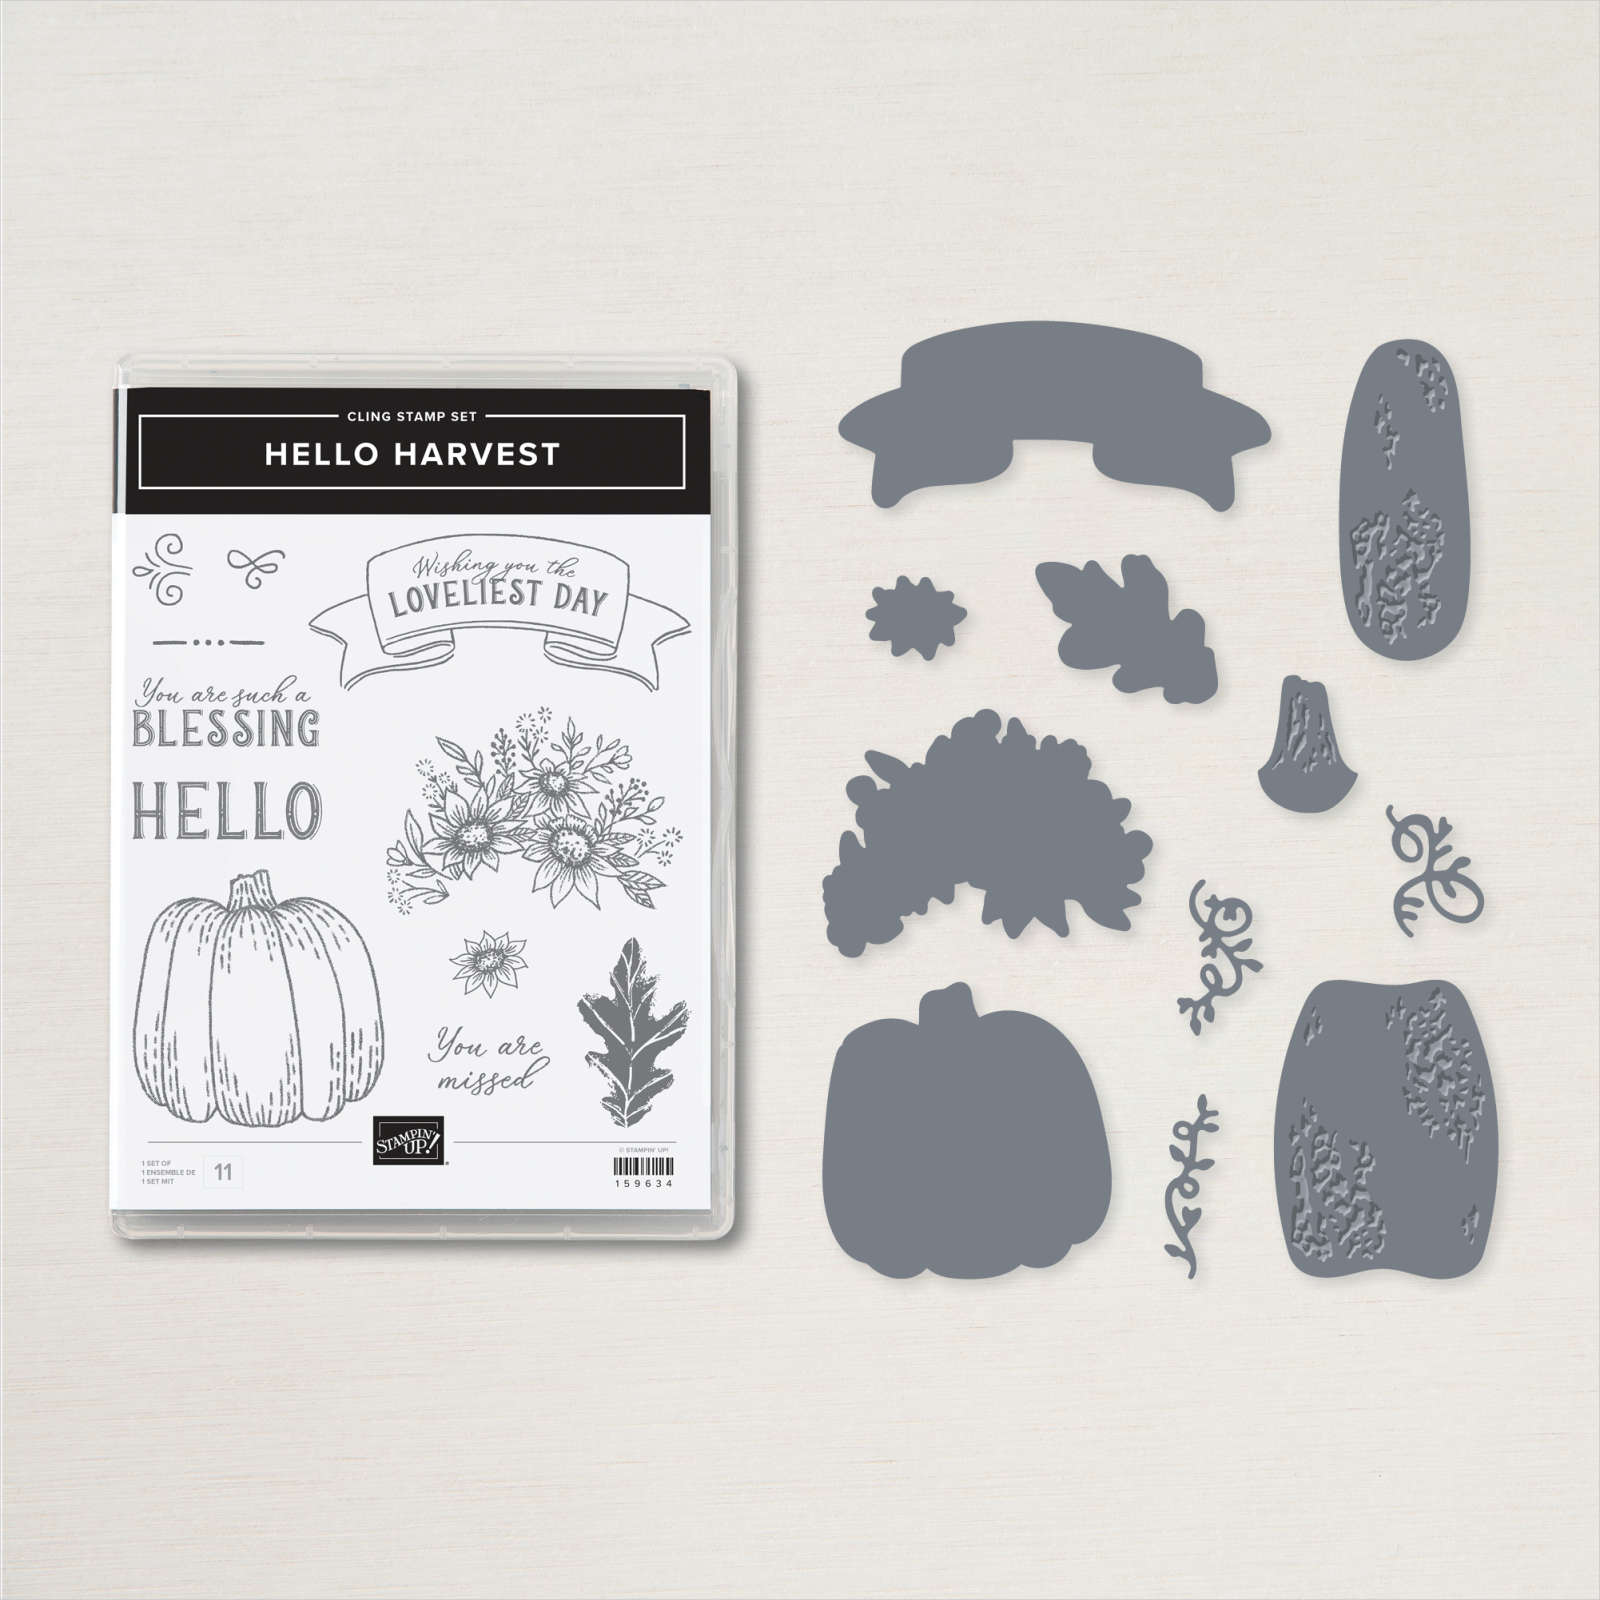
There are new Online Exclusives out this month! They include florals, Fall, Halloween and Christmas! See them all here.
Here are a few links & graphics of two of the suites:

You can see the Spooky Season suite here.

See all of our Christmas products here!
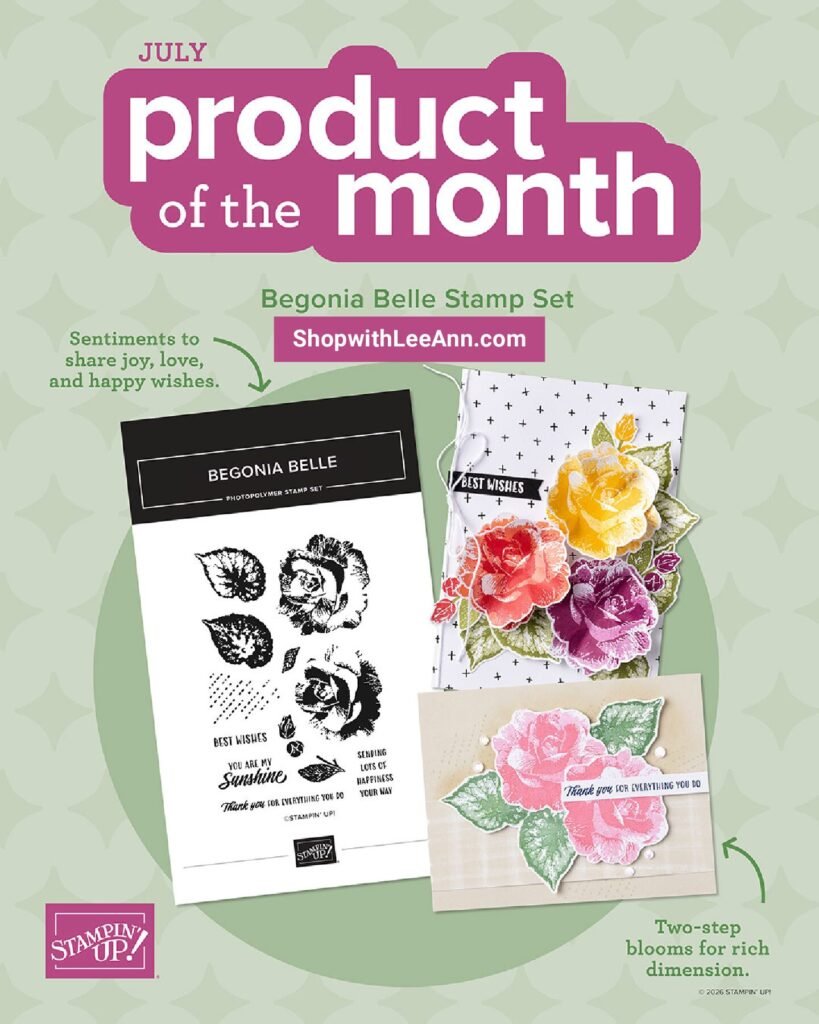
Our newest Product of the Month is this beautiful Begonia Belle stamp set: It’s just $5 once you hit the $75 mark in your shopping cart!
See it here
We have two new kits in our Kit Collection:
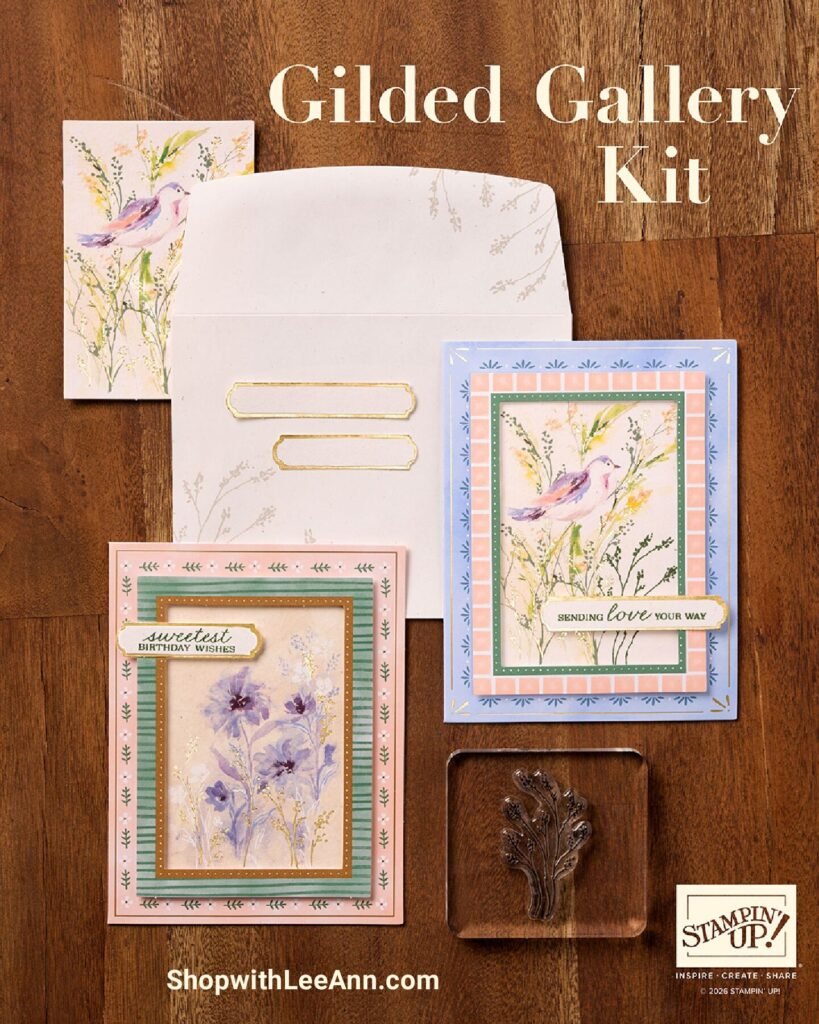
The Gilded Gallery card kit can be seen here. It’s $25, makes 10 cards with envelopes and includes a beautiful stamp set and ink spot.

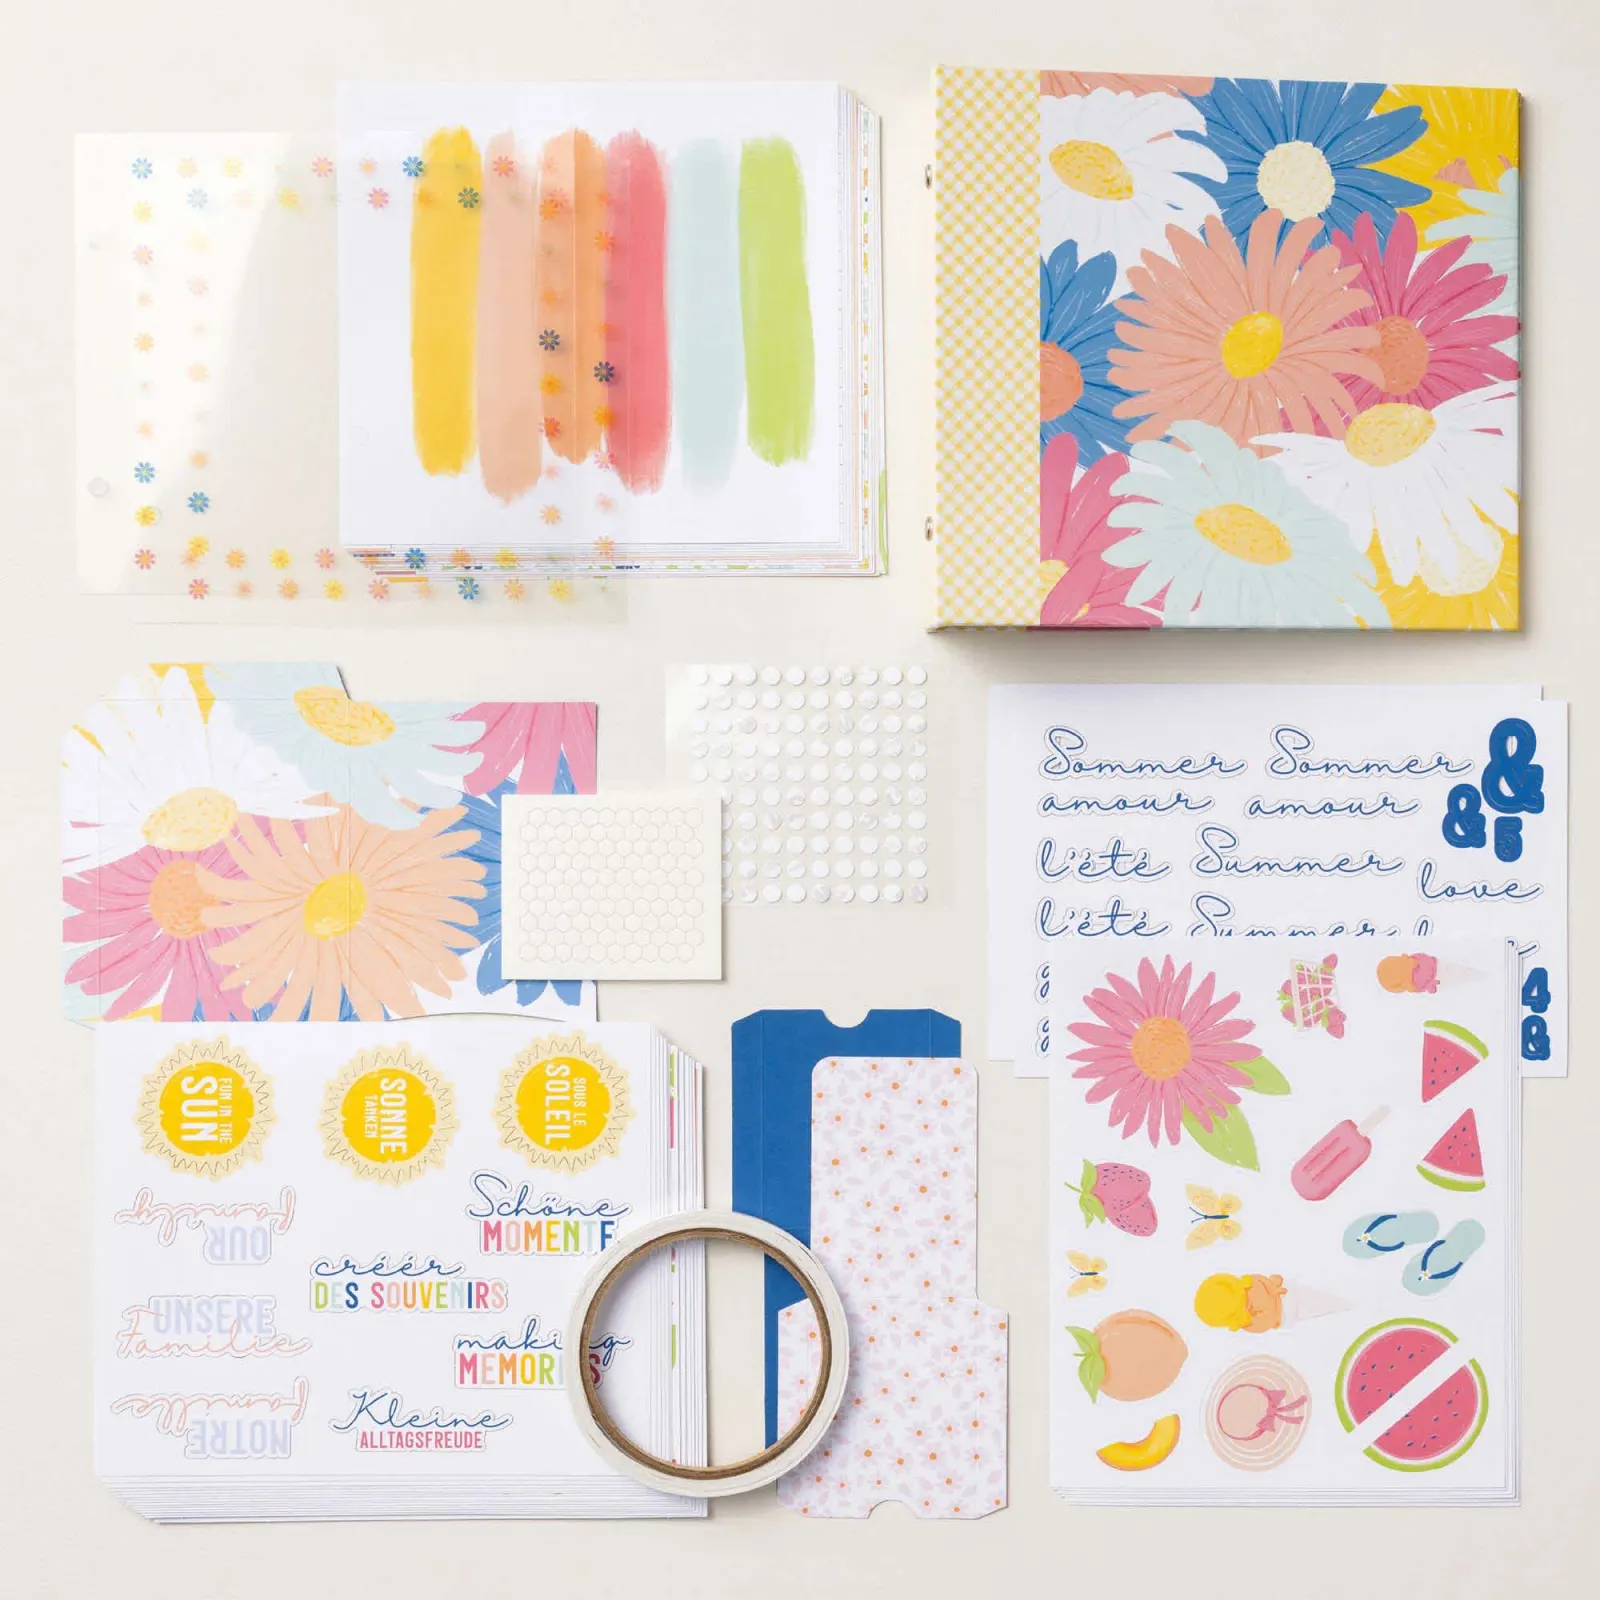
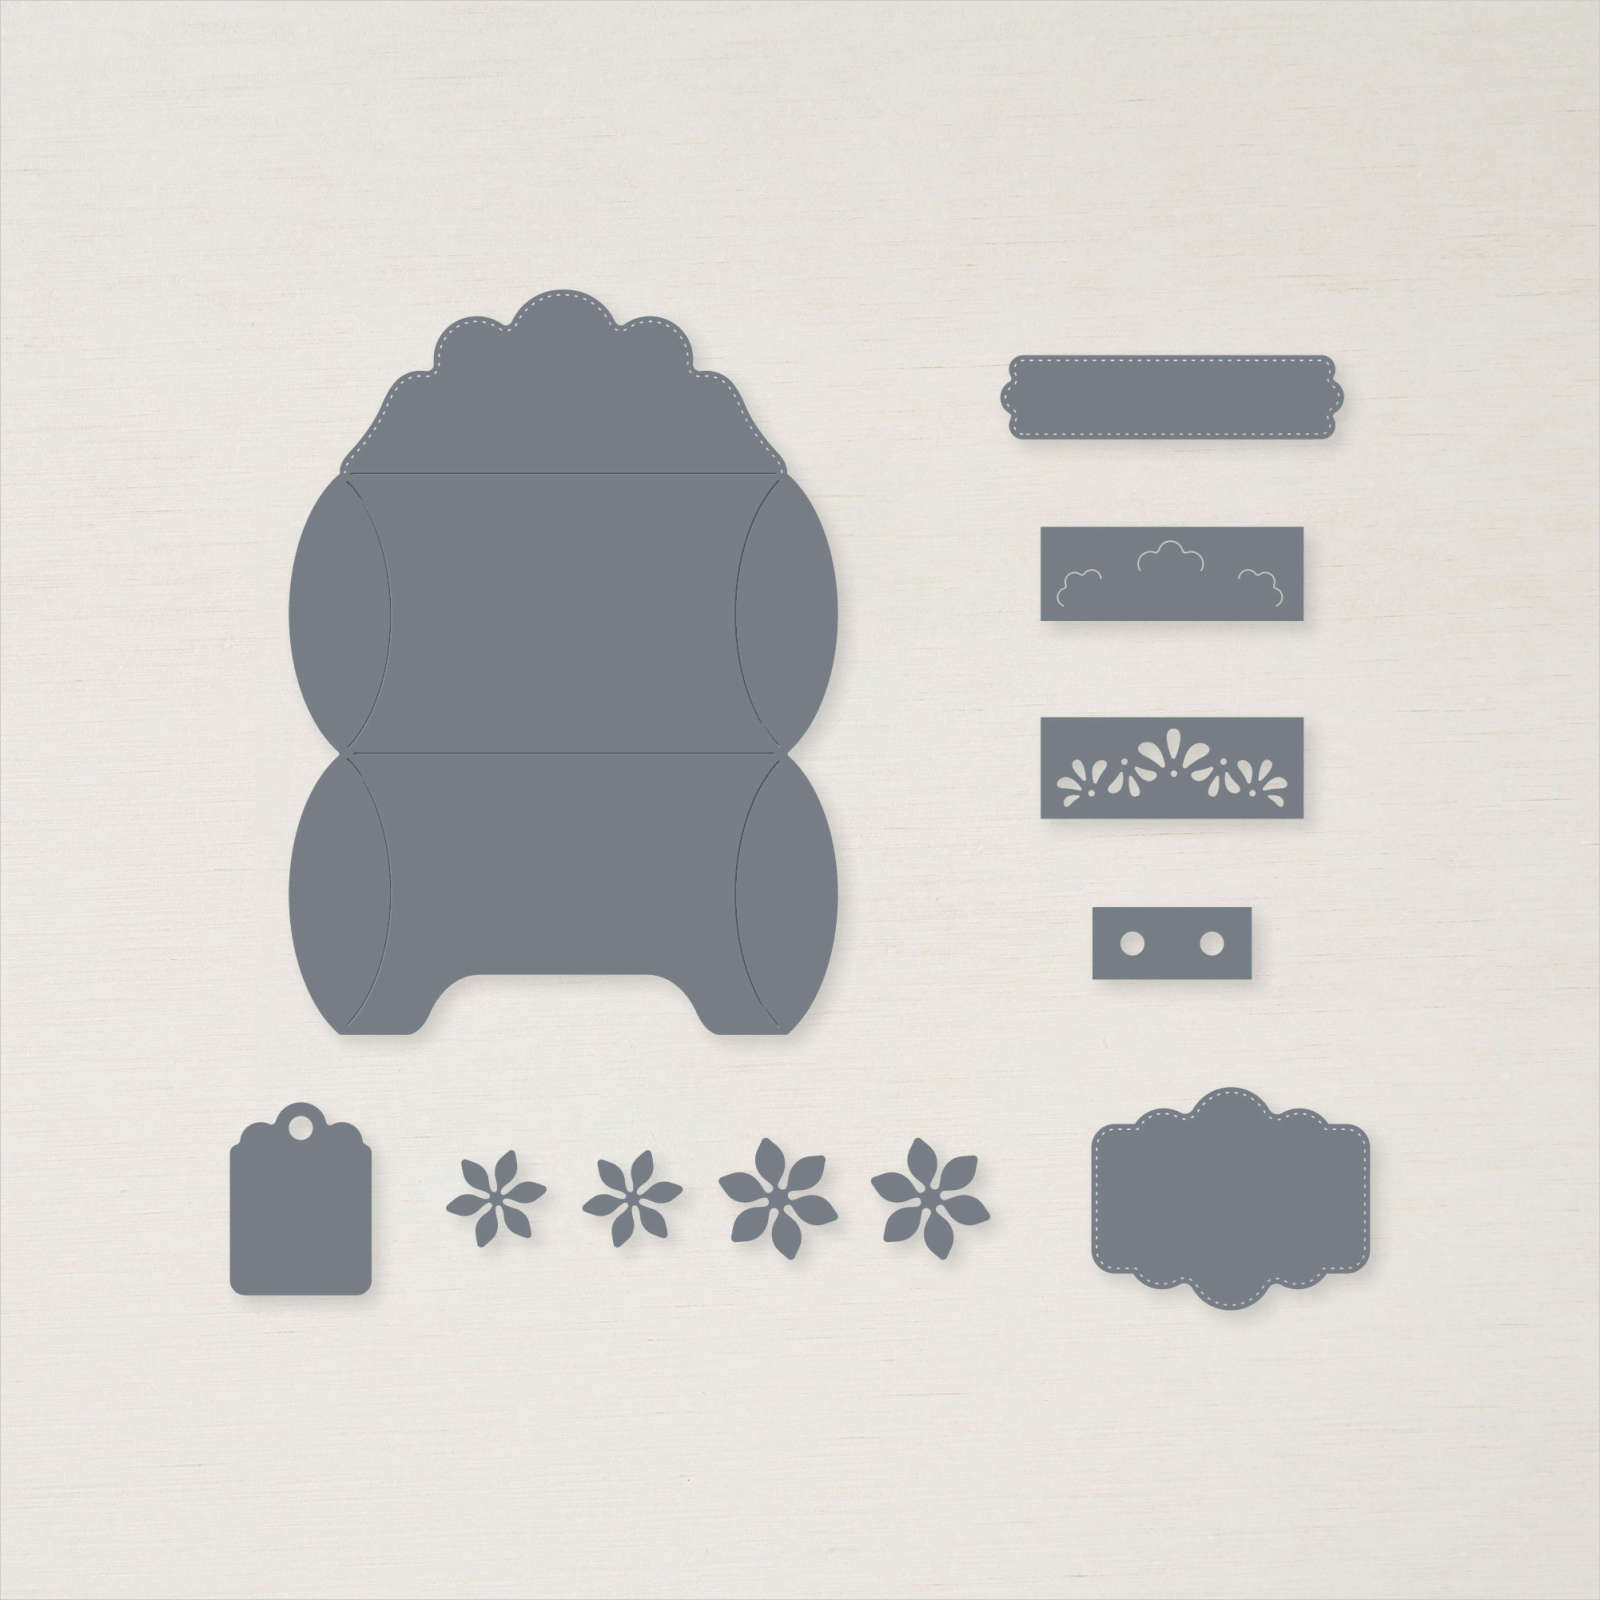
The other kit is a fun scrapbook album called Daisy Days:
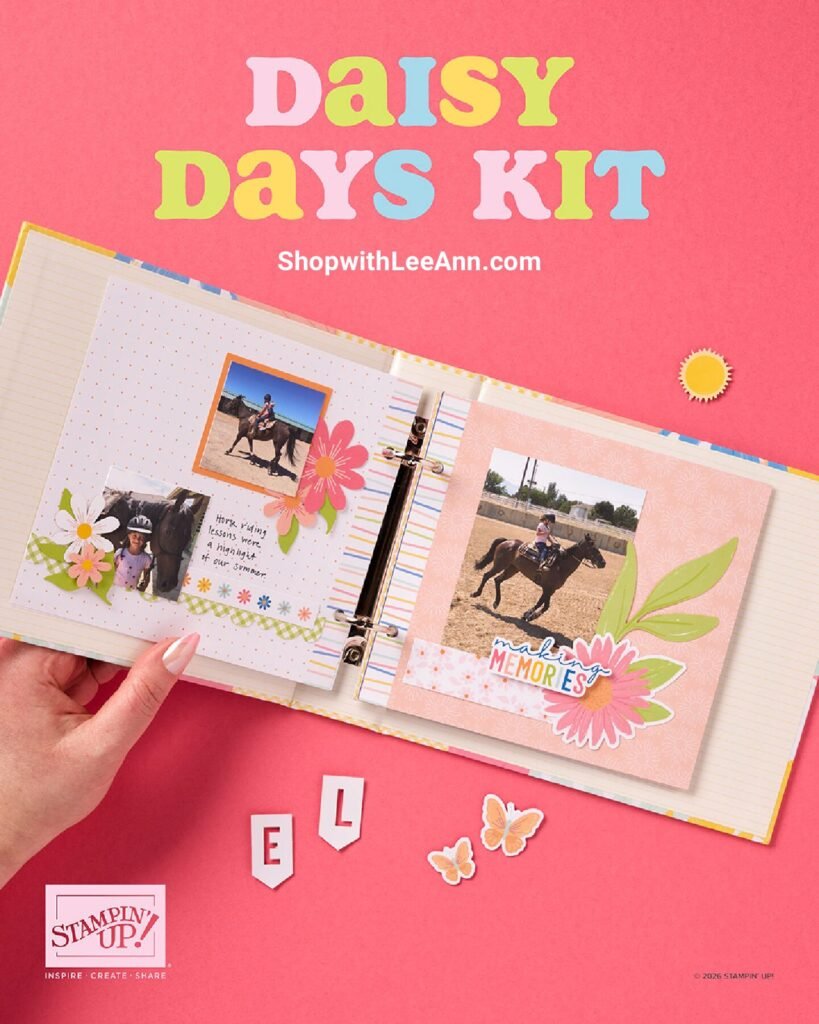
See it here. It includes the following:
DETAILS
– Makes 1 album with 28 pages
– Album size: 7-3/4″ x 7″ x 1-7/8″
– Page size: 6.5″ x 6″
– Colors: Blueberry Bushel, Crisp Cantaloupe, Crushed Curry, Granny Apple Green, Pool Party, Strawberry Slush, Timid Tiger
– Sentiments printed in English, French, and German
– Step-by-step instructions
– Precut images and sentiments
– Printed pockets
– Acetate sheets
– Adhesive
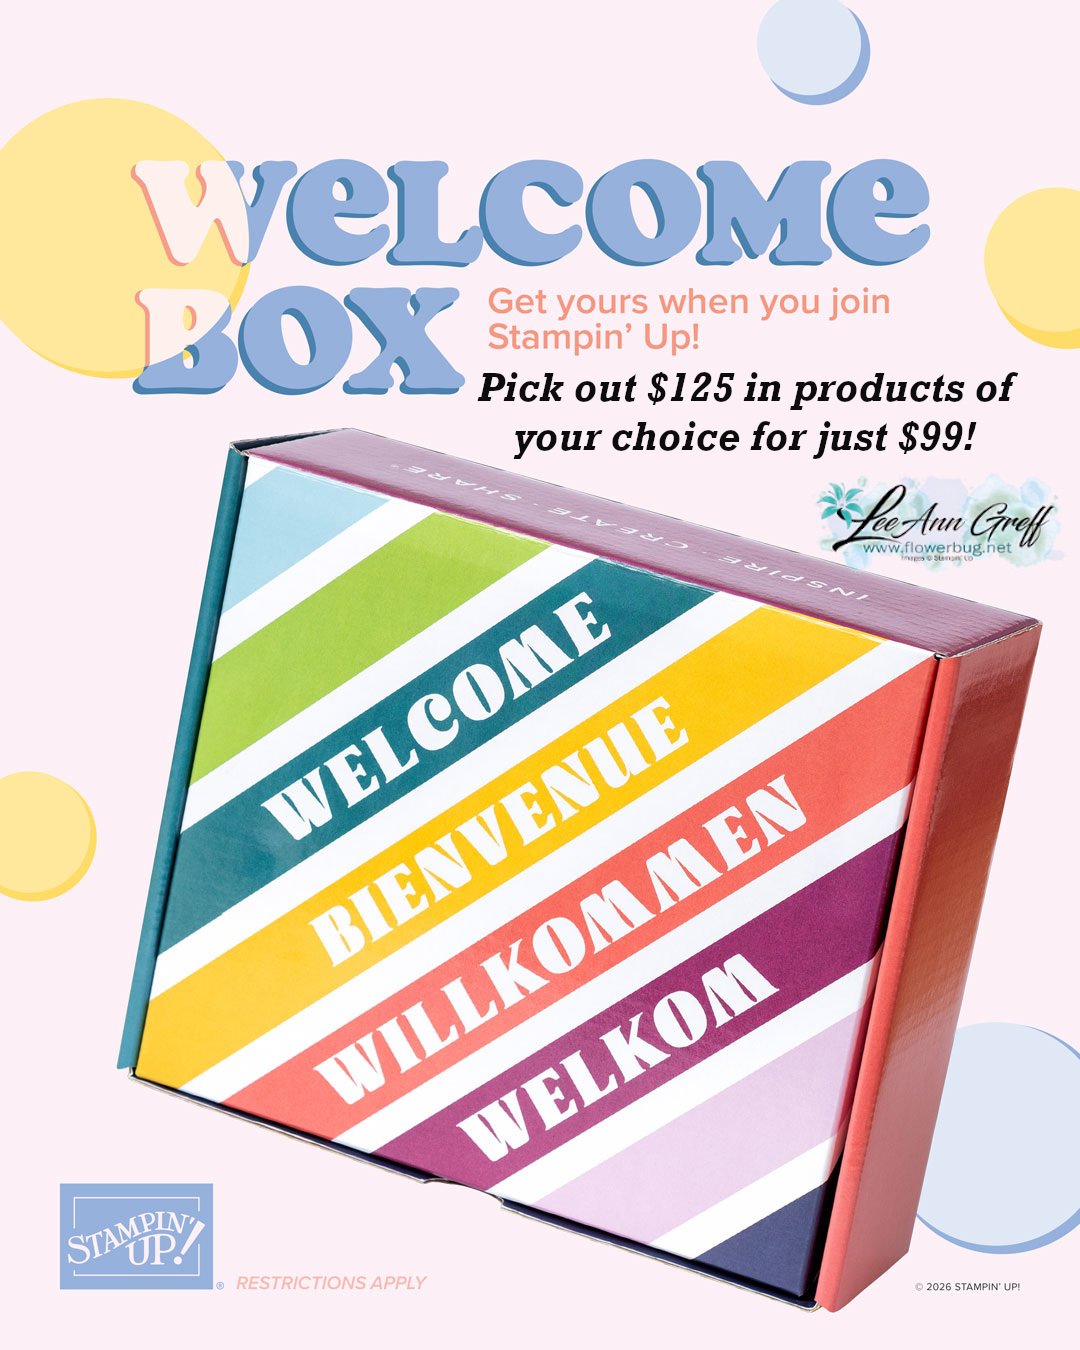
And lastly is the new Welcome box!
This is super exciting news! All first-time demonstrators (beginning July 1, 2026) will receive a surprise Welcome Box—a gesture of appreciation and a warm welcome into the global Stampin’ Up! creative community.
Here is a video that shows what’s inside. But here are the details:
What’s Inside the Welcome Box
- A handwritten welcome letter from Sara
- Stampin’ Up!-branded swag:
- Pen
- Pop-up pencil case
- Pop-up waste basket
- An exclusive card kit including:
- Kit-sized stamp set
- Full-size clear block
- Classic Stampin’ Spot
- Supplies to create eight “hello” cards
Here’s the link to join my Team; it’s just $99 and you can choose up to $125 in products of your choice!
Important Notes
- The Welcome Box is exclusive to first-time demonstrators. Beginning July 1, 2026, anyone joining for the first time will receive a Welcome Box.
- Current demonstrators have a one-time opportunity to order a Welcome Box after it launches. See below for details.
- Rejoining demonstrators will receive all other joining perks (including the coupon code) but not a Welcome Box.


Leave a Reply