/


Latest Post

Want to make a Bay Window card? It’s easy! Stamp with Me Live tonight at 7:30 pm CT!


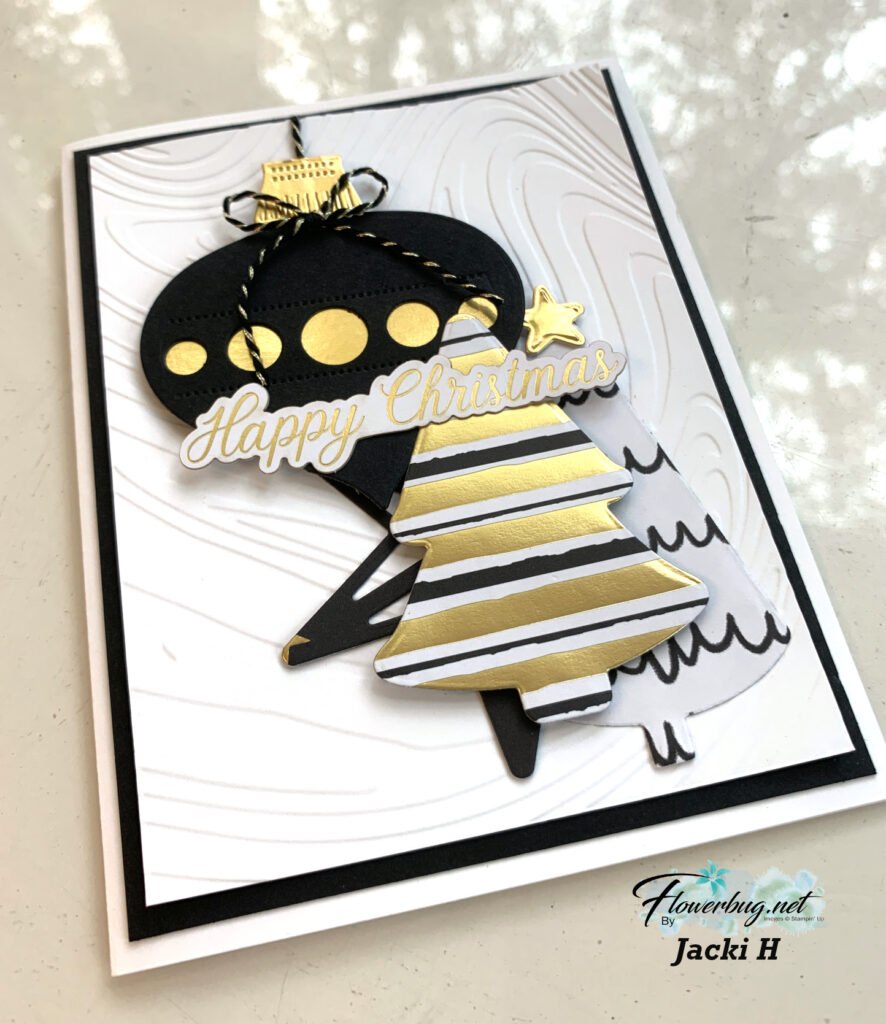
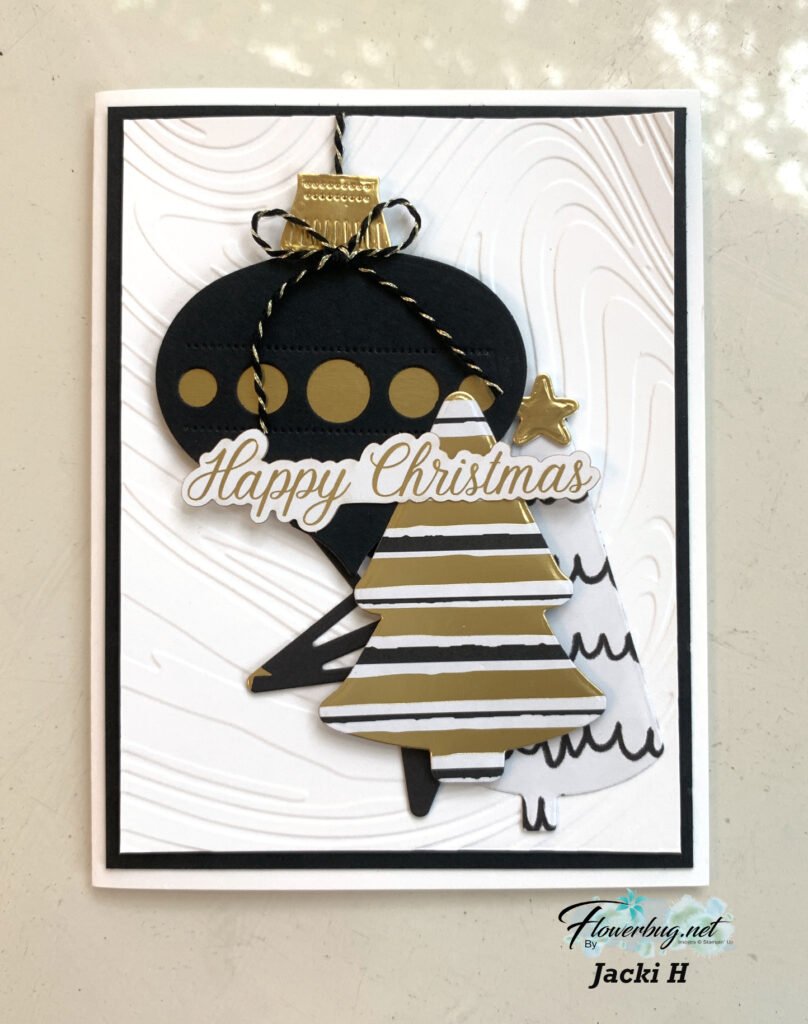
Tonight on my Stamp with Me Live we're making 'Bay Window' cards.  These are so fun and actually quite simple to make.  Scroll down to see the measurements.  

You can watch the video here on my Facebook page.  If you're not on FB you can see it later when I upload it to my YouTube channel here.  *Don't forget to follow me!

It starts out with a standard 4 1/4" X 11" piece of card stock. Add some scored lines and designer paper and you're halfway there!  

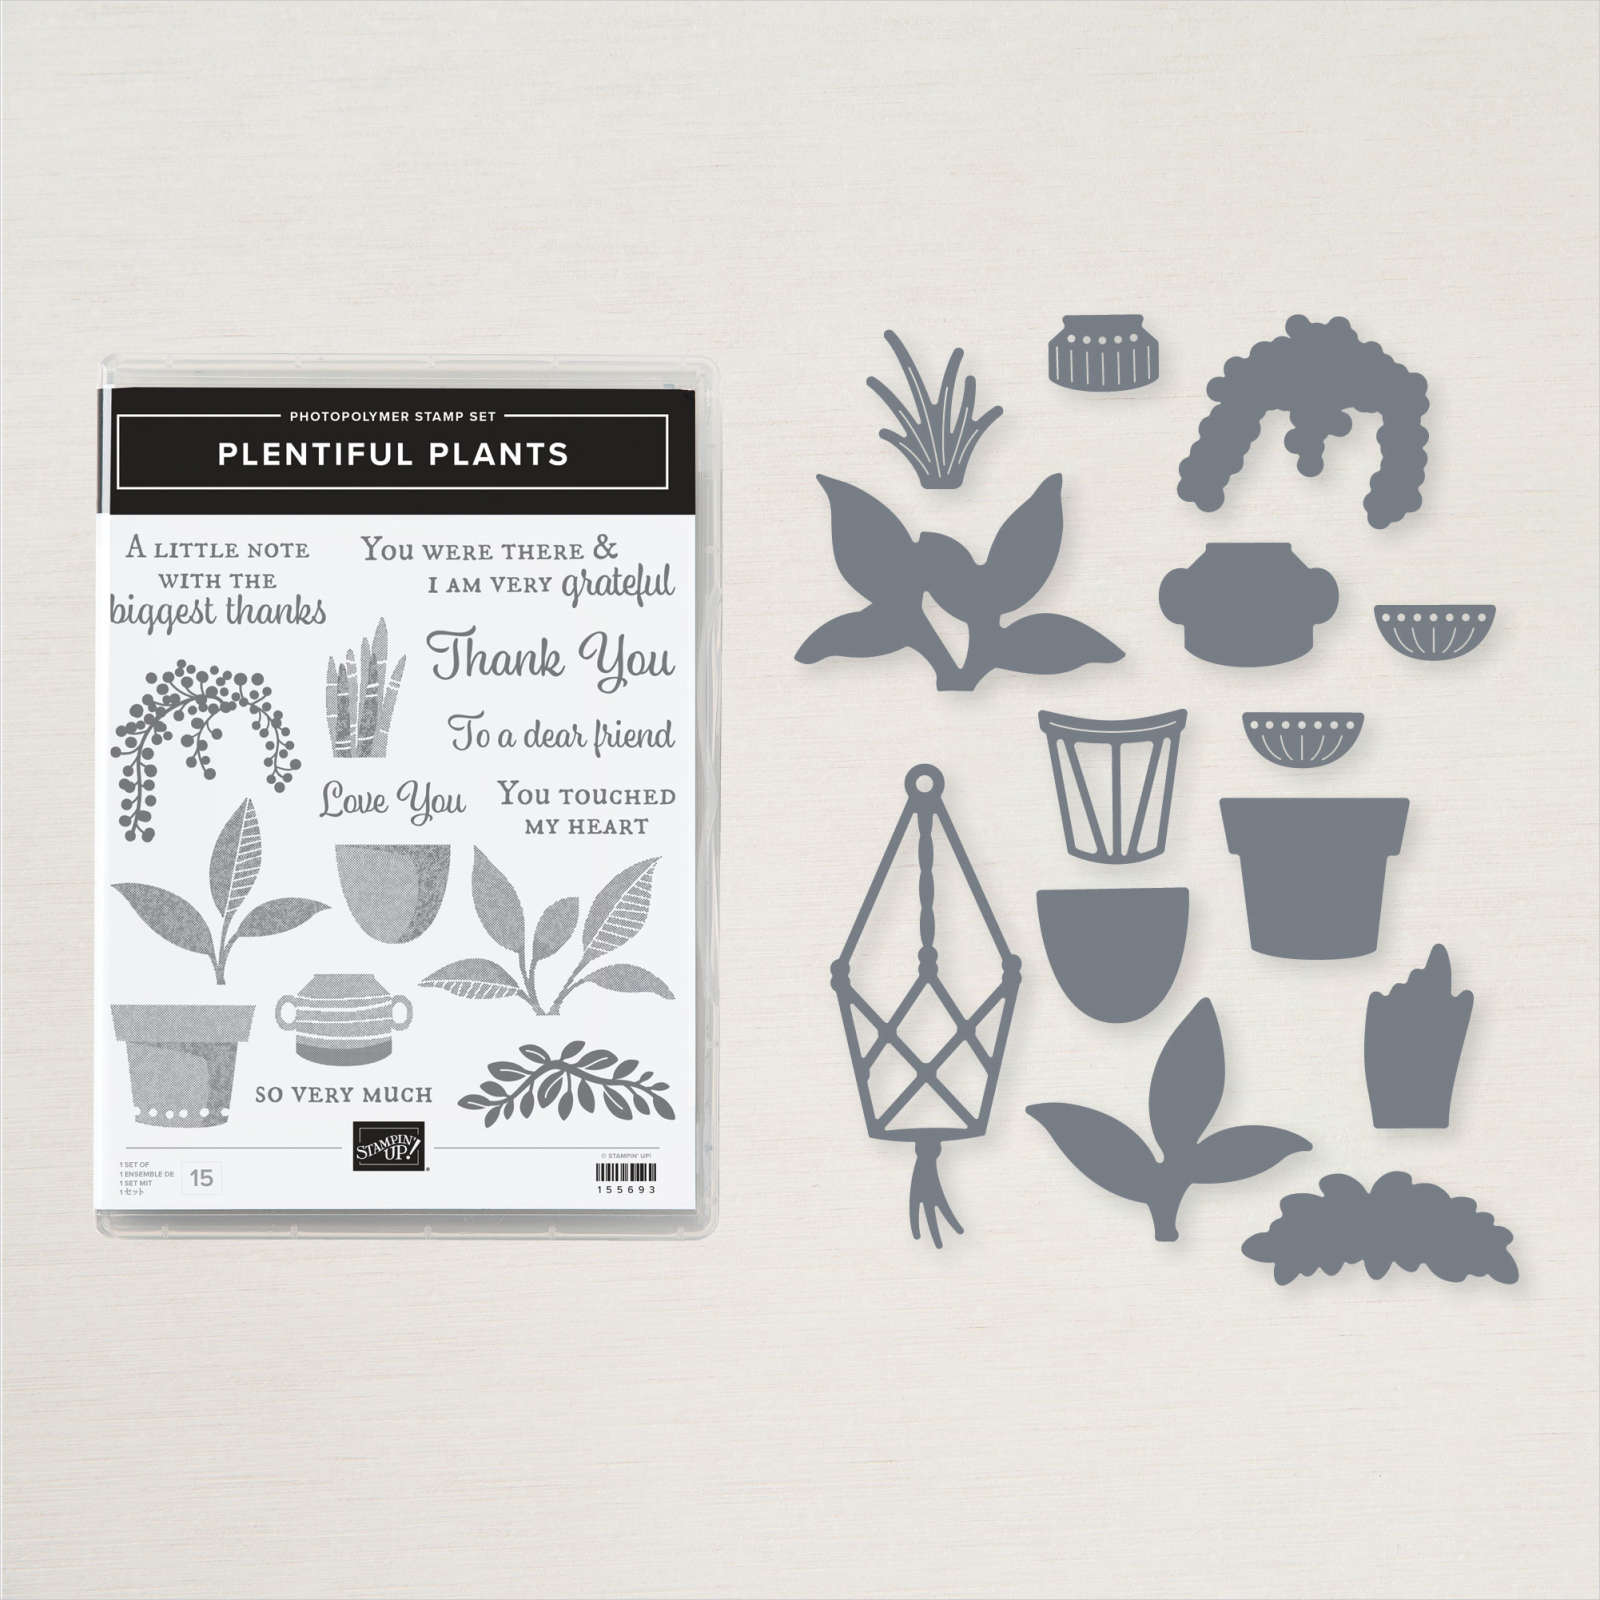
For this first example I chose to use the Plentiful Plants bundle.  The Bloom Where You're Planted designer paper is on sale in July. You can see it here.  

I used the Everyday Label punch for the greetings here.  There's an easy way to create a curved edge and a perfect layer.  Watch tonight to see how.  

Here's the second version I made with the Beauty of the Earth designer paper.  It's also on sale too!  

I used the same stamp set; Plentiful Plants for the greeting.  I did add a few pieces of the In Good Taste DSP here for the wood paper.  It works so well for nature themed cards.  

Here's the video!

Bay Window Cards Measurements:

  • Card base – 4 1/4" x 11". Score on long side at 3/8", 1 7/8", 3 5/8", 5 1/8", 5 1/2"
  • 1st DSP – 4 1/8" x 6". Cut in order at 1 3/8", 1 5/8", 1 3/8", 1 5/8"
  • 2nd DSP – 3 strips at ¼” X 4 1/8”
  • White inside 34 1/8” X 3 ¼”

~~~

July Specials!

6 X 6" Designer Paper Share; see it here


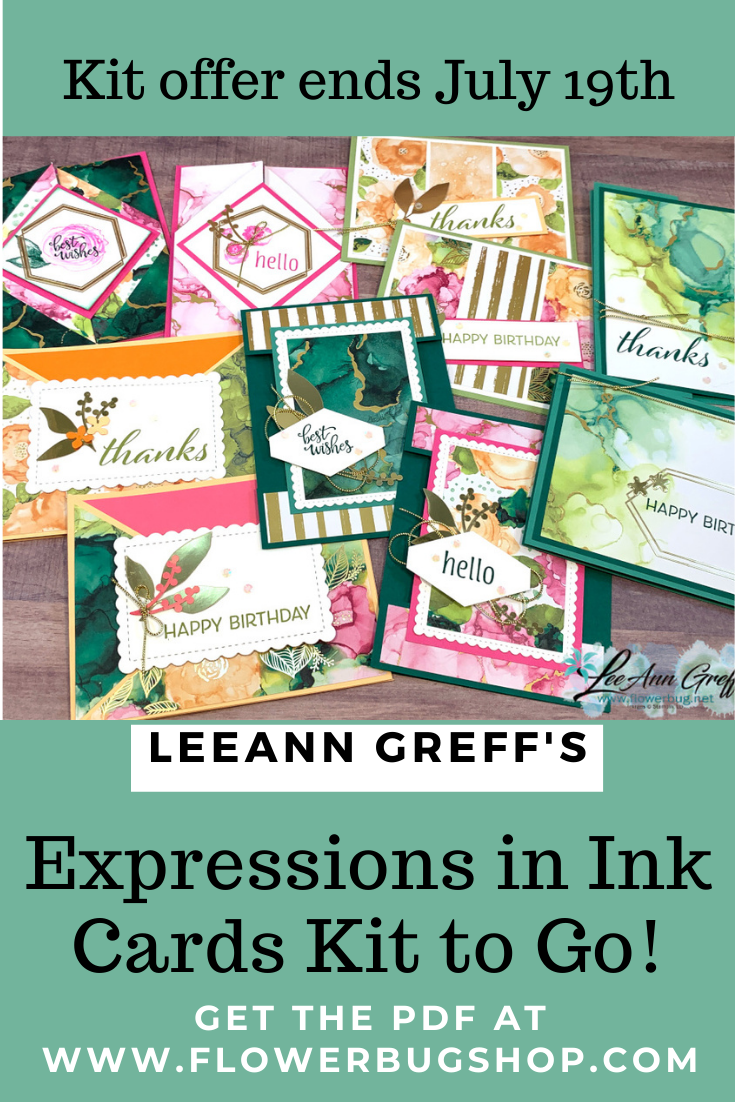
2 kits to go in July; see them here

~~~
 
Current host code: SBCRHZWG

Designer Paper is on sale!  Click here to see all 9 of the discounted papers. 


Online orders over $50 get a free DSP sampler from me!  It includes the Party Pattern host paper plus more! You'll get over 20 4 X 6" sheets of assorted papers.  Orders over $75 get even more!  

My free PDF Tutorial for July's online orders includes the Simply Elegant & Beauty of the Earth suites. Get it FREE with any online order placed in July!

All Posts

  • Cool Black Magic technique with a free project sheet and video tutorial!


    Oh my gosh, this Black Magic technique is super neat!  Look at these colorful cards!

    What's the Black Magic technique?  It's where you heat emboss on Black card stock with White embossing powder and color onto the embossing with Blends markers.  So easy and a great way to add color to your embossed image. The Layered Thoughts stamp set is perfect for this fun technique. See it here. 

    I also used the Celebratory Sips Designer Series Paper seen here and the coordinating Cheers & Sips stamp set for the inside images. 

    Click on the following link to download or print the free project sheet: Download Layered Thoughts July 2025

    Watch the video below to see how this is done.  It's so easy and lots of fun too! 

    ~~~

    August Specials

    Lots of In Color products are discounted in August!!

    Go here to see them all. 

    Get a free card class with any online order over $55 during August!

    Order online here

    The last chance list has new products! See them here. 

    Leave a Reply

    Your email address will not be published. Required fields are marked *

  • August specials include a free class with online orders!


    Happy August!

    This month I’m offering a free class with online orders over $55. It will include a 3 card kit featuring the Floral Impressions DSP seen here. All you’ll need are greetings, inks and adhesives.  

    • Everything is pre-cut and punched for you. Ribbon is included but embellishments are not. 
    • I’ll mail you the pre-cut kit including the printed project sheets!  All you need to do is place an order with me over $55 before tax and shipping. 

    Go here to order! 

    ~~~

    Starting August 5th Stampin’ Up! is offering a discount on tons of 2025-27 In Color products!  This will include many DSP packages, embellishments, kits, inks, refills and Blends markers! 

    See everything that will be discounted 15% on Tuesday, August 5th here. 

    ~~~

    New products will be released to the Last Chance list on August 5th. Don’t miss out on the best deals that day!

    Go here to shop. 

    Leave a Reply

    Your email address will not be published. Required fields are marked *

  • An easy card with Prairie Grass & Thoughtful Journey


    Here’s the last card I shared on last week’s video – all three featured the beautiful Prairie Grass stamp set seen here.  Unfortunately it is now out of stock but you can add your email to be informed when it’s available. 

    I stamped it onto a piece of Thoughtful Journey designer series paper. Then I cut it into 3/4″ strips before adhering it onto the Black CS layer and then the White card base. 

    You might wonder where the layered greeting shape is from. I used the To the Point punch with a 3/4″ strip of DSP like this: 

    Tip: Insert your paper through the back of the punch like you see above.  Notice it’s not through the side; but inserted into the back area.  Once you do both ends and you’re happy with the length of it, adhere it to a Black strip 1″ wide and punch both ends to layer evenly.  

    Here’s the free project sheet for this card. Print or download it by clicking on this link: Download Prairie Grass scene

    And here’s the video below where I share how to create this gorgeous card and two other cards featuring this amazing Prairie Grass stamp set. 

    ~~~

    July Specials:


    New Online Exclusives are here!  Click here

    ~~~

    Get my Turtle-y Cute PDF tutorial free with any online order in July!

    Leave a Reply

    Your email address will not be published. Required fields are marked *


Notice: LeeAnn Greff, Independent Stampin’ Up! Demonstrator, Manager. The content of this website is my sole responsibility as an independent Stampin’ Up! demonstrator and the use of, and content of, the classes, services, or products offered on this website is not endorsed by Stampin’ Up! Copyright 2025