/


Latest Post

Use the stamp in a new way on this card! Hello Harvest projects


Here's a pretty card I shared on last week's FB live video; it features the Hello Harvest bundle. 

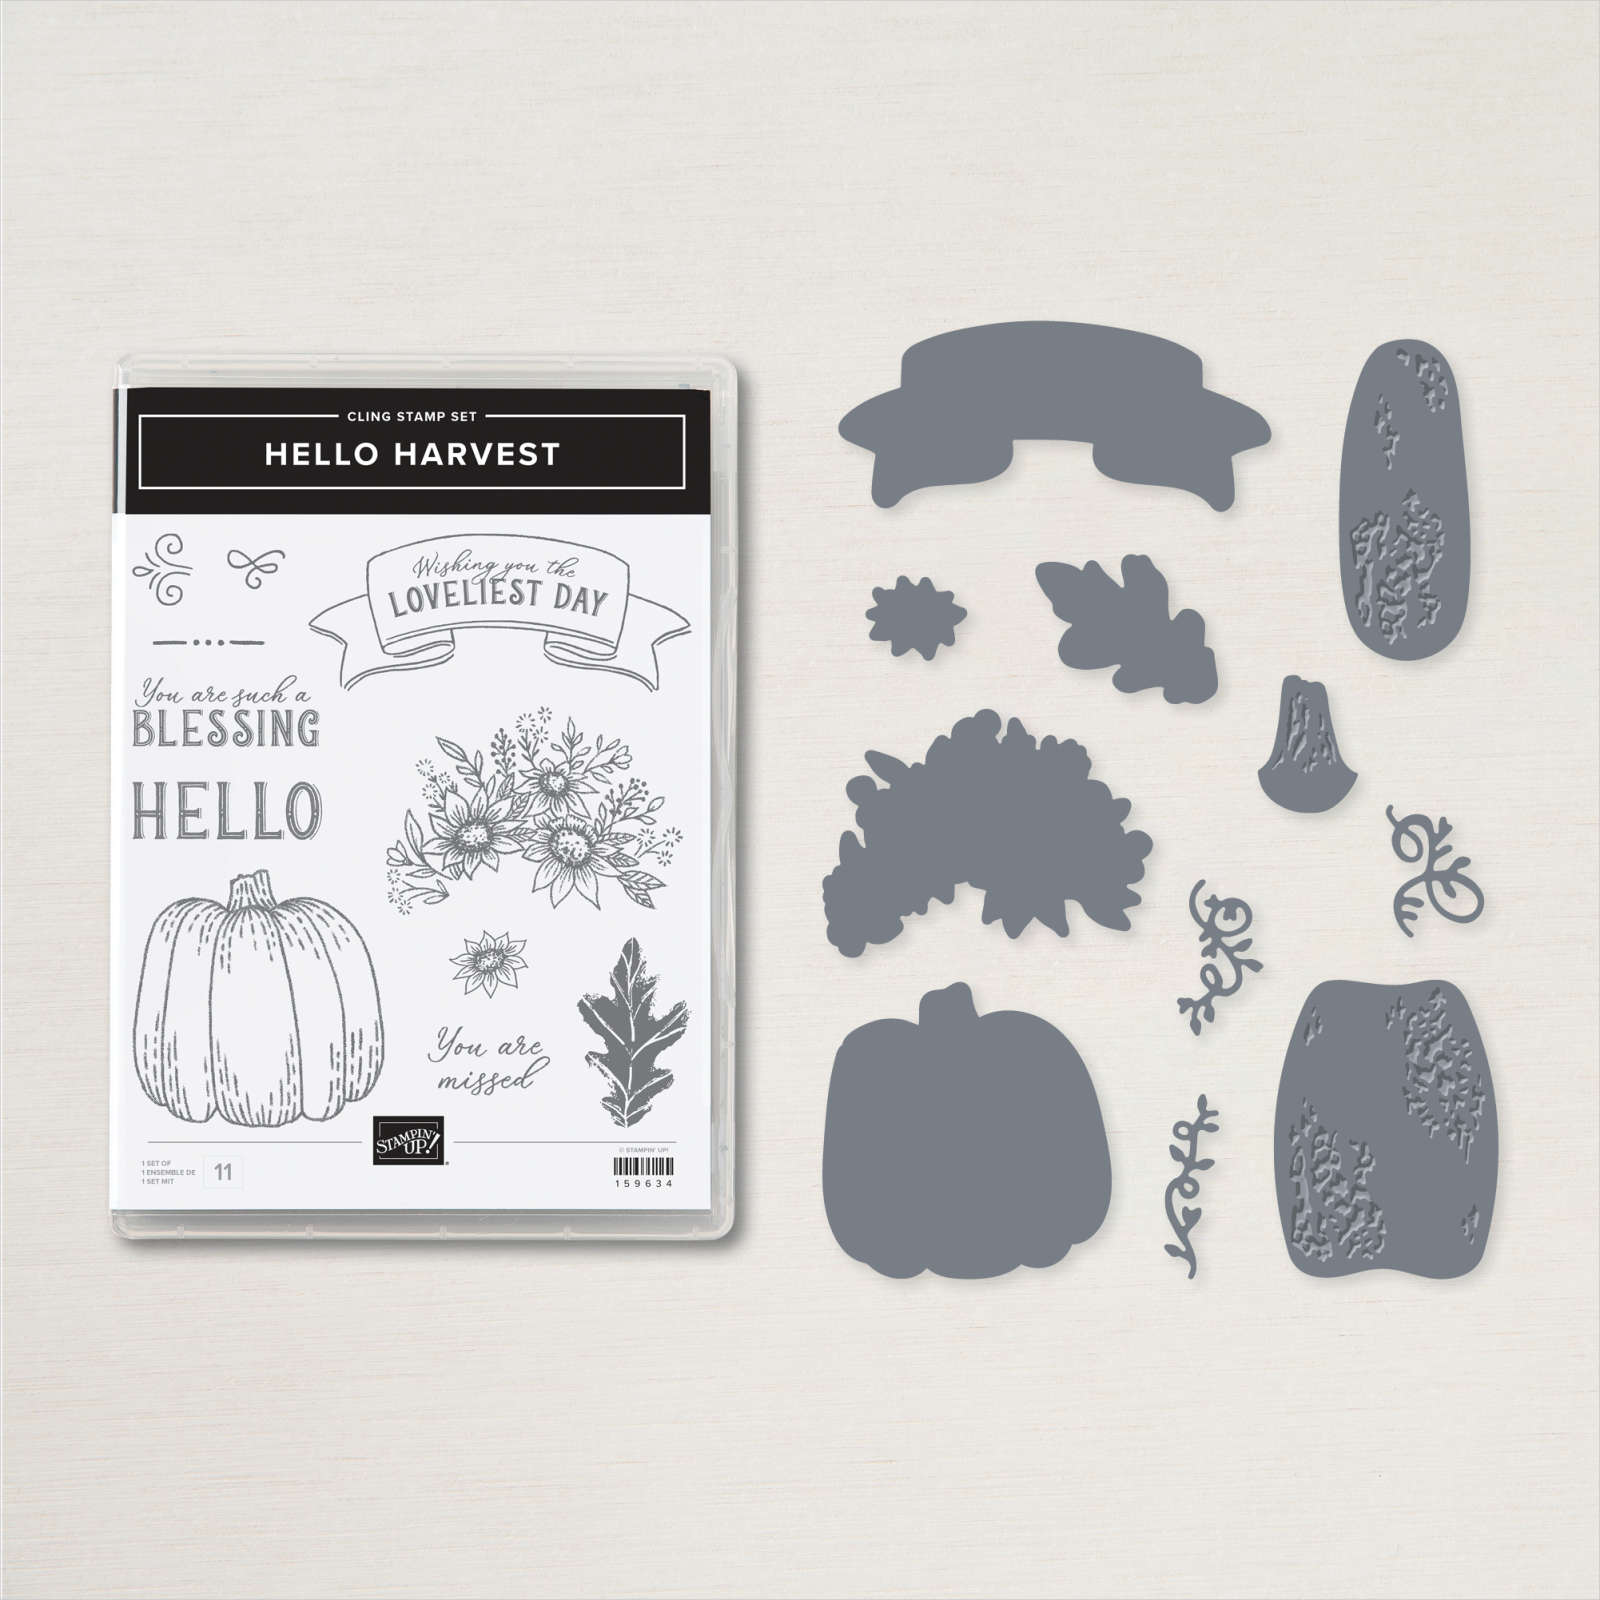
I cased the idea from my friend Dawn Olchefske; changing it up a bit.  The main floral image is stamped twice (once upside down) and the greeting covers where they meet.  You can see this image in the stamp set below. 

It might look like there's an entire strip of designer paper under the main card layers.  But it's just a few small pieces of the Rustic Harvest DSP at the top & bottom of the Vanilla card. Check out the Hello Harvest bundle here.  

I colored the floral image in with Blends markers in Daffodil, Fresh Freesia, Light Old Olive and Calypso Coral.  I also added a bit of color to the pretty greeting banner.  

Measurements are: 

  • Vanilla 5 ½” X 8 ½”, 3 ½” X 4 ½” & scrap for greeting
  • Espresso 3 5/8” X 4 5/8”
  • DSP is 1” X 2 ¼”

~~~

September Specials


New weekly deals come out on September 1st, 8th, 15th & 22nd! 

Order online here

Host code links: KSAEED9Y or JPJ4FKYJ

Get free cards from me with online orders!

Earn free products with my loyalty rewards! 

Click here to download yours and earn a $50 shopping spree!

All Posts

  • Butterfly wobble & Bokeh technique with video!


    I'm excited to share one of my March Club cards with you.  This background is called the Bokeh technique. 

    Sponging a background is a big favorite of mine and when you add the Bokeh technique to it you get magic! I created my own dotted mask by punching a bunch of circles from a piece of card stock.  

    We made these cards at my March card clubs and they loved it!  I used the Vine Design stamp set as well as the Happy Thoughts set; both are retiring and on the Last Chance list here.  

    Measurements:

    • Pacific Point 4 1/4" X 11" scored at 5 1/2"
      White sponged layer 3 3/4" X 5"
      White layer (under sponged layer) 3 7/8" X 5 1/8"
      White inside 3 1/2" X 4 3/4"
      White greeting strip 1/2" X 5"

    I used Pretty Peacock, Pacific Point & Magenta Madness inks as well as the White Craft ink pad for the light colored dots.  You can see the video below.  It's so easy and amazing!

    The butterflies are created with the new Brilliant Wing dies seen here. They'll be in the upcoming Annual catalog but are available now too. 

    Here is the video; I hope you watch it.  This technique is so fun and unique every single time!  Think of the colors you could use! 

    ~~~

    Lots of March Specials!

    Current Host code is 9HGVYTBV9

    Order online here

    And if your order is over $50 you'll also receive a free adhesive package from me 3 sheets of Dimensionals and 1 for die-cuts!

    *If your order is over $150 do not use the code; you'll still receive the gifts! 

    All online orders receive a free PDF of the new Butterfly Bouquet bundle

    with 15 projects!

    Below are the Multipurpose Glue stands we're making. They're $6 each and available in my Shop here.  

    Leave a Reply

    Your email address will not be published. Required fields are marked *

  • Sweet Easter Baskets; Quick & Easy


    Need a quick project for Easter?  Or May Day?  Or to make something fun with a child?  This is it!

    I made these on a recent FB Live and it couldn't be easier!  

    Start out with a square of paper.  I chose to use White card stock for the one above since I wanted to stamp my own background with the Circle Celebration stamp set.  I chose to use Magenta Madness, Old Olive, Daffodil Delight and Balmy Blue.  

    I used a 5 1/2" square of White CS for it so I could get two baskets from one sheet of 8 1/2" X 11" paper.  Score it at 1 3/4" on all sides.  Cut up two sides and fold them up to form the basket.  Add a strip of CS for a handle and something fun on the side.  Here I used the Oval Occasions stamp set.

    For the butterfly basket on the right I used a 6 X 6" square of Butterfly Bijou designer paper.  Unfortunately this paper is sold out now.  They hoped to have enough through May but we all loved it so much they ran out!  I'm so sorry about that.  

    The 6" basket is just slightly larger than the 5 1/2" basket; both work wonderfully for holding treats! 

    You can see the video here.  It's a FB live replay; scroll towards the end to see the basket project.  

    ~~~

    Lots of March Specials!

    Current Host code is PX6ZWGM7

    Order online here

    Retiring Annual Catalog items here; while supplies last!


    And if your order is over $50 you'll also receive a free adhesive package from me 3 sheets of Dimensionals and 1 for die-cuts!

    *If your order is over $150 do not use the code; you'll still receive the gifts! 

    All online orders receive a free PDF of the new Butterfly Bouquet bundle

    with 15 projects!

    Below are the Multipurpose Glue stands we're making. They're $6 each and available in my Shop here.  

    Leave a Reply

    Your email address will not be published. Required fields are marked *

  • Offset Triple-time Stamping with video & measurements


    Before seeing my projects today I need to be sure you know about the Last Chance Sale; click on this link to see it all in my store. 

    There are a ton of items on sale; some up to 60% off!  These are while supplies last and some will disappear within days. 

    *Please check this list carefully so you don't miss anything you really want! 

    Below are a few shockers/surprises that are retiring:

    Click here to see them online.  It is so much easier to see everyone on the list online. 

    Download ENG only Last-Chance-Prodcts-Annual-Catalog-2020-2021

    ~~~~

    On last week Tuesday's FB live I created a bunch of projects featuring the Circle Celebration stamp set in the Spring catalog.  You can see it here. 

    The Triple Time Stamping technique is when you stamp on three pieces of card stock all at once.  I layered just the White pieces in place and adhere them together slightly. This holds them in place while stamping with the fun circle images.

    Then you adhere them to the larger Navy card stock pieces.  Watch the video below to catch my tips.  It's the first project of three in the video. 

    I used the Tailored Tag punch and the Best Year stamp set for the greeting with a few loops of Daffodil Ruched ribbon. 

    The colors in the card above are Night of Navy, Daffodil Delight and Smoky Slate.  It is my Creative Card Color Combo last week. 

    Here is the video; I hope you watch it for these fun projects! 

    ~~~

    Lots of March Specials!

    Current Host code is 9HGVYTBV9

    Order online here

    And if your order is over $50 you'll also receive a free adhesive package from me 3 sheets of Dimensionals and 1 for die-cuts!

    *If your order is over $150 do not use the code; you'll still receive the gifts! 

    All online orders receive a free PDF of the new Butterfly Bouquet bundle

    with 15 projects!

    Below are the Multipurpose Glue stands we're making. They're $6 each and available in my Shop here.  

    Leave a Reply

    Your email address will not be published. Required fields are marked *


Notice: LeeAnn Greff, Independent Stampin’ Up! Demonstrator, Manager. The content of this website is my sole responsibility as an independent Stampin’ Up! demonstrator and the use of, and content of, the classes, services, or products offered on this website is not endorsed by Stampin’ Up! Copyright 2025