/


Latest Post

Two Elegant cards by my Team


Yesterday I shared two of my Flowerbug's Team swaps here and today I'm sharing two more.  They do a fabulous job on their swaps and I love seeing what they create!

First is Tracey's card featuring the Friends are Like Seashells bundle.  The fact that the die has a coordinating embossing folder (seen here) makes these products AND projects uniquely special.  See it here. 

Her colors are Pool Party & Very Vanilla.  She embossed both the Vanilla die-cut layer and the Pool party layer to reveal the embossed dots on the background.  Love this!

~~~

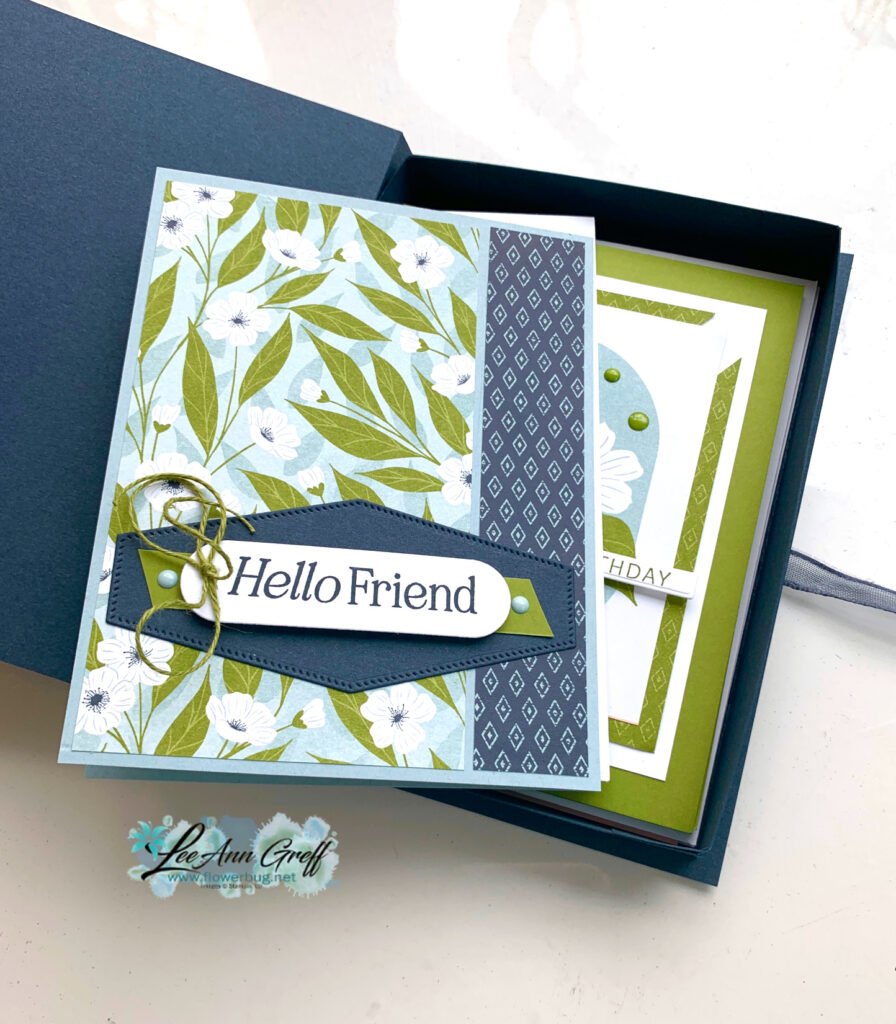
Lori made this next card with the Simply Elegant Specialty Designer paper seen here.  She colored the gold paper with Mint Macaron ink with Blending Brushes.  That extra pop of gold foil really brings it all together. 

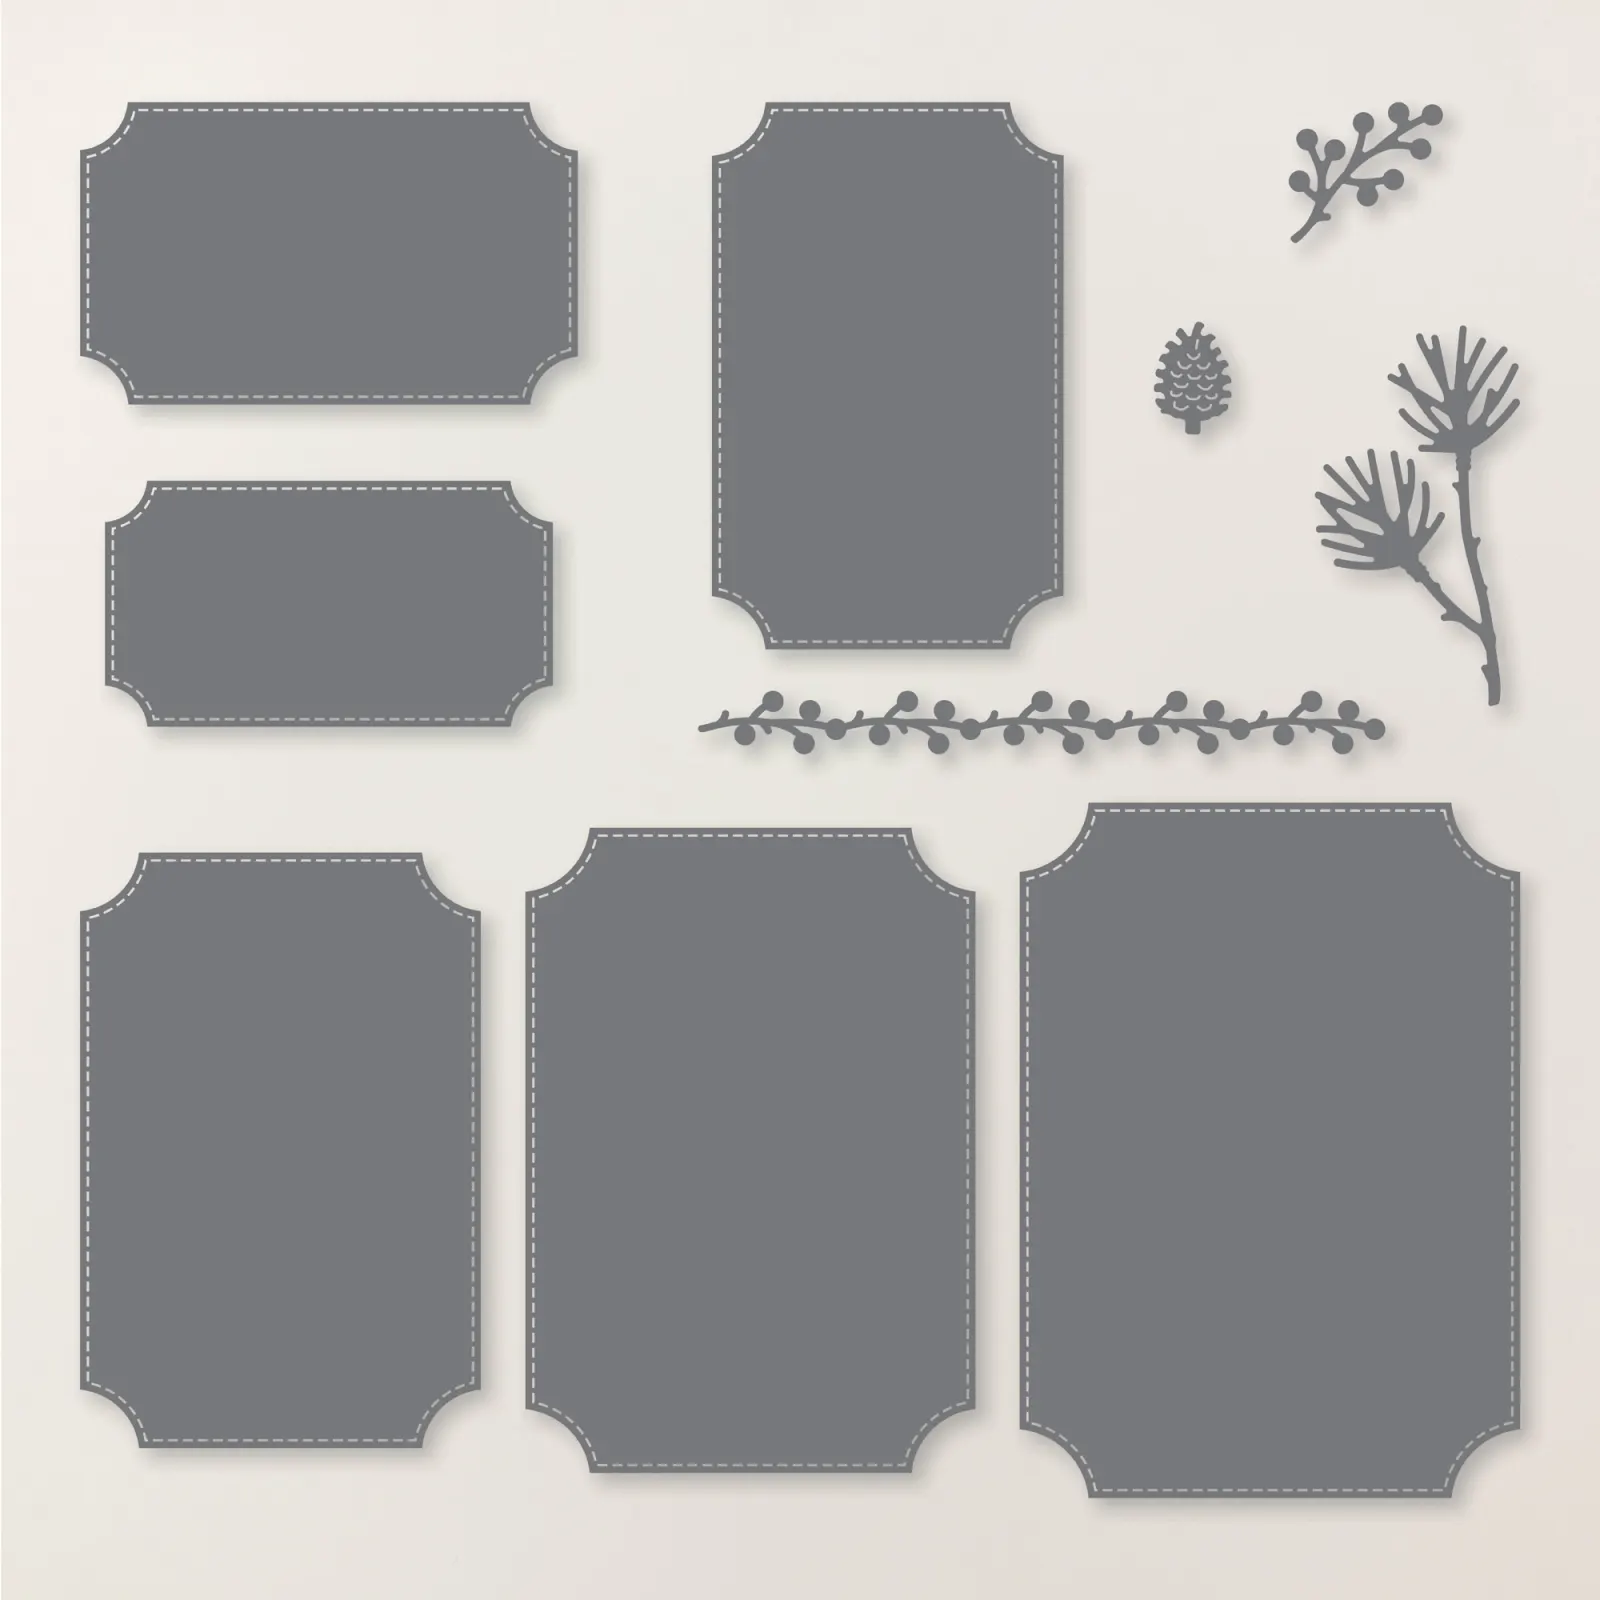
Her dies are from the Stitched So Sweetly set seen here.  Beautifully elegant!  

~~~

July Specials! 

Current host code: SBCRHZWG

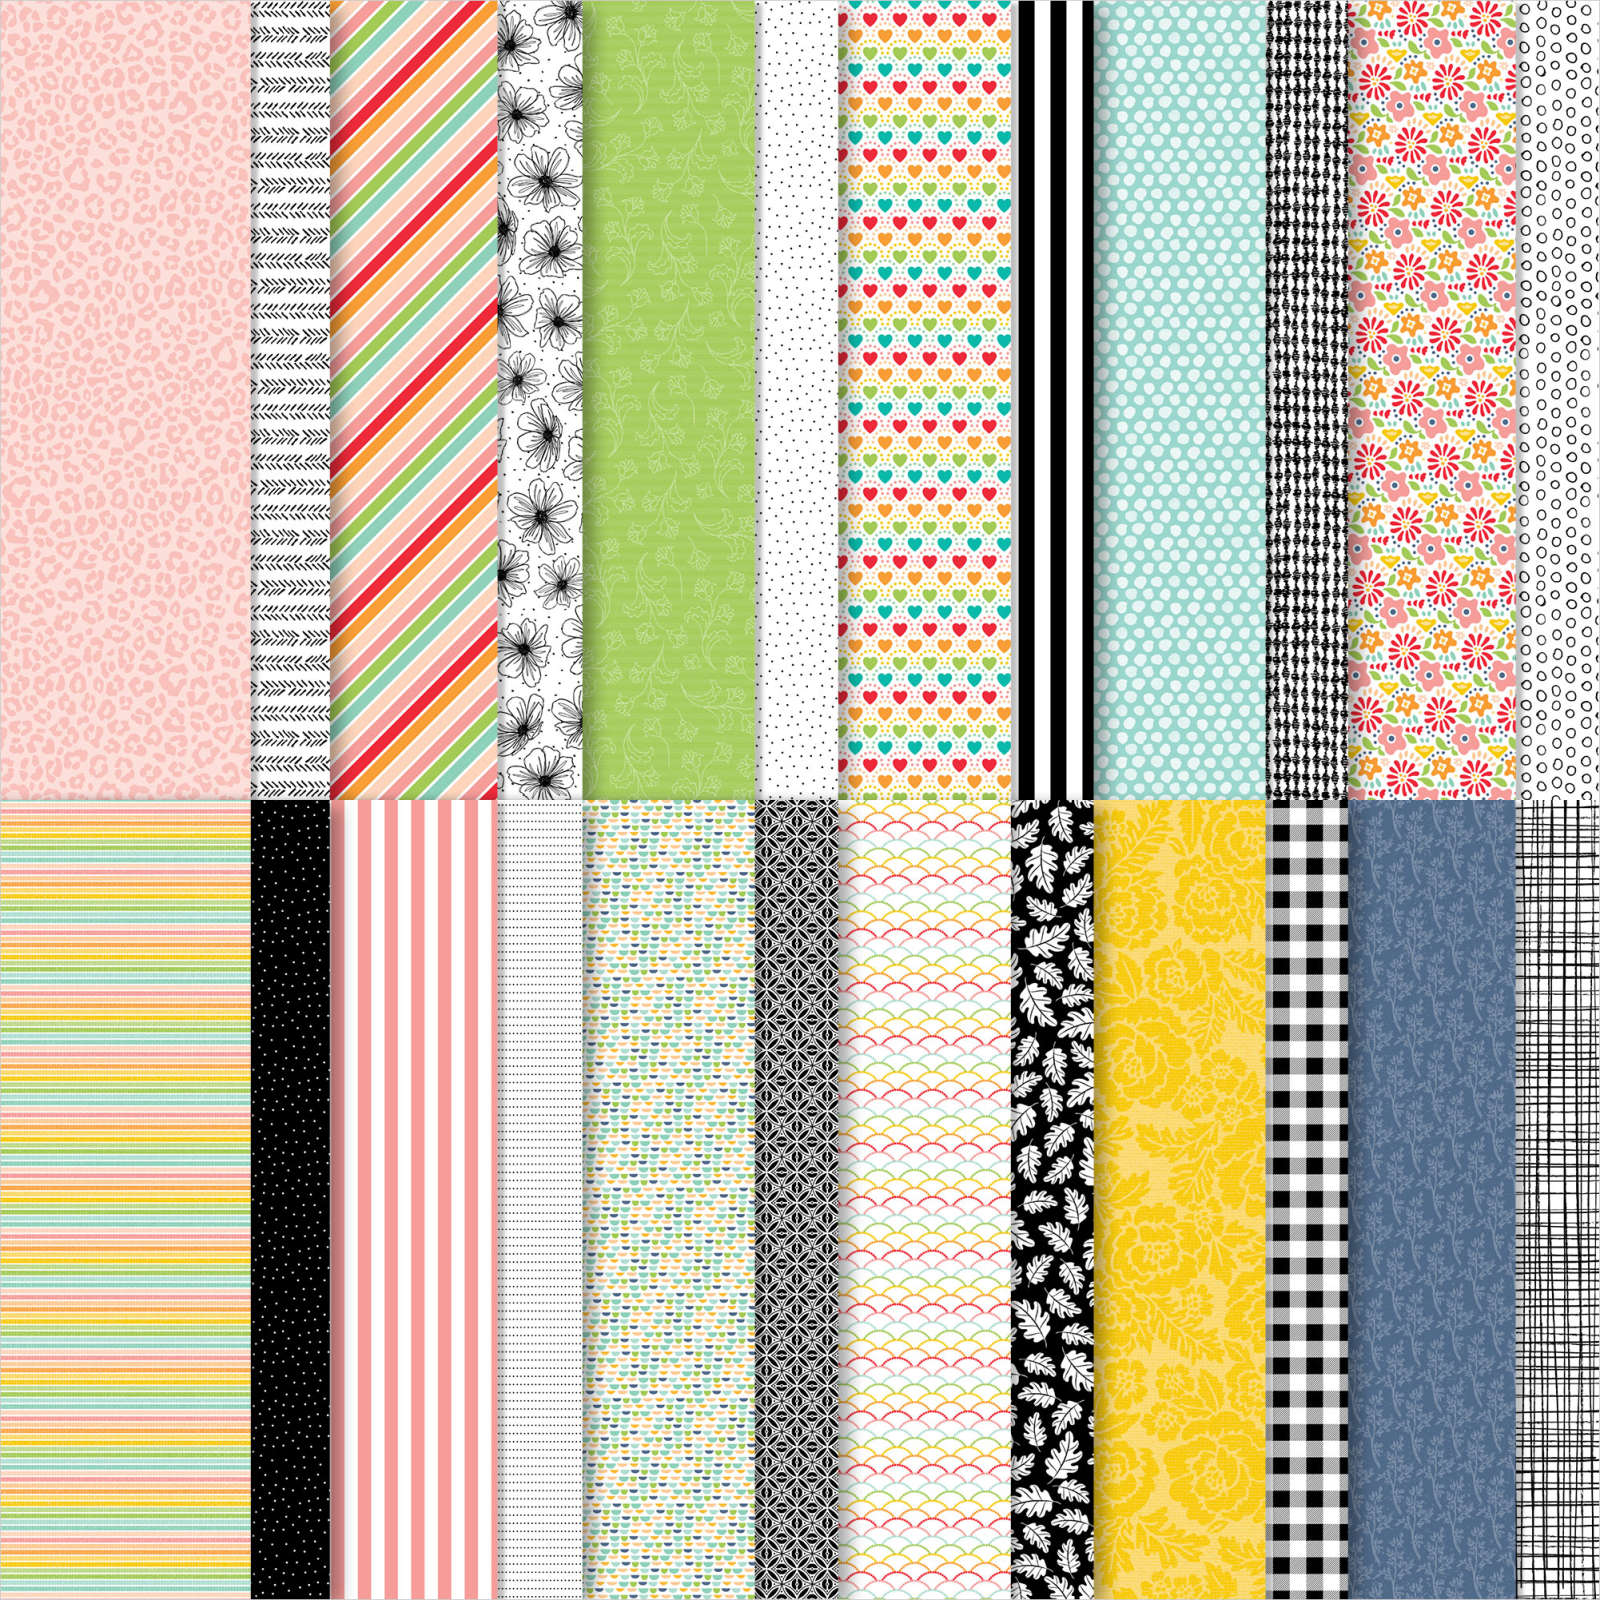
Designer Paper is on sale!  Click here to see all 9 of the discounted papers. 


Online orders over $50 get a free DSP sampler from me!  It includes the Party Pattern host paper plus more! You'll get over 20 4 X 6" sheets of assorted papers.  Orders over $75 get even more!  

My free PDF Tutorial for July's online orders includes the Simply Elegant & Beauty of the Earth suites. Get it FREE with any online order placed in July!

All Posts

  • Pretty Bridge fold card with Snowflake Kisses with free project sheet & video tutorial


    I shared this pretty card on last week’s Live video. It features the Elegant Pine Snowflake designer paper and the Snowflake Kisses bundle.

    My colors include Pretty Peacock, White & Lost Lagoon above. The Elegant Pine Snowflake designer paper is beautiful and can be seen here.

    I created a second card with Secret Sea as the card base instead of Pretty Peacock. Which do you prefer?

    This card is a bridge fun fold layout. It starts out with a 5 1/2″ X 8 1/2″ card base but requires two extra cuts from the center score line down 1 1/8″ from each edge. It’s easy with our Paper Trimmer. Watch the video below to see how it’s done.

    I created a free project sheet for you with photos and measurements. Click here to print or download it.

    I hope you try one. If you haven’t made one before please watch the video below. They are quite fun to make & open!

    The photo below shows the card closed, the main panel lifted and the inside! Tip: We used a handmade stencil to sponge snowflakes on the inside. *cut snowflakes from a piece of card stock and sponge or blend ink through the windows.

    Below is the video tutorial which includes a second card with this bundle. I hope you watch it! Don’t forget to subscribe to my YouTube channel here.

    *You’ll receive a PDF with multiple projects featuring this product
    after the 20th of the month.
    ~~~

    The Last Chance list has been updated!
    Click here to shop.

    Get a free PDF tutorial with any online order from me in December!

    Leave a Reply

    Your email address will not be published. Required fields are marked *

  • Save time on finishing the inside of your cards with this trick!


    I’m excited to share these stunning snowflake cards with you today. We made them at my card clubs in December.
    Living in North Dakota, we usually see a lot of snow in the winter so these cards are great for many occasions.

    I used the Snowflake Kisses bundle seen here. It’s filled with wonderful greeting images and lots of snowflake dies.

    My colors include Pretty Peacock with Cloud Cover and Gorgeous Grape with Fresh Freesia. I think blues & purples are perfect for snowflakes. We used a blending brush to add more color to the large snowflake die-cut.

    After creating the cards above I thought I’d try combining the colors on the large die-cut.

    Isn’t that pretty? I just love combining Gorgeous Grape with Pretty Peacock on the Fresh Freesia die-cut. Blending Brushes make this a breeze!

    Look how we finished the inside.

    I wanted to add snowflakes to the inside of the card but didn’t want to die-cut tons of them for my club gals. So I came up with creating a snowflake stencil.
    I cut multiple snowflakes from a piece of card stock and we used Blending Brushes to add pretty snowflakes to our White layer. I truly love the effect it gives.

    If you’d like the free project sheet for this card click here. You can download or print it.

    See how this card is made in the video below. I also shared a second Snowflake Kisses fun fold card.

    *You’ll receive a PDF with multiple projects featuring this product
    after the 20th of the month.
    ~~~

    The Last Chance list has been updated!
    Click here to shop.

    Get a free PDF tutorial with any online order from me in December!

    Leave a Reply

    Your email address will not be published. Required fields are marked *

  • The new Swirled Designs bundle is super fun!


    I had to point you to the new Swirled Designs bundle in our newest Online Exclusives release. It has the neatest sets of dies and stamps in it!

    See what I mean? The extra layers on the dies make them super playful and the stamps will be great for stamping backgrounds. Basic shapes like ovals and stars are something we’ll always use for multiple occasions.

    Look closer at this card made by Stampin’ Up! I love when we get new product that’s unique and we haven’t seen before.

    See what I mean? You can use the stamps to add the details to the inside of the die-cut shapes like above. I just love this card! See this bundle here.

    *You’ll receive a PDF with multiple projects featuring this product
    after the 20th of the month.
    ~~~

    The Last Chance list has been updated!
    Click here to shop.

    Get a free PDF tutorial with any online order from me in December!

    Leave a Reply

    Your email address will not be published. Required fields are marked *


Notice: LeeAnn Greff, Independent Stampin’ Up! Demonstrator, Manager. The content of this website is my sole responsibility as an independent Stampin’ Up! demonstrator and the use of, and content of, the classes, services, or products offered on this website is not endorsed by Stampin’ Up! Copyright 2025