/


Latest Post

Two background techniques on this pretty Kindest Expressions card


I made this card for our June Team swap; our theme was to create our own background.  I went a bit overboard but had a ton of fun making these!

It features these products from our Annual Stampin' Up! catalog:

  1. Kindest Expressions stamp set
  2. Paper Florist dies
  3. Countryside Corners dies
  4. Blending Brushes
  5. Artistic Mix Decorative Masks
  6. Embossing paste Matte finish
  7. Adhesive-Backed sequins trio

Whew!  And I didn't even list the ink and paper!  My colors include Berry Burst, Bubble Bath, Lemon Lime Twist and Basic White.

  • I used Berry Burst ink and a Blending Brush to create an ombre background on my Bubble Bath card stock. I let that dry overnight. 
  • I then used a mask over this to spread White Embossing Paste with a Palette knife.  Even though my ink was dry it picked up the color and created an ombre look on the paste too.  I let that dry for a few hours.
  • Add the greeting and the Paper Florist dies seen here.  I can tell that I'll be using these dies a lot.  They're wonderful and make a huge variety of flowers. 

I LOVE how they turned out.  

I'll be sharing my Flowerbug's Team swaps later this week.  Stay tuned! 

~~~

July Specials: 

Bonus Days!

Get a $5 coupon for each $50 order you place in July.  Use the coupon in August!

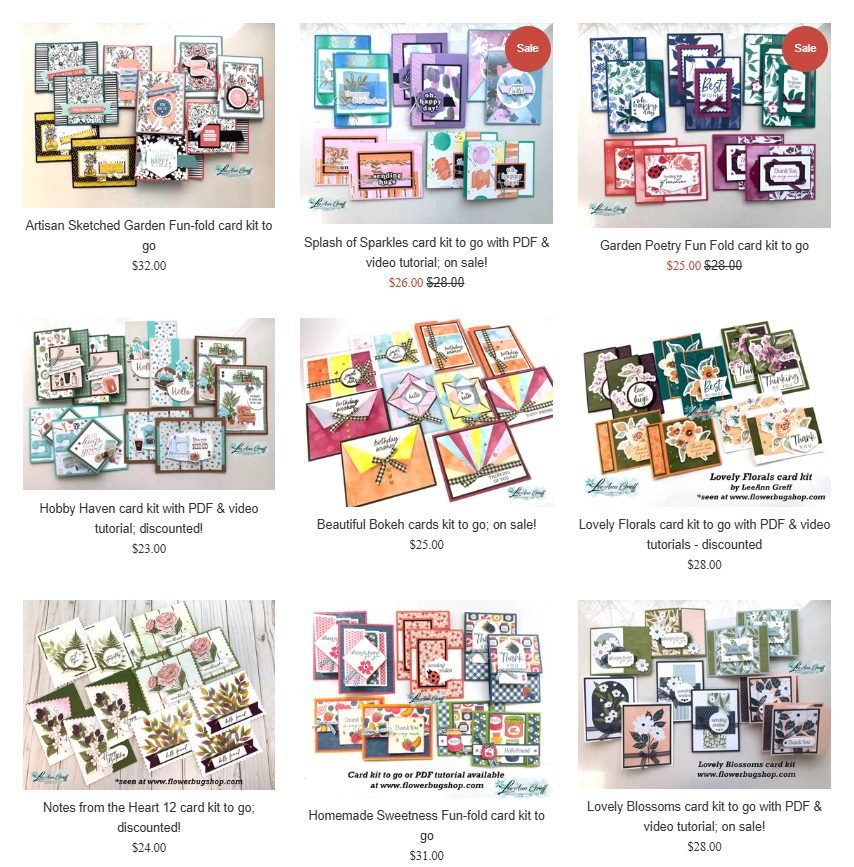
There's a Clearance Rack update!

See all items available here

NEW Online Exclusives 

See them all here

~~~

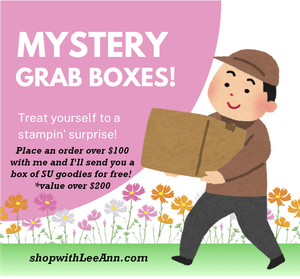
My monthly special for online orders:

Get a free card kit & a new Beautifully Happy stamp set 

with online orders over $65; must use a host code.

*current host code: MY4YDGEM

All Posts

  • Cool technique for a background made with our new shimmer brushes


    Take your new Shimmer Brushes for a test drive with this darling DIY background idea. Stampin’ Up! posted this card idea; what a super neat plaid background!

    Here’s how you do it:

    Step 1: Draw diagonal lines on Basic White Cardstock using the Barely Blush Shimmer Brush. (Use the Clear Block F as a guide.) Apply light pressure to create fine lines; increase pressure for thicker lines.

     Step 2: Rotate your cardstock and (using the Clear Block F) draw additional lines to create a plaid pattern.

     Step 3: Decorate your sparkling background with images, sentiments, and embellishments, then adhere the finished piece to the card base.

    We now have 5 colors of these Shimmer Brushes in each of our new In Colors. See them all here.

    I hope this technique inspires you to try it. I think you could also do it with our Wink of Stella on any color CS.

    I have one Mystery Box left!
    Place an order over $100 to grab it before it’s gone.
    Message me before you order to be sure it’s still available.

    Don’t forget to consider the Starter Kit Deal in May; time is almost up!

    You’ll get either all 5 new Magnetic ink pads or an extra $35 in product of your choice; all for $99!

    Leave a Reply

    Your email address will not be published. Required fields are marked *

  • More Team swaps!


    Here are a few more of the Team swaps featuring brand new catalog products.

    Jacki created this striking card with the Scalloped Blooms bundle seen here.

    Her colors include Melon Mambo, Black & White. Those scalloped circle dies are so fun aren’t they? The leaf die-cuts are from the Delicate Whispers dies seen here.

    Next is a striking card made by Joan: She chose to highlight the Scenic Coast DSP.

    She also used the Relaxing Waterside bundle seen here. Love that chair! As you might guess, it’s a fun fold ‘bridge card’.

    Super cool! To make this card you’ll start with a 5 1/2″ X 8 1/2″ card base, scored at 4 1/4″. Now use the paper trimmer to cut up to the score line on each side at 1 1/4″.
    The DSP is 2 3/4″ X 4″ and on the sides it’s 1″ X 4″. There’s also a lower and an upper strip that is 5 1/4″ X 1″.

    Great cards ladies! I’ll share more later this week.

    May Specials:

    I have one Mystery Box left! The first person to place an online order from me over $100 will receive it.
    It has over $200 in Stampin’ Up! products in it and I’ll ship it to you FREE! Order here.

    Don’t forget to consider the Starter Kit Deal in May; time is almost up!

    You’ll get either all 5 new Magnetic ink pads or an extra $35 in product of your choice; all for $99!

    Leave a Reply

    Your email address will not be published. Required fields are marked *

  • Kits to Go Clearance sale starts today! While supplies last!


    I have 14 available kits to go right now and I’ve marked most of them down to de-stash my stock. I want to clear them out before we move in a month.

    Be sure to check them all out here.

    Even if they don’t have a ‘Sale’ icon most are still reduced in price. My kits include about $20 in SU product plus the 10-12 pre-cut cards! Most only need greeting images added. You will need adhesives, ink and a paper trimmer to cut the DSP in most cases.

    These are a steal of a deal!

    They’re so fun to create with and many come with both PDF & video tutorials too. Most will include fun fold layouts and you’ll find new ways to create with my unique layouts.

    Shop all tutorials and kits here.

    Leave a Reply

    Your email address will not be published. Required fields are marked *


Notice: LeeAnn Greff, Independent Stampin’ Up! Demonstrator, Manager. The content of this website is my sole responsibility as an independent Stampin’ Up! demonstrator and the use of, and content of, the classes, services, or products offered on this website is not endorsed by Stampin’ Up! Copyright 2025