Today both the Spring & Sale-a-Bration catalogs go live!

I love our Sale-a-Bration promotion where everyone gets something free with a qualifying order. Who doesn't love FREE?!
And this year they've added the best deal ever with the Starter Kit offer.

If you're ordering around $100 anyway why not get the Starter kit and enjoy the discount while you can?
There are three choices; pick the one that suits you!
Option 1 – for $129 you get the new Boho Blue mini machine PLUS $175 in products of your choice
Option 2 – for $129 you get the white mini machine PLUS $175 in products of your choice
Option 3 – for $99 pick out $175 in products of your choice without a new mini machine
Then, after your purchase of the starter kit you can enjoy the 20% discount on everything you order! And get free Sale-a-Bration products too!
I'd love to have you join my Flowerbug's Team!
~~~
If you're local to me in Minot, ND be sure to stop in for my New Catalog party tomorrow.
Great displays, yummy food, a neat take-a-way projects & of course great deals too!!
It's Saturday, January 7th from 1- 4 pm.
~~~
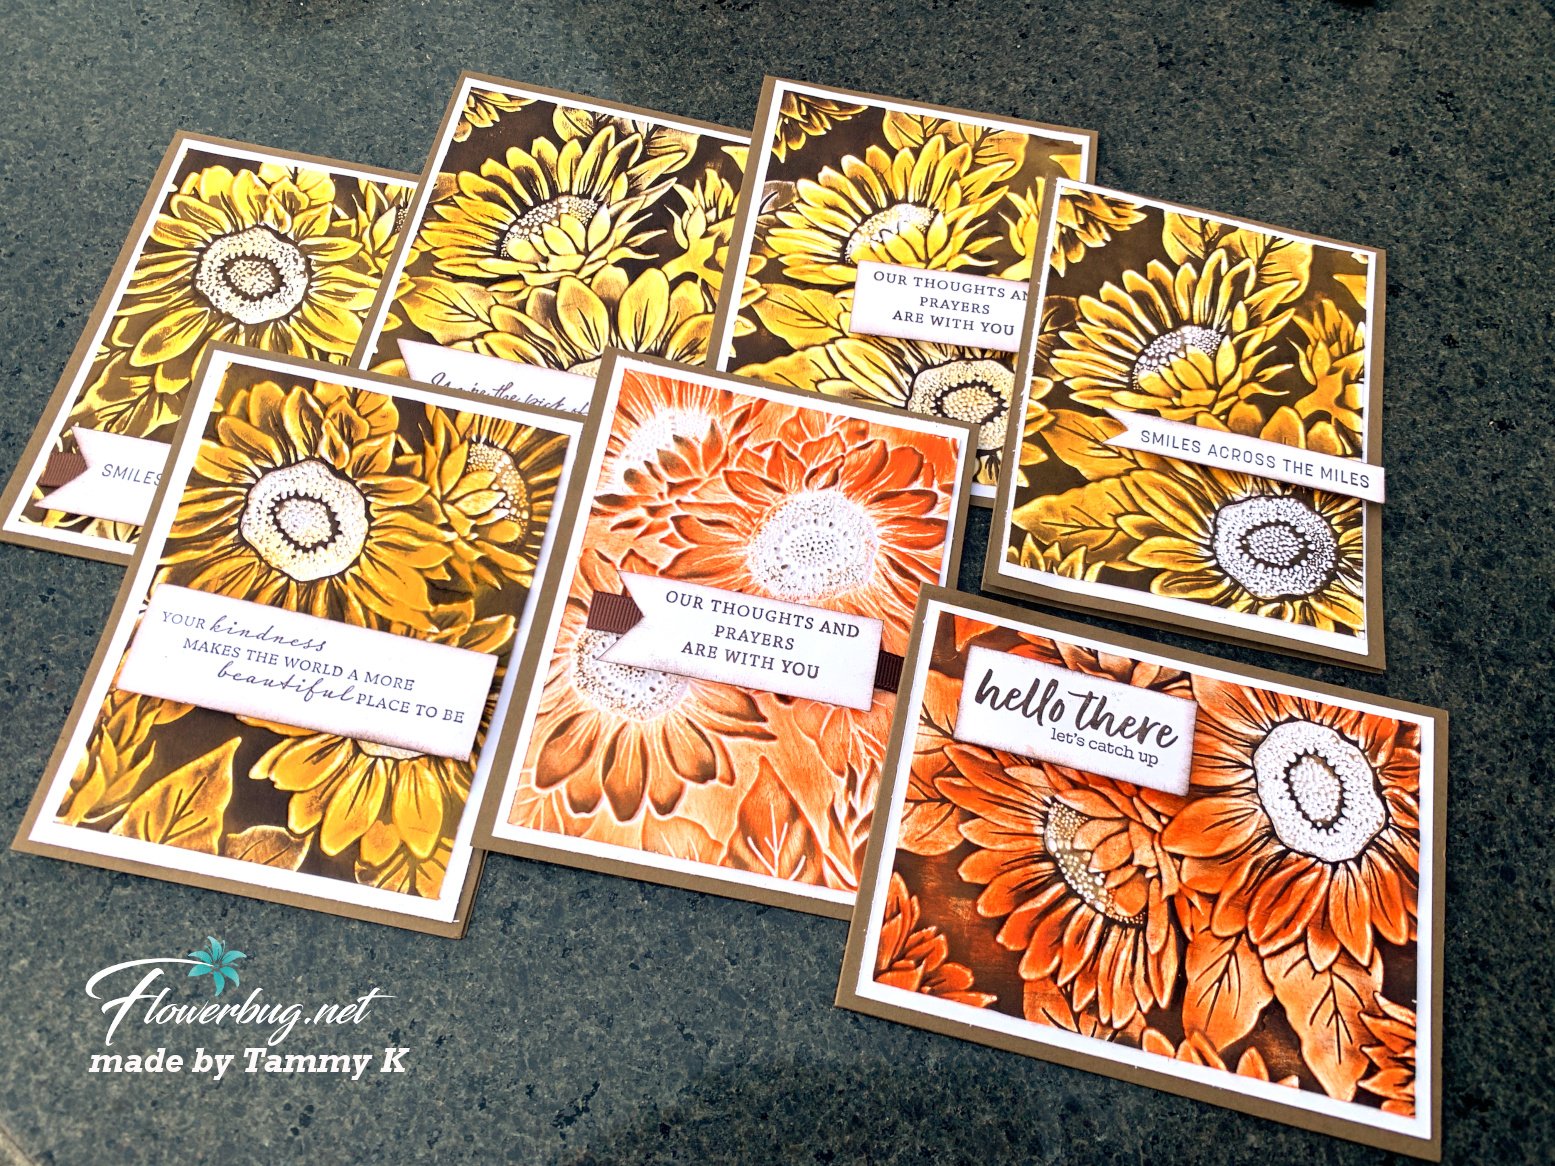
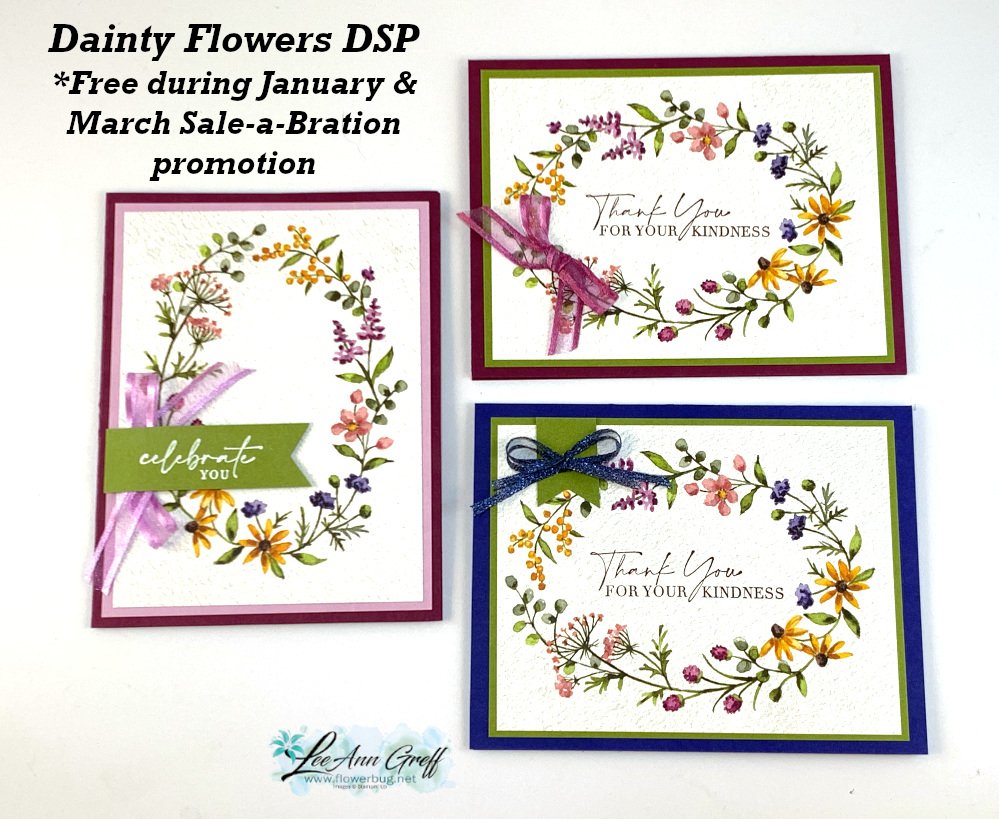
The Dainty Flowers designer paper is one of my top picks this year. There are multiple sheets in the pack that are perfect for quick but beautiful cards. See my video here.
Click on the image below to watch my video where I share multiple card ideas with this beautiful designer paper.

~~~
Clearance Rack deals!
Order online using the links below:

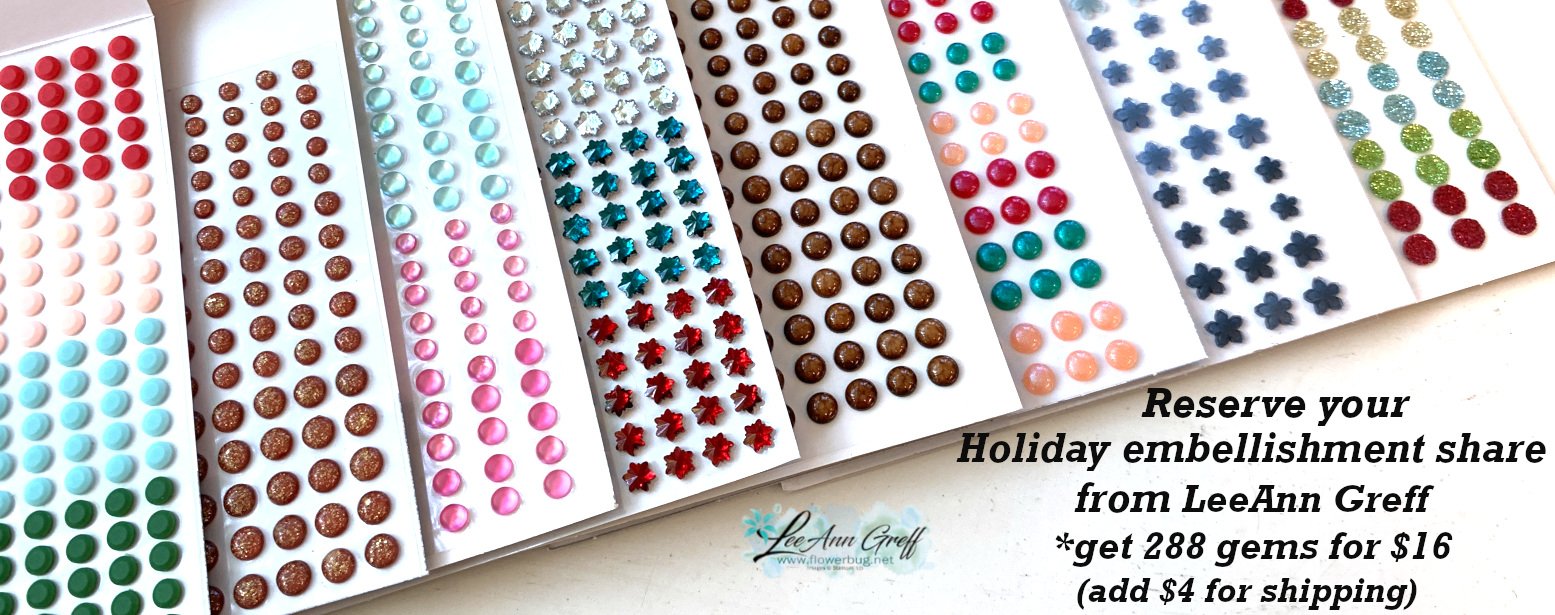
January Host code links: QFTB9AST or 69GXSA3B
Get free Pastel Sequins with online orders over $55 when using the host code above! January Host code links: QFTB9AST or 69GXSA3B

Earn free products with my loyalty rewards!
Click here to download yours and earn a $50 shopping spree!


Leave a Reply