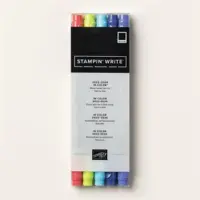
Here are the two cards I made on FB Live last week. I had to ink up my Life is Beautiful stamp set one more time. Sadly it's retiring on January 4th.
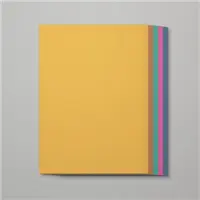
This first card is made with Purple Posy & Gray Granite. I cut off 1 1/2" from the front layer to reveal a bit of the inside. I used the Stamparatus to stamp both the tree and greeting at the same time. I love it for mass producing! Perfect every time!
I used Highland Heather ink for the bokeh dots in this set; stamped off a few times. That neat texture is a new folder in the upcoming Spring catalog called Painted Texture.
Get your Life is Beautiful stamp set here before it's gone for good. It's such an easy set to create with!
There are tons of samples on Pinterest featuring my stamp set. Click here to see them.
Measurements:
- Gray Granite 5 1/2" X 7" scored at 4 1/4", 4 1/4" X 2 3/4"
- Purple Posy – 5 1/4" X 2 3/4"
- Whisper White – front 4" X 2 1/2", inside 4 3/4" X 3 1/2"
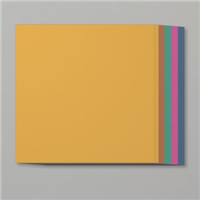
This neat easel card is made with Just Jade, Smoky Slate, Black & White. Watch the video to see how I did the birdhouse in two colors.
Measurements:
- Smoky Slate – 5 1/2" X 8 1/2" scored at 2 1/8" & 4 1/4"
- Just Jade 1 7/8" X 5 1/4", inside strip is 3/4" X 3 1/4"
- Whisper White 3 1/4" X 3", inside is 3 1/2" X 4 3/4"
- Black 3 1/2" X 3 1/4"
Join me here on the 2nd & 4th Monday's for Stamp with Me Live. Follow my FB page and you'll see the pre-post with measurements so you have time to prep your projects for the Live stamping!
If you're not on Facebook I usually share the videos later on my YouTube channel here.
~~~
December Ordering Special:
Current Host code is 399BKWGG
Order online here
All online orders will receive my 16 Christmas cards class PDF!
Get a free package of 220 Red Rhinestones from me with an online order over $50 using the host code above.
Below are the Multipurpose Glue stands we're making. They're $6 each and available in my Shop here.


Leave a Reply