/


Latest Post

The October promotions end Thursday! Take advantage today


There are just two days left of the multiple, fabulous October promotions.  I wanted to remind you in case you missed any. 

October Specials:

~~~

Get an extra $30 in your Starter kit in October! It's a $99 order but you get up to $155 in product of your choice!  Click here to read more.

Keep in mind that all future orders will be 20-25% off so you can grab those items on your wish list at a discount. I'd love to add you to my Team for as long as YOU want; you're in charge of how much you want to do. 

  • If you're ordering around $100 in product it just makes sense to get the deal and get another $55 in free product!
  • If you enjoy my tutorials you'll get all of them free when you're part of my Team. 
  • Love a good deal?  This is the best one we offer! 
  • Do you like being a part of something special? Our Flowerbug's Team community is friendly and filled with many opportunities you can take advantage of – swaps, challenges, sharing & fun! 

~~~

The Kits Collection is on sale! There are so many incredible kits available; be sure to Check them all out here.

~~~

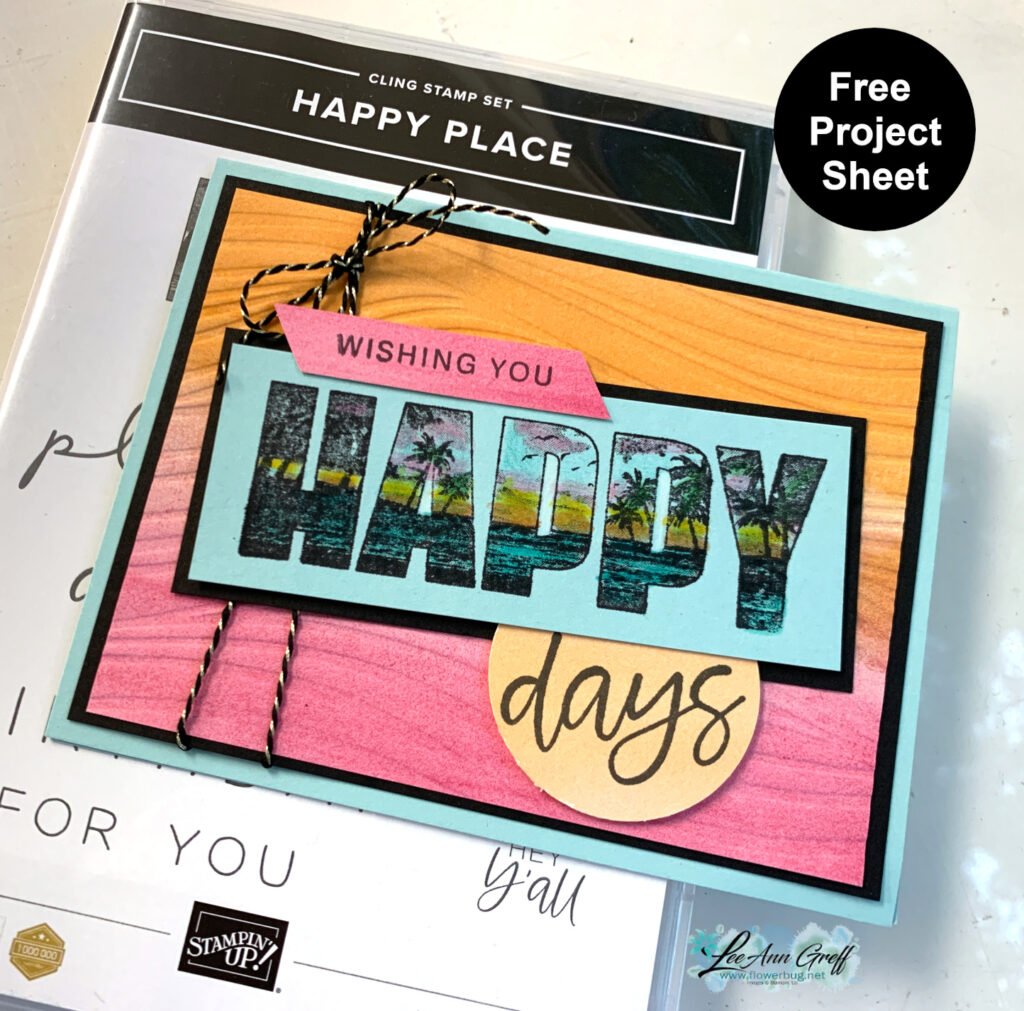
       All online orders in October will receive a free PDF tutorial featuring the Season of Elegance suite

*current host code link:  VGUD6UA7

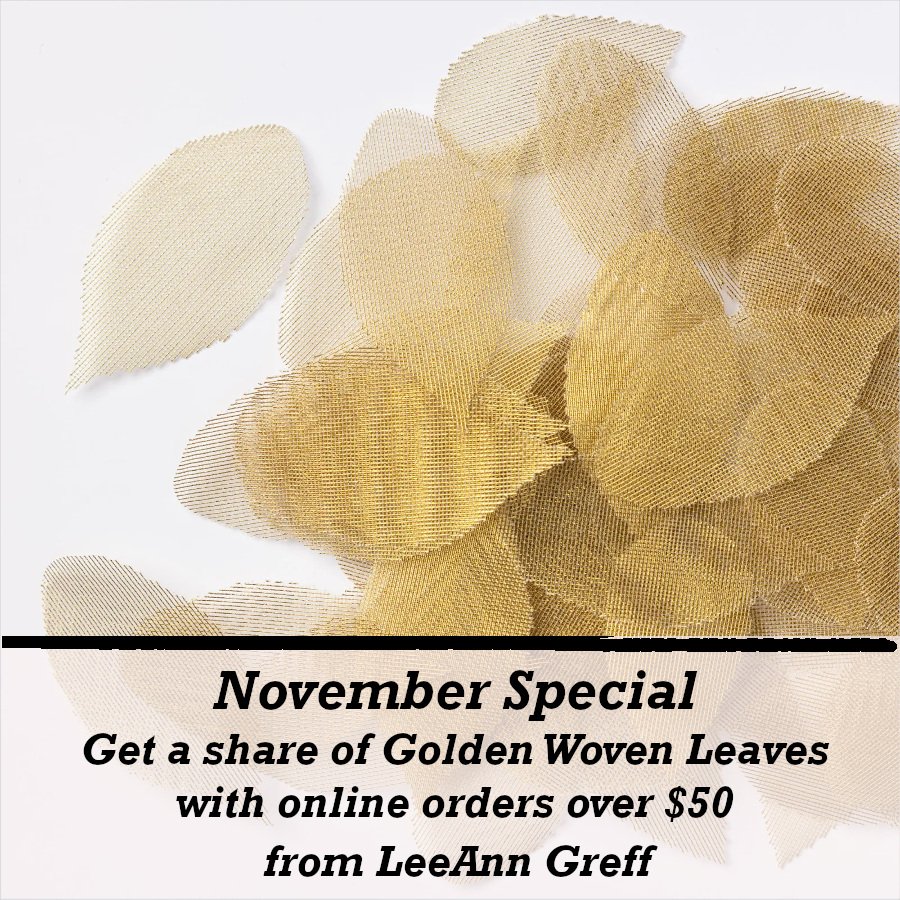
Get a share of Woven Golden Leaves  

All Posts

  • Irresistible Designs emboss resist technique with free project sheet & video


    I shared this card on last week's Live video. I wanted to feature the new Irresistible Designs specialty paper seen here in the new Annual catalog.  It has printed/embossed patterns that are perfect for the emboss resist technique.  

    Which color do you prefer? Are you a yellow or a purple person?  

    My colors include Lemon Lolly, Basic Gray, Smoky Slate and Highland Heather. For inks I chose Lemon Lolly, Smoky Slate and Highland Heather. 

    I cut my strips first, then blended the inks on. I textured the center Smoky Slate layer with the Glass & Gardens embossing folders.  The circle die-cut is from the Spotlight on Nature dies.

    I stamped the greeting twice; first on the circle and again on a small piece of card stock.  I fussy cut the 'Celebrate' out and added it with Stampin' Dimensionals.  This was such an easy card! 

    Here's the free project sheet for these cards: Click on the following link to print or download it.  Download Paper Tags with Irresistible Designs

    I featured the Paper Tags bundle for this card and another one below.  See it here. 

    You can see the other card I shared during the video below.  Besides the emboss resist technique on the diagonal I featured the Joseph's Coat technique.  See it here.  

    Here's the free project sheet with directions, photo, measurements and a supplies list: Download Paper Tags Joseph's Coat card

    Below is the video tutorial for this card and another I shared in the video:

    ~~~

    June Specials:

    The Suite Sale is on! 

    Buy one get 50% the second item – on all available suite products. 

    Shop here or see products below: 

    ~~~

    Last Chance List has been updated!  see it all here. Don't miss out on the deals!

    ~~~

    Earn free card kits in June with online orders! Get 4 kits with a $50 order and orders over $80 receive all 6 cards. All you need are greetings, gems and adhesives to assemble. 

    Order here 

    ~~~

    Get my Celebratory Sips PDF tutorial free with any online order in June!

    Leave a Reply

    Your email address will not be published. Required fields are marked *

  • Paper Tags Joseph’s Coat technique with video tutorial


    I played with the Paper Tags stamp set and the Irresistible Designs Specialty Paper for last week's video.  Here's my favorite project: 

    The colors include Daffodil Delight, Coastal Cabana and Gorgeous Grape in inks.  The card stock is Black, White, Daffodil and Highland Heather. 

    For the colored designer paper panel I started with a piece at 4" X 5" and blended the three inks on it diagonally. This Irresistible specialty paper seen here resists the ink where they printed the resist designs. Once you add ink, it reveals their pattern.  So cool!  

    After I blended the colors on I randomly cut the single panel into 5 pieces on the diagonal. I share how I did this in the video here. I adhered each panel one at a time starting in the corner. You may need to trim one of the pieces slightly to fit the card base.  


    For the inside of the card I stamped the greeting and added color to it with coordinating Blends markers. 

    Here's how you do the Joseph's Coat technique:

    1. Sponge or blend multiple colors onto your neutral cardstock. 
    2. Swipe the embossing buddy over this layer; tap off excess powder. 
    3. Ink the stamp image in Versamark ink; stamp onto the layer. 
    4. Immediately heat emboss with Black embossing powder. 

    Once I had my tag, I trimmed it by hand (there are coordinating dies) and added a few extra pieces to lengthen the tag and add more layers. I finished it off with a bow. 

    Here's the free project sheet with directions, photo, measurements and a supplies list: Download Paper Tags Joseph's Coat card

    Below is the video tutorial for this card and another I shared in the video:

    ~~~

    June Specials:

    The Suite Sale is on! 

    Buy one get 50% the second item – on all available suite products. 

    Shop here or see products below: 

    ~~~

    Last Chance List has been updated!  see it all here. Don't miss out on the deals!

    ~~~

    Earn free card kits in June with online orders! Get 4 kits with a $50 order and orders over $80 receive all 6 cards. All you need are greetings, gems and adhesives to assemble. 

    Order here 

    ~~~

    Get my Celebratory Sips PDF tutorial free with any online order in June!

    Leave a Reply

    Your email address will not be published. Required fields are marked *

  • Awesome fun fold swaps by the Flowerbug’s


    Today I'm sharing two neat fun fold cards made by a few of my Flowerbug's for a recent card swap. Our them was to use a new 2025-27 In Color and make it a fun fold.  

    First is a card made by Joan who used the new Online Exclusive set 'It's Okay' seen here.  

    Her In Color is Strawberry Slush and she loves to color; as you can see!  It's a triple fold card; here's how the first panel opens:

    Here are her measurements:

    • card base 4 1/4" X 5 1/2"
    • White opening panel 8" X 5 1/4" scored at 4"
    • inside DSP – large right panel is 3 3/4" X 5", greeting strip 3 7/8" X 1", back of the front panel 3 1/4" X 2 1/4"
    • front white panel 3" X 4 1/4"
    • Front Strawberry panel 3" X 4 1/4"
    • side strip to connect panels 3" X 1" scored in half

    Isn't her coloring gorgeous?  That Bokeh DSP is perfect here!  

    ~~~

    Candace made this next card – a double box card! 

    She used the You are Remarkable stamp set seen here.  It's a great 2-step set with lots of possibilities.  Her colors include Strawberry Slush, Black, Gray and White.  The Designer Paper is the Botanical Textures; also in our Online Store here. 

    Here are her measurements:

    • card base 8 1/4" X 5 1/2" score at 1", 2", 3" & 4"
    • Strawberry Slush textured layers – 3 at 7/8" X 5 1/4", 1 at 7/8" X 3 7/8"
    • White front 2 7/8" X 3 7/8", back is 3 3/4" X 5"
    • Black 2nd box layer 4 1/4" X 4" scored at 3" & 4"
    • DSP 3 1/8" X 5 3/8" 

    ~~~

    June Specials:

    The Suite Sale is on! 

    Buy one get 50% the second item – on all available suite products. 

    Shop here or see products below: 

    ~~~

    Last Chance List has been updated!  see it all here. Don't miss out on the deals!

    ~~~

    Earn free card kits in June with online orders! Get 4 kits with a $50 order and orders over $80 receive all 6 cards. All you need are greetings, gems and adhesives to assemble. 

    Order here 

    ~~~

    Get my Celebratory Sips PDF tutorial free with any online order in June!

    Leave a Reply

    Your email address will not be published. Required fields are marked *


Notice: LeeAnn Greff, Independent Stampin’ Up! Demonstrator, Manager. The content of this website is my sole responsibility as an independent Stampin’ Up! demonstrator and the use of, and content of, the classes, services, or products offered on this website is not endorsed by Stampin’ Up! Copyright 2025