/


Latest Post

The Lovely Lavender Paper Pumpkin kit is stunning! *get a pre-paid subscription & earn free SAB choices!


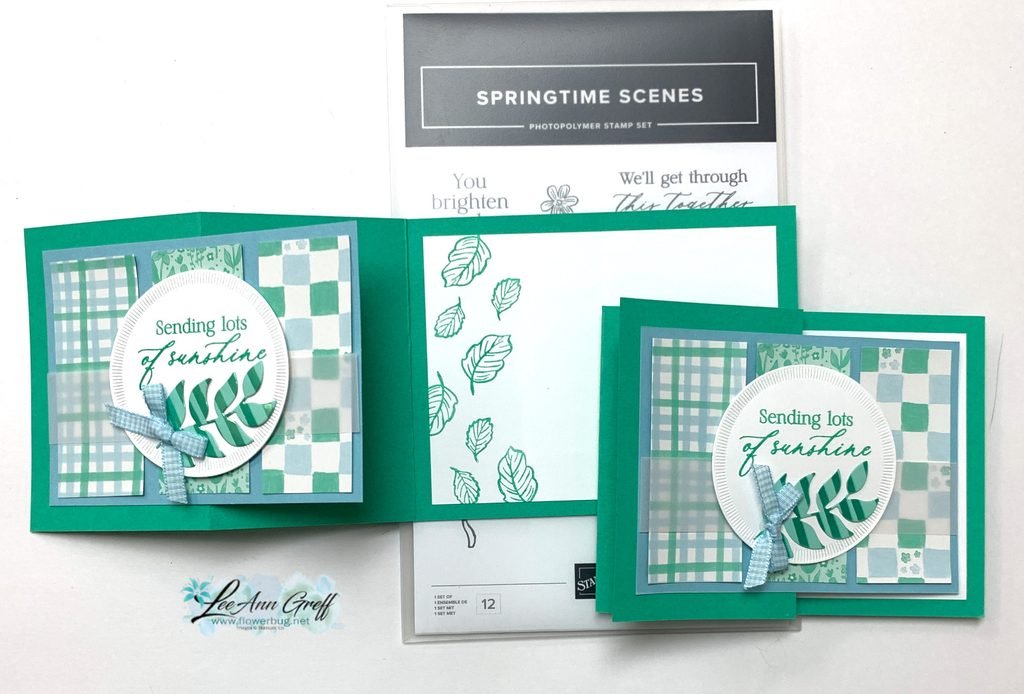
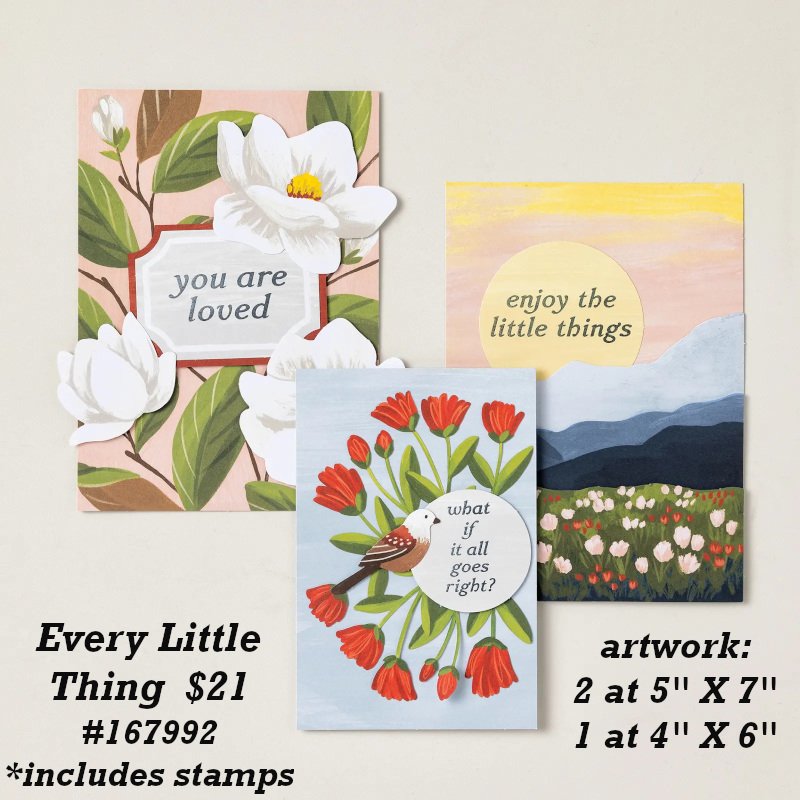
I received my January Paper Pumpkin kit yesterday and for the first time ever, I sat down and finished the entire kit!  Here are my cards.  


The original kit makes 8 cards and 4 tags.  I added 4 card bases and a few extra coordinating cardstock strips and ended up with 12 cards!  They released the add on kit for the Lovely Lavender card kit today; it's just $11.50 and you can see it here.  It comes with everything but the stamp set & ink spot!  

*I love these cards so much I'm featuring the add-on kit in a card kit to go in February!  

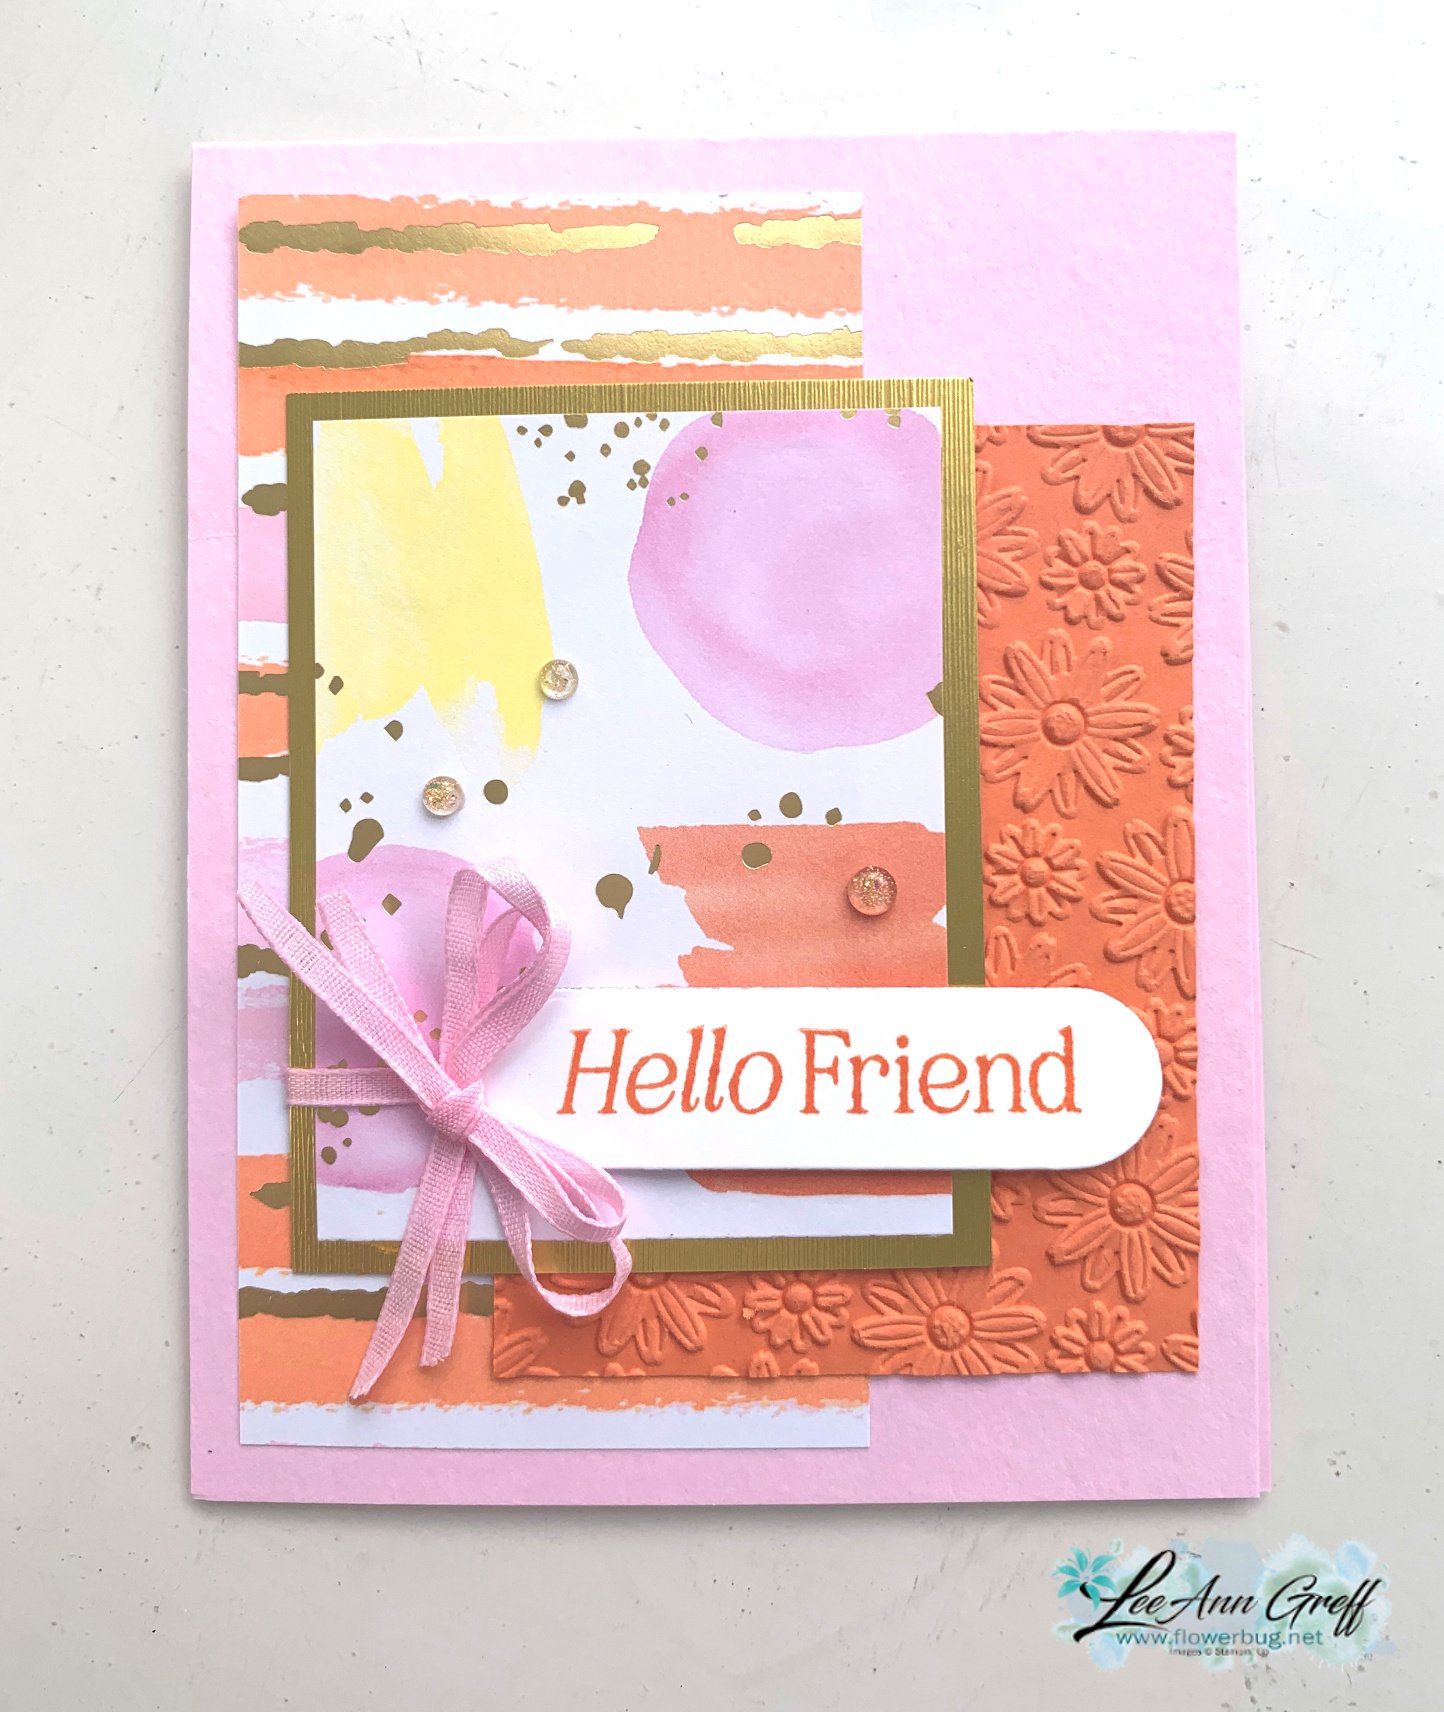
Here's another alternative idea I made with the kit: 

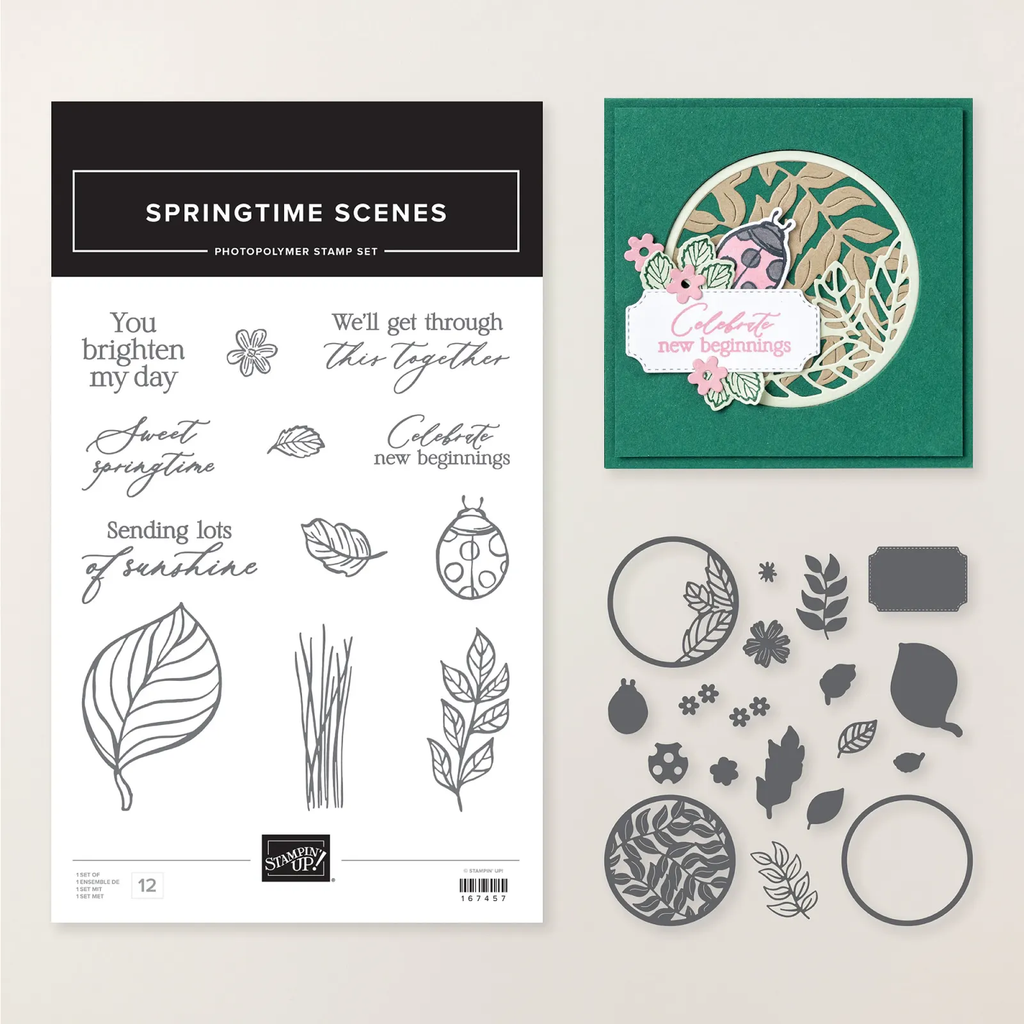
I used our Deckled Circle dies and the new Love of Spring 'add-on' dies for Paper Pumpkin subscribers.  The 'love' and the label die-cut are from these dies!  These dies can be seen here and are just $12.

I textured the white circle with the Exposed Brick embossing folder and added a 3/4" Garden Green strip to the Highland Heather card base. The twine is from the kit and the gems are our new Fine Shimmer Purple gems. 


If you aren't a Paper Pumpkin subscriber I want to consider it. The kits are worlds better than they were in the past. I love receiving one every month and having easy creative projects I can do when I have free time.  No planning or prep; just creative fun! 

Here are your choices when subscribing to Paper Pumpkin: 

  1. Purchase a 1, 3, 6 or 12 month subscription here.  *get free Sale-a-Bration choices through February!!
  2. Subscribe to receive a kit each month here.

I highly recommend getting the 12 month pre-paid choice.  When you do, if you add just $57 more to the 12-month subscription, you'll get 2 more for a total of 6 ($50) SAB choices + $36 hostess rewards + extra $30 hostess rewards! It's a pretty good deal!

Did you know that you are in charge of which kits you receive?  Once you purchase a pre-paid subscription or subscribe you can opt out of any kit you do not want. Stampin' Up! shares what's coming up each month so you can decide if you want it or not.  You have complete control!

*Plus when you subscribe with me, LeeAnn Greff, you'll qualify for a FREE tutorial each month.

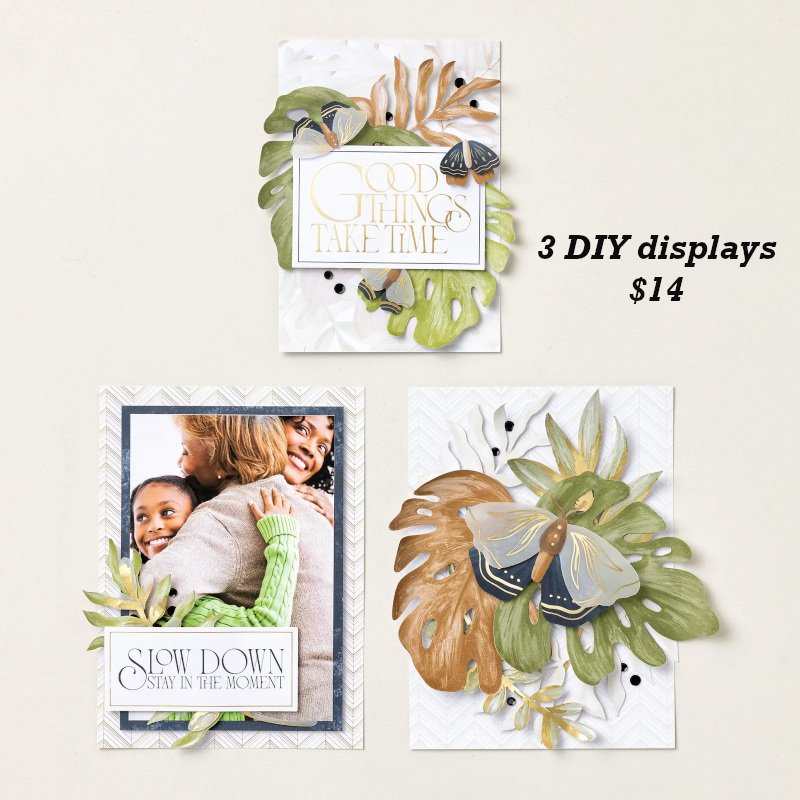
  • This tutorial PDF is filled with 10 or more alternate ideas for additional projects you can make with each month's kit (includes photos & instructions) – making your kit go a lot further!  *see example photo below

~~~

January Specials: 

Earn FREE products with your Stampin' Up! purchase during

Sale-a-Bration! *click here


It's the best time to get a pre-paid Sale-a-Bration subscription

& earn free Sale-a-Bration products!  


~~~

*current host code link: QS26PCUJ or M7NAN4HT

Get a free embellishment from the 2024 Spring catalog

with an online order over $55


All Posts

  • Save time on finishing the inside of your cards with this trick!


    I’m excited to share these stunning snowflake cards with you today. We made them at my card clubs in December.
    Living in North Dakota, we usually see a lot of snow in the winter so these cards are great for many occasions.

    I used the Snowflake Kisses bundle seen here. It’s filled with wonderful greeting images and lots of snowflake dies.

    My colors include Pretty Peacock with Cloud Cover and Gorgeous Grape with Fresh Freesia. I think blues & purples are perfect for snowflakes. We used a blending brush to add more color to the large snowflake die-cut.

    After creating the cards above I thought I’d try combining the colors on the large die-cut.

    Isn’t that pretty? I just love combining Gorgeous Grape with Pretty Peacock on the Fresh Freesia die-cut. Blending Brushes make this a breeze!

    Look how we finished the inside.

    I wanted to add snowflakes to the inside of the card but didn’t want to die-cut tons of them for my club gals. So I came up with creating a snowflake stencil.
    I cut multiple snowflakes from a piece of card stock and we used Blending Brushes to add pretty snowflakes to our White layer. I truly love the effect it gives.

    If you’d like the free project sheet for this card click here. You can download or print it.

    See how this card is made in the video below. I also shared a second Snowflake Kisses fun fold card.

    *You’ll receive a PDF with multiple projects featuring this product
    after the 20th of the month.
    ~~~

    The Last Chance list has been updated!
    Click here to shop.

    Get a free PDF tutorial with any online order from me in December!

    Leave a Reply

    Your email address will not be published. Required fields are marked *

  • The new Swirled Designs bundle is super fun!


    I had to point you to the new Swirled Designs bundle in our newest Online Exclusives release. It has the neatest sets of dies and stamps in it!

    See what I mean? The extra layers on the dies make them super playful and the stamps will be great for stamping backgrounds. Basic shapes like ovals and stars are something we’ll always use for multiple occasions.

    Look closer at this card made by Stampin’ Up! I love when we get new product that’s unique and we haven’t seen before.

    See what I mean? You can use the stamps to add the details to the inside of the die-cut shapes like above. I just love this card! See this bundle here.

    *You’ll receive a PDF with multiple projects featuring this product
    after the 20th of the month.
    ~~~

    The Last Chance list has been updated!
    Click here to shop.

    Get a free PDF tutorial with any online order from me in December!

    Leave a Reply

    Your email address will not be published. Required fields are marked *

  • The Branching Out bundle is retiring! Check out this fun fold card with video tutorial!


    We made this card earlier this fall and I realize I haven’t shared it with you yet. I also made a video too – scroll down….

    The colors include Pecan Pie with Crumb Cake, Early Espresso & Shaded Spruce. I used various wood-like designer series papers for the side panel. See how it has a double fold?

    Also notice the ‘white’ snow on the pine boughs plus snow in the background. You can achieve that without heat embossing. We used White Craft ink and stamped over the pine. Easy & a fun accent!

    The stamp set is retiring but the dies are not. The bundle is on the last chance list now. Click here to see it.
    It’s been one of my favorite products in our Holiday catalog this year. It’s timeless and can be used for fall, winter or Christmas!

    Besides the video tutorial here’s a free project sheet for you too. Click here to download or print it.

    I’m glad the dies are not retiring but I have to say the stamp set is among my top 5 favorites!

    Below is the video tutorial which gives you tips on stamping the branches with the pines and pine cones.

    *You’ll receive a PDF with multiple projects featuring this product
    after the 20th of the month.
    ~~~

    The Last Chance list has been updated!
    Click here to shop.

    Get a free PDF tutorial with any online order from me in December!

    Leave a Reply

    Your email address will not be published. Required fields are marked *


Notice: LeeAnn Greff, Independent Stampin’ Up! Demonstrator, Manager. The content of this website is my sole responsibility as an independent Stampin’ Up! demonstrator and the use of, and content of, the classes, services, or products offered on this website is not endorsed by Stampin’ Up! Copyright 2025