The Color Coach is Stampin' Up!'s version of the color wheel and is based on color theory—the combination of art and science that determines what colors look good together.
One side of the Color Coach has all current Stampin’ Up! colors (except Neutrals) laid out with a spinning wheel in the center. This center wheel gives you monochromatic, complementary, analogous, and triadic information about our colors. The back explains each of these concepts, plus our range of neutral colors.
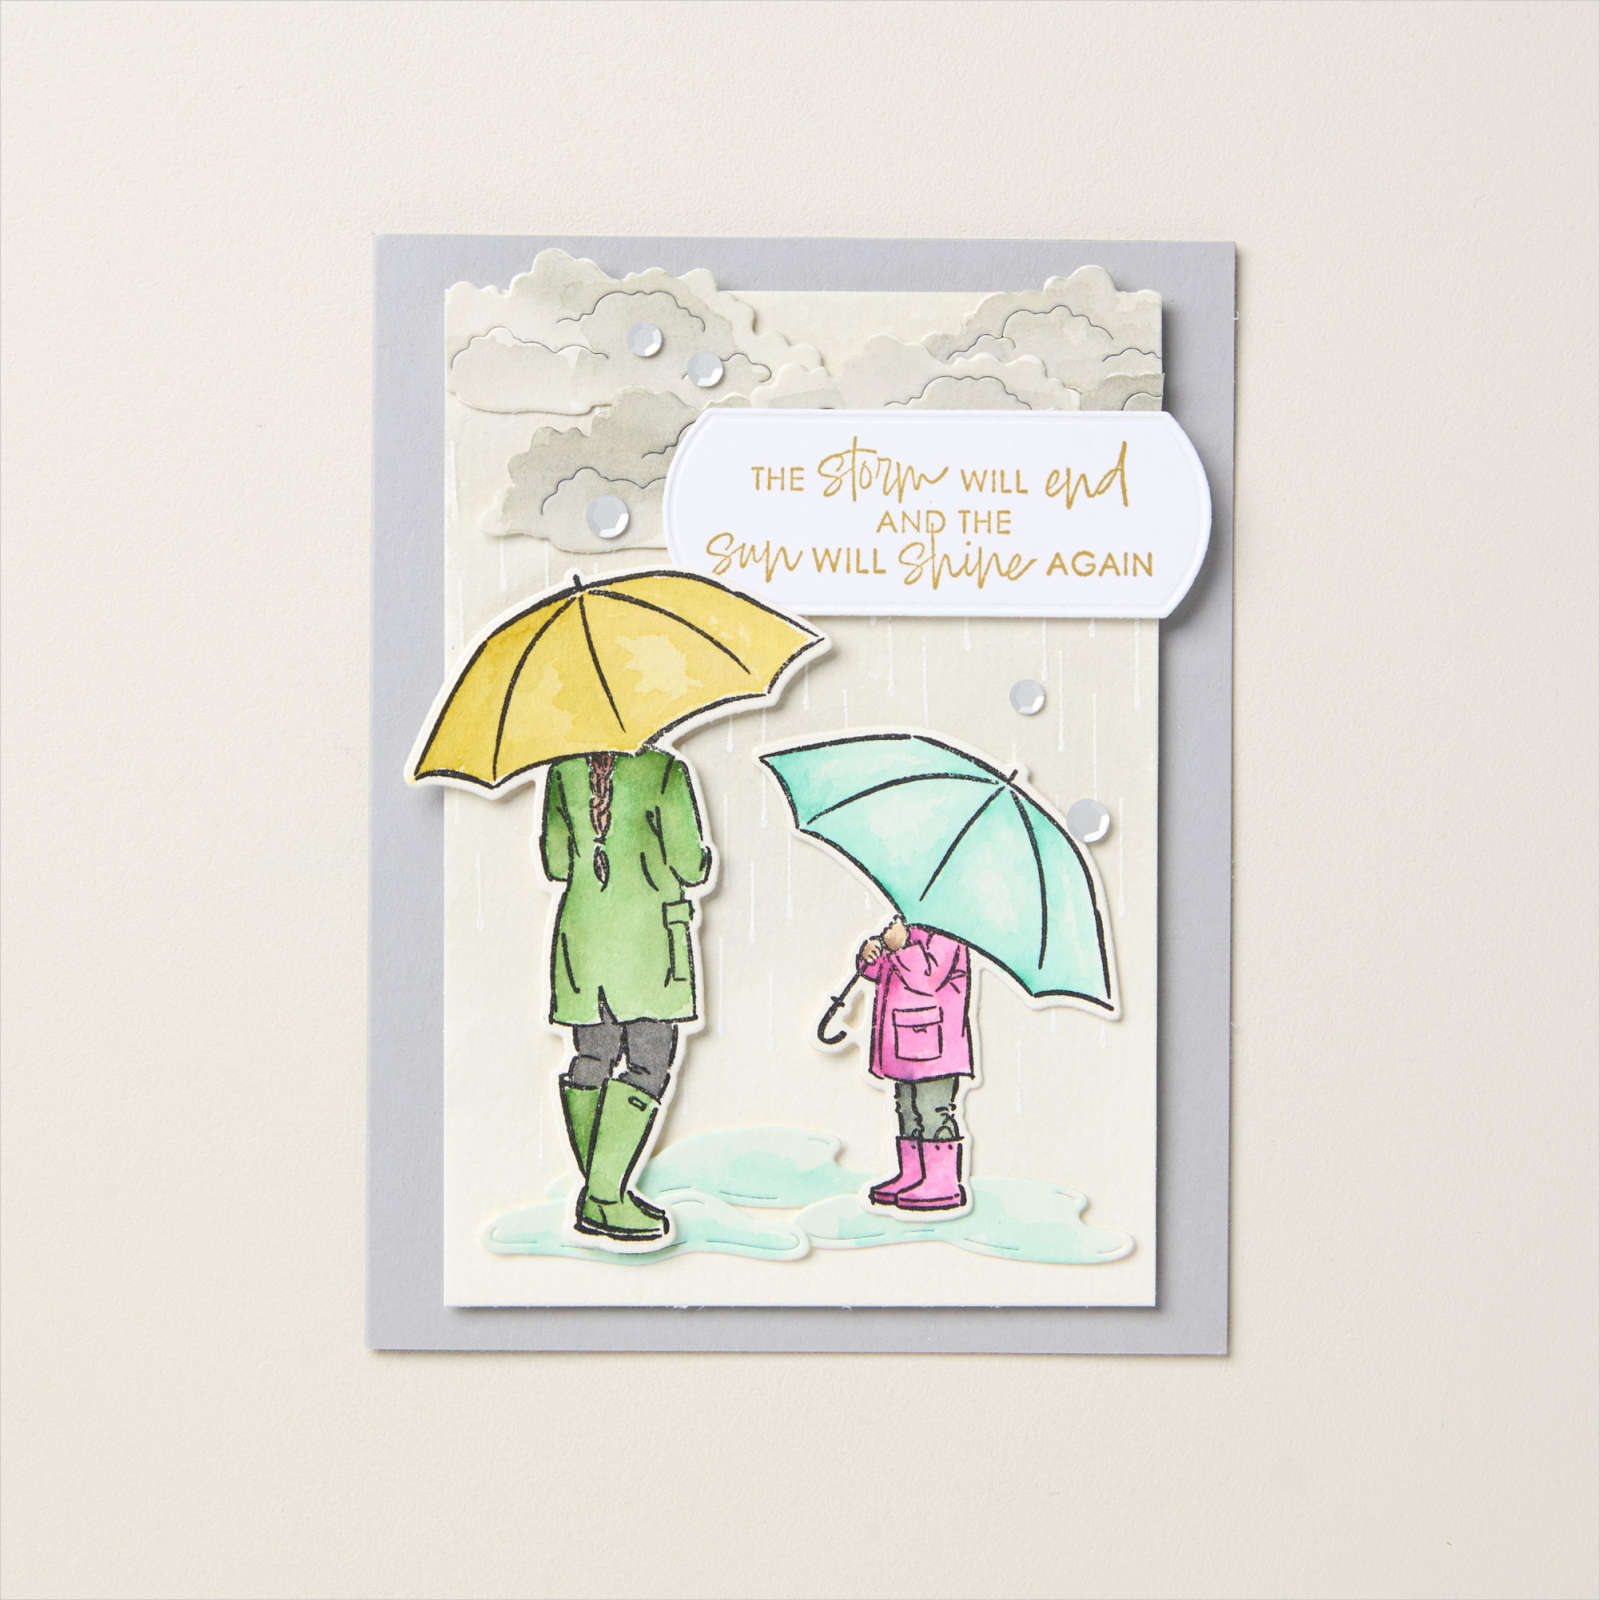
For example who would think Pretty Peacock and Pumpkin Pie would go together so well? They're on the edge of complimentary colors but work wonderfully!
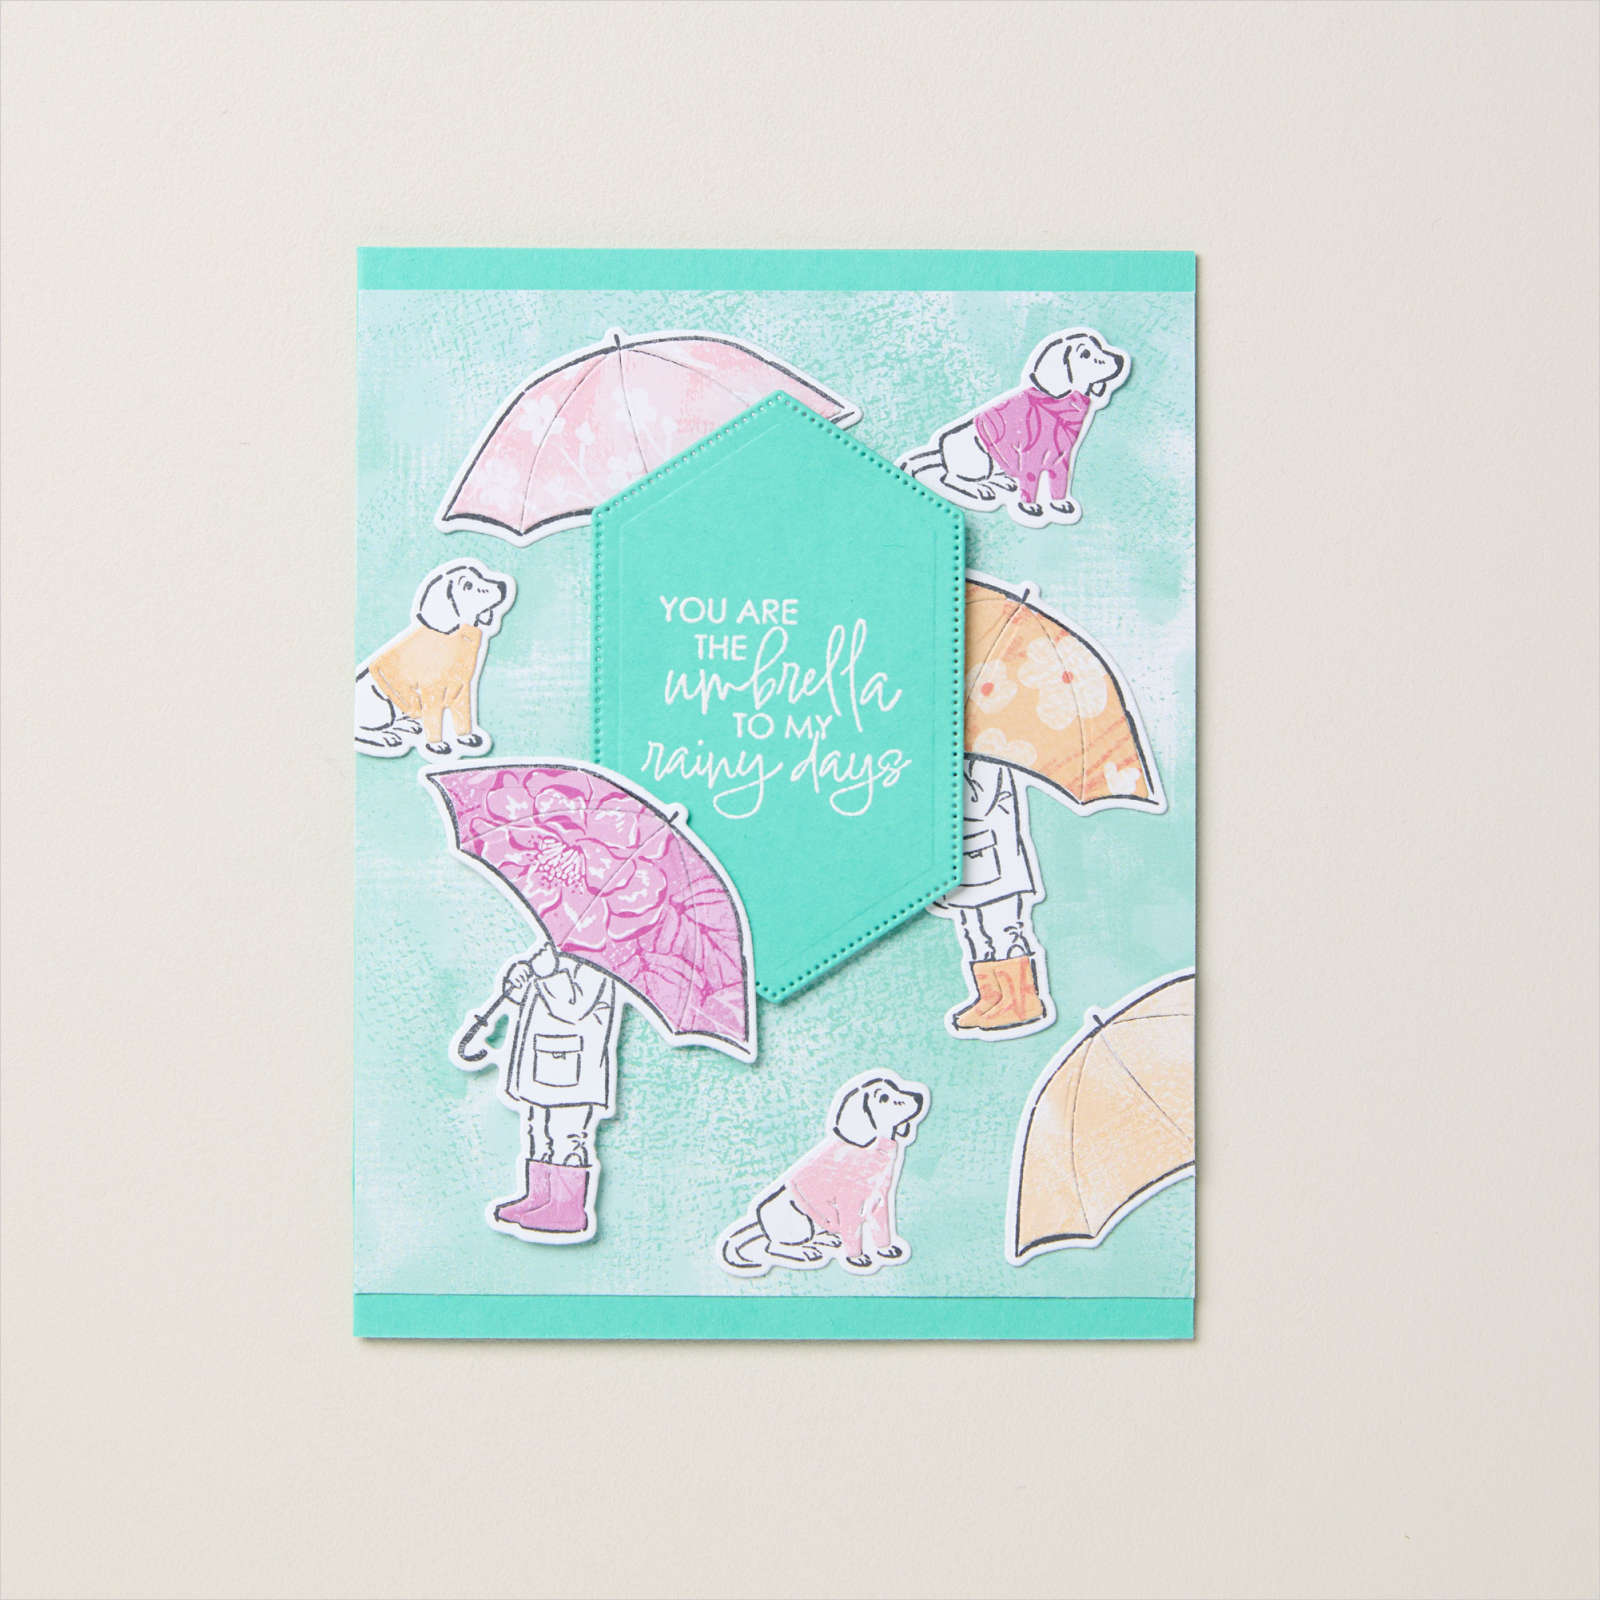
Below is a sample of an Analogous color combination. SU created designer papers with shades of similar colors using our Full of Life DSP in the Annual Catalog.
Easy stack & cut layout with Regal Winter with free project sheet & video
This is one of the cards I shared on last week's Live video. I chose to feature the beautiful Regal Winter suite seen here. It's new from our 2024 Holiday catalog by Stampin' Up!
Isn't the color combination pretty? It's Blueberry Bushel with Wild Wheat & White. It's interesting that I chose the color combo from the pretty Regal Winter designer series paper but afterwards I realized they are complimentary colors. Check out pages 132-133 in the 2024-25 Annual Catalog. Blues & purple are complimentary colors with yellow hues. I explain how to do this this in my video seen here.
If you have trouble combining colors together start with two main colors. Using our designer papers as a starting point can make it quite easy. I tend to grab the card stock and hold them next to each other. I can usually tell if they work well. But if you can't try using our color wheel information on the pages above.
I stamped the leaf image in Wild Wheat and the blue flower is stamped & die-cut. Next I colored the white areas with a Wild Wheat Blends marker. Love the golden highlights!
How did I cut the three pieces of designer paper for this card? I explain in the video below and in the tutorial above. But basically you stack 3 pieces of designer paper measuring 3 3/4" X 5" and cut into 3 pieces. It's incredibly gorgeous designer paper!
As long as you cut them all together it does not matter where your cuts are. You'll get 3 card fronts from the pieces you'll get. These are layered onto another 4" X 5 1/4" piece of card stock.
Below is the video tutorial for this and one other card. I hope you watch it AND follow me on my YouTube channel too!
Holiday Catalog Launch Party with lots of new product displays
My new Holiday Catalog open house event went wonderfully on Wednesday; it was a big smash with lots of people attending. I was ready with fabulous displays and yummy food. Of course I forgot to take photos of the food but I did remember to grab some of the displays.
2 Incredible new kits – Christmas ornaments & a Card keeper box & cards
I love that Stampin' Up! released 2 new kits at the beginning of each month. Kits by Stampin’ Up! are perfect for new crafters, busy crafters, or crafters who want quick and easy projects. All-inclusive project kits have everything you need in one box!
Kit includes: * Predesigned projects * Step-by-step instructions * Precut pieces (No prep work! Get right to crafting) * Makes 10 cards: 5 each of 2 designs, and 1 card container (includes lid) * Folded card size: 5-1/2" x 4-1/4" (14 x 10.8 cm) * Card container size: Approx. 8-1/4" x 6-1/4" x 6"
Notice: LeeAnn Greff, Independent Stampin’ Up! Demonstrator, Manager. The content of this website is my sole responsibility as an independent Stampin’ Up! demonstrator and the use of, and content of, the classes, services, or products offered on this website is not endorsed by Stampin’ Up! Copyright 2025
Leave a Reply