/


Latest Post

Sunshiny Happiest Day card with measurements plus more ideas in the video


I had a blast creating with the Happiest Day stamp set. I shared two more cards in my previous blog posts. 

Today's project is what I'm calling a 'Sunshiny' card. 

I chose my color scheme from the Full of Life designer paper I used on the background – Petunia Pop, Balmy blue & Summer Sun.  Of course I added Black for the contrast I like.  

I thought the Postage Dies were a great way to layer the elements here.  Below is the inside view of this card:

I added a zig-zag of the Iridescent Striped ribbon under the greeting for the 'glitter' effect. 

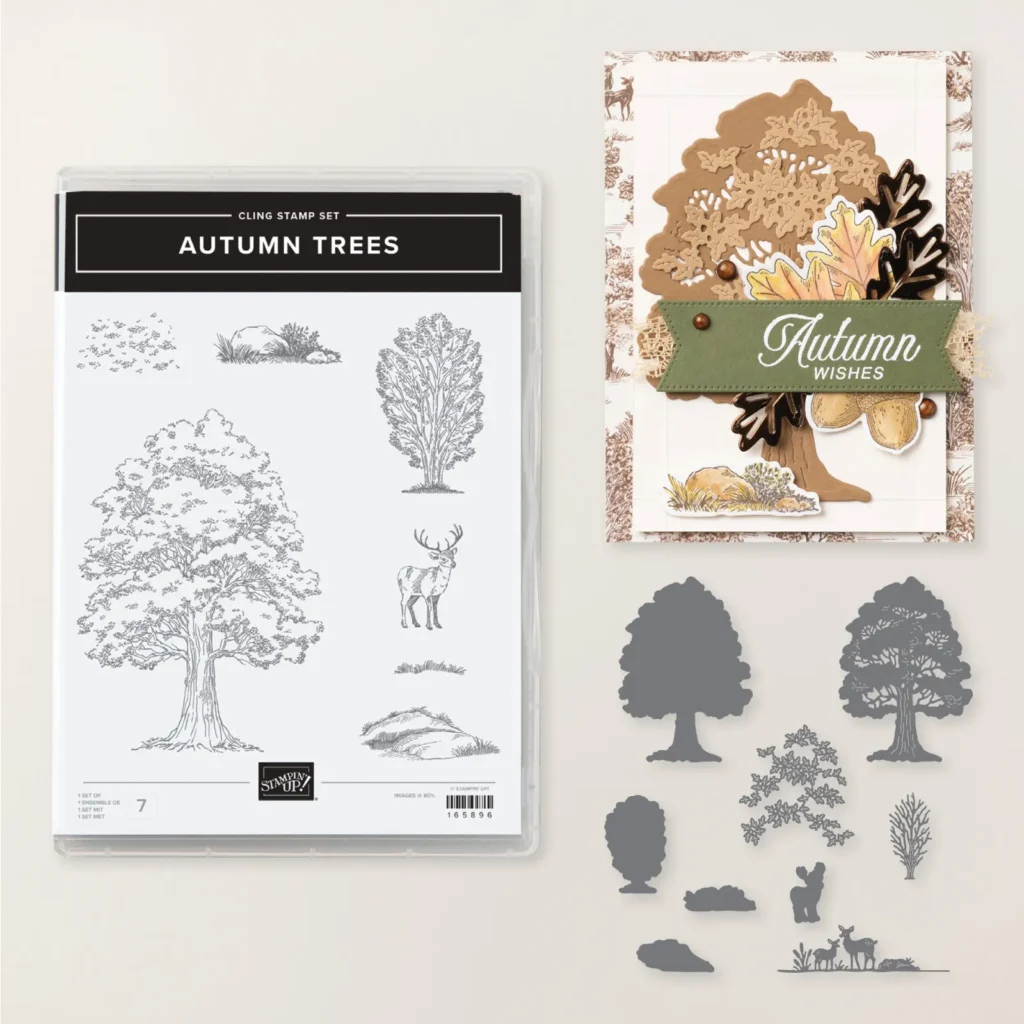
See this adorable Happiest Day stamp set here. 

Here are the measurements; but you can see the other two cards I made on the video here. 

Measurements:

  • Card base 8 1/2" X 5 1/2" score/fold at 4 1/4"
  • White postage die-cuts 1 1/2" X 2 3/8", large is 3 1/4" X 4 1/2"
  • Black 1 5/8" X 2 1/2", large is 3 3/8" X 4 5/8"
  • DSP – 4" X 5 1/4"

Check out the video below; I share two more sweet cards for the Happiest Day stamp set. 

~~~

October Specials:

*current host code link: 3U6NZJFZ

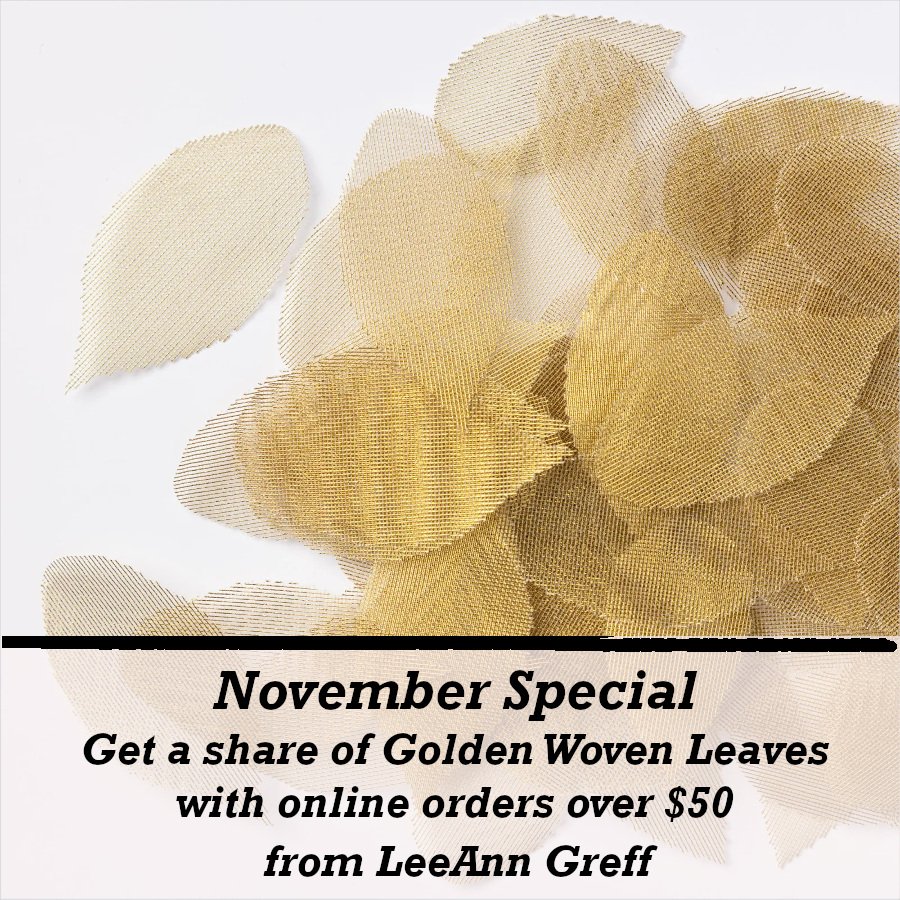
Get a share of Woven Golden Leaves  


~~~

Get an extra $30 in your Starter kit in October!  Click here to read more

~~~

The Kits Collection is on sale!  Check it out here.

~~~

       All online orders in October will receive a free PDF tutorial featuring the Season of Elegance suite

All Posts

  • Colorful Autumn Trees card with a baby wipe technique


    Fall is in the air here in North Dakota.  Look at this gorgeous & colorful autumn tree!  

    It’s made with the new Autumn Trees bundle seen here.  Here’s how I did the tree:

    1. I stamped the tree onto Crumb Cake card stock using Crumb Cake ink.
    2. Then die-cut it with the tree die from the bundle. 
    3. Next I inked up a baby wipe with fall colors of Garden Green, Crushed Curry, Pumpkin Pie and Cajun Craze.  I rolled it up and pressed it onto the tree die-cut repeatedly. 
    4. Lastly I used a Crumb Cake Blends marker to add more detail to the trunk.  

    I used the Birch Wood embossing folder on the Vanilla background and lightly blended Cajun Craze ink over it.  The greeting is from the More Messages bundle. 

    Thanks for stopping in today!  

    ~~~

    ~~~

      To see all of the new Online items click here.  Or download & save the Download Online Exclusives flyer 

    Get a free project tutorial with any online order in September! 

    ~~~

    Leave a Reply

    Your email address will not be published. Required fields are marked *

  • Stack, cut & shuffle card with Gathering Together DSP – free project sheet too!


    Here’s another beautiful autumn themed card I shared on last week’s Live video.  

    Have you ever made a triple stack, cut & shuffle card?  It’s a great way to make multiples of a card layout and use your designer paper.  Simply cut three different patterns of designer paper at 3 3/4″ X 5″.  Stack them together and cut all at the same time.  This way they’ll all fit together well once you shuffle them into 3 piles. What’s neat is that you don’t really have to measure your cuts! Watch the video below to see how it’s done.

    The designer paper here is the new Gathering Together seen here. It’s gorgeous with Champagne foil accents. This paper is part of our Online Exclusives.  To see all of these just released new items click here.  Or download & save the Download Online Exclusives flyer 

    My colors include Early Espresso, Crushed Curry and Cajun Craze.  The greeting and stamped die-cuts are from the Gathering Moments bundle seen here. The greeting die-cuts are from the Traditional Labels dies seen here. They’re my new favorite set of label dies!  

    I created a free project sheet for this card.  Click on the following link to print or download it.  Download Gathering Moments Stack & Shuffle card

    Below is the video tutorial for this card and a neat fun fold card.  I hope you try making these stack, cut & shuffle cards! 

    ~~~

    ~~~

    ~~~

      To see all of the new Online items click here.  Or download & save the Download Online Exclusives flyer 

    Get a free project tutorial with any online order in September! 

    Leave a Reply

    Your email address will not be published. Required fields are marked *

  • Center pop-out Fun fold card with video & free project sheet


    This fun fold card I’m sharing today is super fun to open and to make.  It looks like a normal card from this photo: 

    But look how it opens!  The center pops out for a nice surprise.  

    My colors include Cajun Craze, Early Espresso & Basic Beige.  The designer paper is from the Gathering Together pack seen here.  

    This designer paper is part of our Online Exclusives.  To see all of these new items click here.  Or download & save the Download Online Exclusives flyer 

    I used the Branching Out stamp set for the greeting and the fabulous new Traditional Labels dies seen here.  

    In the photo below you can see the scored bridge strip that pops out the center.  To understand how to assemble this card please watch the video below.  It will make sense then!  

    Here is the free project sheet with measurements.  Click on the following link to print or download it. Download Gathering Moments center pop-up card 

    Below is the video tutorial for this card and one more.  I hope you try making one! 

    ~~~

    ~~~

      To see all of the new Online items click here.  Or download & save the Download Online Exclusives flyer 

    Get a free project tutorial with any online order in September! 

    Leave a Reply

    Your email address will not be published. Required fields are marked *


Notice: LeeAnn Greff, Independent Stampin’ Up! Demonstrator, Manager. The content of this website is my sole responsibility as an independent Stampin’ Up! demonstrator and the use of, and content of, the classes, services, or products offered on this website is not endorsed by Stampin’ Up! Copyright 2025