Most of us have lots of feminine, pretty or cute cards but when we need a card for the men in our life we usually have to scramble!
Well I've got a quick solution for you. Use the Come Sail Away Memories & More cards plus the Cards & Envelopes. You can either purchase my pre-cut 12 cards kit to go with pdf tutorial here or just the tutorial alone here.
It includes $18 in products including 1/2 pkg of Come Sail Away Memories & More cards pack and Memories & More cards and envelopes plus a pre-cut kit needed to complete your cards. It also includes one package of Basic Brads, two spools of twine (Navy & Navy/Sahara Sand) and a few Sail Away trinkets.
I have a limited supply of this kit on hand because many of the products are retiring. Many of these items are on sale right now on the Last Chance list here.
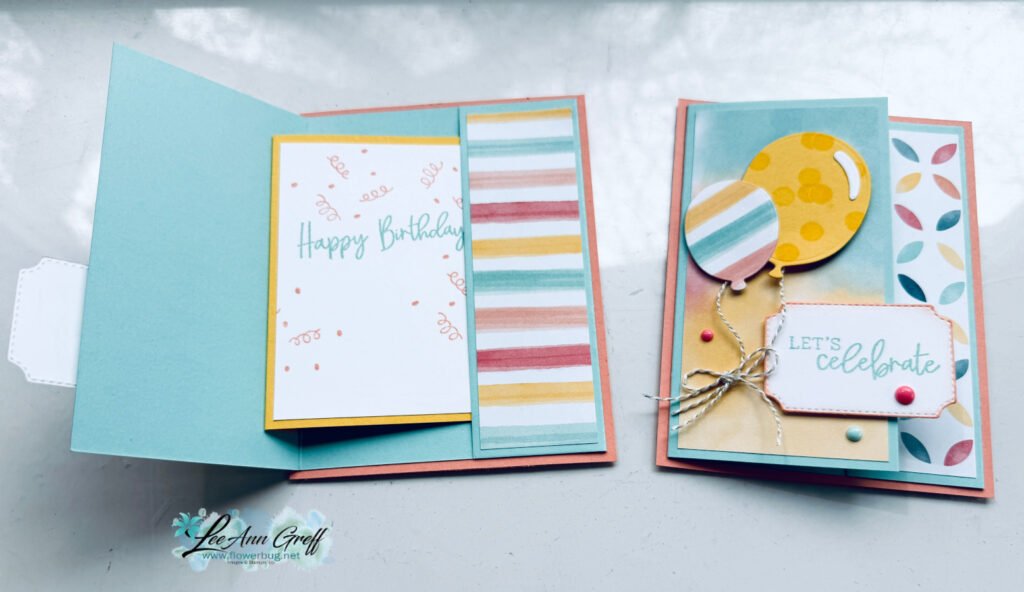
Here are two examples of the 12 cards in this kit.


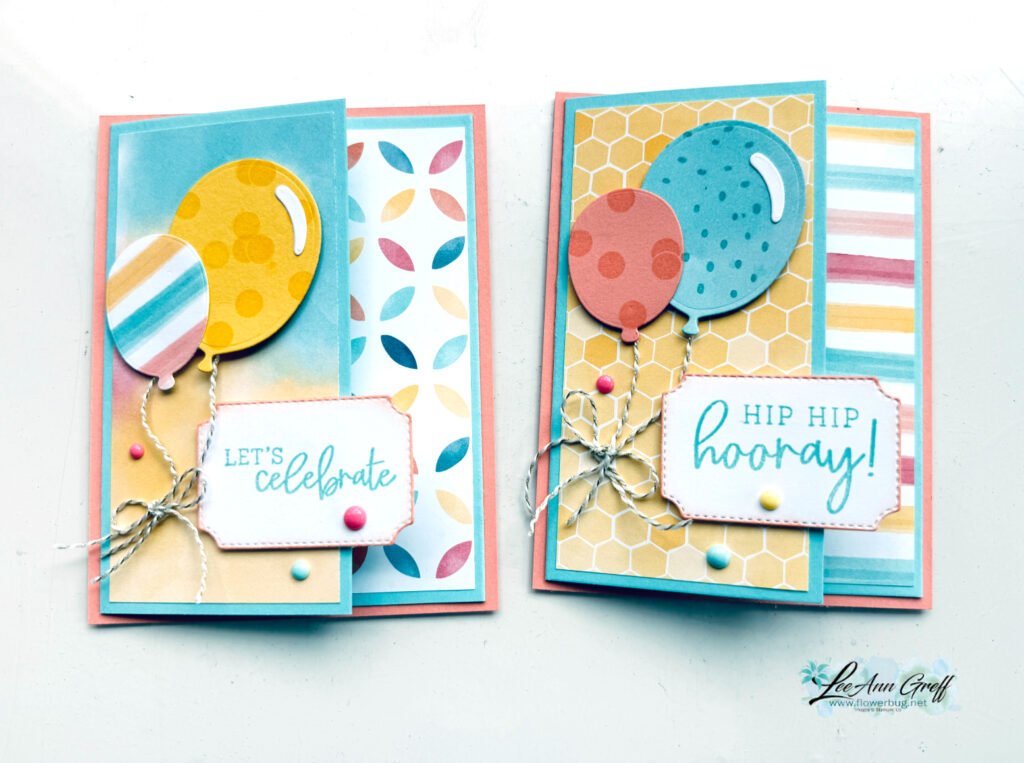
Below you can see most of the 12 cards in the pre-cut kit. Supplies are limited! Purchase it here by May 17th.

~~~
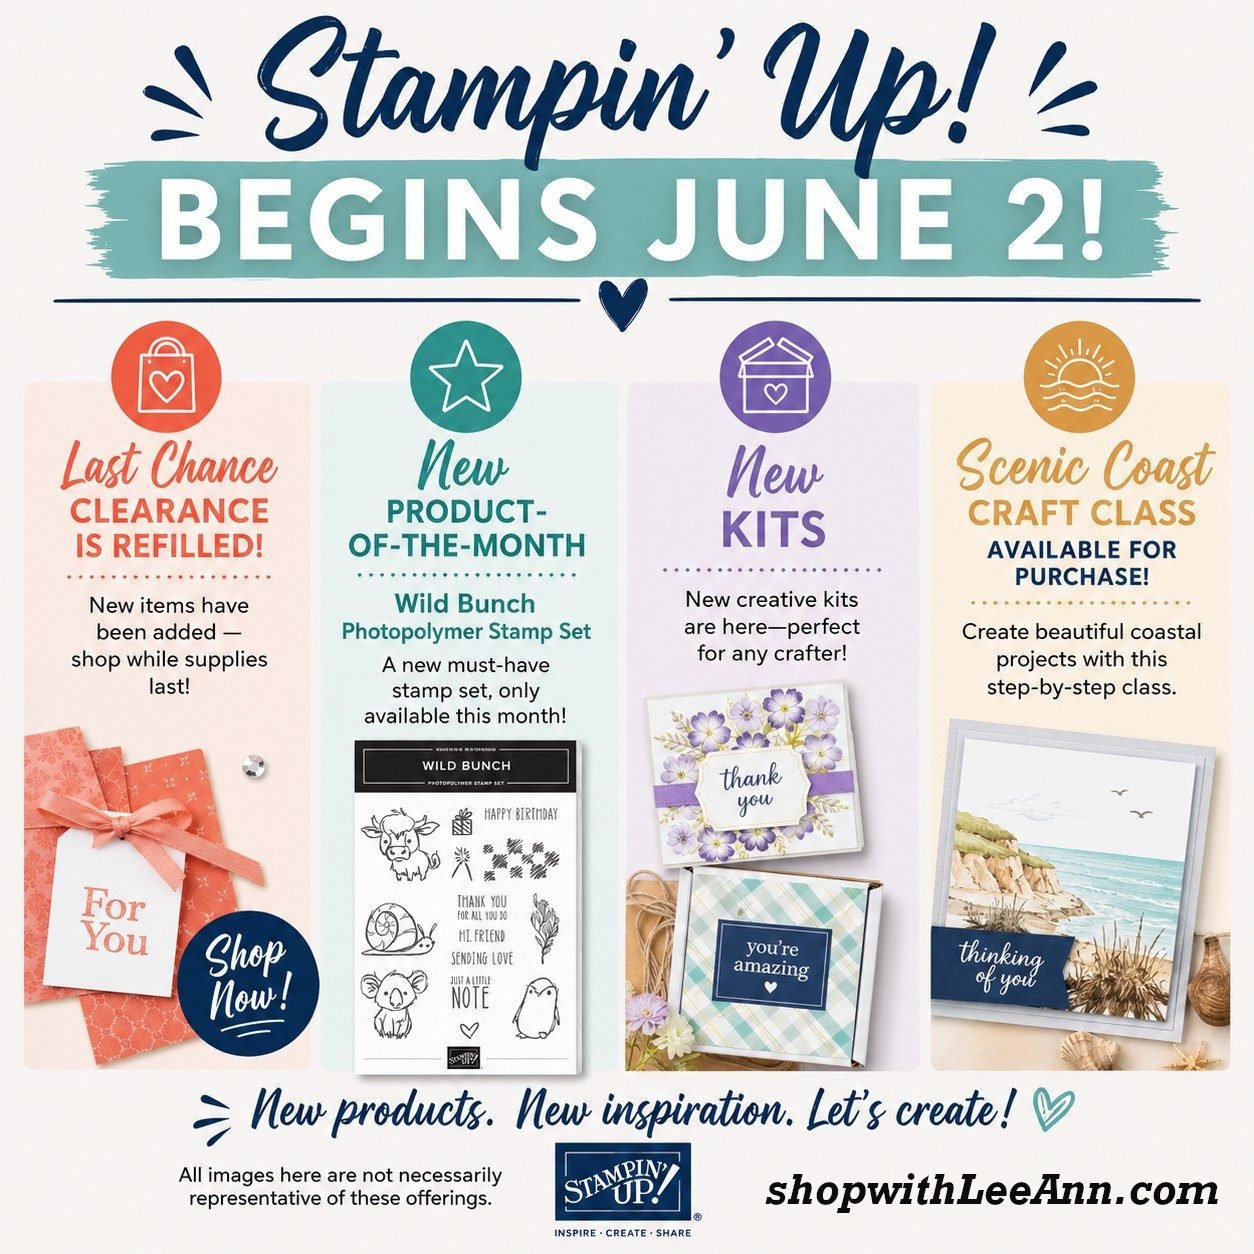
May Specials

Get my 'ALL Fun Fold cards tutorial' free with any online order.
It includes directions, photos and measurements for 18 fancy card folds!

May Host code is EYDJ4MQN
Get a free pkg. of Noble Peacock rhinestones from me if your order is over $55.


Leave a Reply