/


Latest Post

Still more incredible Fun Fold Team swap cards!


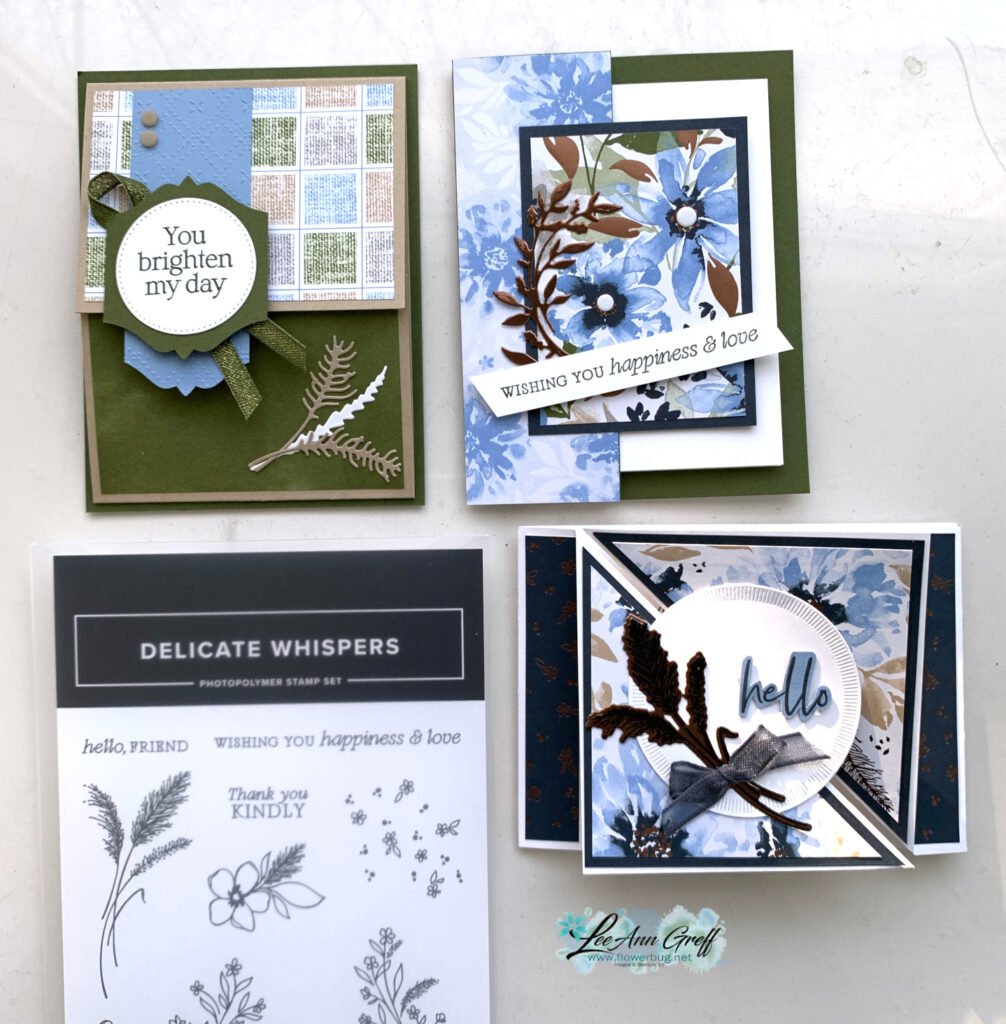
We had sooo many fabulous fancy fold cards at our February Team swap!  I've been sharing a few each day this past week. Please look back to see them all; I'm sharing measurements for each one!

Jacki made this stunning Pinwheel Tower card featuring the Nature's Sweetness Suite: 

Her colors include White, Pebbled Path and bit of Gold foil & Vellum. She also added gold pearls and Gold Elegant Trim. The texture is made with the Exposed Brick embossing folder.  The greeting is from the Charming Sentiments bundle.

See the Nature's Sweetness suite here; it's huge & filled with beautiful stamps, textures & die-cuts. 

The picture doesn't do it justice; it's simply stunning! If you haven't made one and want to know how check out this video I shared a while back. 

Measurements:

  • Center box is 3 1/4" X 4 1/4"; scored at 1/4", 1", 1 3/4", 2 1/2" 
  • 4 pieces at 2" tall X 4 1/4" 
  • Designer paper layers are 1 1/8" & 1 7/8" – 2 each of 2 patterns

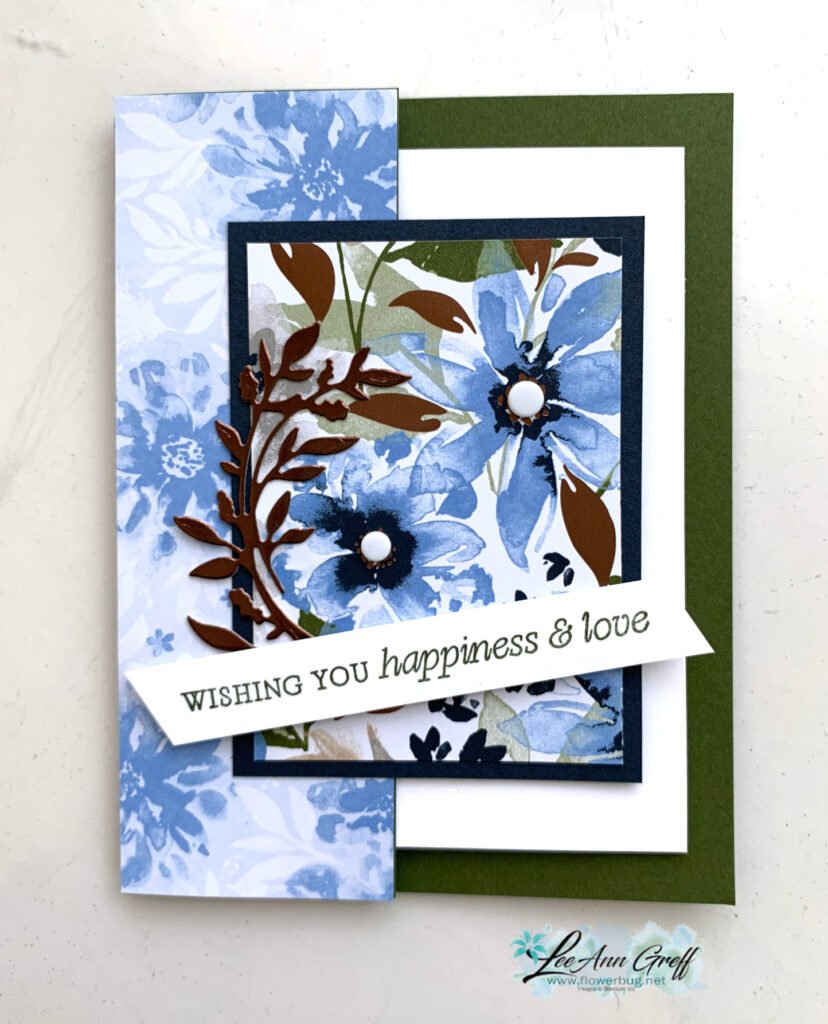
Next is another incredible card made by Jonna who chose the Gone Fishing bundle seen here.  

She paired it with the Let's Go Fishing designer paper & Twisted Rope 3D embossing folder. This is an entire suite in the Annual catalog and could retired in April. See it all here. 

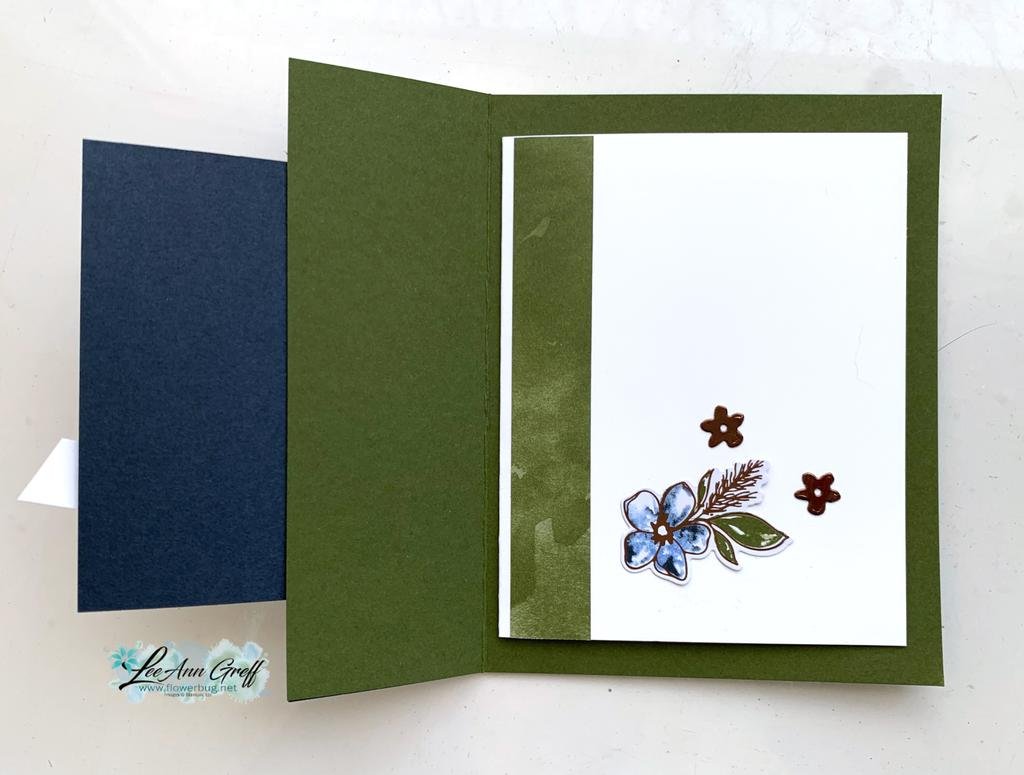
When you open up her card it's a gift card.  What a great men's card idea!  

Measurements:

  • Navy card base 5 1/2" X 4 1/4", folded layer is 4 1/2" X 9 3/4" scored at 3 1/4" & 6 1/2"
  • Designer paper – striped on front is cut with the Deckled Rectangles – finished size is 5 1/8" X 3 3/4", inside gift card is 4 1/4" X 2 1/4"
  • White front – Deckled Rectangle die-cut is 3 7/8" X 2 5/8" finished, center white is 4 1/4" X 3" 

~~~

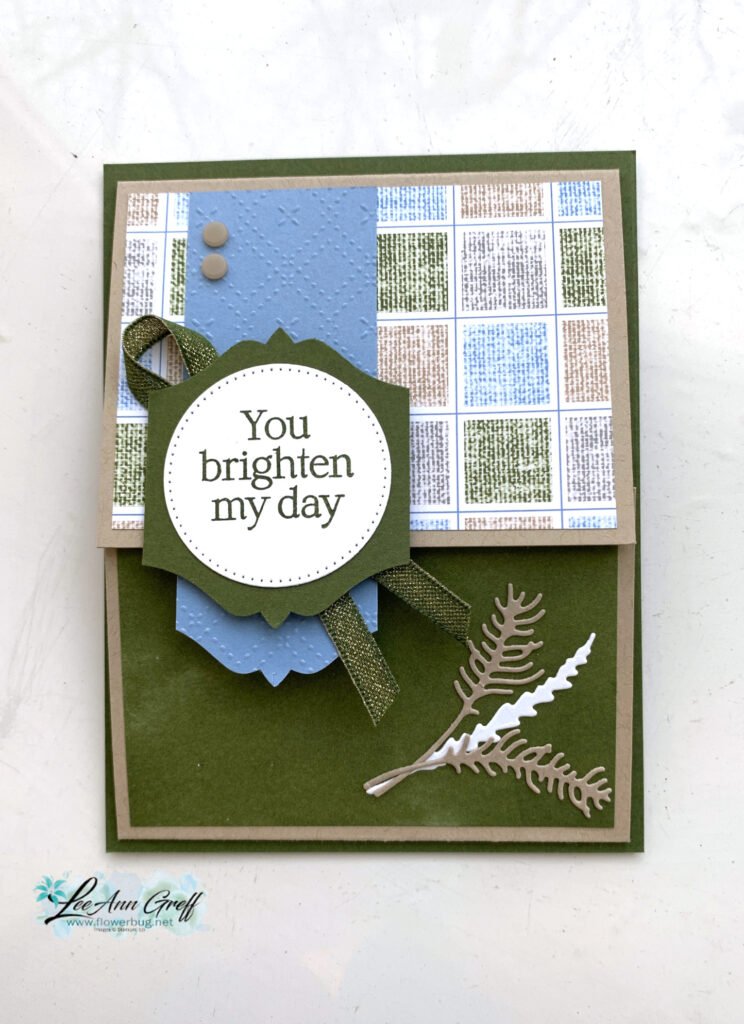
Oh; this one is so beautiful!  Tracey made this one with the One Horse Open Sleigh designer paper. 

This fold is my absolute favorite way to show off our scenic papers!  the card base has one extra score line and you cut your paper into pieces from left to right so when the card opens it's a full scene! 

I LOVE her heat embossed greeting; it's fussy cut into multiple pieces and added with mini dimensionals; what a fabulous effect!  The texture on the front left panel is the Exposed Brick 3D emboss folder seen here. 

Measurements: 

  • Misty Moonlight card base 8 1/2" X 5 1/2" score at 1 1/2" & 4 1/4", second textured layer is 1" X 5 1/4"
  • Designer paper is 6" X 5 1/4" tall. Cut from left to right at 2 3/4" & 4"

This pretty paper was available online but is sadly gone now.  *Our Online Exclusives are available while supplies last.

I shared how to make this card on a video a few months back. See it here. 

*Stop back in for more fancy fold swaps tomorrow! 

~~~

February Specials: 

Earn FREE products with your Stampin' Up! purchase during

Sale-a-Bration! *click here

*current host code link: 6SUH2MUQ

It's the best time to get a pre-paid Sale-a-Bration subscription

& earn free Sale-a-Bration products!  

~~~

Get a free Gold Foiled cards & envelopes kit

with online orders over $55 in February

All online orders in February will receive this free Nature's Sweetness tutorial with 8 projects!

All Posts

  • A neat overlapping fun fold card with free project sheet, video & punch trick!


    Yesterday I shared one of the three fun fold cards I made in the video tutorial last week. Today I’m sharing the second one.

    My colors include Mossy Meadow, Crumb Cake, White and the retired Boho Blue. The colors in the new Delicate Dreams DSP includes a brand new In Color coming out in May. It’s called Hydrangea Hue. I don’t have it yet so I had to substitute.

    The Delicate Dreams designer paper AND the Delicate Whispers bundle are out of stock right now but you can add your email to the list to be notified when it’s available. Click on the links to do this. They should be back in stock in a few weeks.

    The front top flap overlaps the lower one. I added a strip of the Boho Blue and besides texturing it with the Beautiful Pattern embossing folder I used my To the Point punch to mimic the Mossy Meadow punched piece. I love this punch!

    Here’s how you do it.

    You must insert the layer in the back of the punch and wiggle it between the slot. You don’t insert it through the usual space. See the card stock sticking out of the upper part of the punch? *If you don’t want the usual size of your punch this is how it’s done.

    Here’s the inside view of this card with the upper flap lifted:

    And here’s the view with both flaps lifted:

    Notice the colored die-cut on the White layer here? I cut that die from the White layer and sponged it with Mossy Meadow ink. Then re-inserted it into the White CS. I love this effect!

    If you’d like the free project sheet for this card layout click here. You can download or print it off. It includes measurements, supplies, photos and step by step directions. If you’re loving my free project sheets I suggest you create a file on your computer and save them all there. Easy inspiration!

    I’ll share the last card tomorrow. Don’t miss it!

    Below is the video tutorial for this card and two more.

    March Specials!

    March Product of the Month is the Notes of Spring stamp set!

    It’s just $5 with a $75 purchase.

    Get my March PDF free with any Online purchase!

    NEW Online Exclusives are here!

    Get the retiring In Colors while you can; they’re already going fast!

    Leave a Reply

    Your email address will not be published. Required fields are marked *

  • Delicate Dreams fun fold cards with free project sheet & video tutorial


    The beautiful Delicate Dreams suite is new in our online products. The designer paper is especially pretty but unfortunately it’s out of stock right now. So popular! I had planned to offer it as one of my kit to go’s this month but it will have to wait until April.

    I shared 3 unique fun fold cards featuring this suite on last week’s video. We made them at my February Team meeting and I’ll be sharing them all this week.

    Today I’m sharing the double flap card (top right above). This neat fold gives you lots of opportunities to use your beautiful designer series paper.

    My colors include Mossy Meadow, White, Secret Sea and Earthen Metallic foil paper. That beautiful blue you see here is an upcoming NEW in color called Hydrangea Hue. It’s going to be a favorite of many!

    Check out this gorgeous new Suite here. Add your email to the list of any product that’s out of stock and you’ll be notified when it’s available.

    Once you open it there’s a surprise inside; another layer to open!

    I added a simple strip of the pretty watercolor DSP and a flower die-cut from the pretty Delicate Dreams DSP. This pretty paper has bronze foil designs all over it!

    Here’s the final inside layer. I stamped images from the Delicate Whispers stamp set.

    If you’d like the free project sheet for this card layout click here. You can download or print it off.

    I’ll share the other two cards in the next few days. Don’t miss them!

    Below is the video tutorial for these cards; be sure to subscribe to my YouTube channel. Or follow me on Facebook here; I share a video almost every Tuesday at 11 am CT.

    March Specials!

    March Product of the Month is the Notes of Spring stamp set!

    It’s just $5 with a $75 purchase.

    Get my March PDF free with any Online purchase!

    NEW Online Exclusives are here!

    Get the retiring In Colors while you can; they’re already going fast!

    Leave a Reply

    Your email address will not be published. Required fields are marked *

  • Paper Pumpkin kits; get a pre-paid subscription now before the price goes up!


    It seems most prices are going up these days and unfortunately Paper Pumpkin is raising their price for each kit by a few dollars. This will take effect on March 11th..

    These kits in the mail are a great value and are filled with lots of product to create with. I suggest you get a pre-paid subscription before March 11th to save $$. Go here to subscribe.

    Remember you are in full control over which kits you will receive. Once you create your account you can skip a month or add an extra kit. Plus, once you’re a subscriber you get to purchase any of the extras Stampin’ Up! offers like refill kits, add-ons & more.

    Here’s one of my bonus projects with the February kit.

    I used the add-on dies that were available; but are sadly out of stock now.

    Each month I send a bunch of bonus project ideas to my subscribers and my Team. You’ll love using them for creative inspiration.

    Here are the details on getting Paper Pumpkin kits:

    • Each all-inclusive kit comes with everything you need to create fun all-occasion or seasonal handcrafted projects—precut paper pieces, stamps, ink, embellishments, adhesives, and step-by-by-step instructions (contents vary depending on the kit). Kits autoship monthly, but if you need to take a break, you can skip a month. Crafting has never been so fun and convenient!
    • Plus, as a subscriber, you can buy refills, past kits, and add-ons (when available) and connect with your Paper Pumpkin community to share projects and ideas.
    • Select the Pay As You Go option to be billed monthly; you can cancel anytime. Or select the Prepay option if you want to receive kits for a specific number of months; you’ll be billed the entire amount now.

    March Specials!

    March Product of the Month is the Notes of Spring stamp set!

    It’s just $5 with a $75 purchase.

    Get my March PDF free with any Online purchase!

    NEW Online Exclusives are here!

    Get the retiring In Colors while you can; they’re already going fast!

    Leave a Reply

    Your email address will not be published. Required fields are marked *


Notice: LeeAnn Greff, Independent Stampin’ Up! Demonstrator, Manager. The content of this website is my sole responsibility as an independent Stampin’ Up! demonstrator and the use of, and content of, the classes, services, or products offered on this website is not endorsed by Stampin’ Up! Copyright 2025