/


Latest Post

Star & Snowflake Ornaments; so pretty!


I had to give these gorgeous star projects a try!  Sara from Stampin' Up! made them for a tree topper but they were one sided.  I decided to turn her idea into ornaments by making them 2-sided.  
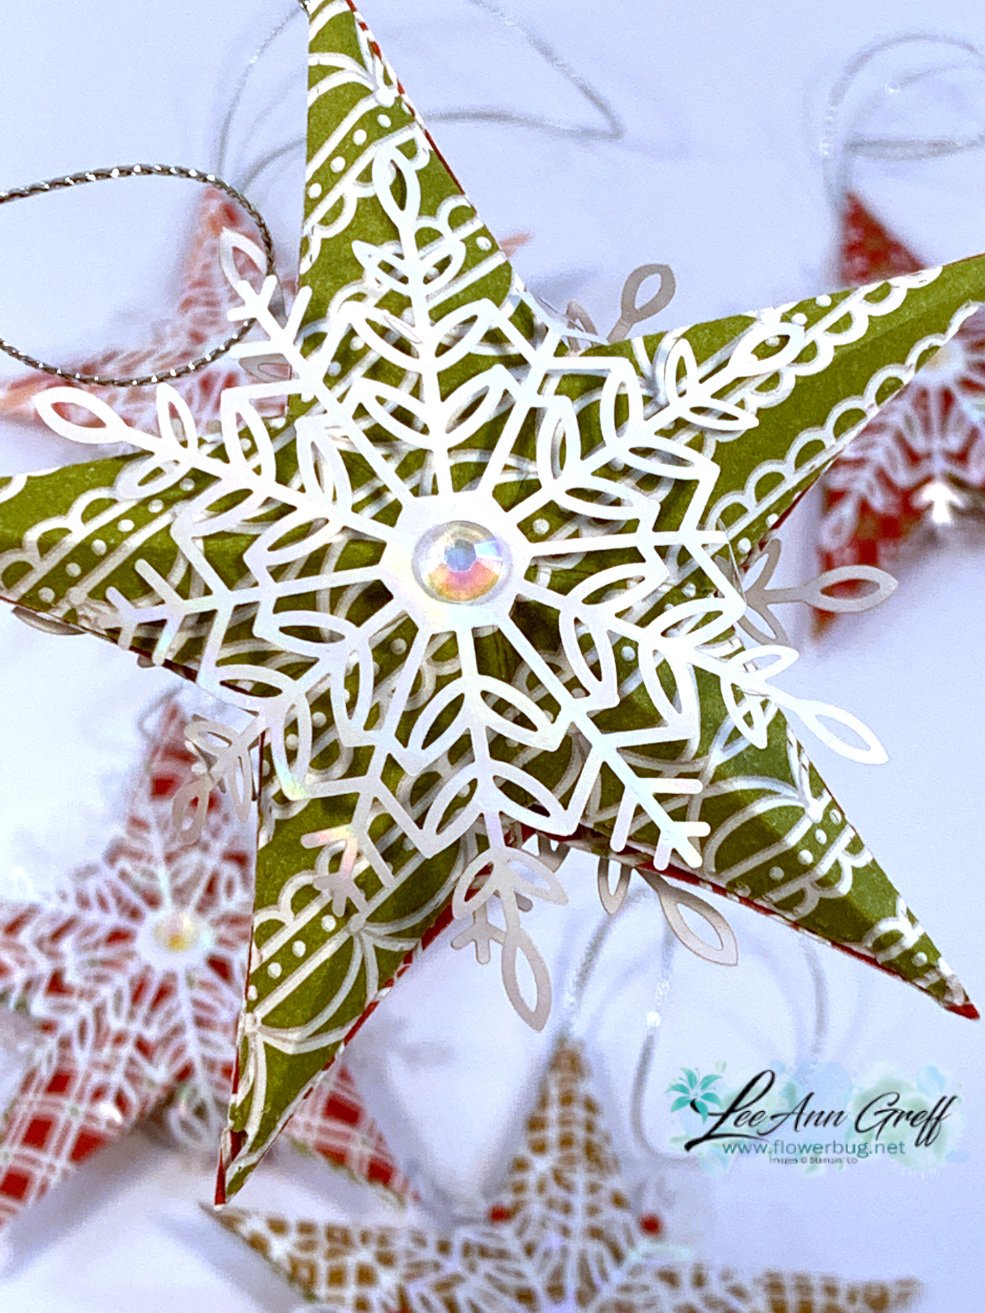
They're made with our Stitched Stars dies seen here.  I used the largest and third smallest to make these. I used the Gingerbread & Peppermint DSP but unfortunately it was on the retired list and is sold out now. 

You probably wonder where the snowflakes come from.  They are called 'Wonderful Snowflakes' and they also just sold out! The retiring list can be so hard; items you want can be gone in an instant! 

You need a good stack of Dimensionals between each layer like this: 

You can see why you need a smaller star inside; to support the stacks of Dimensionals. *There's a second stack under that smaller star.  You'll add a second large star on top of the dimensional stack seen above. 

Tips:

  • I found a stack of 4 to work best.
  • I added a rolled up mini glue dot to the tip of each star point to secure them together.  It's not necessary but does finish if off so they stay closed. 
  • Add the cord with a glue dot to one of the star points. 

They were so fun to make I couldn't stop! I plan to add these to my cookie trays or to Christmas presents instead of a traditional bow. 

I thought this last one would look sort of ho hum in this pattern.  But once I added our Red Rhinestones to the snowflake it sure came to life!  

Below is the video to see exactly how to make these pretty ornaments.  They're the third project I share. 

~~~

December Specials:

Host code:  6YCWV7QN

 *click here to order 

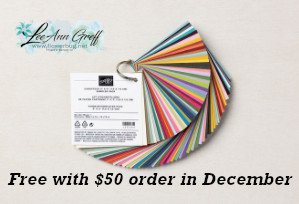
Use the host code above & get a free card stock sampler ring with a $50 order in December! 
See the last chance list here

See the July-December catalog carry over list here

All Posts

  • Noel Tidings fun fold Christmas card with video & free project sheet


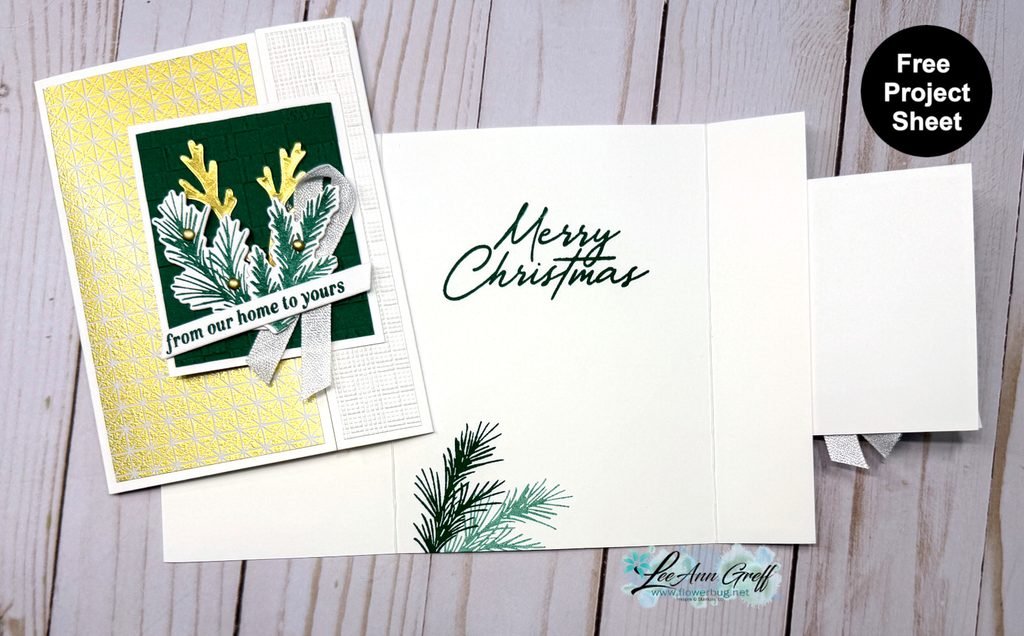
    Here’s the card I shared on last week’s video; it’s one I made for a long distance card swap I joined.

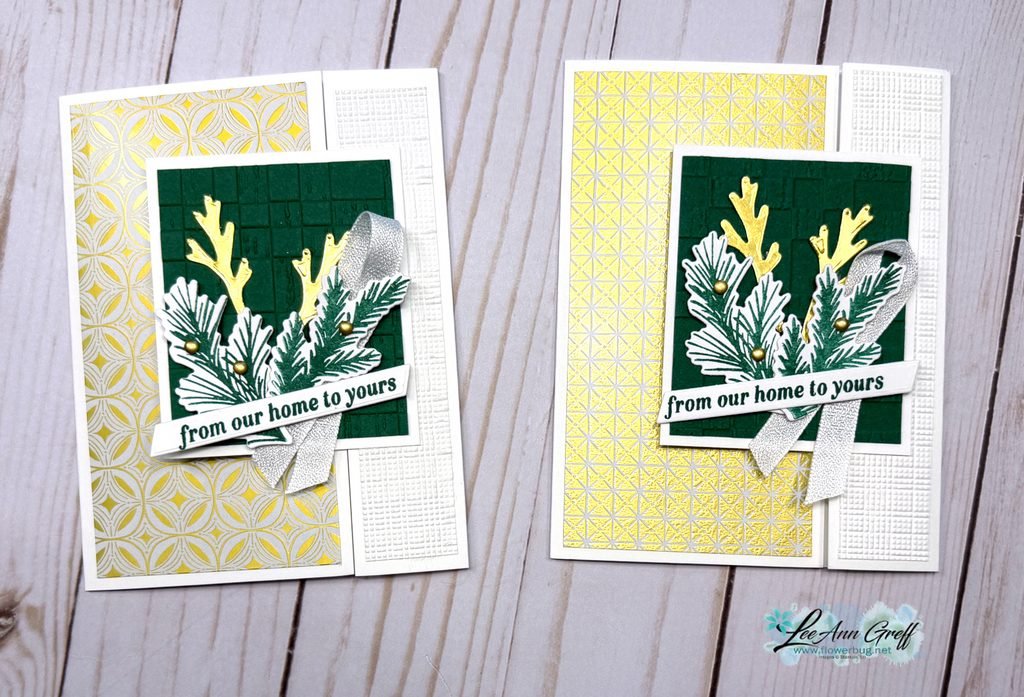
    It features the Neutral Noel suite seen here. I used the Noel Tidings bundle along with the Neutral Noel specialty designer paper seen here. My colors include Shaded Spruce, White and Gold.

    Notice the textures on the Shaded Spruce and White layers. These are new embossing folders from the 2026 Holiday catalog; however both are unavailable right now. They’re out of stock but returning later this month.

    *Remember that when you want to know when something is back in stock you can opt in to be notified; this is right on the product item page online. See the Rustic Check folder here and the Softly Woven folder here.

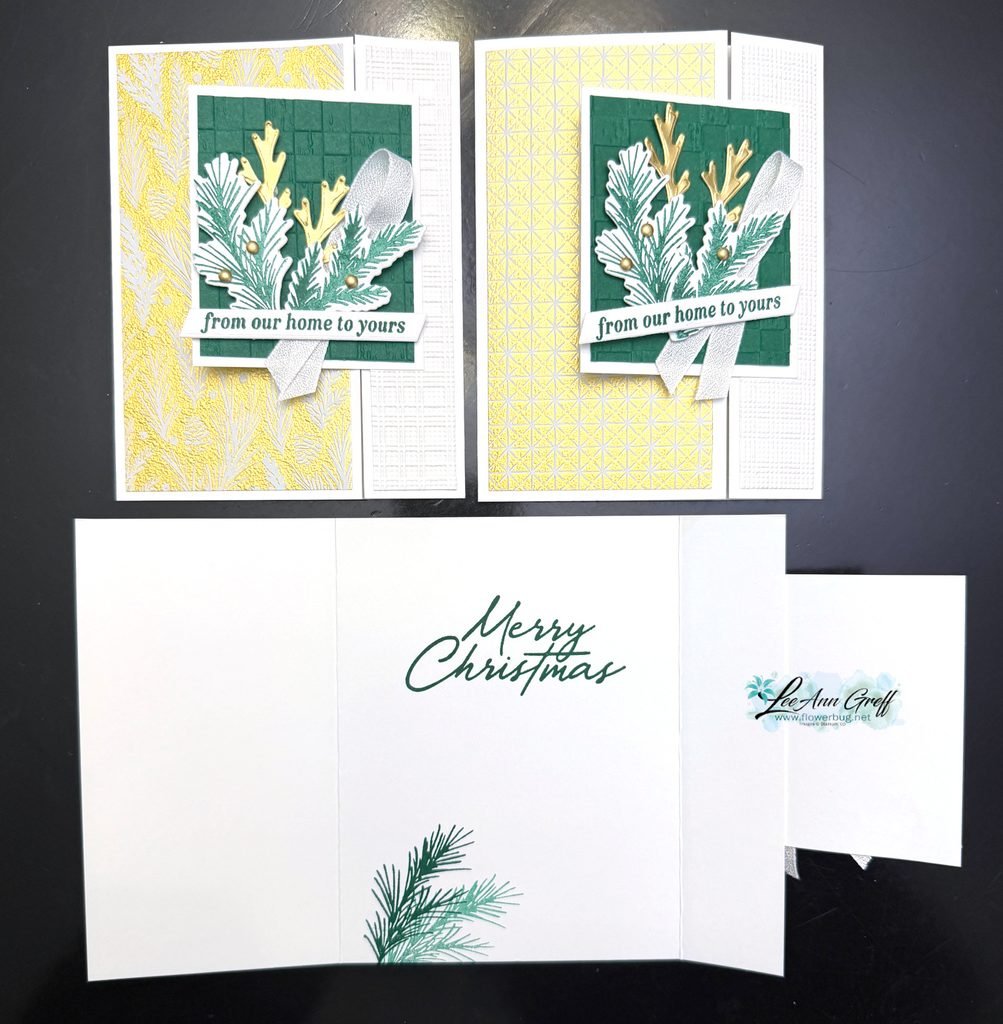
    This card opens in a unique way; the center panel is attached to the right side instead of the usual left side. It’s fun to switch things up now & then.

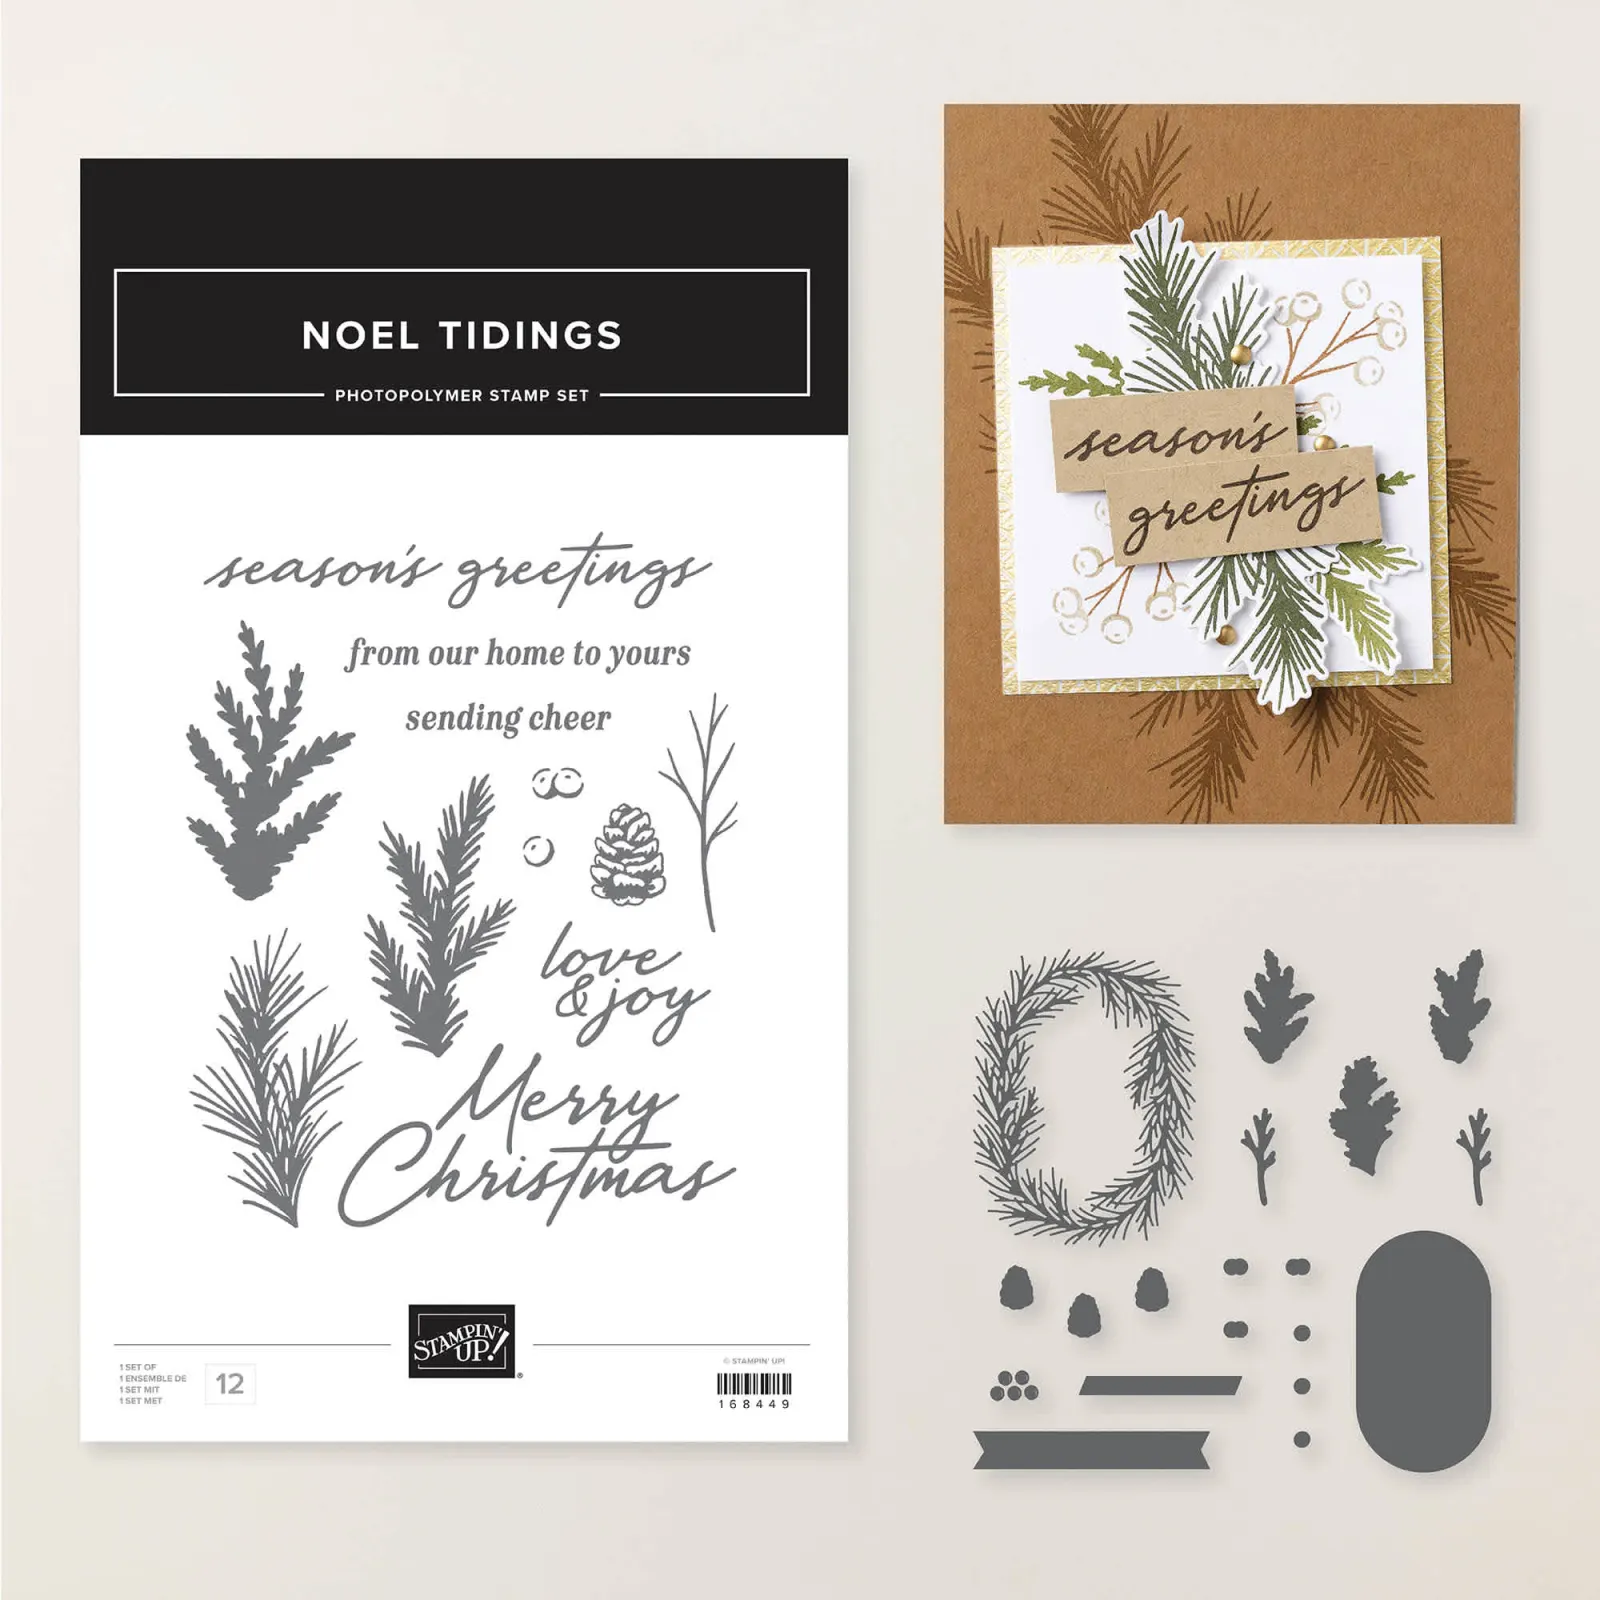
    I stamped the pine boughs and the greetings using the Noel Tidings stamp set; the dies coordinate with many of the images. See the bundle here.

    I shared how to make this card on last week’s video. You can see it here or click on the link below.

    I also created a free project sheet with measurements. Click here to download or print it. *Remember that I have a bunch of these free project sheets stored on my blog here.

    Below is the video tutorial for this card. You’ll get a few stamping tips from me as usual.

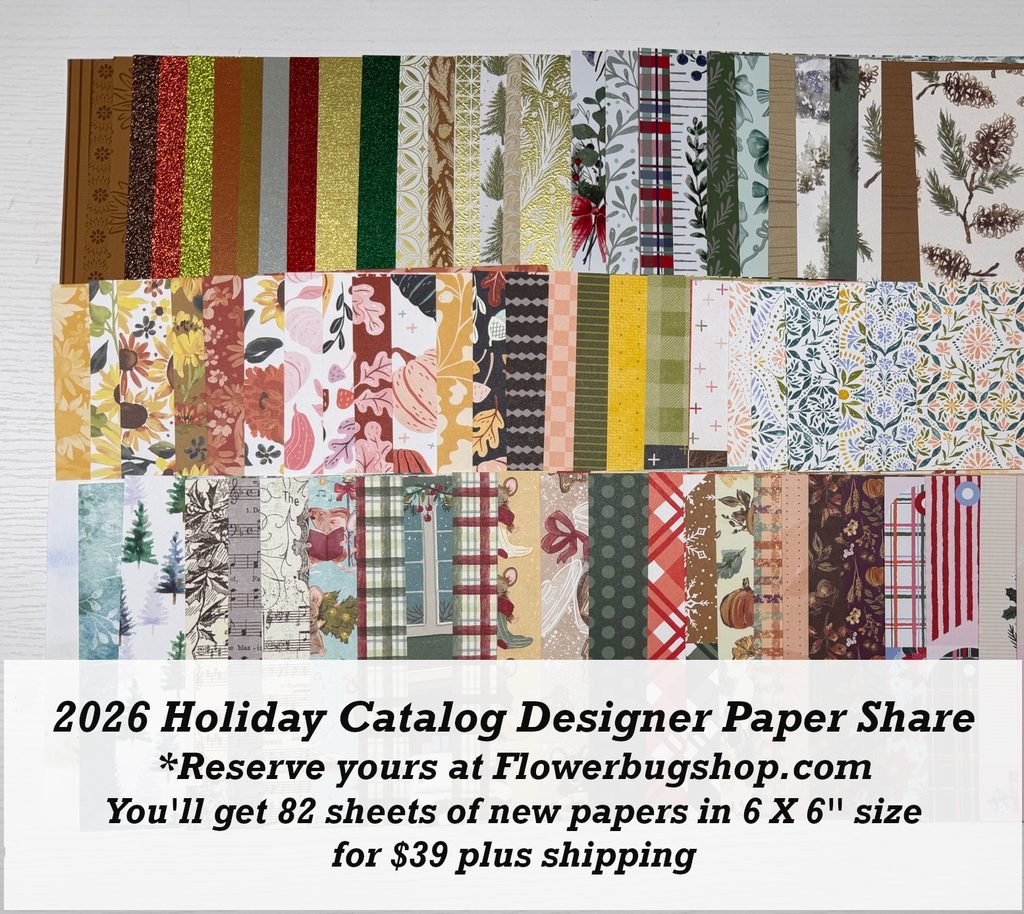
    I still have spots left in my Holiday designer paper share. Opt in for it here; it’s the last share I’ll offer this year.

    Leave a Reply

    Your email address will not be published. Required fields are marked *

  • Timeless Tidings fun fold card kit to go with tutorial


    My other September card kit is the Timeless Tidings card kit which features all fun fold layouts.

    This designer paper includes multiple printed tags and other elements that makes creating quick and easy. Look!

    Each of the cards above has a unique fold and the layouts make the most of the fun tags and printed elements in the kit.

    There are 3 different layouts and you’ll make 3 of each. Besides the Timeless Tidings DSP I also added the 3 color Christmas twine and the Christmas berries & leaves to the cards.

    The pre-cut kit includes 1/2 pkg of the designer paper and a share of the twine and berries/leaves gems. You’ll receive the PDF tutorial AND all pre-cut pieces. To complete your cards just add stamped greetings and cut your new DSP using the tutorial provided. Everything else is done for you. It’s so fun to play and create with these pre-cut kits; I get a ton of compliments and lots of repeat customers.

    Click here to opt in for the pre-cut kit – $32 plus shipping. The kits will ship out in mid September.

    Click here to get the PDF tutorial for $16. The tutorial is emailed to you immediately after payment; check your spam or junk folder.

    I have multiple kits available; grab another one or two and save on shipping costs. Or add on my Holiday designer paper share. See it all here.

    Leave a Reply

    Your email address will not be published. Required fields are marked *

  • Sunflower Fields card kit to go; or PDF tutorial option. Reserve yours!


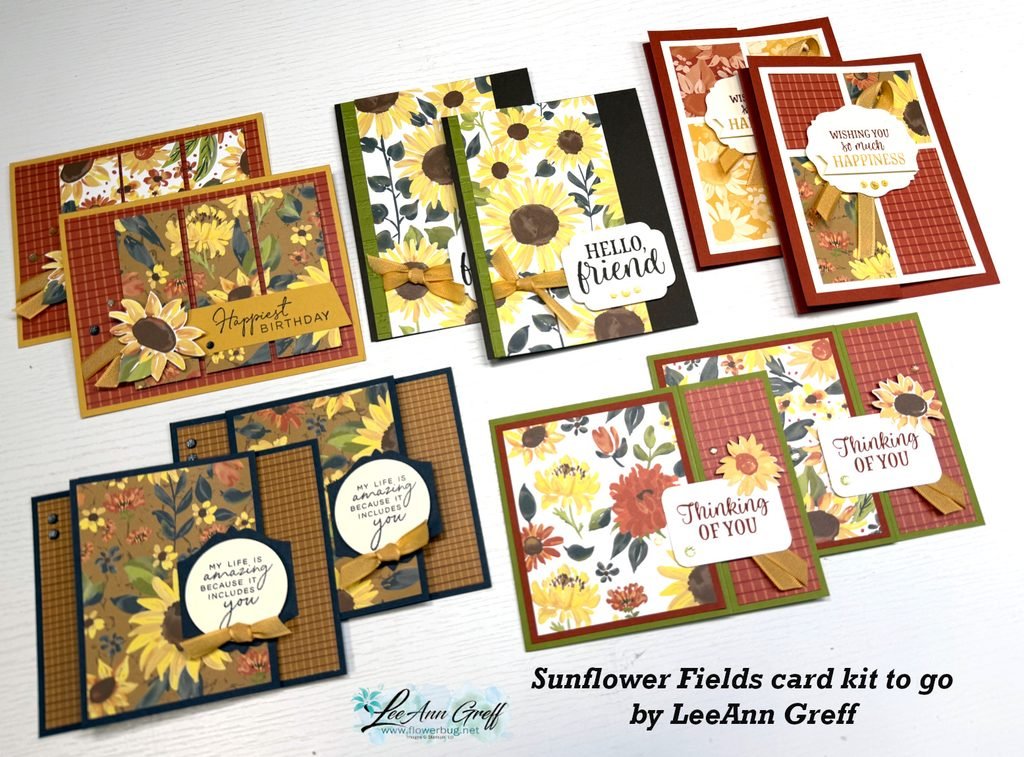
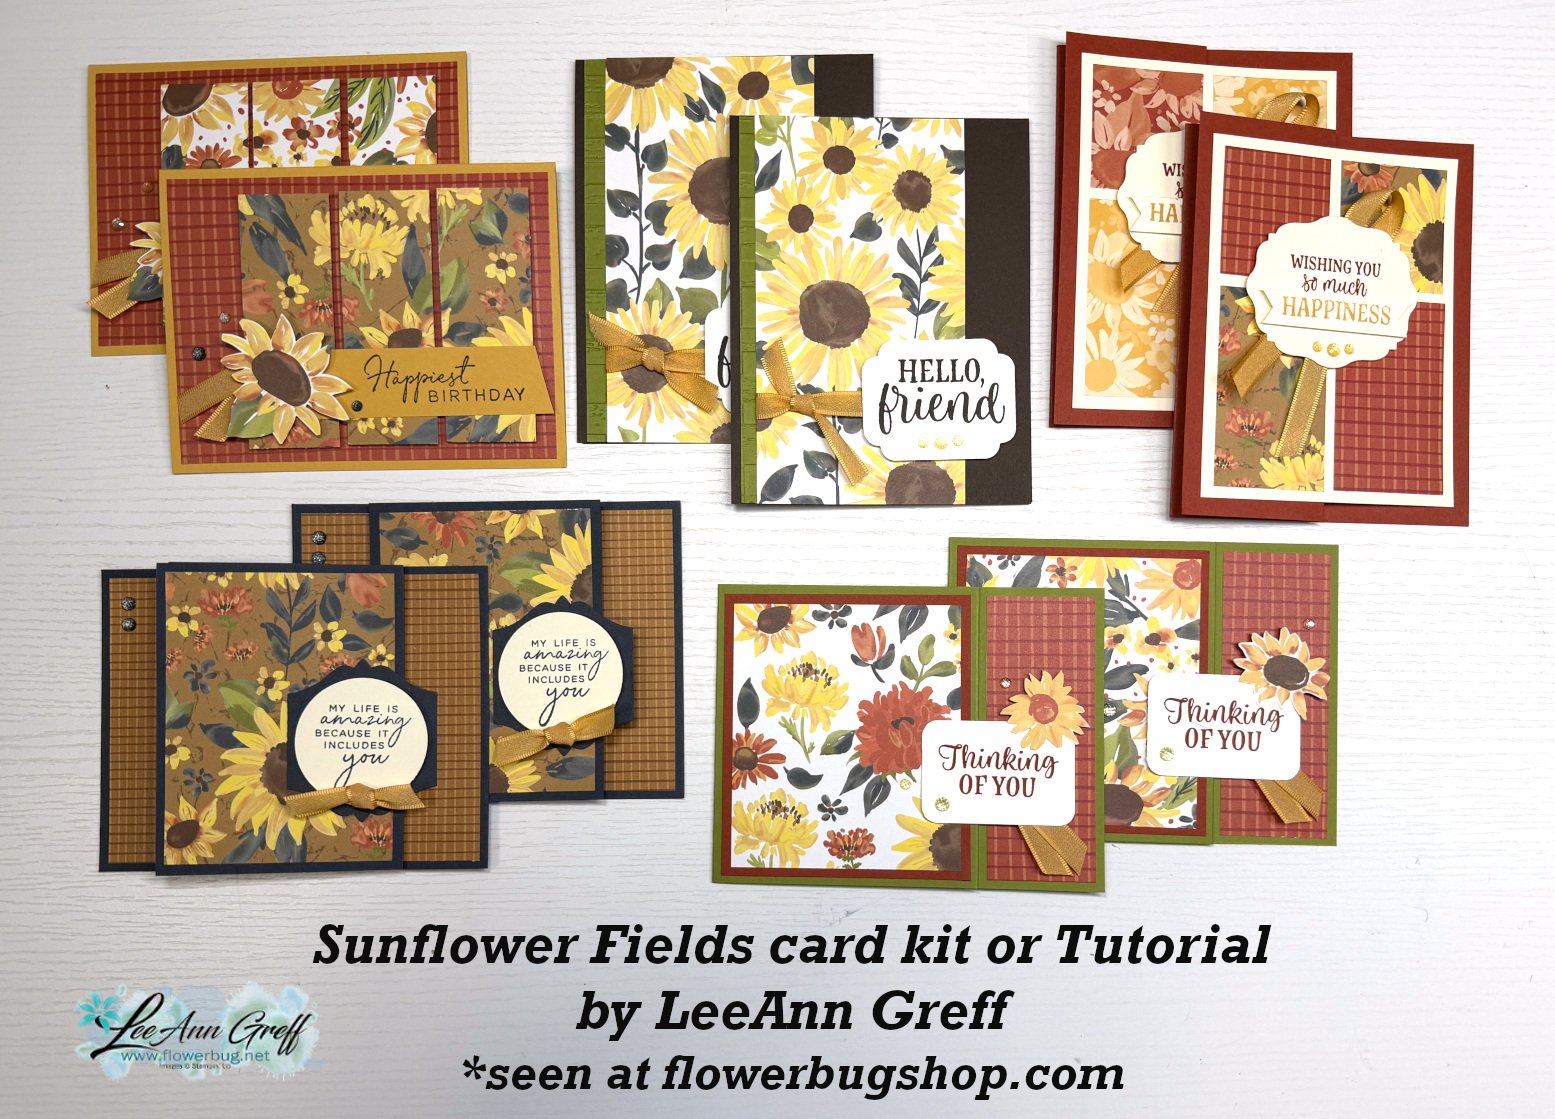
    Fall is coming soon for some of us and the new Sunflower Fields designer series paper may be just what you need to get your autumnal cards made.

    I chose it for one of my September card kits to go. You can see the entire suite here.

    Most of these cards are special fun fold layouts and one includes a gift card option. I design my card kits to feature the designer paper, ribbons and gems. You don’t need any special stamps to finish them; only greetings.

    My pre-cut kits to go include all pre-cut pieces including die-cuts and punched pieces. You will receive 1/2 pkg of the Sunflower Fields designer paper and will use the measurements in the tutorial to cut them for each card. Everything else is cut for you.

    You also receive a share of the Golden Glow ribbon and the Radiant Gems; it’s about $20 in Stampin’ Up! products! The PDF tutorial is included in the price of $32 plus shipping. I highly recommend adding on another card kit to save on shipping costs.

    You can get the pre-cut kit to go here. There is also a PDF tutorial option for $17 here.

    See all of the choices in my shop here. I have many other kits or tutorials available.

    I’ll share my second card kit to go tomorrow; think Christmas!

    September Specials:

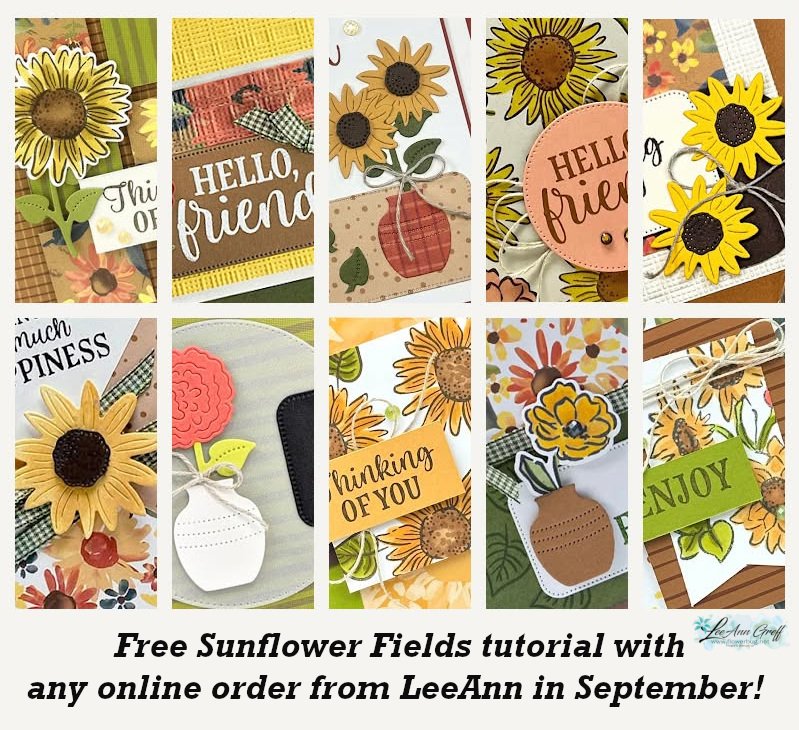
    Get this PDF tutorial FREE with any online Stampin’ Up! order from me in September. Go here to shop.

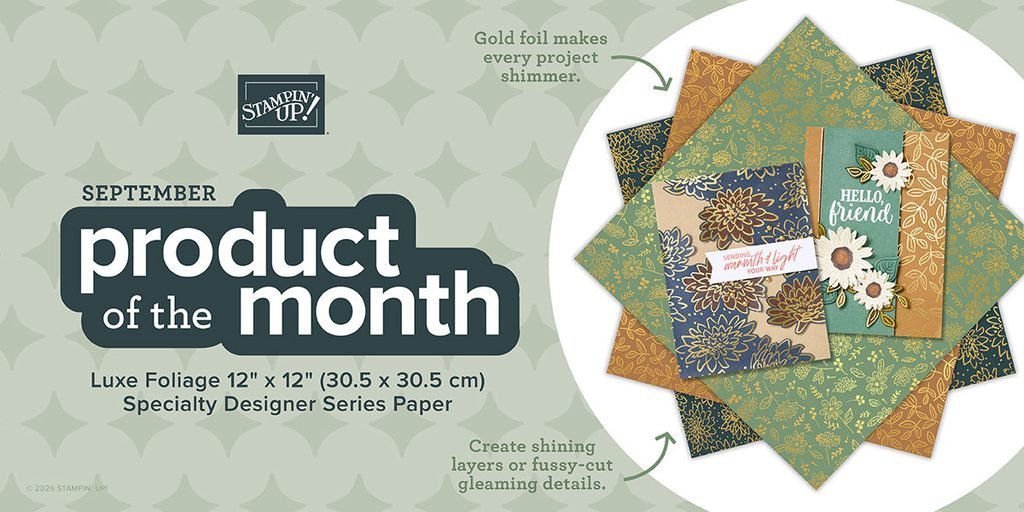
    Check out the newest Product of the Month below; it’s just $5 once your order reaches the $75 point.

    Leave a Reply

    Your email address will not be published. Required fields are marked *


Notice: LeeAnn Greff, Independent Stampin’ Up! Demonstrator, Manager. The content of this website is my sole responsibility as an independent Stampin’ Up! demonstrator and the use of, and content of, the classes, services, or products offered on this website is not endorsed by Stampin’ Up! Copyright 2025