/


Latest Post

Stamp & Cut Emboss Machine is now available!


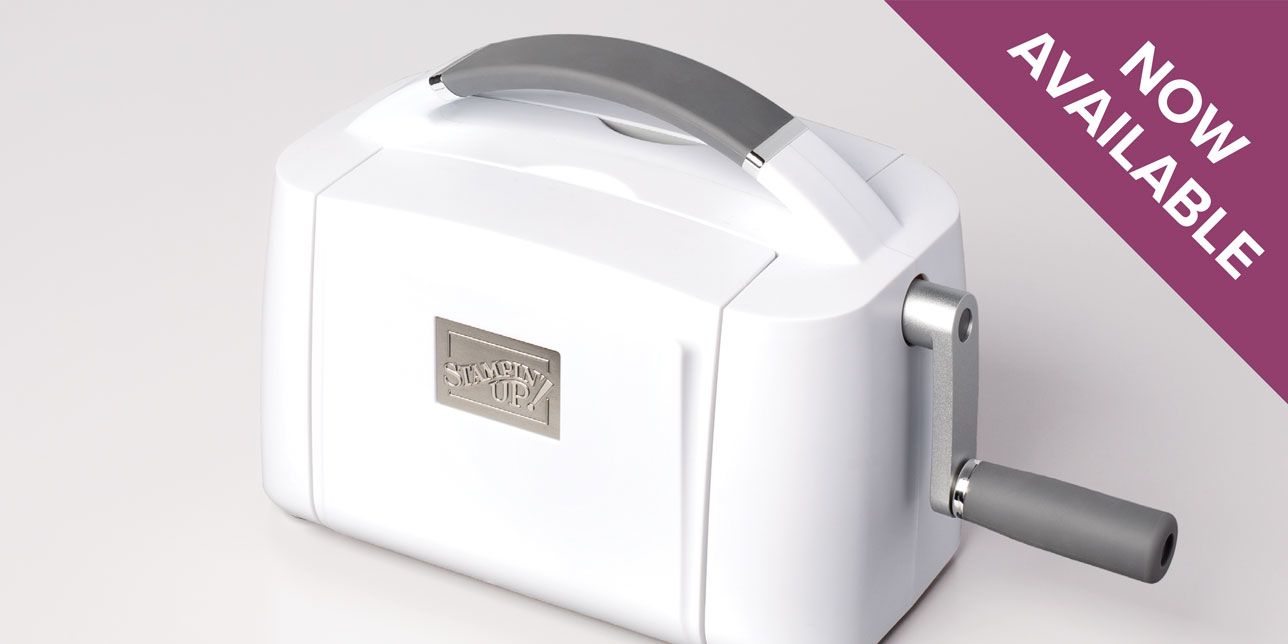
It's here and available for everyone!  The brand new die-cutting machine that is.  

I've been using mine and I love it!  They said it would cut dies with one pass through and it really does!  Even intricate dies!  I love the portability of it and how compact it is for storage.  

I'm super excited to get the new Magnetic plate!  Did you know it's super thin, replacing a cutting plate and it's self-healing!?!!  

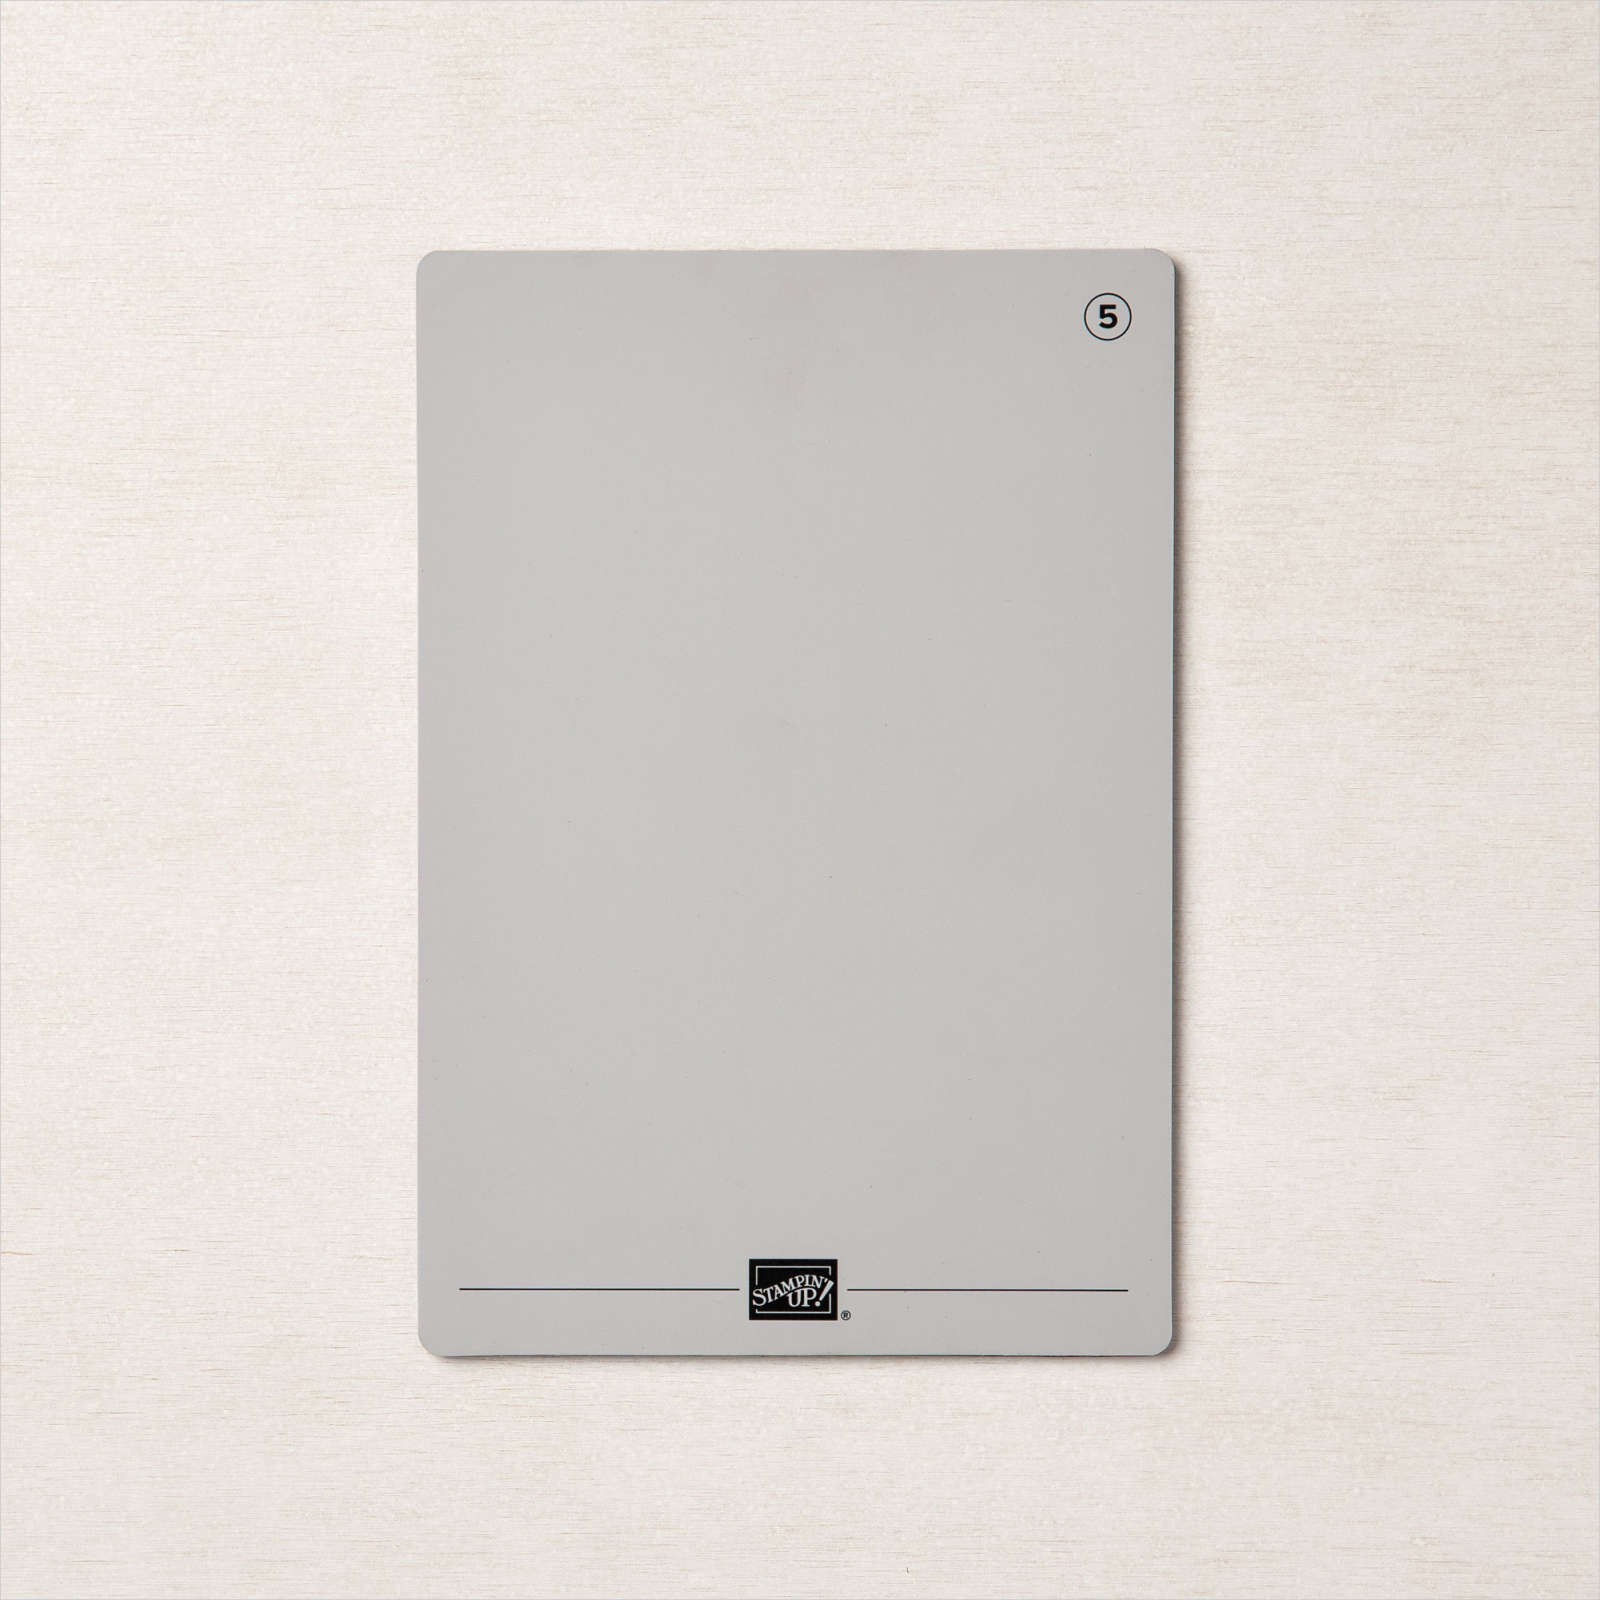
Thin, fully magnetic sheet with self-healing cutting surface. Te Magnetic Cutting Plate holds dies securely in place, even nested dies. This slim, portable sheet replaces a Cutting Plate in your sandwich, making it even easier to take with you. It's recommended to use with the Stampin' Cut & Emboss Machine but I will try it in my Big Shot and let you know if it works.

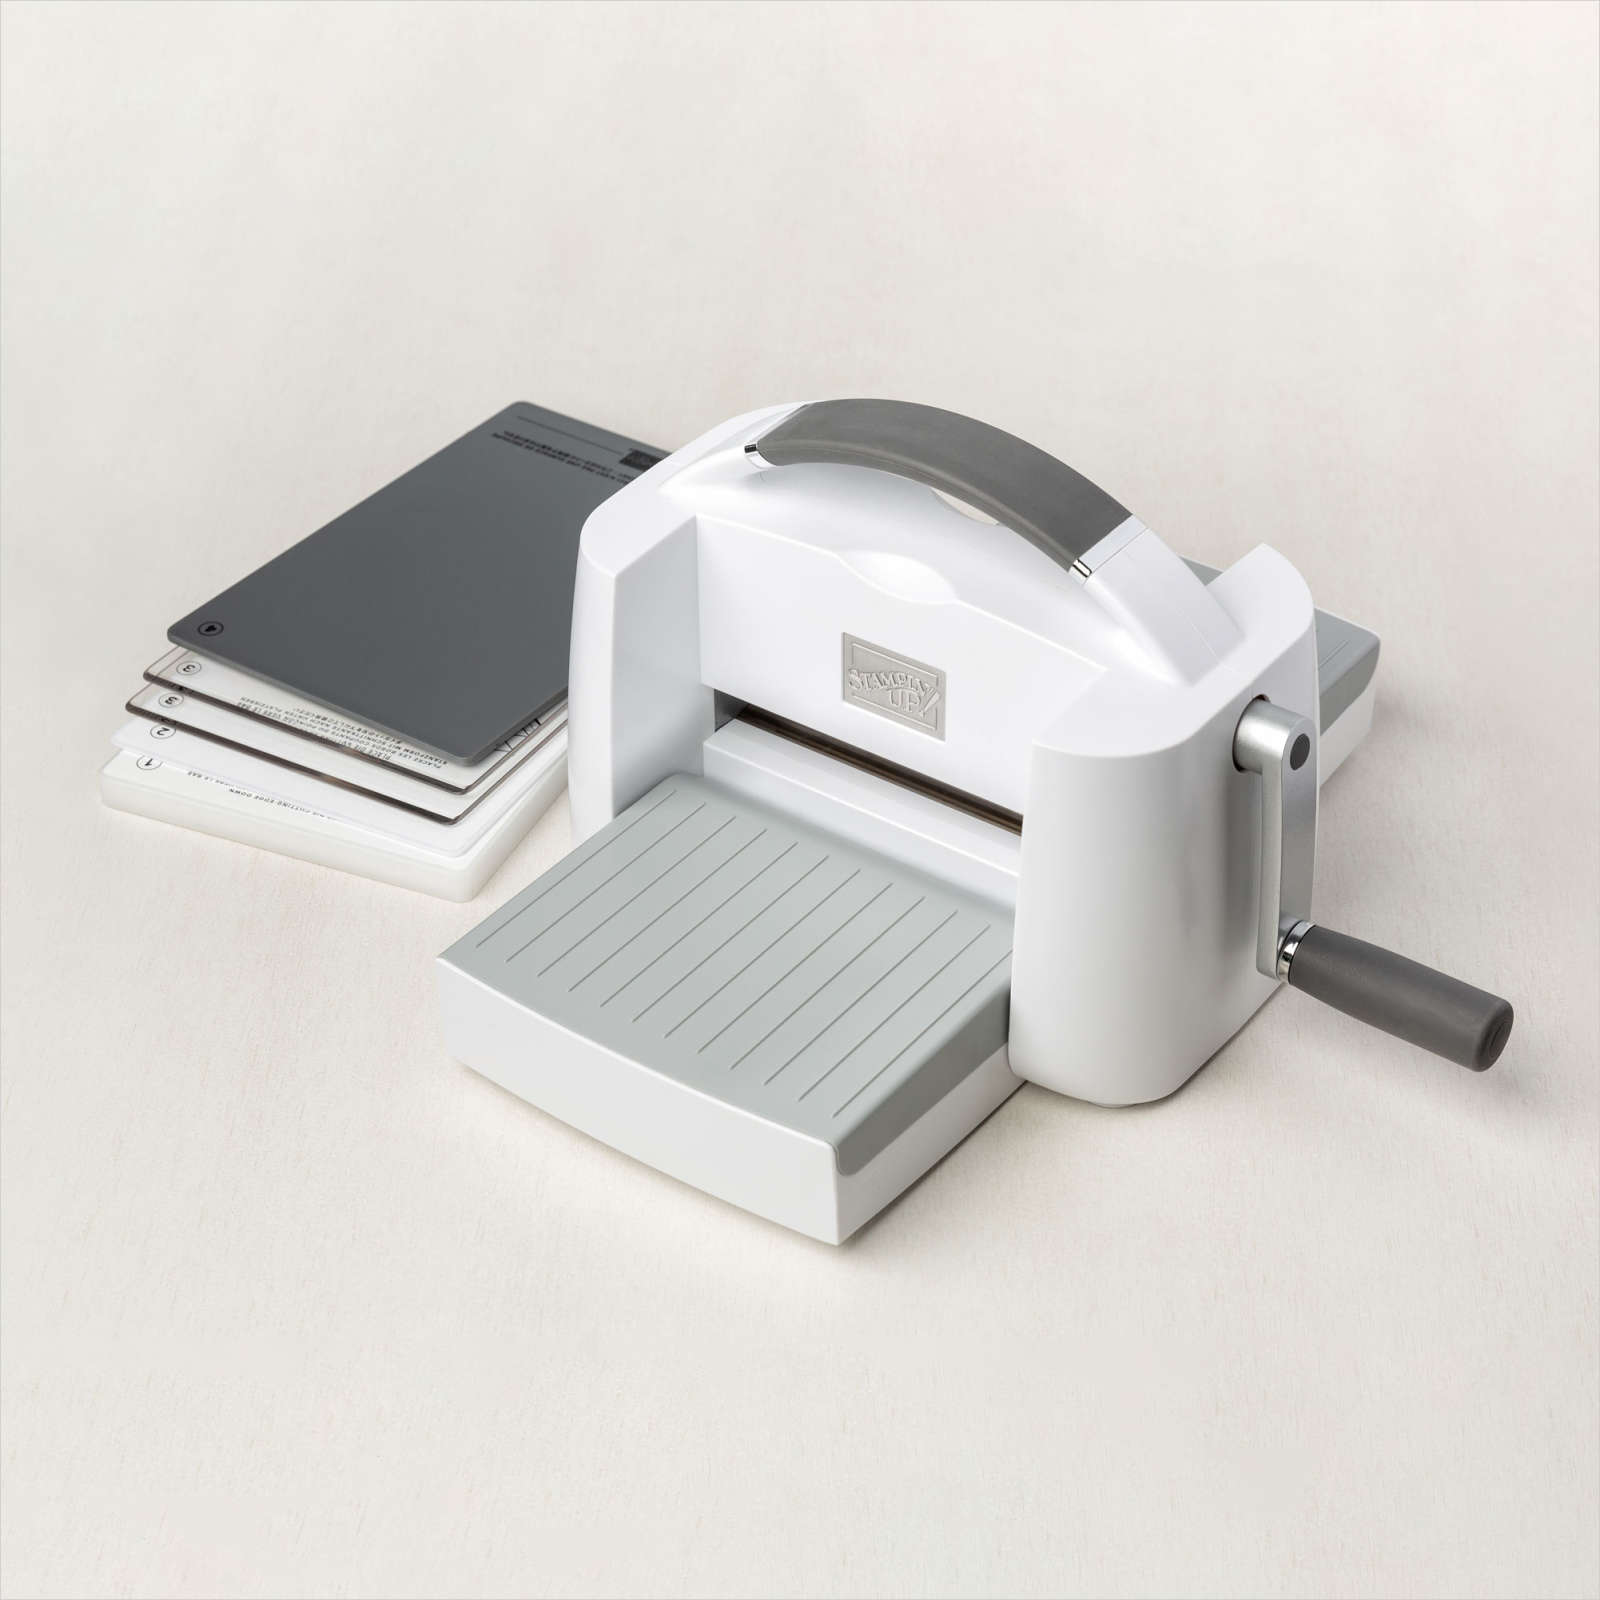
Did you know you can get this machine at 10% off?  Just add it to your Starter kit!  It's just $99 and you can add up to $125 in products. This machine costs $120.  Go here to do that. 

~~~

Current Host code is 7VPEDARH

Get a free package of All the Trimming embellishments in September with an

online order over $55. 

*Remember if your order is over $150 don't use the host code; you'll get your own host benefits! 

And if it is over $99 choose the Starter kit instead!  It just makes sense! 

Order online here

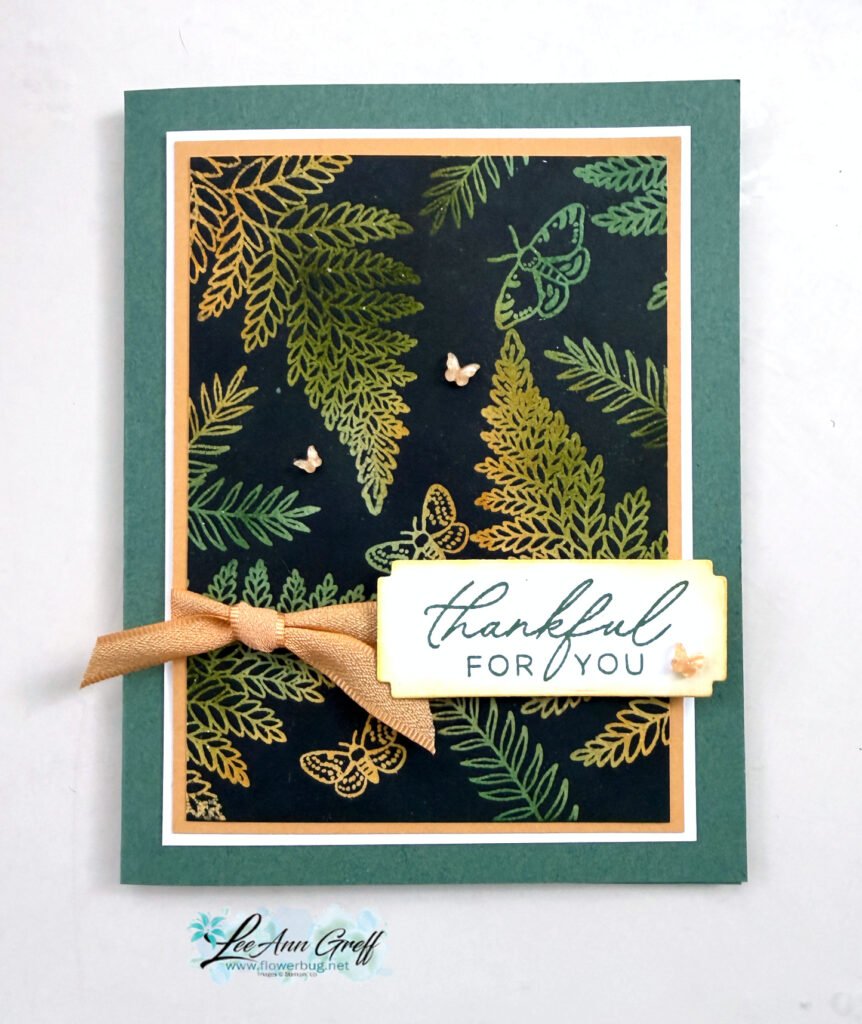
 Get my Beautiful Autumn pdf tutorial free with any online order in September!


It includes directions, photos and measurements for 13 cards!

All Posts

  • Striking and fun Black Magic technique with video!


    I shared this pretty card on last week’s Live video. It’s the Black Magic technique!

    My colors include Peaceful Pine, Old Olive (ink only), Golden Glow and White. It features the Fern & Flora bundle seen here.

    What is the Black Magic technique? It’s where you start with a light neutral piece of card stock and add color with sponges or markers. Then stamp images in Versamark and heat emboss with clear embossing powder. The magic happens when you cover it completely with a water based ink (here I used Secret Sea). Then wipe off the ink that does not ‘stick’ to the heat embossed areas. True magic!

    Watch my video tutorial further below to see this technique in action.

    On this card I used mostly the stamp images; only the greeting die-cut is from the dies. I added a few In Color butterfly gems and the pretty Golden Glow ribbon too.

    I created a free project sheet for this card; click here to download it or to print it.

    I made one with Golden Glow as the card base and the other as Peaceful Pine as the card base.

    Below is the video tutorial for this card and another.

    Leave a Reply

    Your email address will not be published. Required fields are marked *

  • Pretty Fern & Flora card; with free project sheet & video tutorial


    There’s something about crisp white on a card. It gives a feeling of elegance to your projects.

    This card features the Fern & Flora bundle seen here. The designer paper is called Moonlit Flora and the embossing folder is called Fern & Flora and can be seen here. Unfortunately the Designer paper AND the embossing folder are out of stock right now. Very popular products!

    I took a little creative license and added White fern die-cuts here. I love the way they show up against the Moonlit Flora designer paper strip.

    The colors include Peaceful Pine, with White and the new Golden Glow in color.

    Which do you like better? All green and White on the upper right, or the pop of the additional Golden Glow?

    The pretty Moonlit Flora designer paper offers multiple patterns: See it here. Be sure to add your name to the product so you get an email when it’s back in stock.

    I created a free project sheet for this card. Click here to download it or print it.

    I also shared a video tutorial for this card and one more using this pretty bundle. Click on it below.

    Leave a Reply

    Your email address will not be published. Required fields are marked *

  • A fun way to use your Designer Paper scraps!


    Is it hard for you to toss those small pieces of designer paper pieces? Well, if you’re a ‘saver’ I have a quick card idea for you.

    Here I used the pretty Velvet Meadow specialty designer paper from our Online store. It has velvet/flocked accents that feel soft and fuzzy. See it here.

    Unfortunately it’s currently out of stock but it will be back! Add your email to the product page so you’re notified when it’s available.

    I cut three different patterns of DSP in 1/2″ wide strips. I added them to a piece of Peaceful Pine card stock (3″ X 4 3/4″) at an angle. I left a narrow space between them all and trimmed off the ends afterwards. Then I layered it on another Peaceful Pine piece slightly larger before adding it to my Bubble Bath card base.

    Tip: Adding the designer paper layer on the left and adding the greeting strip hanging off on the right adds balance to the card.

    Here’s the coordinating Flowering Meadow bundle; see it here.

    The greeting is made with the Scalloped Blooms dies. The flower and leaves are fussy cut from the designer paper. A quick and pretty card!

    Leave a Reply

    Your email address will not be published. Required fields are marked *


Notice: LeeAnn Greff, Independent Stampin’ Up! Demonstrator, Manager. The content of this website is my sole responsibility as an independent Stampin’ Up! demonstrator and the use of, and content of, the classes, services, or products offered on this website is not endorsed by Stampin’ Up! Copyright 2025