/


Latest Post

Spring Corners fun fold card with free project sheet & video tutorial


I totally enjoyed making this neat fun fold card.  It shows off this neat stamp set wonderfully! 

I wanted to highlight the flower image as well as the neat greeting. I used Stampin' Write markers to color my image before I stamped. 

Tips on coloring stamps with markers:

  • always us a water-based marker (never a Blends 'permanent' marker)
  • color with the lightest color first so you don't contaminate your tip with a darker color
  • huff on the image before stamping to moisten the inks – this gives a brighter image

This neat fold starts with an 11" X 4 1/4" card base with a small fold back on the front. Then the DSP layer is added behind it.  

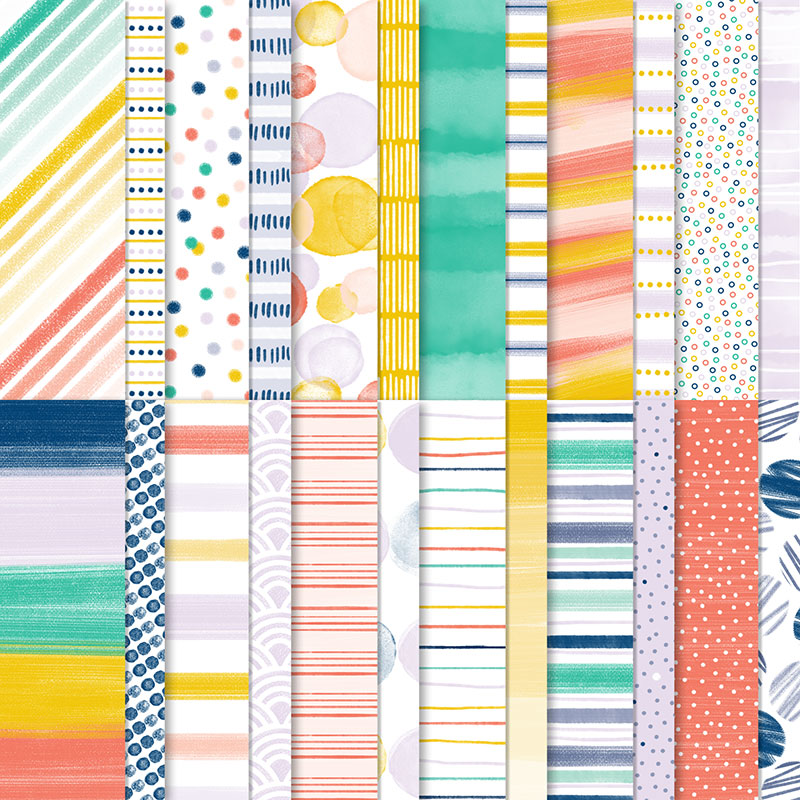
My colors include Fresh Freesia, Blackberry Bliss or Granny Apple Green and White. The DSP is the Toadstool Gardens and the ribbon is the Fresh Freesia seam binding ribbon – both are from our free Sale-a-Bration choice.

Here's the free project tutorial with measurements.  Just click on this link to print or download it. Download Spring Corners fun fold with Toadstook DSP

*Below is the video for this card and another cute card using the Spring Corners set.   

~~~

February Specials:

*current host code link:  

DNXE92GP

Get this free tutorial with any online order in February!

 New Sale-a-Bration items are here!

For every $60 (or $120) you spend you can choose a free item from the SAB catalog! 


 And when you choose the Starter kit in February you get a choice of 2 sets of markers & a free stamp set or an extra $30 in product.  That's $155 in value for just $99! 

Opt in for my Spring catalog Designer Paper share and/or the Spring catalog embellishment share seen below. 

See the details here. 

Contact me here

All Posts

  • Tomorrow is the last day; get two pre-cut kits and save on shipping!


    tomorrow is the last day to get either of my May pre-cut kits to go.  I have two choices!  You can choose one or both!  If you want both I can combine shipping to save you money.

    First is the Quick Cards kit; 10 cards including a few unique folds.  And they're not all flowery either!  Of course you can 'add' flowers if you'd like to…… 


    This kit to go includes $20 in product AND a pre-cut cards kit; all for $28 plus shipping.  The product alone costs just over $24 so you're getting the 10 cards kit for less than $4.  It includes a full pack of 6 X 6" Regals designer series paper, a full spool of White Flax ribbon and 1/2 pkg. of Holiday rhinestones.  

    I used the So Sentimental stamp set on my cards. You can substitute any stamp set you own though. 

    There are three options for you with this kit. Purchase and see them all here. 

    1. First is the complete bundle that includes the pre-cut cards, product, pdf tutorial AND the So Sentimental stamp set for $59.50.
    2. Second choice is the pre-cut cards kit, product and pdf tutorial for $36.
    3. Lastly you can purchase just the pdf tutorial; with no kit or product for $15. 

    *I have a limited number of these kits available.  If you want one; do not wait! Go here to get yours. 

    **If you are already subscribed to my monthly kits to go I have one of these set aside for you.  Do not order another!

    ~~~

    The second available kit includes these gorgeous cards!  Stock up on your supply of masculine cards with this kit that requires NO stamping!

    It includes $18 in products including 1/2 pkg of Come Sail Away Memories & More cards pack and Memories & More cards and envelopes plus a pre-cut kit needed to complete your cards.  It also includes one package of Basic Brads, two spools of twine (Navy & Navy/Sahara Sand) and a few Sail Away trinkets. 

    I have a limited supply of this kit on hand because many of the products are retiring.  Many of these items are on sale right now on the Last Chance list here. 

    Purchase it here by May 17th.

    Both of these kits will be mailed out at the end of this month, which gives you some wonderful crafting time.

    ~~~

    May Specials


    Get my 'ALL Fun Fold cards tutorial' free with any online order.

    It includes directions, photos and measurements for 18 fancy card folds!


    May Host code is EYDJ4MQN

    Get a free pkg. of Noble Peacock rhinestones from me if your order is over $55. 

    Order online here

    Leave a Reply

    Your email address will not be published. Required fields are marked *

  • All Dressed Up dies make the cutest purse!


    Look at these adorable purses made with the All Dressed Up dies! 

    The purse above is made with the Best Dressed designer series paper, Lovely Lipstick card stock and ribbon and one of the special tassels in the suite. You can see everything here.

    These purses can be filled with candy, treats or even 3 X 3" cards. Decorate and finish them as you like; what a special gift! 

    The one below was included in my April cards kit to go and my Spring Retreat!  The purse pieces are textured with the Hammered Metal embossing folder seen here.  It has silver buckles and a button on the cute pocket in the front. 

    Here's a photo of the cards that are inside the purse above. They are the Best Dressed 3 X 3" note cards and envelopes seen here.  They come in a pack of 24 and are on sale for just $4 right now!  That's half off!  They're perfect little add on's for gift cards. 

    ~~~

    May Specials


    Get my 'ALL Fun Fold cards tutorial' free with any online order.

    It includes directions, photos and measurements for 18 fancy card folds!


    May Host code is EYDJ4MQN

    Get a free pkg. of Noble Peacock rhinestones from me if your order is over $55. 

    Order online here

    Leave a Reply

    Your email address will not be published. Required fields are marked *

  • Dressed to Impress meets Ornate Frames for a gorgeous hand made box!


    These are the boxes I included in my Spring Retreat last month.  I think they're gorgeous and was so happy with how they turned out!

    They're hand made from White and Lovely Lipstick card stock with fussy cut flowers and leaves from the Best Dressed designer series paper added to the top. The greeting is from the Dressed to Impress stamp set. The pretty die-cuts are from the Ornate Frames & Ornate Border dies which are now available again!  See them here. 

    Here's a picture of the assembly process: 

    Here are the box dimensions:

    • Top is 3 3/4" X 5 1/2" scored at 3/4" on all sides
    • Bottom is 3 5/8" X 5 3/8" and scored at 3/4" on all sides.  

    Tips:

    • Once you have the box pieces cut and scored you can use the Ornate Border dies to die-cut the pretty windows in the sides.  
    • Cut the White frame using the Ornate Frames dies. Stamp the greeting and add fussy cut leaves and flowers. 
    • Fill with chocolate! 

    ~~~

    May Specials


    Get my 'ALL Fun Fold cards tutorial' free with any online order.

    It includes directions, photos and measurements for 18 fancy card folds!


    May Host code is EYDJ4MQN

    Get a free pkg. of Noble Peacock rhinestones from me if your order is over $55. 

    Order online here

    Leave a Reply

    Your email address will not be published. Required fields are marked *


Notice: LeeAnn Greff, Independent Stampin’ Up! Demonstrator, Manager. The content of this website is my sole responsibility as an independent Stampin’ Up! demonstrator and the use of, and content of, the classes, services, or products offered on this website is not endorsed by Stampin’ Up! Copyright 2025