/


Latest Post

What? Whisper White card stock is discontinued! Snowflake Splendor card & bookmark in a pocket


Sad news!  Here's a message from Stampin' Up! regarding our favorite White card stock:

We are sad to announce that the supplier’s mill producing our Whisper White cardstock has permanently closed due to impacts from the COVID-19 pandemic. Unfortunately, we weren’t given much notice on this closure. This means that the technology unique to this particular supplier is now unavailable to us and we can no longer offer our Whisper White cardstock and related products, such as Whisper White Note Cards & Envelopes. Please note that this won’t affect any of our other cardstocks, this only affects Whisper White.

We know Whisper White has a huge fan base; we’re big fans, too! And we are crushed that it’s going away. Even though this decision was out of our hands, rest assured that we jumped right into action to find the best replacement paper possible. We have dedicated many hours to source and test alternative cardstock options from several suppliers to find the perfect fit that still maintains the Stampin’ Up! quality you know and trust. We are happy to share that we have found a winner for our new cardstock, Basic White!

Our new Basic White products will become available to purchase as soon as we have them in stock. Additionally, due to the nature of sourcing, some Basic White products may not be available before the Whisper White products sell out. Please know that we are working on getting these products available to you as fast as possible.

Below is a list of all products that will be replaced with our new Basic White cardstock. These items are now available while supplies last with an order limit of 2 per item per order.

  • Whisper White 12" x 12" (30.5 x 30.5 cm) Cardstock (124302)
  • Assorted Memories & More Cards & Envelopes (149710)
  • Whisper White Note Cards & Envelopes (131527)
  • Whisper White 3" x 3" (7.6 x 7.6 cm) Envelopes (145829)
  • Whisper White 8-1/2" x 11" Cardstock (100730)
  • Whisper White 8-1/2" x 11" Thick Cardstock (140272)
  • Whisper White Medium Envelopes (107301)

If you love any of these products I recommend you order them ASAP.  Remember there is a limit of 2 per customer. Go here to order.

~~~

Here's a few sparkly projects featuring the Snowflake Splendor designer paper.  I think I could play with this for the next few months!  Here in ND we're usually in snow through March for sure and usually into April. 

For this card I simply cut a few snowflakes from the White panel and adhered it to the designer paper with Dimensionals.  The greeting is heat embossed using White powder on a Highland Heather Stitched Nested Label and a swirl of Iridescent ribbon is added behind it.  

This pretty paper is on the Closeout Sale happening now here.  It's 30% off while supplies last.  The Snowflake Wishes bundle is returning next year; I've used it a ton! 

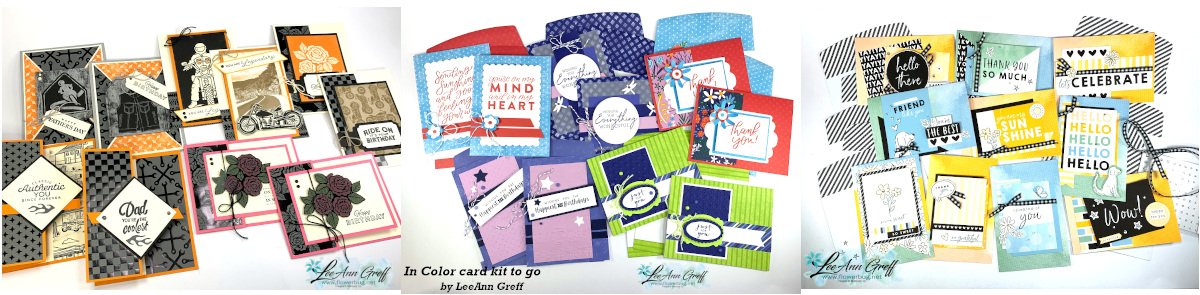
Today is the last day to get my Snowflake Splendor kit to go.  It includes these same products: a half pkg. of this pretty paper, Iridescent ribbon and the pretty blue faceted gems plus 10 pre-cut fun fold cards.  That's $20 in product AND the 10 pre-cut cards for just $28.  Go here to get yours.    Or get the tutorial here. 

Here are the directions for the bookmark pocket:

  • Start with a 6” square for bookmark pocket; score lightly at 3”
  • Fold the Designer Paper in half at the 3” mark.  Then fold down the upper corner and glue down.
  • Use Stampin’ Seal on the lower and right side edges to close the pocket.
  • Punch the ends of the Highland Heather strip (1 ¼” X 8”, scored at 4)  and adhere across the lower middle. 
  • Stamp the greeting in Pacific Point ink onto the White Nested label die-cut (1 ½” X 2 ¾” finished size). Add with Stampin’ Dimensionals.
  • Add a few White snowflakes with Multipurpose Glue. Add a few Blue Gems.
  • Stamp the greeting on the Bookmark using Pacific Point ink.  Add some snowflakes in Highland Heather ink, stamping off first for a lighter hue
  • Punch the upper end with the Fancy Tag Topper punch. Fold a 6” length of ribbon in half and insert the folded end in the front and pull the tails through the loop.  Tighten carefully, one end at a time. 


~~~


December Ordering Special: 

Current Host code is AHJNPWNB

Order online here

All online orders will receive my 16 Christmas cards class PDF!

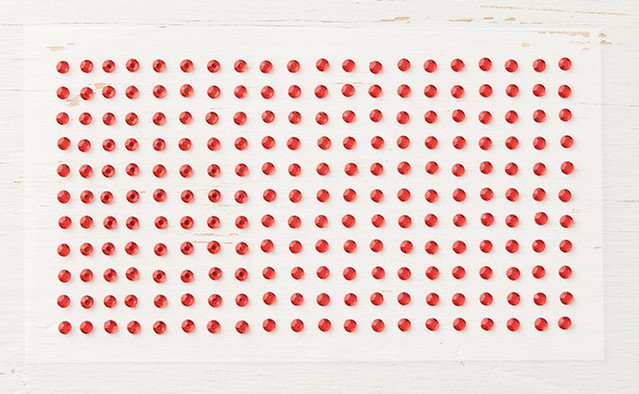
Get a free package of 220 Red Rhinestones from me with an online order over $50 using the host code above.
Below are the Multipurpose Glue stands we're making. They're $6 each and available in my Shop here.  

All Posts

  • Birthday ‘Tackle’ Treat box with video tutorial & measurements!


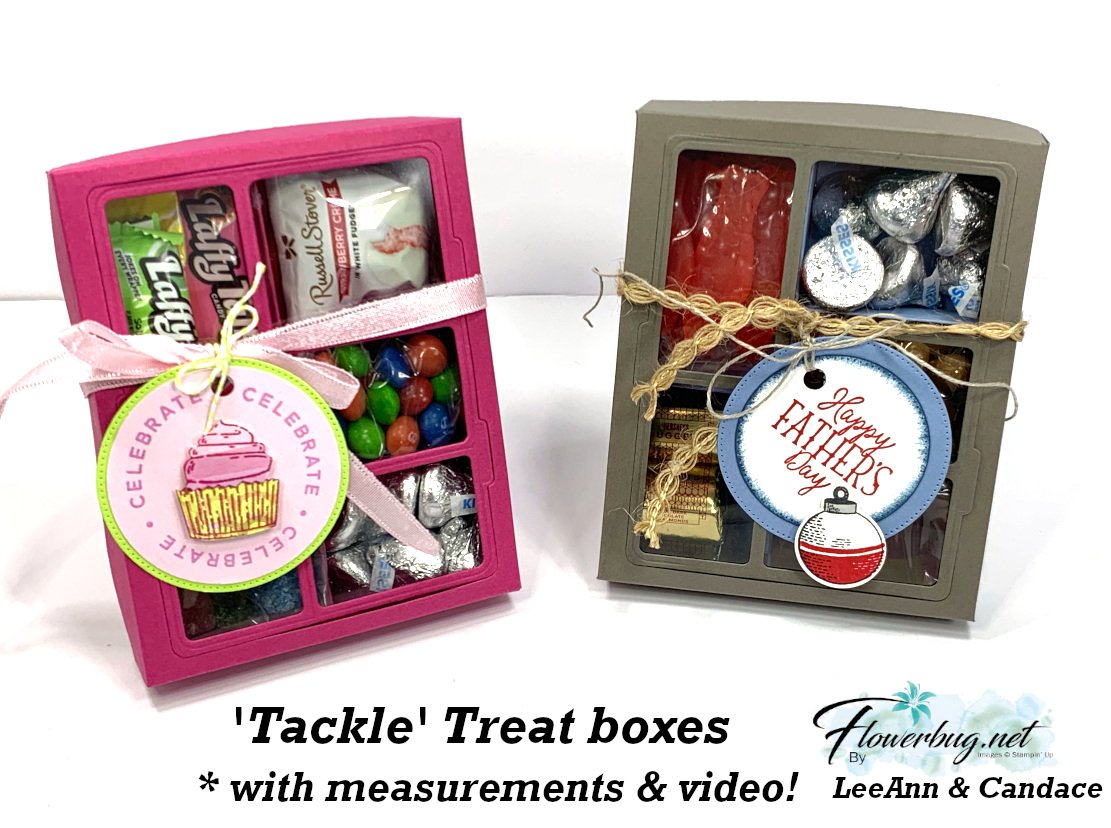
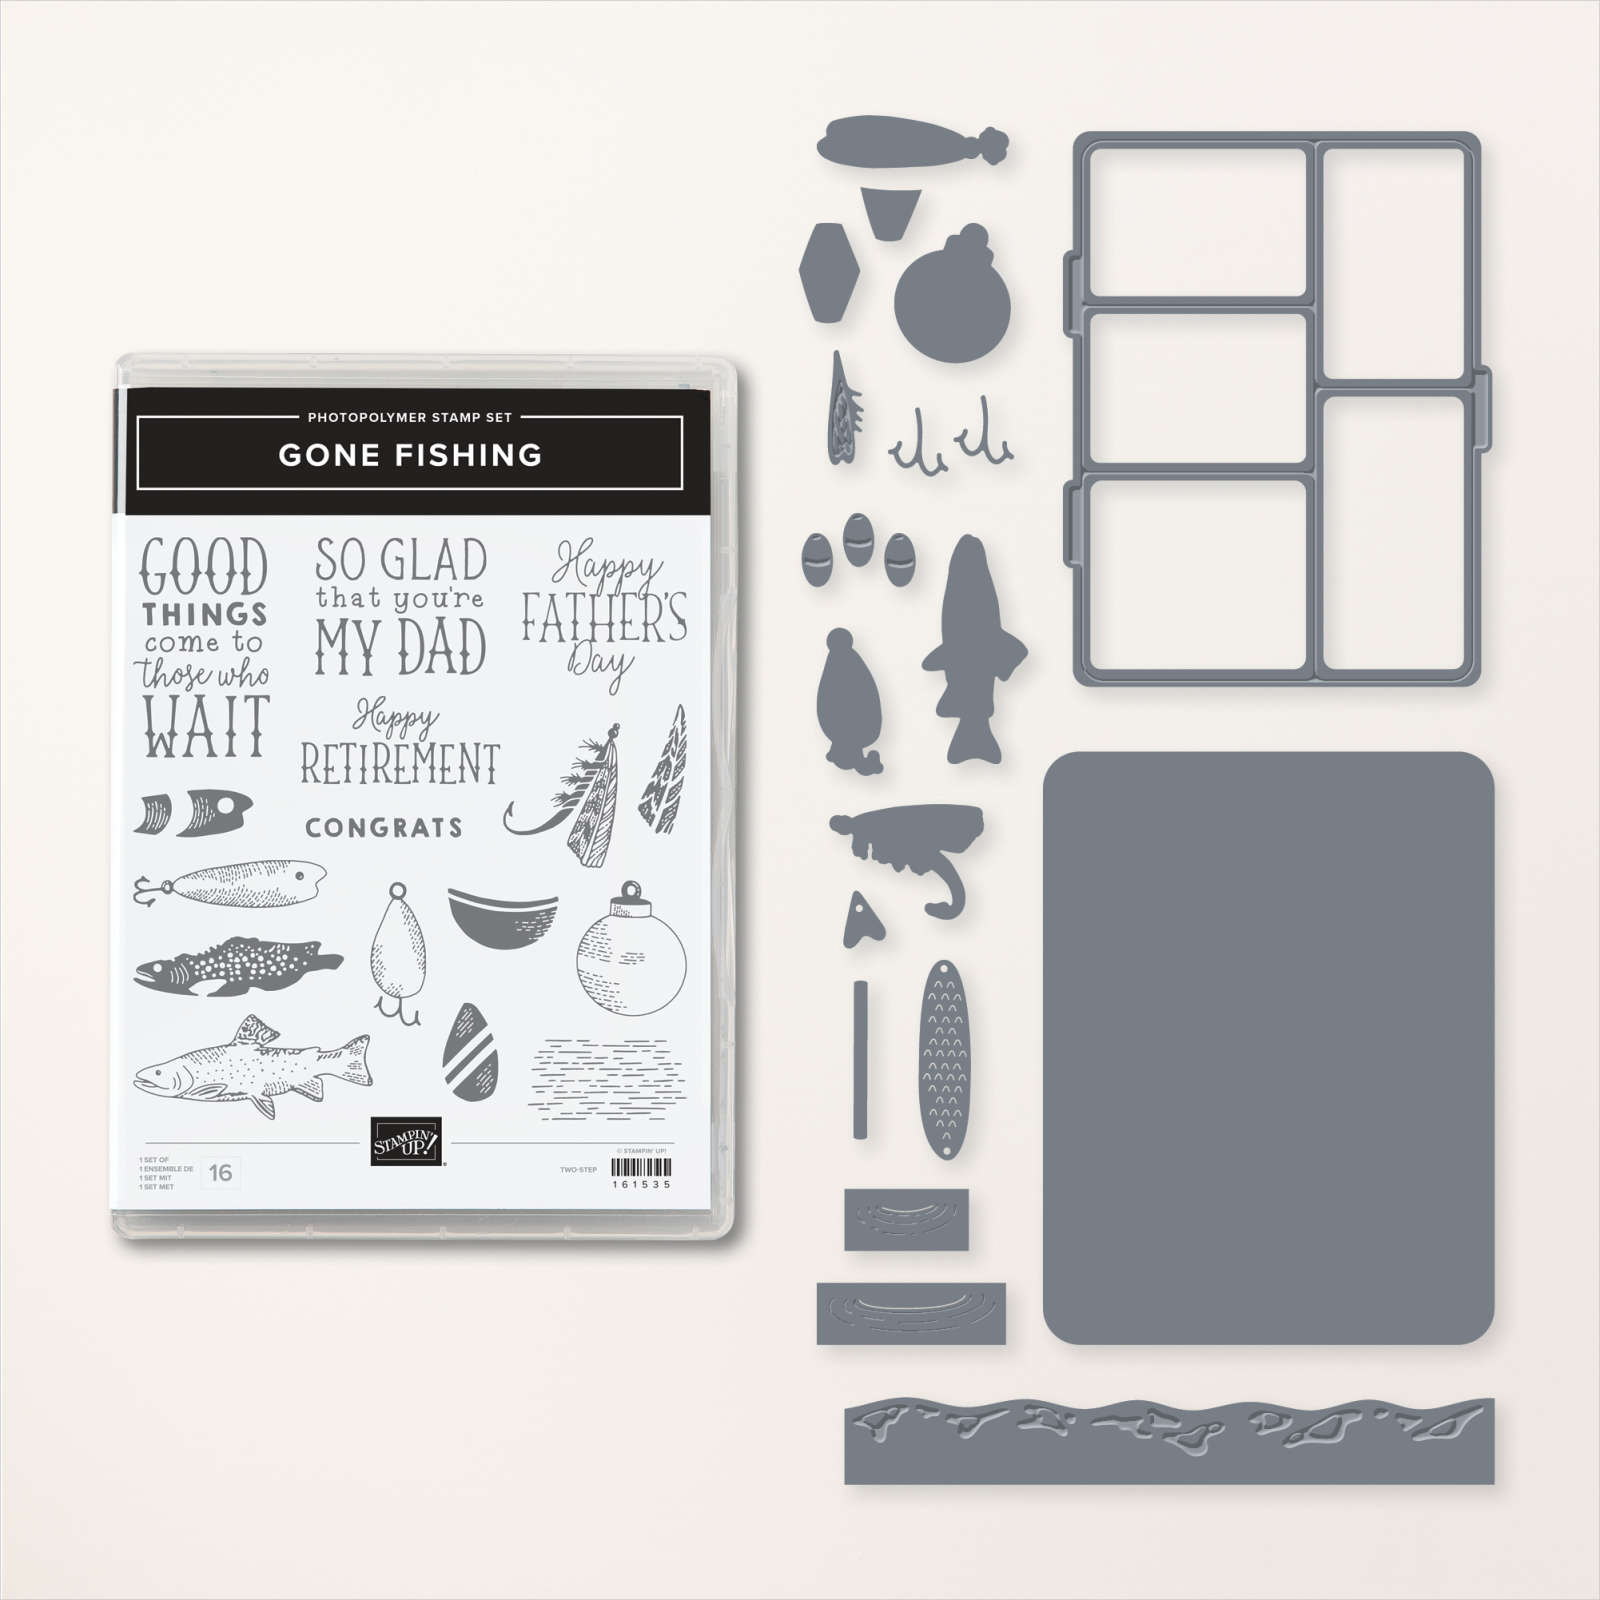
    I was so inspired by the 'Tackle' box Candace created for her 'Artist of the Month' projects I had to try making one.  She made hers with the Gone Fishing suite.  And she made this project up herself – she's incredible with box designs!  I decided to recreate it on a video and share it with you.  

    Isn't it amazing? I thought it would be really challenging to make, but with her box as my starting point it wasn't bad at all. And the Gone Fishing dies make the 'window' front a breeze. 

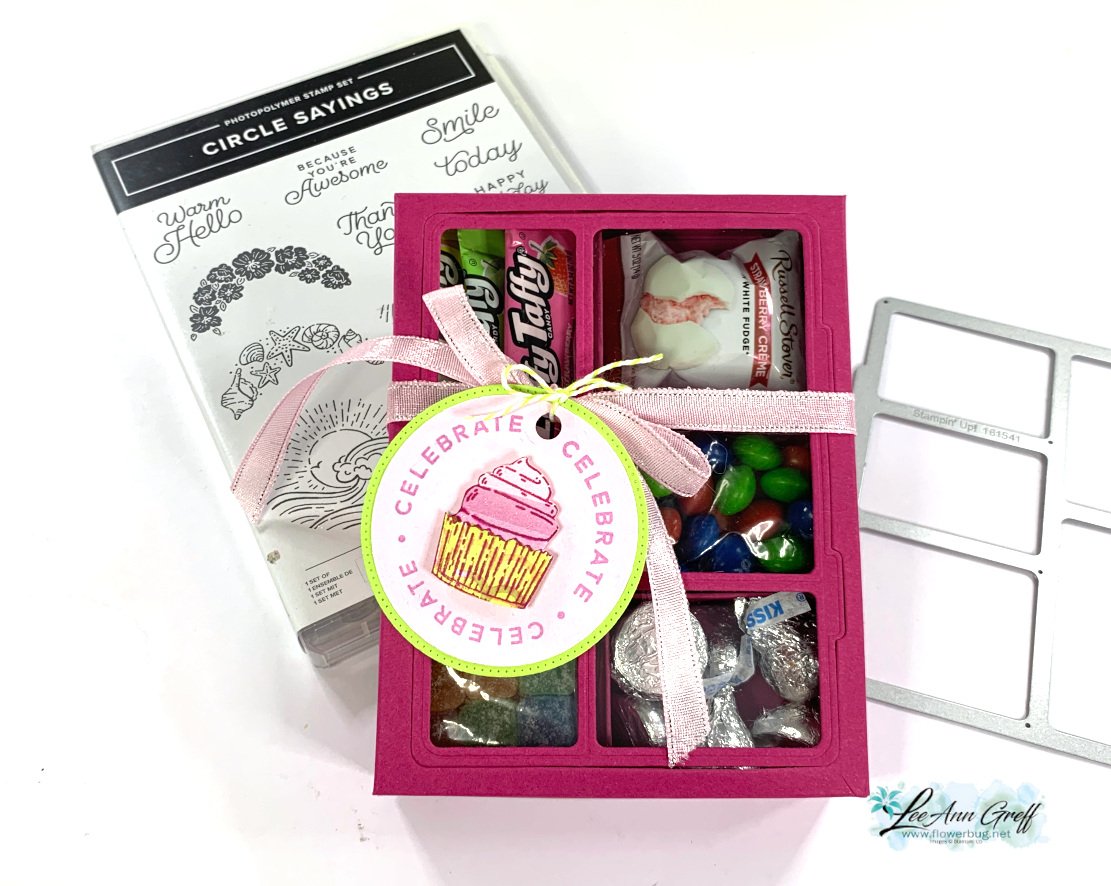
    I chose to use Berry Burst as my box color because I wanted it to be bright and happy for a Birthday gift.  I went to the dollar store and found some fun candy treats to add. I put the loose candies in small baggies I had on hand. 

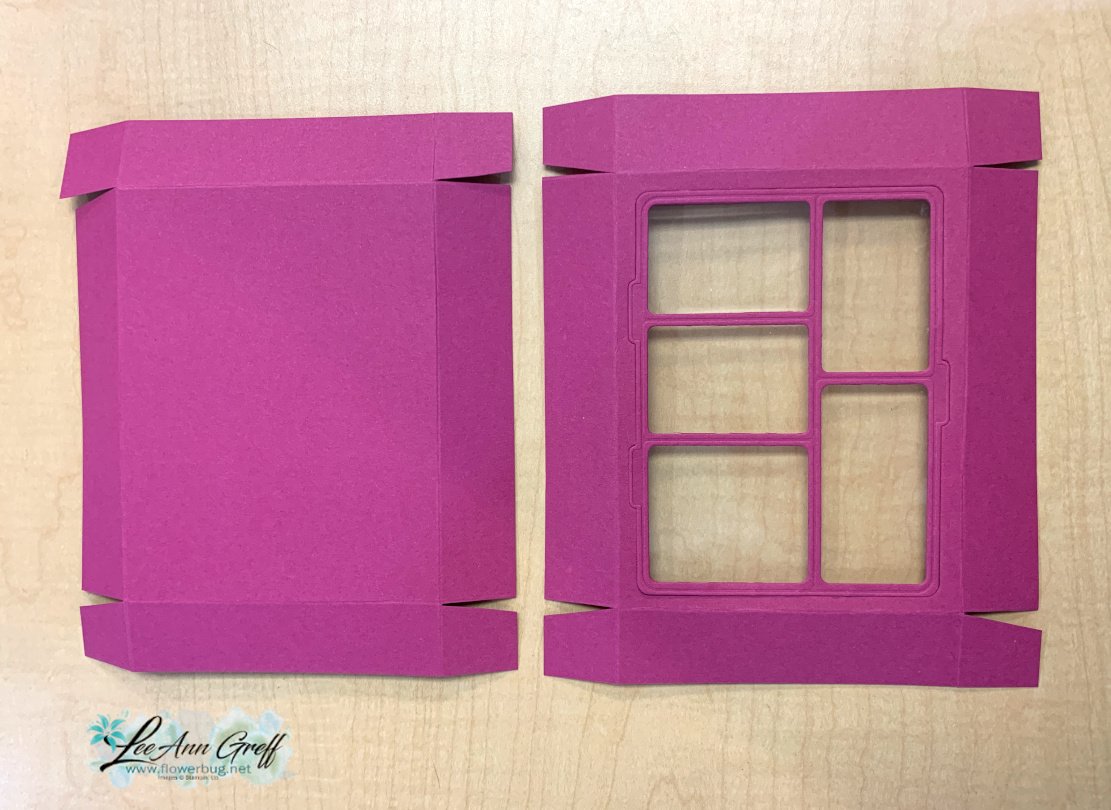
    The box is quite easy to put together. After scoring the box lid, be sure to die-cut the 'window' using the Gone Fishing die.  Then you adhere it to a window sheet and add to the inside front of the box lid. 

    I notched the tabs before adhering. 

    • top of box 6 1/4 X 7 1/2" score 1" on all sides
    • bottom of box 6 1/8" X 7 3/8" score at 1" on all sides
    • window sheet 4 1/8" X 5 1/4" 
    • left inside divider (two compartments) is 1 7/8" X 6 3/4" score at 2 3/4", 3 1/2" & 4 1/4" 
    • right inside divider (three compartments) is 2 1/8" X  8 1/4" scored at 2", 2 3/4", 3 1/2", 5 1/8", 5 7/8" & 6 5/8" 
    • inside bottom – add under the two divided sections; 5 1/4" X 5 5/8" score at 1 7/8", 2 5/8" & 3 3/8".  (It's shown vertically in the photo below)

    Watch the video to see how these sections go together.   

    You can see the Gone Fishing bundle here.  *They're currently out of stock but should be back in late August. 

    I chose the Circle Sayings bundle for my greeting tag. *see it here It's quite a versatile set and pairing it with the coordinating 2 2/8" circle punch was so smart of Stampin' Up!  *I added a die-cut stitched Lemon Lime Twist circle from the Stylish Shapes dies.


    You can watch the video on this project here.  It's the last project. Or click on the photo below to watch it below.  *Remember to follow me on either my FB page here (Tuesday Live videos) or my YouTube channel here. 

    ~~~

    July Specials: 

    Bonus Days!

    Get a $5 coupon for each $50 order you place in July.  Use the coupon in August!


    Clearance Rack update!

    See all items available here

     NEW Online Exclusives will be available

    See them all here

    ~~~

    Plus my monthly special for online orders:

    Get a free card kit & a new Beautifully Happy stamp set 

    with online orders over $65; must use a host code.

     *current host code: MY4YDGEM

    Leave a Reply

    Your email address will not be published. Required fields are marked *

  • Tomorrow is the last day – Inventory Reduction Sale; get a free stamp set in your package!


    There are just 2 days left of my Inventory reduction sale! 

    I have excess of 5 previous card kits to go so I'm offering a special through tomorrow, Sunday, July 16th.

     I'll add a free stamp set (retired but new) to your package with the purchase

    of any 2 or more pre-cut kits in my Shop. 

    *see them all here

    Leave a Reply

    Your email address will not be published. Required fields are marked *

  • Three more background ideas on these Team swap cards


    Our Flowerbug's Team card swap theme was to create our own backgrounds.  I shared three cards yesterday and here are three more:

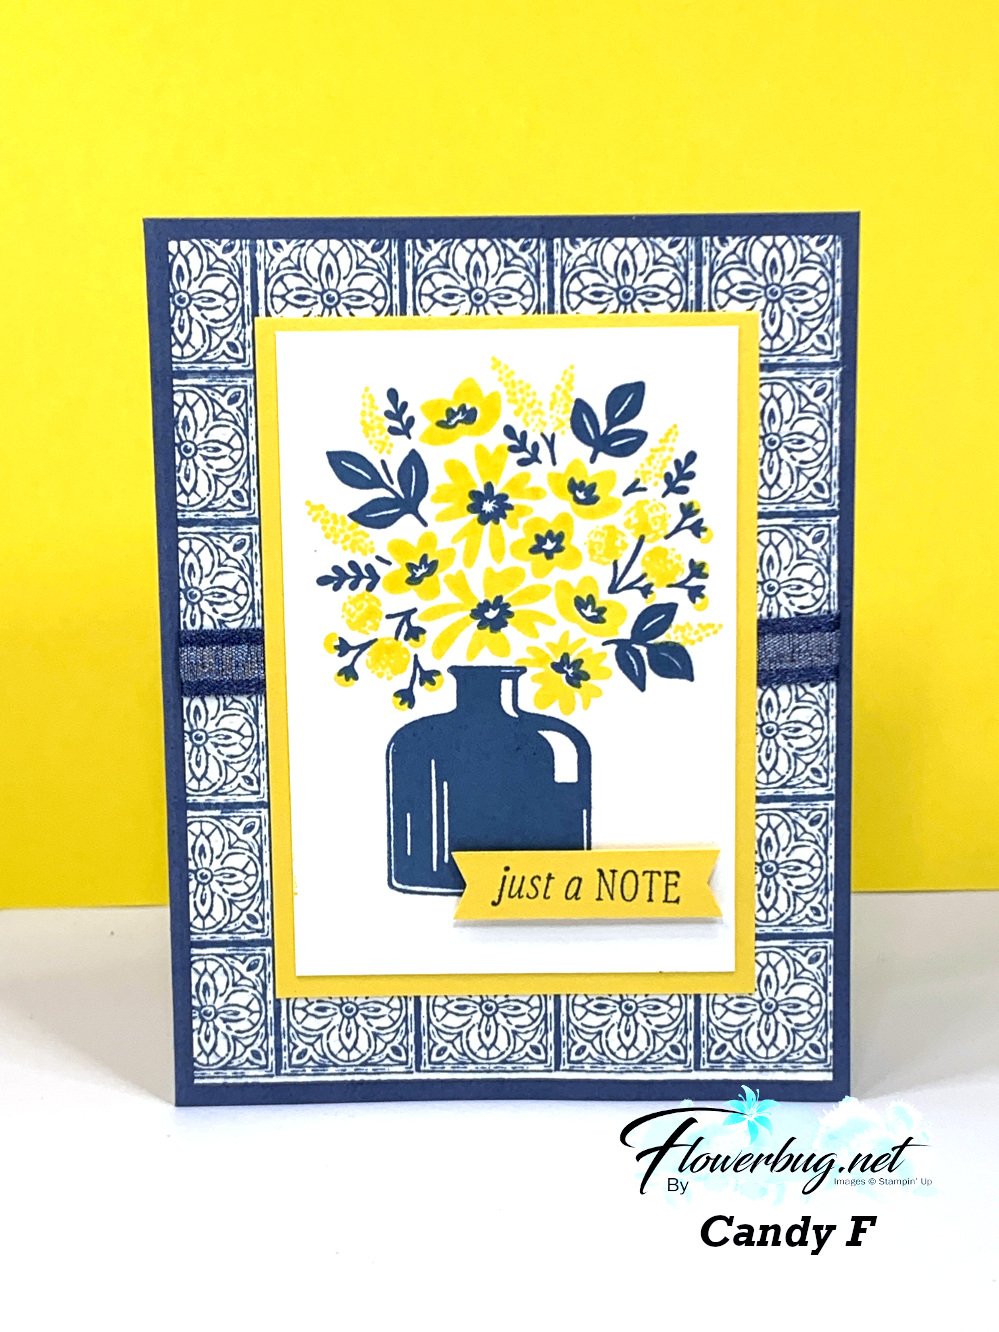
    Yellow is the underlying color on each of these swaps which is a perfect color for summertime. First is a pretty card in a blue & yellow combo by Candy.  

    She stamped the Timeless Tile background stamp and then textured it with an embossing folder.  She also used the Bottled Happiness stamp set. Her colors include Misty Moonlight & Daffodil Delight.  Such a beautiful card!

    ~~~

    Next is a card made by Jacki with the Hello Ladybug stamp set & Ladybug Builder punch.

    She stamped her background with the daisy image in the stamp set, heat embossing it with White embossing powder.  It sure pops on the Black card stock!  She added Daffodil Delight & White card stock for a poppin' color combo.

    I LOVE her bumble bee!  She used the punch for the body (adding Daffodil Delight strips to the Black body) and the wings are punched from Window Sheets.  So clever and fun. 

    ~~~

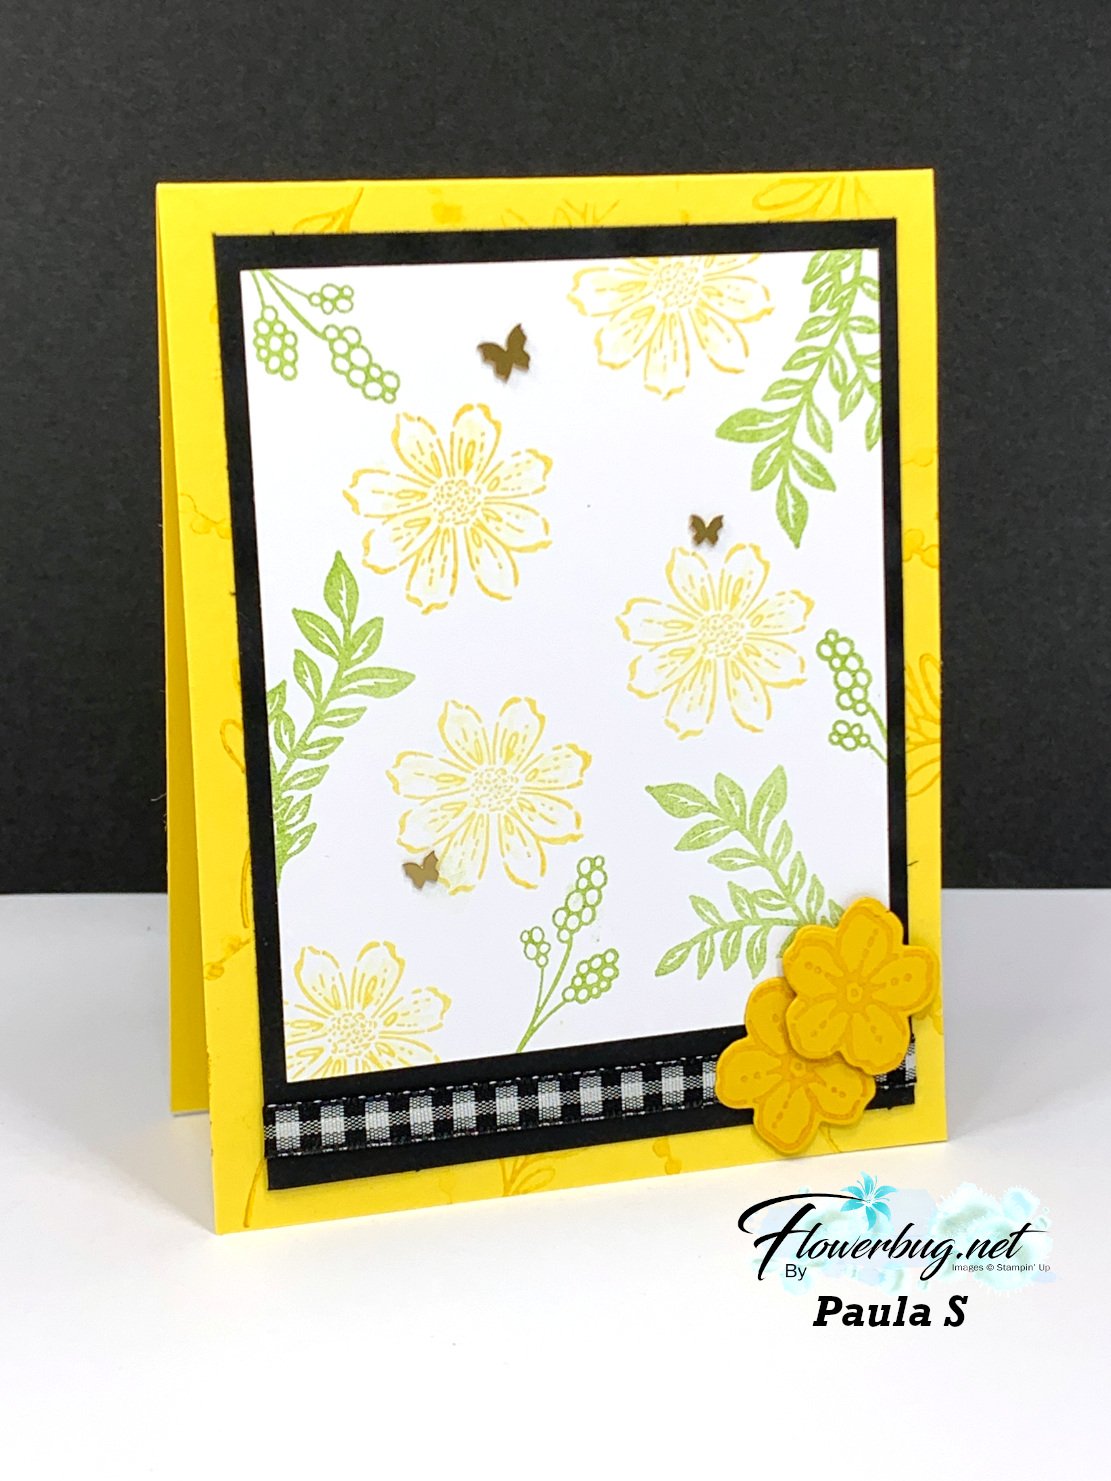
    Next is another pretty card made by Paula. She featured the Petal Park, Two-Tone Flora and Timeless Arrangements stamp sets. 

    Her colors include Daffodil Delight, Black, White & Old Olive, stamped off.  She added a few Brass Butterflies and our Black & White gingham ribbon.  

    I'll share the rest of our swaps next week.  Have a great weekend! 

    ~~~

    Tomorrow is the last day of my special offer on my card kits to go. 

    *Buy two past kits and I'll add a new/retired stamp set to your package. There are 7 choices! Go here to shop. 


     ~~~

    July Specials: 

    Bonus Days!

    Get a $5 coupon for each $50 order you place in July.  Use the coupon in August!

    There's a Clearance Rack update!

    See all items available here

    NEW Online Exclusives 

    See them all here

    ~~~

    My monthly special for online orders:

    Get a free card kit & a new Beautifully Happy stamp set 

    with online orders over $65; must use a host code.

    *current host code: MY4YDGEM

    Leave a Reply

    Your email address will not be published. Required fields are marked *


Notice: LeeAnn Greff, Independent Stampin’ Up! Demonstrator, Manager. The content of this website is my sole responsibility as an independent Stampin’ Up! demonstrator and the use of, and content of, the classes, services, or products offered on this website is not endorsed by Stampin’ Up! Copyright 2025