/


Latest Post

What? Whisper White card stock is discontinued! Snowflake Splendor card & bookmark in a pocket


Sad news!  Here's a message from Stampin' Up! regarding our favorite White card stock:

We are sad to announce that the supplier’s mill producing our Whisper White cardstock has permanently closed due to impacts from the COVID-19 pandemic. Unfortunately, we weren’t given much notice on this closure. This means that the technology unique to this particular supplier is now unavailable to us and we can no longer offer our Whisper White cardstock and related products, such as Whisper White Note Cards & Envelopes. Please note that this won’t affect any of our other cardstocks, this only affects Whisper White.

We know Whisper White has a huge fan base; we’re big fans, too! And we are crushed that it’s going away. Even though this decision was out of our hands, rest assured that we jumped right into action to find the best replacement paper possible. We have dedicated many hours to source and test alternative cardstock options from several suppliers to find the perfect fit that still maintains the Stampin’ Up! quality you know and trust. We are happy to share that we have found a winner for our new cardstock, Basic White!

Our new Basic White products will become available to purchase as soon as we have them in stock. Additionally, due to the nature of sourcing, some Basic White products may not be available before the Whisper White products sell out. Please know that we are working on getting these products available to you as fast as possible.

Below is a list of all products that will be replaced with our new Basic White cardstock. These items are now available while supplies last with an order limit of 2 per item per order.

  • Whisper White 12" x 12" (30.5 x 30.5 cm) Cardstock (124302)
  • Assorted Memories & More Cards & Envelopes (149710)
  • Whisper White Note Cards & Envelopes (131527)
  • Whisper White 3" x 3" (7.6 x 7.6 cm) Envelopes (145829)
  • Whisper White 8-1/2" x 11" Cardstock (100730)
  • Whisper White 8-1/2" x 11" Thick Cardstock (140272)
  • Whisper White Medium Envelopes (107301)

If you love any of these products I recommend you order them ASAP.  Remember there is a limit of 2 per customer. Go here to order.

~~~

Here's a few sparkly projects featuring the Snowflake Splendor designer paper.  I think I could play with this for the next few months!  Here in ND we're usually in snow through March for sure and usually into April. 

For this card I simply cut a few snowflakes from the White panel and adhered it to the designer paper with Dimensionals.  The greeting is heat embossed using White powder on a Highland Heather Stitched Nested Label and a swirl of Iridescent ribbon is added behind it.  

This pretty paper is on the Closeout Sale happening now here.  It's 30% off while supplies last.  The Snowflake Wishes bundle is returning next year; I've used it a ton! 

Today is the last day to get my Snowflake Splendor kit to go.  It includes these same products: a half pkg. of this pretty paper, Iridescent ribbon and the pretty blue faceted gems plus 10 pre-cut fun fold cards.  That's $20 in product AND the 10 pre-cut cards for just $28.  Go here to get yours.    Or get the tutorial here. 

Here are the directions for the bookmark pocket:

  • Start with a 6” square for bookmark pocket; score lightly at 3”
  • Fold the Designer Paper in half at the 3” mark.  Then fold down the upper corner and glue down.
  • Use Stampin’ Seal on the lower and right side edges to close the pocket.
  • Punch the ends of the Highland Heather strip (1 ¼” X 8”, scored at 4)  and adhere across the lower middle. 
  • Stamp the greeting in Pacific Point ink onto the White Nested label die-cut (1 ½” X 2 ¾” finished size). Add with Stampin’ Dimensionals.
  • Add a few White snowflakes with Multipurpose Glue. Add a few Blue Gems.
  • Stamp the greeting on the Bookmark using Pacific Point ink.  Add some snowflakes in Highland Heather ink, stamping off first for a lighter hue
  • Punch the upper end with the Fancy Tag Topper punch. Fold a 6” length of ribbon in half and insert the folded end in the front and pull the tails through the loop.  Tighten carefully, one end at a time. 


~~~


December Ordering Special: 

Current Host code is AHJNPWNB

Order online here

All online orders will receive my 16 Christmas cards class PDF!

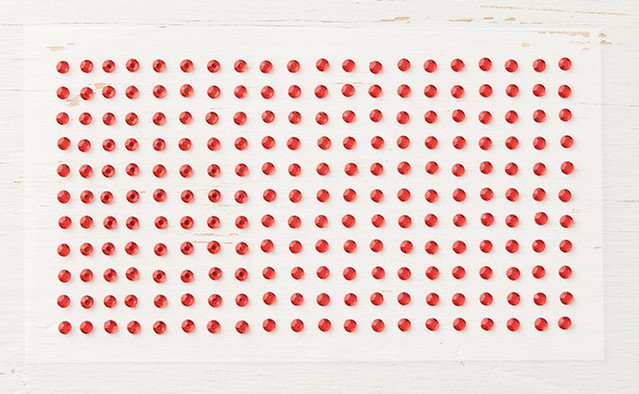
Get a free package of 220 Red Rhinestones from me with an online order over $50 using the host code above.
Below are the Multipurpose Glue stands we're making. They're $6 each and available in my Shop here.  

All Posts

  • Gorgeous Rocker cards with a video tutorial & free project sheet!


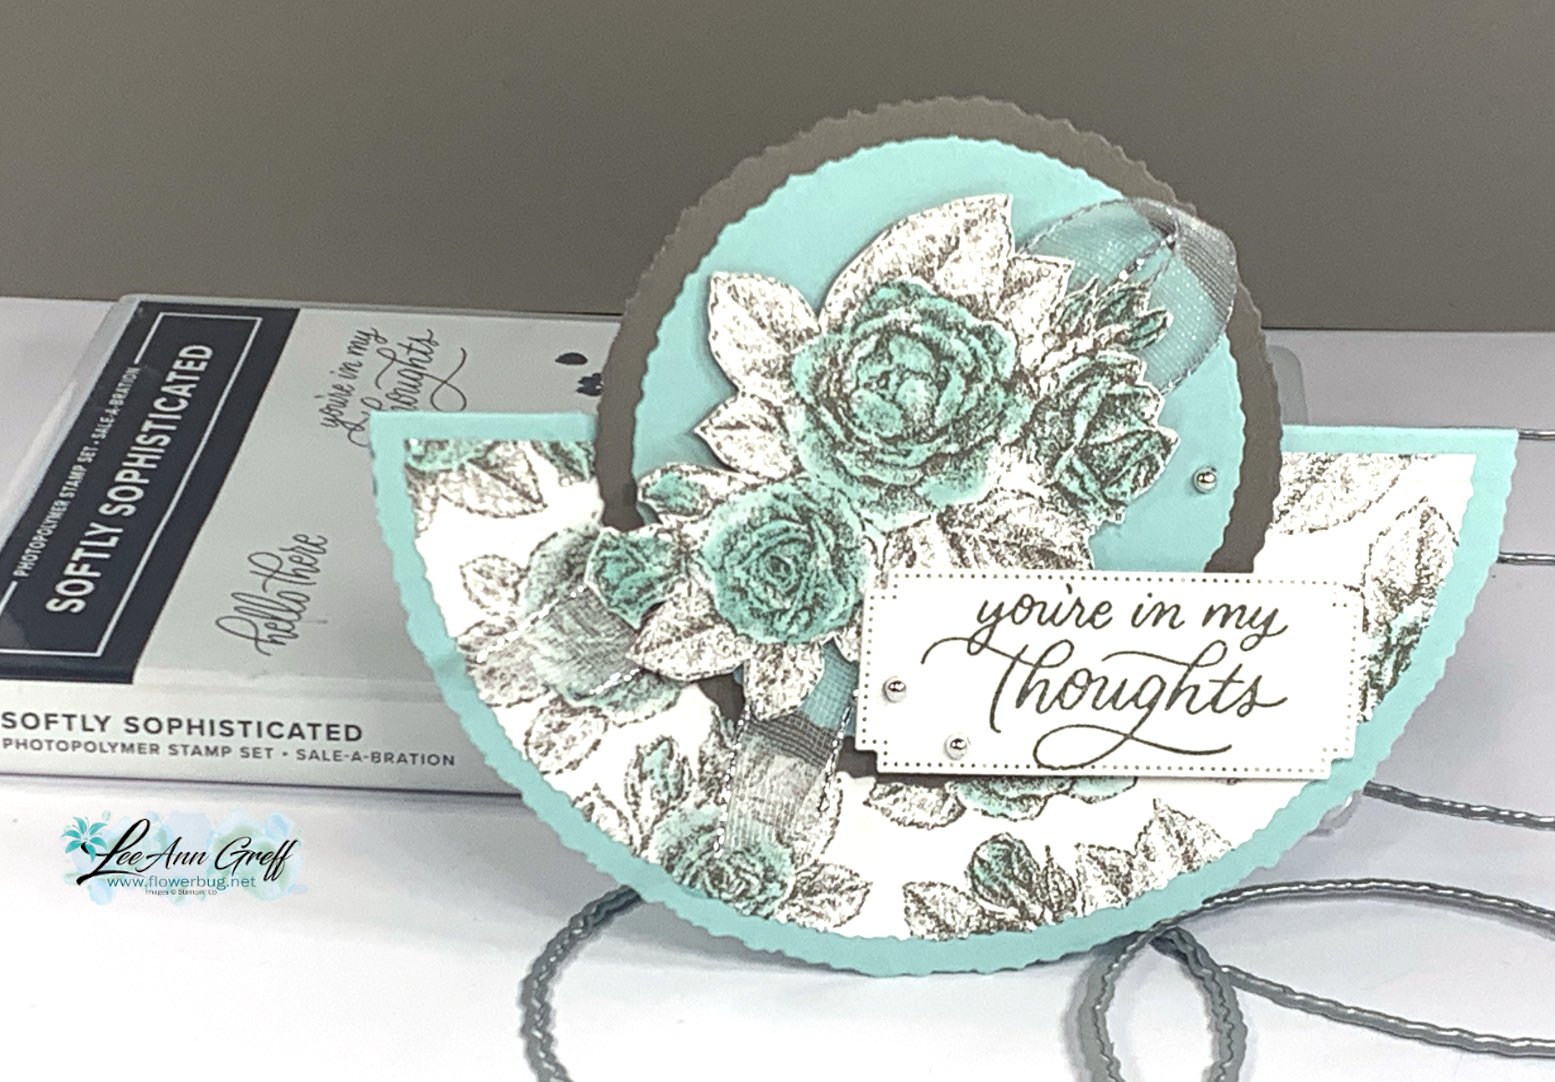
    Here's another special card I shared on last week's Live video. It's called a 'rocker card'. 

    The pretty roses are from the Softly Stippled designer series paper – seen here in our Sale-a-Bration catalog. I fussy cut the roses on the upper circles and colored them with Pool Party ink and a Wink of Stella. I love coloring with my Wink of Stella as it adds a beautiful shimmer. Watch the video below to see how. 

    It's made with our Deckled Circle dies seen here. There are a ton of them in the set – 14 sizes! They carried over from our Holiday catalog and can be seen online. 

    For the card base I used the second from the largest die; it's almost 5 1/2" wide. Once you cut it, score it in half at 2 3/4". 

    Of course you'll use the next size down for the front half layer and the inside. 

    Click on this link to download the free project sheet. Download Softly Stippled Rocker cards

    I post at least two of these free tutorials each week!  I hope you'll subscribe to my blog. Go to the right side and click on 'get email updates'.  Then you won't miss a thing! 

    The second sample was made with Calypso Coral & Pebbled Path. It seems like Pebbled Path is a perfectly beautiful color to pair most of our soft colors with. 

    My greetings are from the Softly Sophisticated bundle seen here. It's paired with a beautiful embossing folder and is free with any $100 purchase from Stampin' Up!. 


    Click here or on the photo below to watch my video tutorial on this card and TWO more pretty cards featuring this beautiful designer paper and stamp & embossing folder bundle.  These cards are the second cards shown.  

    ~~~

    January Specials: 

    Earn FREE products with your Stampin' Up! purchase during

    Sale-a-Bration! *click here

    ~~~

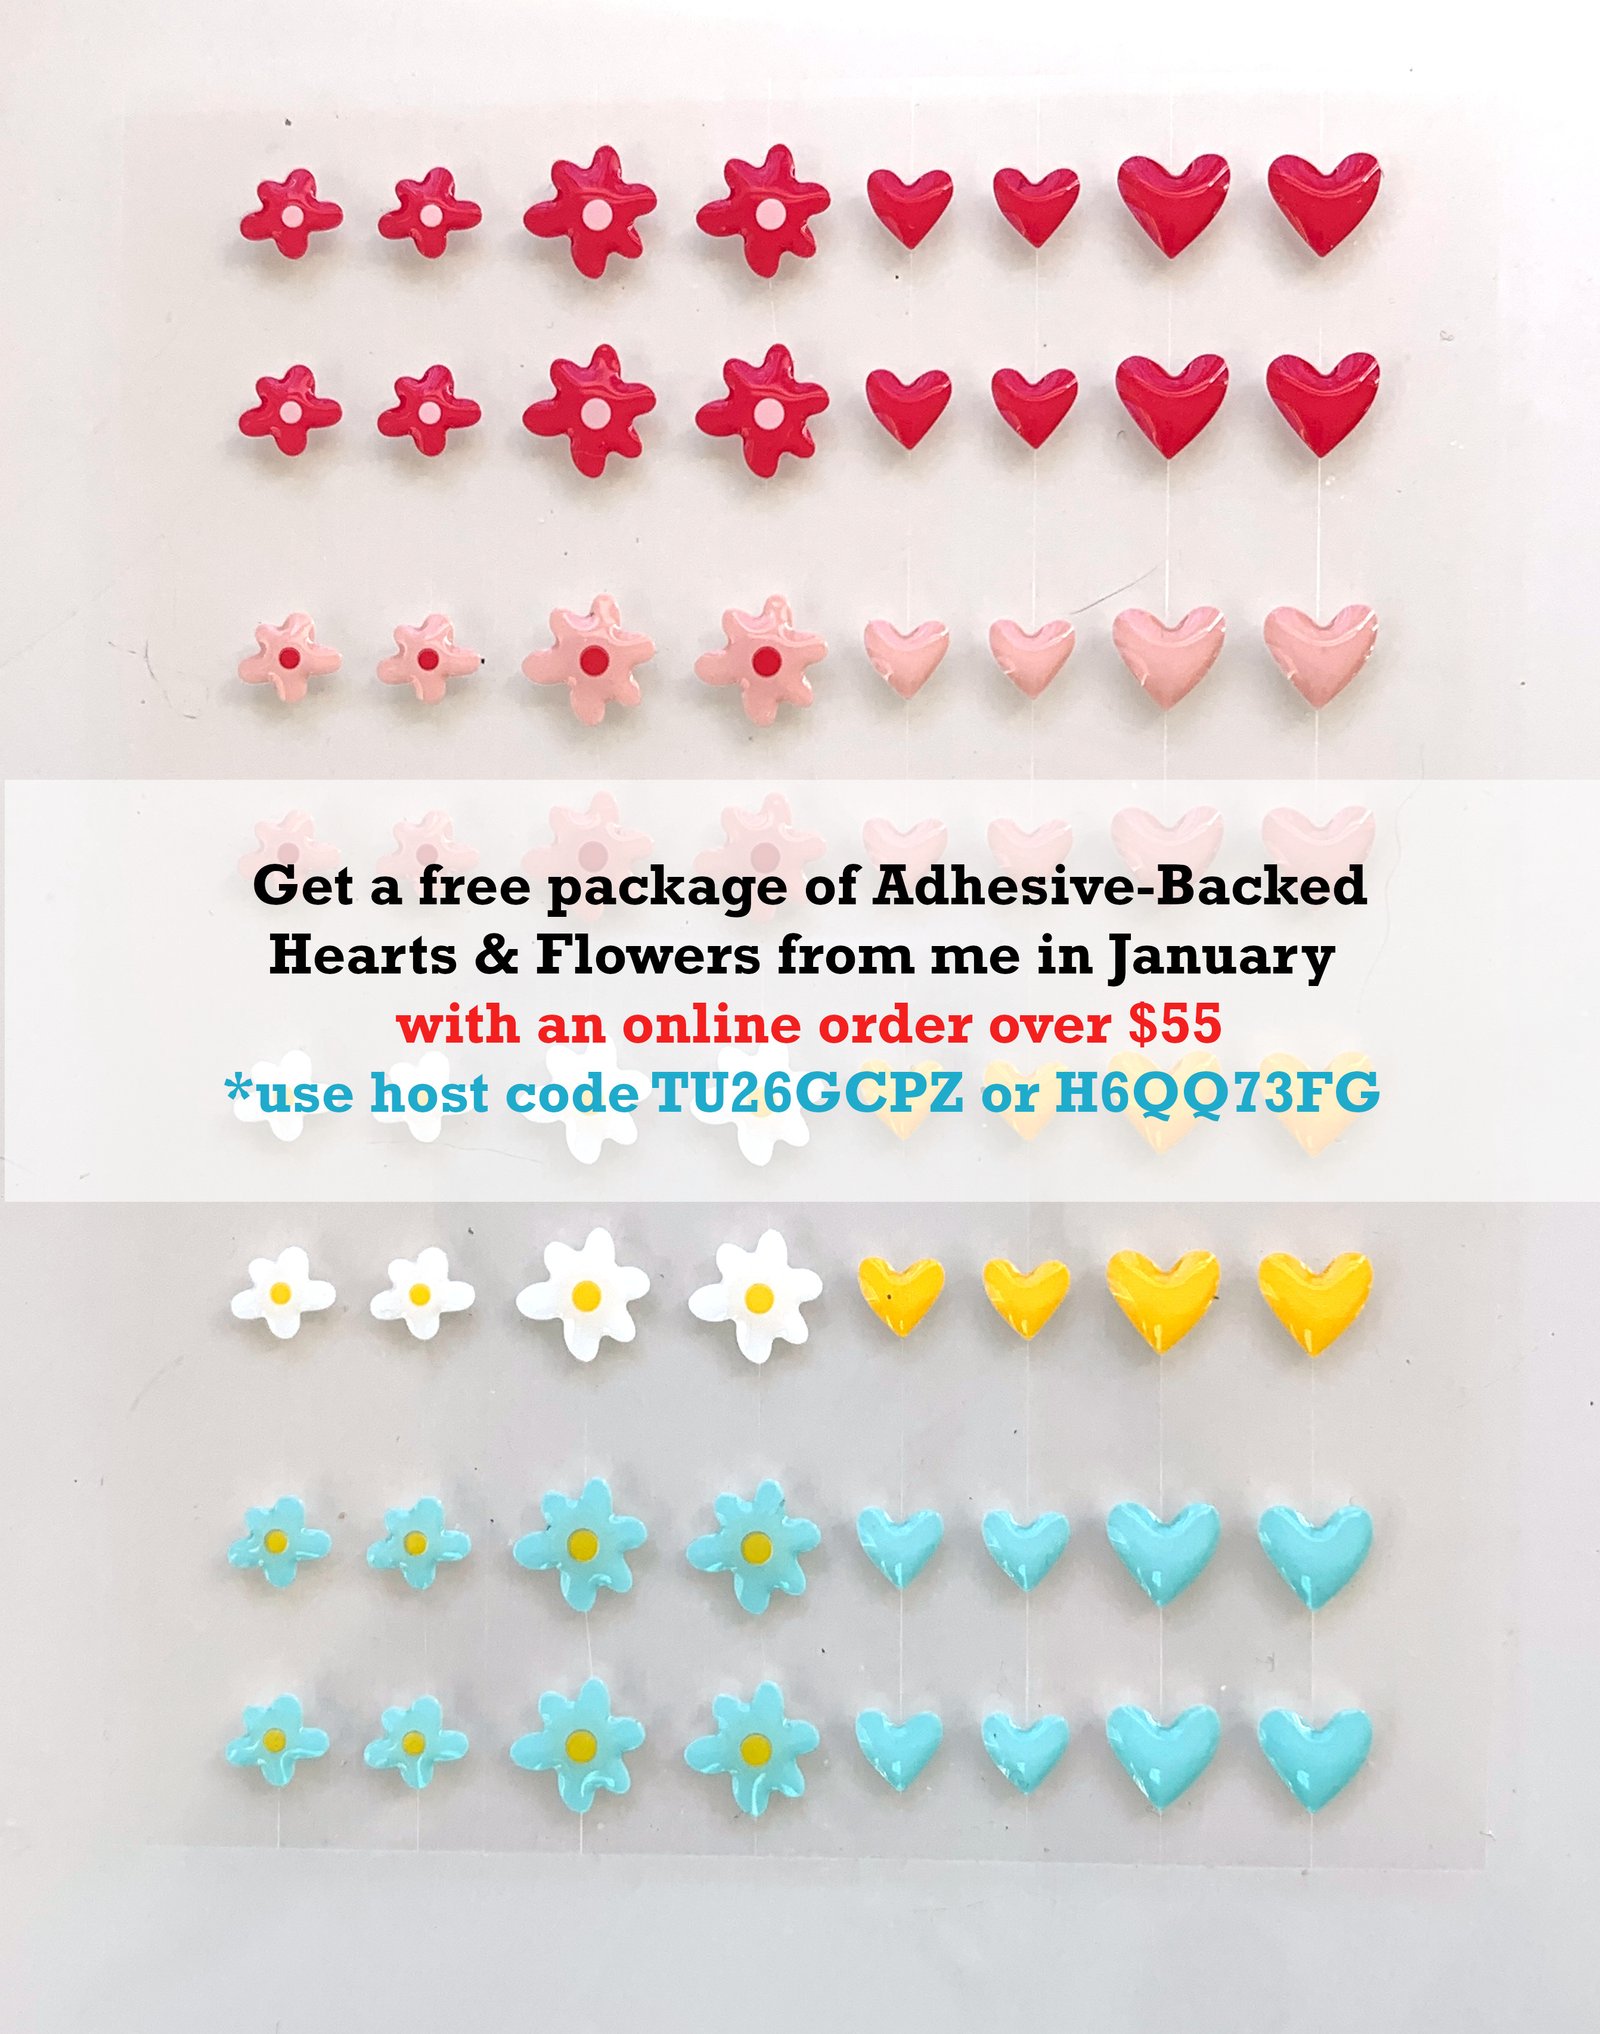
    Get a free embellishment from the 2024 Spring catalog

    with an online order over $55


    *current host codes QS26PCUJ

    ~~~

    I have several pre-cut card & scrapbook kits to go; ready to mail out!

    Click here to see them all.

    Leave a Reply

    Your email address will not be published. Required fields are marked *

  • Wow – Texturing Vellum is a fabulous effect! Check out this pretty Softly Sophisticated card


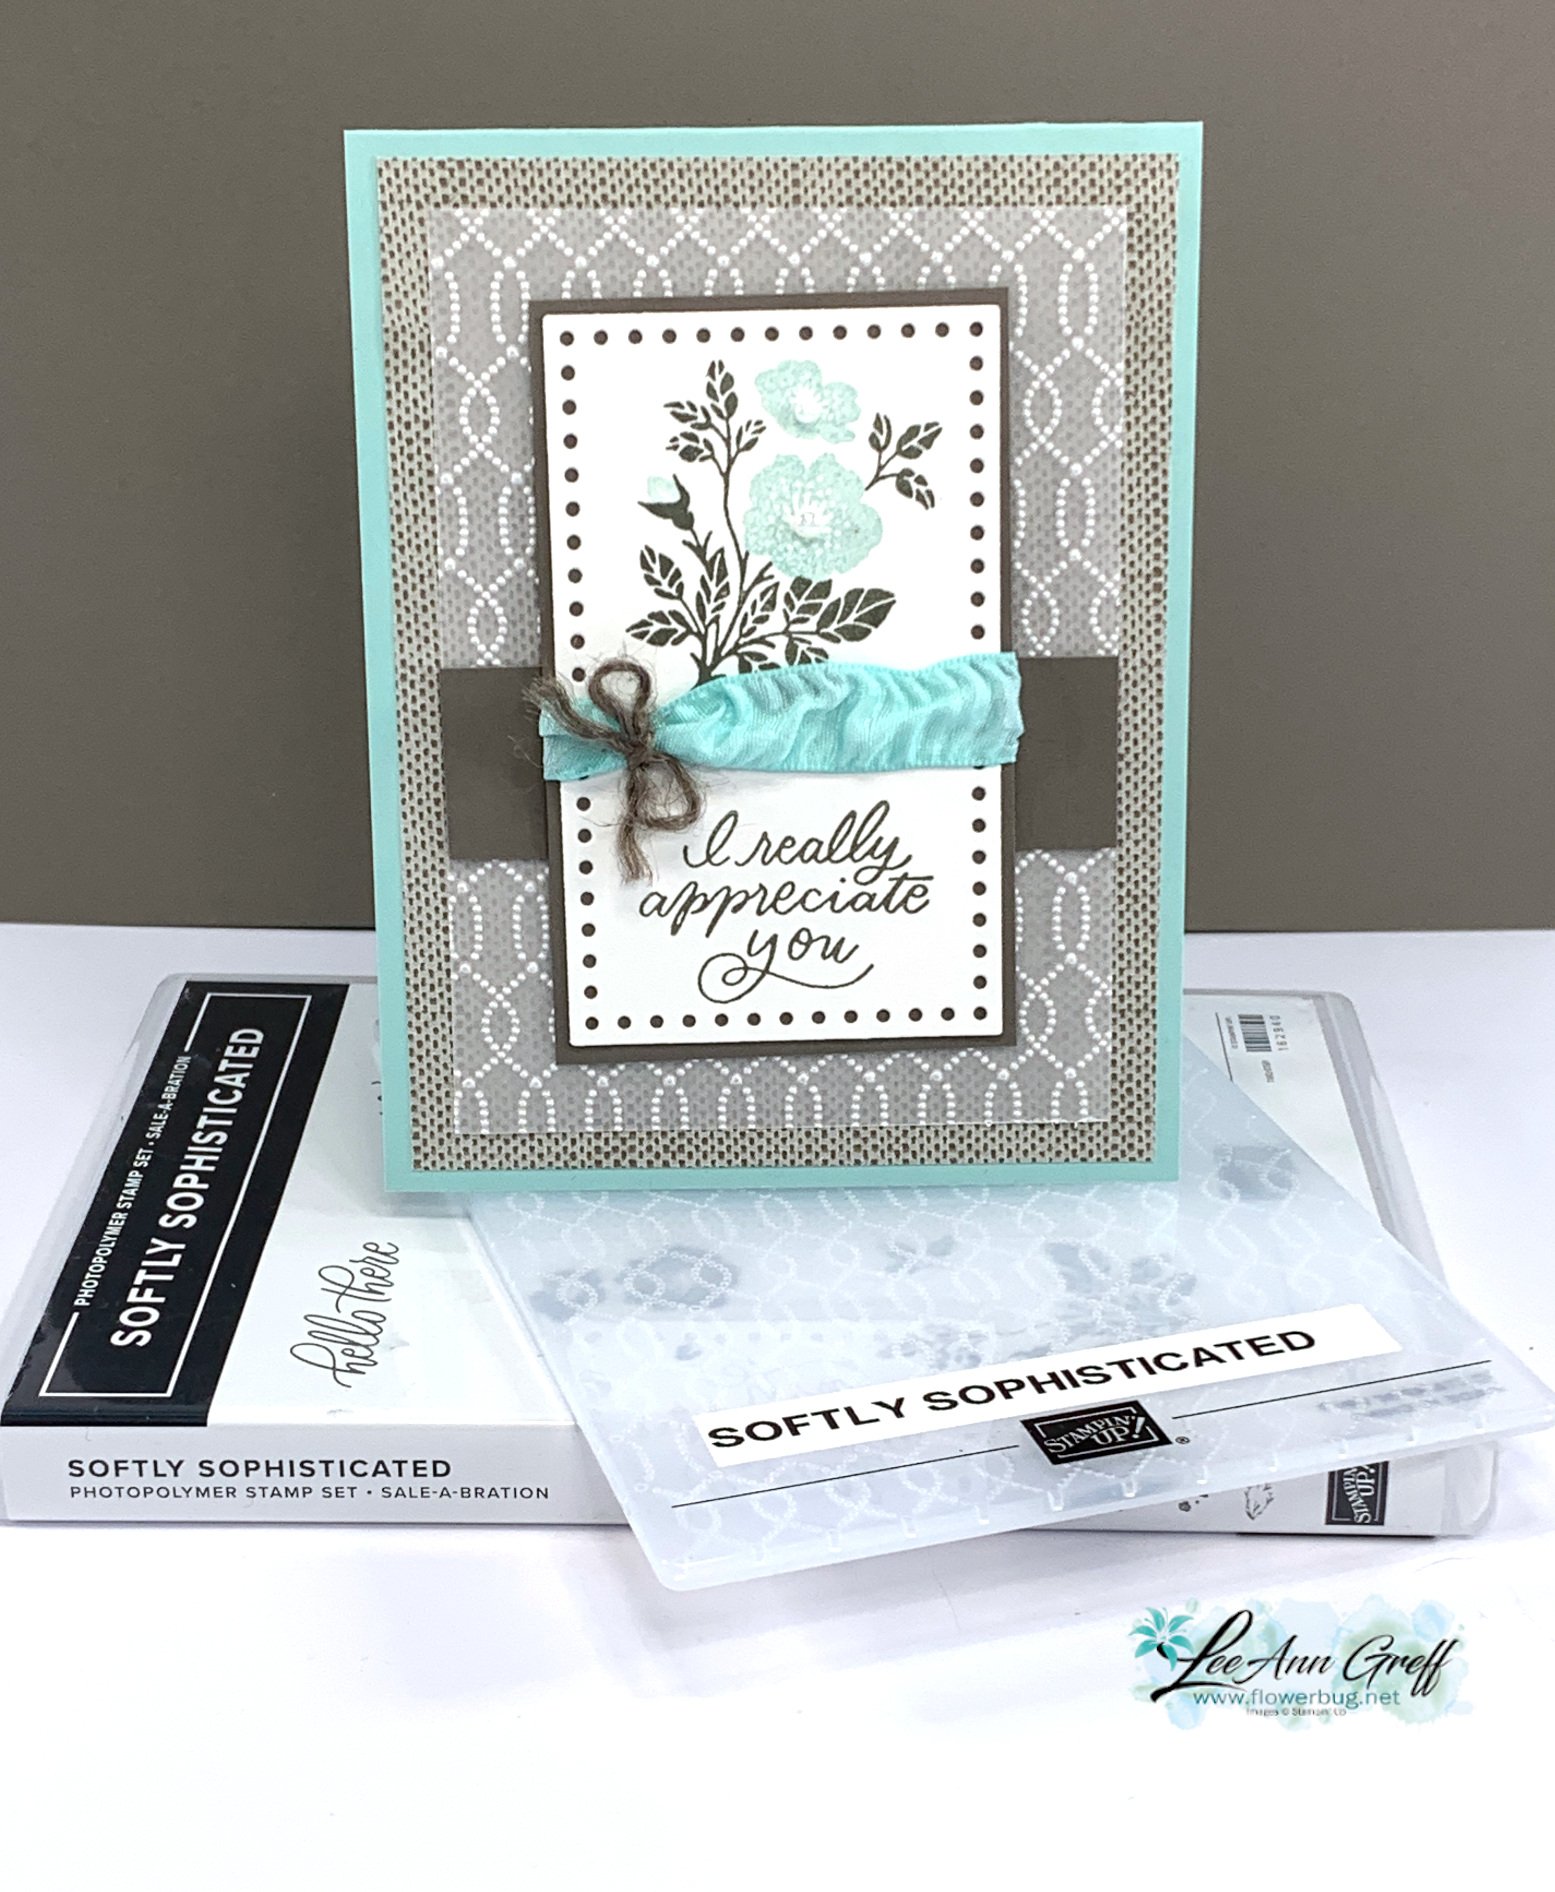
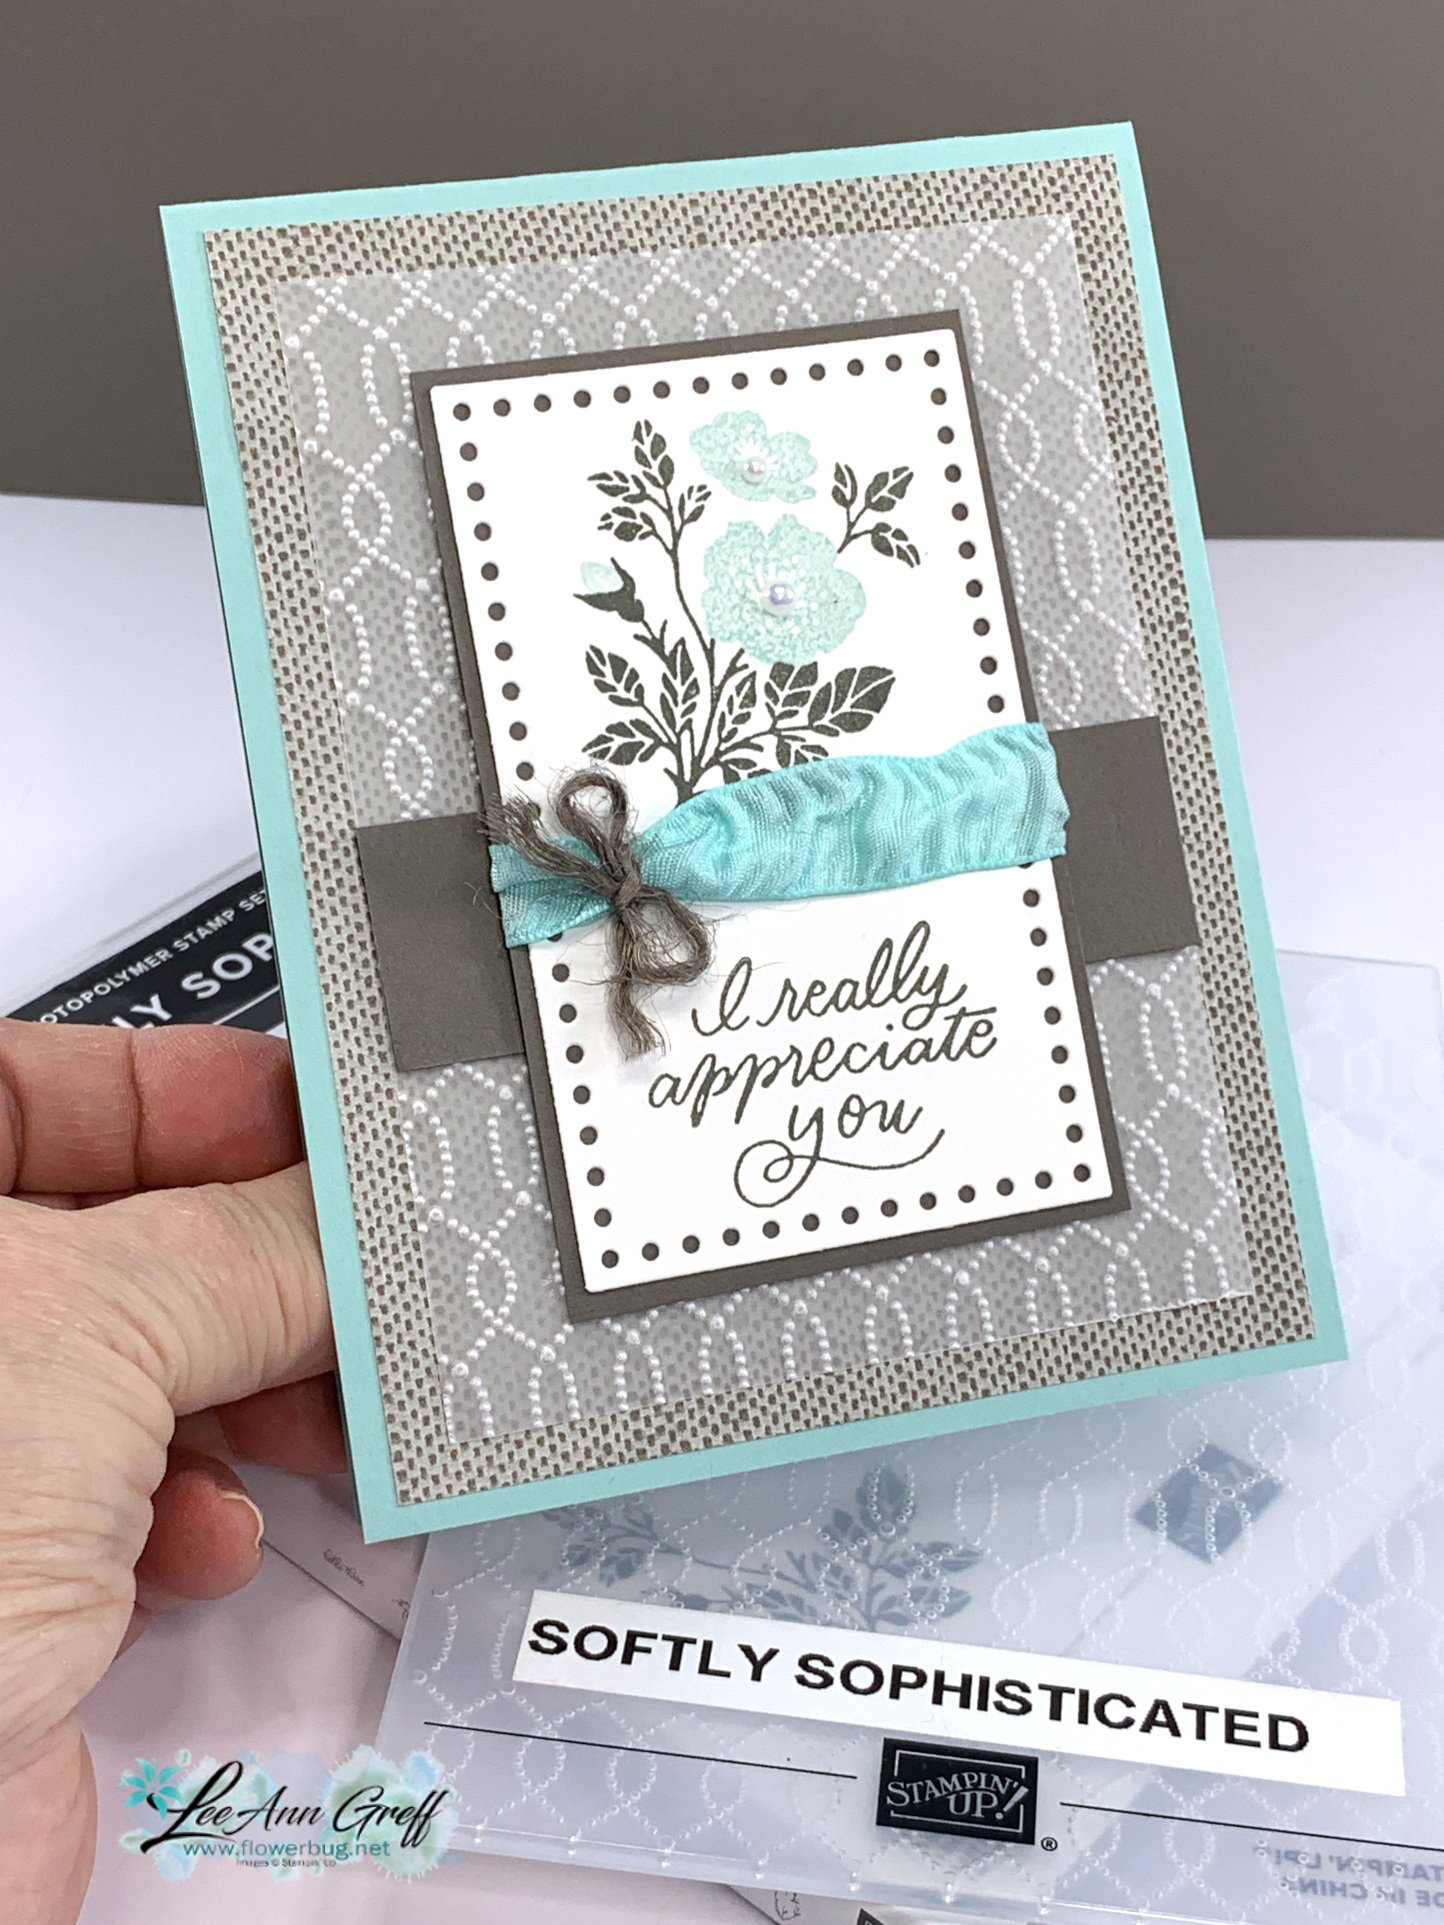
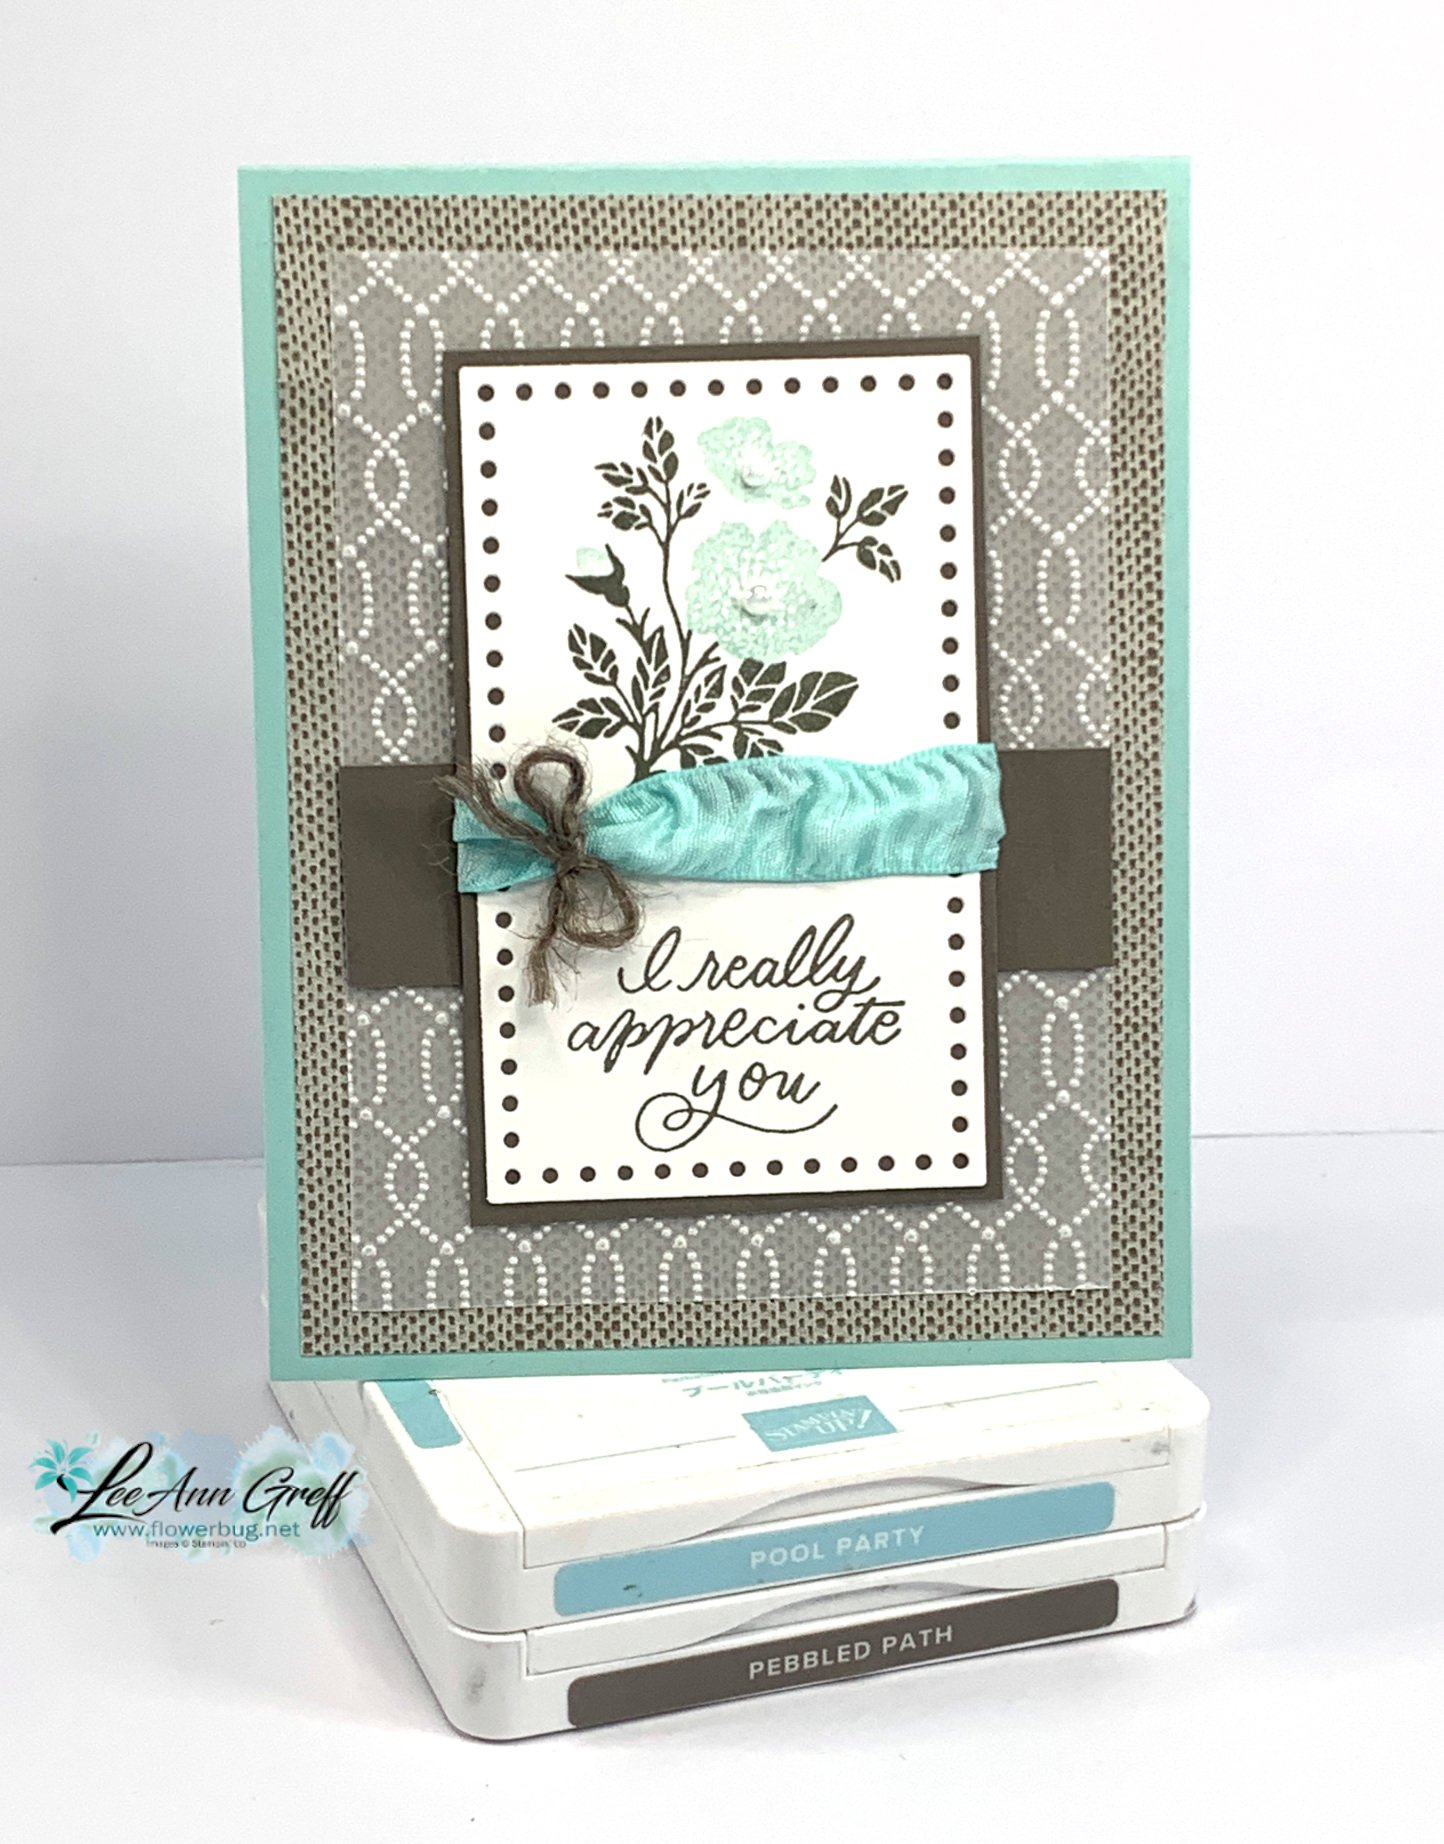
    I couldn't stop playing with the Softly Stippled designer paper and the Softly Sophisticated bundle!  This card came together by using a sketch layout I saw online. 

    There are so many neat details on this card; I'll list a few of them.  

    • Check out the textured vellum!  It's done with the Softly Sophisticated folder (sale-a-Bration choice). Our vellum cardstock doesn't crack!
    • The pretty Softly Stippled designer paper seen here in the background adds even more texture. 
    • The dotted rectangle die-cut is from the Everyday Details dies seen here. 
    • Check out the ribbon treatment. I tied a bow around the Pool Party ribbon (Sale-a-Bration choice) with the Pebbled Path jute twine – separated into one strand. 
    • The stamps are from the Softly Sophisticated bundle seen here – gorgeous greetings and 2-step florals. 

    I've mentioned it before but I'm finding our new Pebbled Path to be a wonderful neutral color with our soft subtle colors. It's brown but with a slight gray tone to it.  Lovely!

    Here's the free project sheet you can download:  Download Softly Sophisticated card with Vellum

    What's your favorite color to combine with Pebbled Path? 

    ~~~

    January Specials: 

    Earn FREE products with your Stampin' Up! purchase during

    Sale-a-Bration! *click here

    ~~~

    Get a free embellishment from the 2024 Spring catalog

    with an online order over $55


    *current host code link:  QS26PCUJ

    ~~~

    I have several pre-cut card & scrapbook kits to go; ready to mail out!

    Click here to see them all.

    Leave a Reply

    Your email address will not be published. Required fields are marked *

  • Fabulous & SO Easy ‘Quilted Star’ card with a cool punch trick, a free project sheet & video


    One of my team members shared a card like this in our Flowerbug's group and claimed it was so easy she's making lots of these cards.  I loved it so much I had to find out how she made it! 

    I learned how by watching the creators video; her name is Julie Heitz and she goes by the Chirpy Cardmaker. I shared how to make it during last week's Live video.  

    The products used include the pretty Softly Stippled designer paper from our Sale-a-Bration catalog.  It's free with any $50 Stampin' Up! order.  See it here.  

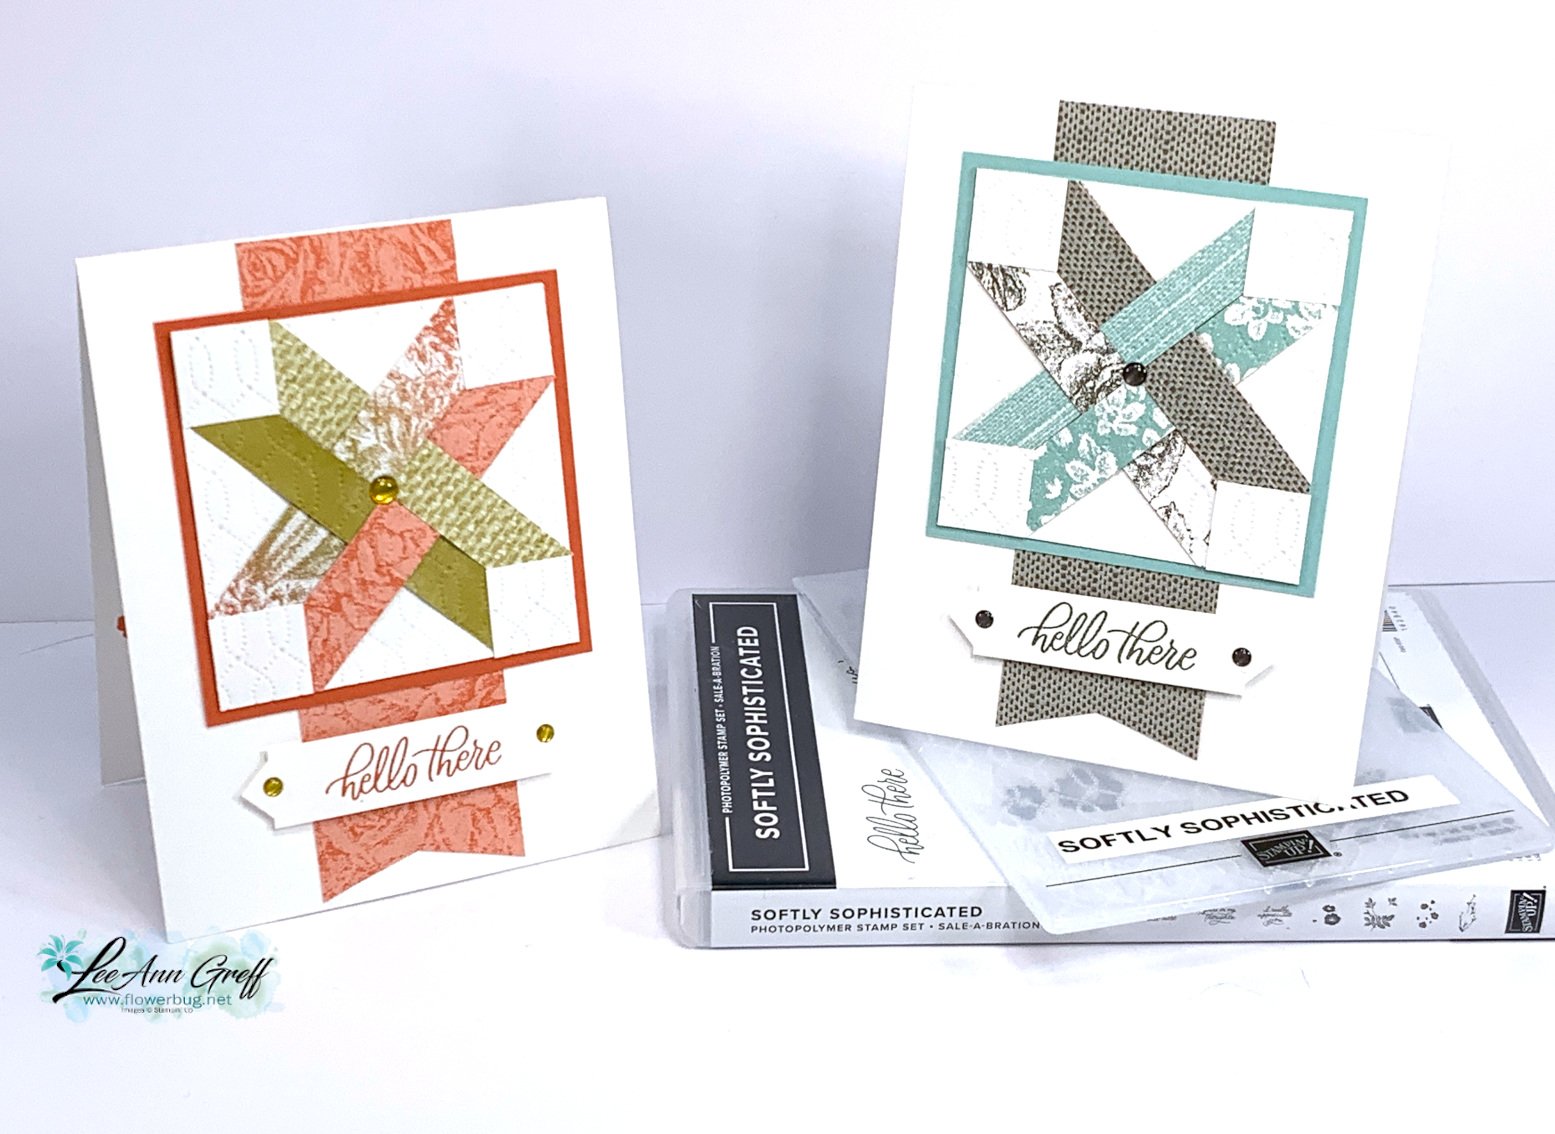
    Colors are Pool Party, White & Pebbled Path.  Aren't they beautiful together? Pebbled Path is like a cross between brown & gray; it's a wonderful neutral!  

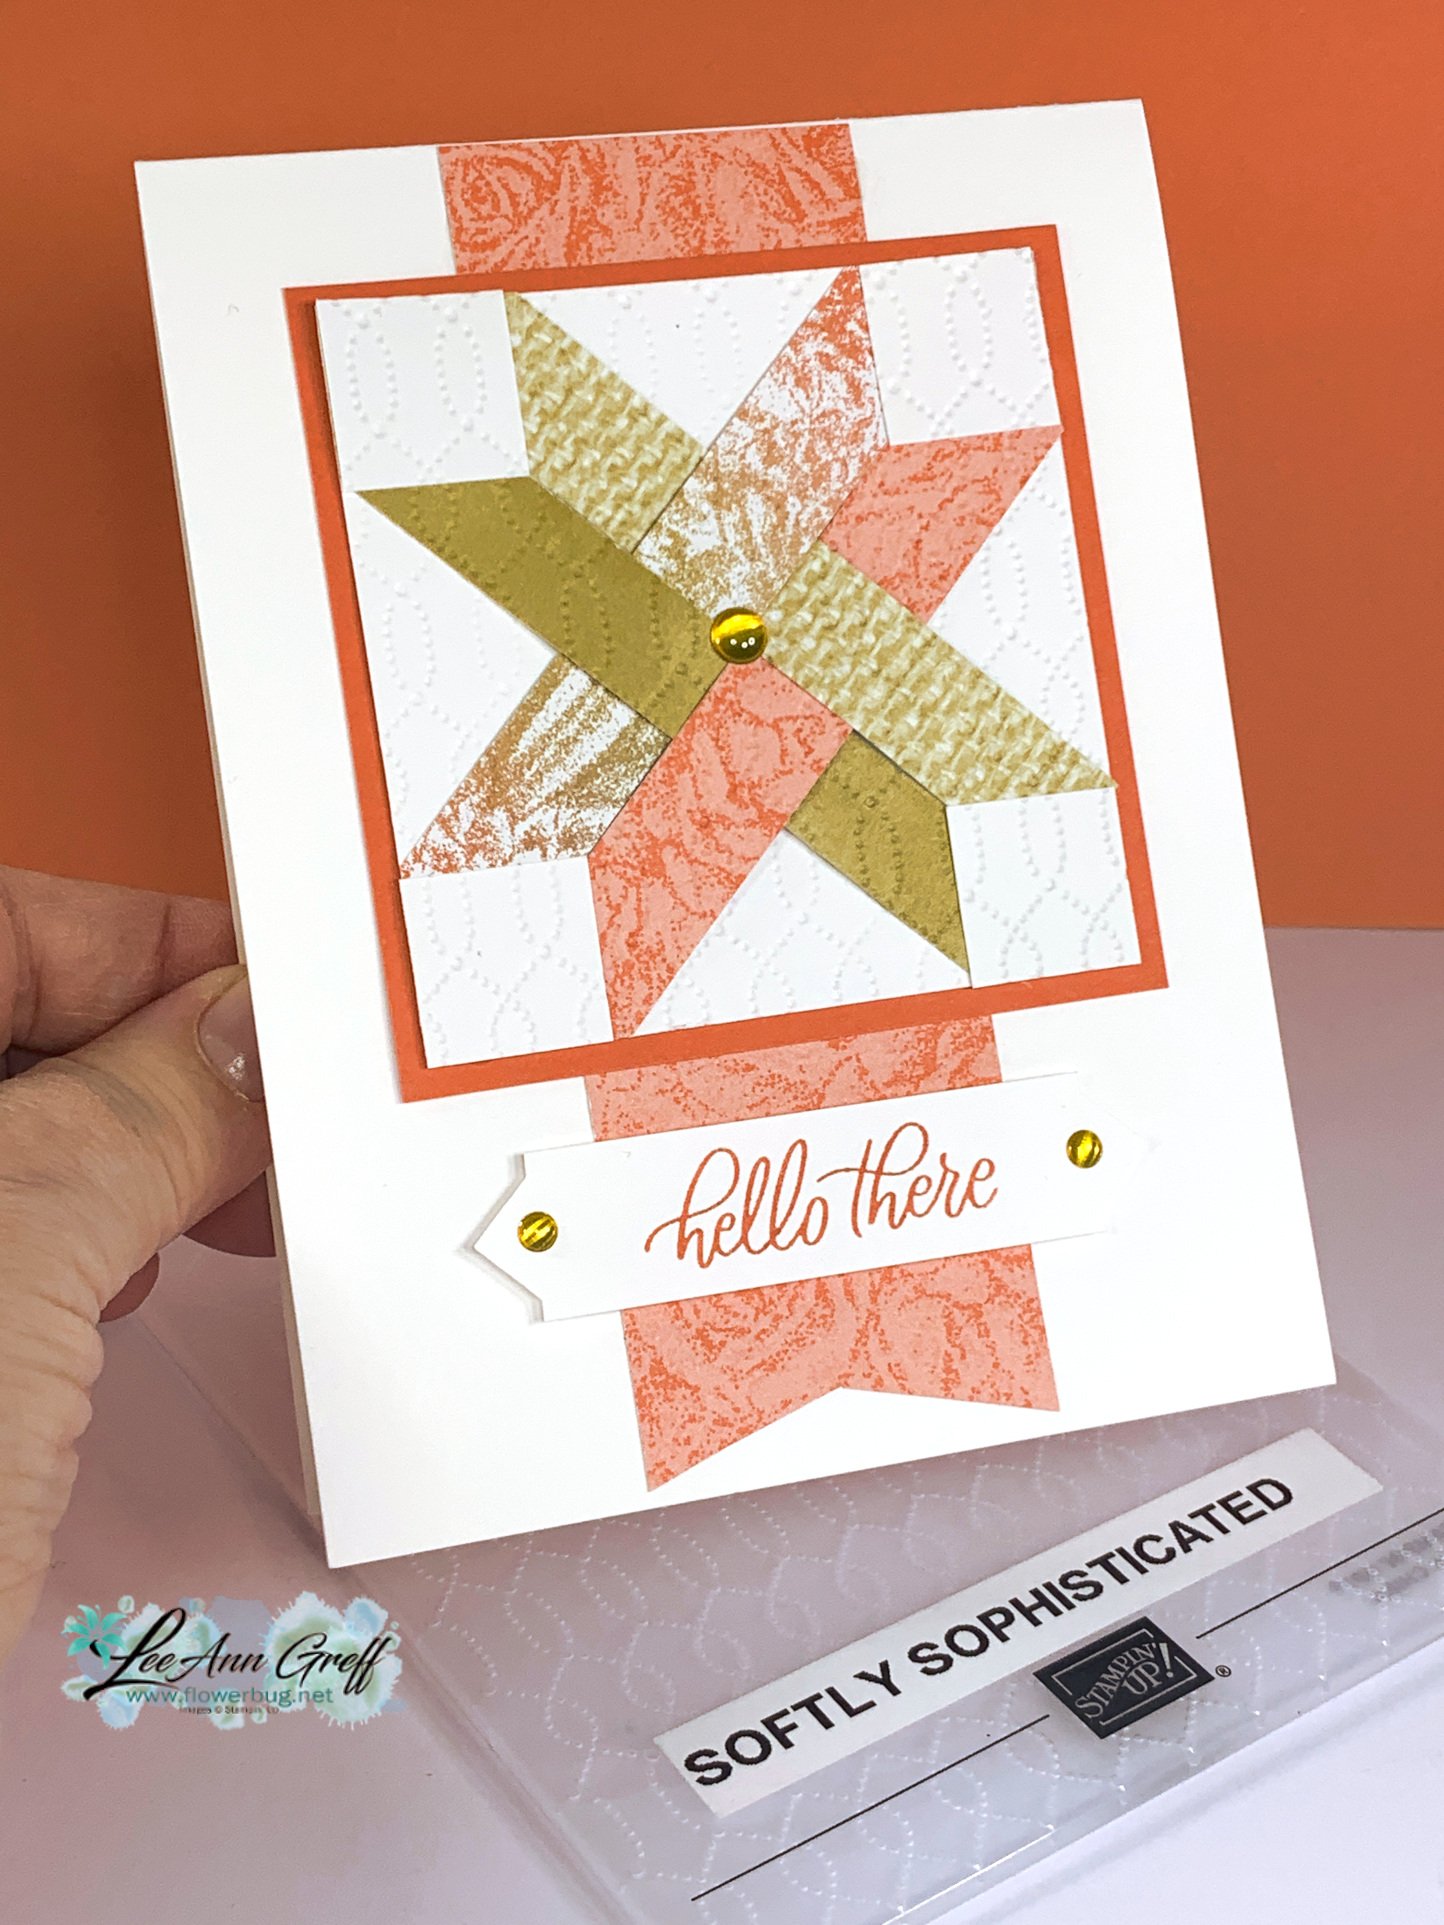
    Here's another color combo I tried using the same Softly Stippled designer paper – Calypso Coral with Wild Wheat. 

    You can see the 'quilting' better on this photo. That is the Softly Sophisticated embossing folder – it's also a free choice in out SAB catalog but is paired with a stamp set (greeting used here) – both are free with a $100 order. See them here.  

    Creating this quilted star block with paper is super easy. However watching the video helps a lot!

    1. Start by drawing a line from corner to corner on your 3" white card stock square.
    2. Choose 4 strips of designer paper 1/2" X 6". Add two strips to one corner and the other two strips to the corner next to it. 
    3. Weave the strips as shown. Then adhere down the opposite ends of each strip to the White square.  
    4. Trim off excess. 

    You might think it would be hard to get those perfect points on your star, right?  That was my first thought when I saw this card layout; I'd never get them perfect.  Well there's a super easy trick to it! 

        5. After you add your strips to the white square, trimming off the excess, you'll add four white 3/4" squares to each corner.  It creates the points for you!  Genius! 

        6. Run the block through an embossing folder. It helps to 'deboss' it so any stitching is pressed in.  When using the Softly Sophisticated folder you'll have the wrong side up on the Stampin' Up! label.  

    You might notice the unique banner for my greeting.  It's created with the Inked & Tiled punch like this:  

    I start out with a 5/8" white strip and insert the punch in the back of the punch; not the usual place. Wiggle it into the slot and adjust it until it's even and punch.  Now you'll start looking at your punches in a new way and likely find some great options for banners!  The nice thing is that it doesn't have to be a certain width to work.  

    Click on this link to download the free project sheet:  Download Quilted Star Block cards

    Remember there is a free project sheet for most of my video projects; see them all here. 

    Click here or on the photo below to watch my video tutorial on this card and TWO more pretty cards featuring this beautiful designer paper and stamp & embossing folder bundle.  The Quilted Star cards are the first cards shown.  They loved these project ideas!  

    ~~~

    January Specials: 

    Earn FREE products with your Stampin' Up! purchase during

    Sale-a-Bration! *click here

    ~~~

    Get a free embellishment from the 2024 Spring catalog

    with an online order over $55


    *current host codes: TU26GCPZ or QS26PCUJ

    ~~~

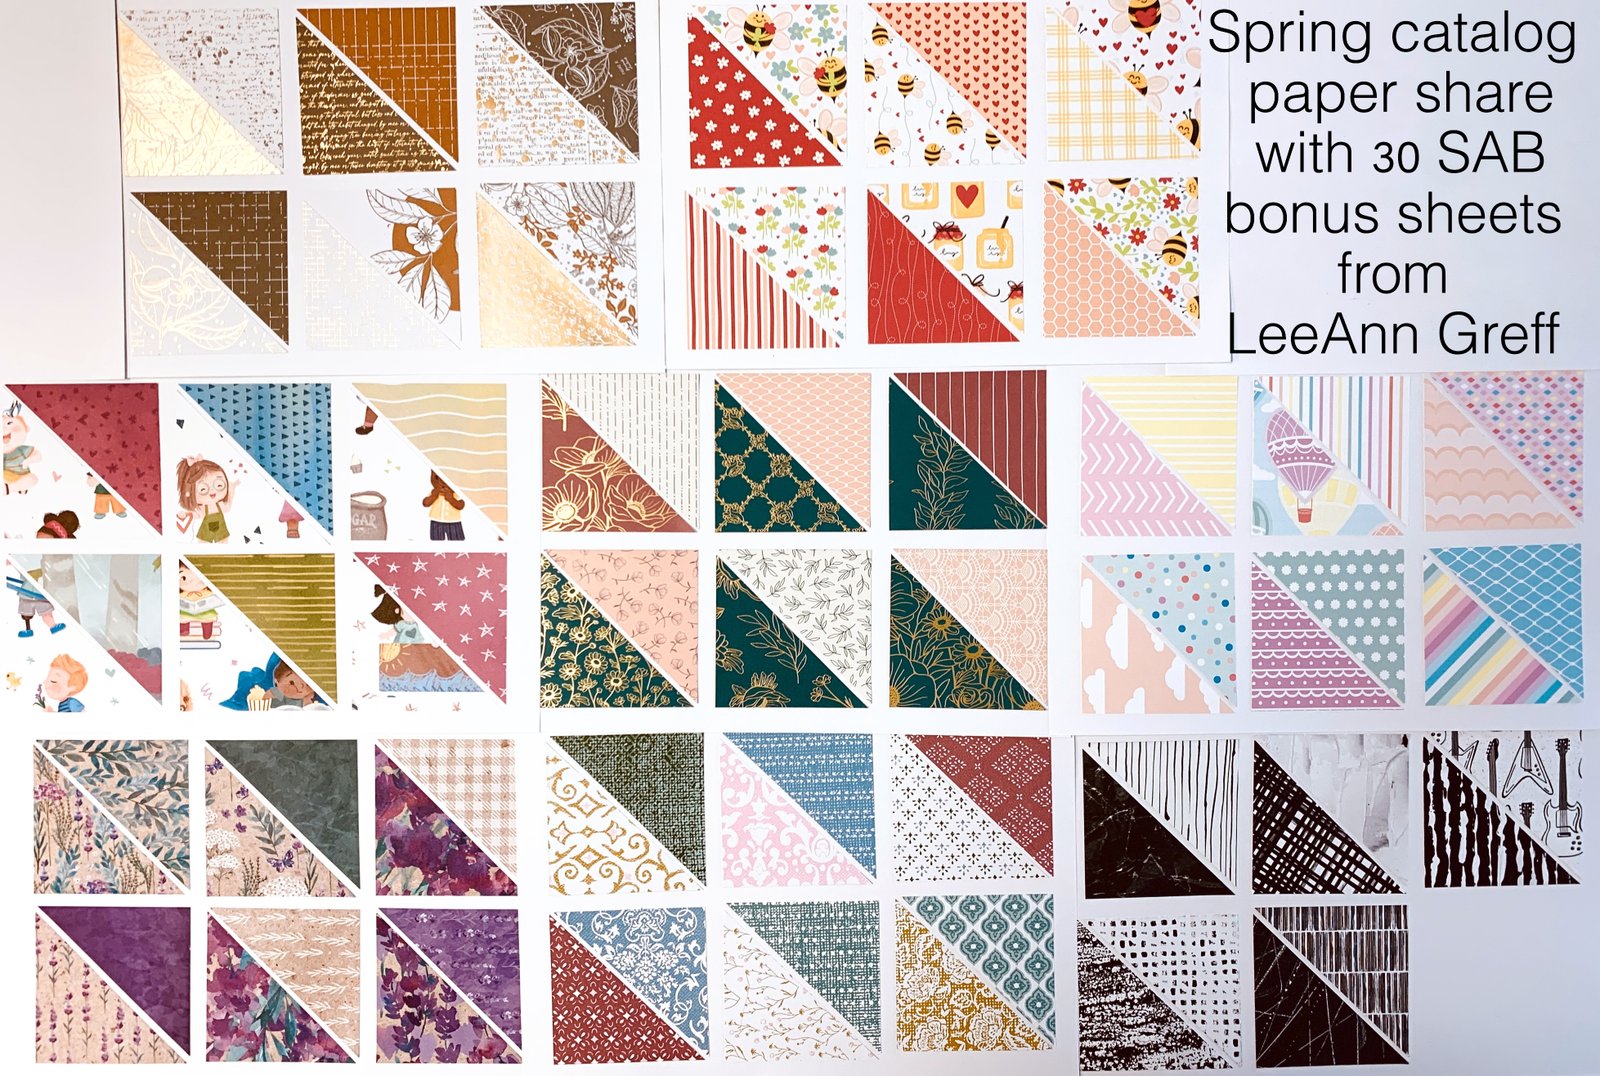
    Reserve your Spring & Sale-a-Bration designer paper share

    $18 for 78 sheets! (plus $7 shipping). Email me here

    ~~~

    I have several pre-cut card & scrapbook kits to go; ready to mail out!

    Click here to see them all.

    Leave a Reply

    Your email address will not be published. Required fields are marked *


Notice: LeeAnn Greff, Independent Stampin’ Up! Demonstrator, Manager. The content of this website is my sole responsibility as an independent Stampin’ Up! demonstrator and the use of, and content of, the classes, services, or products offered on this website is not endorsed by Stampin’ Up! Copyright 2025