/


Latest Post

See how the Josephs Coat Technique is done; with video & free project sheet


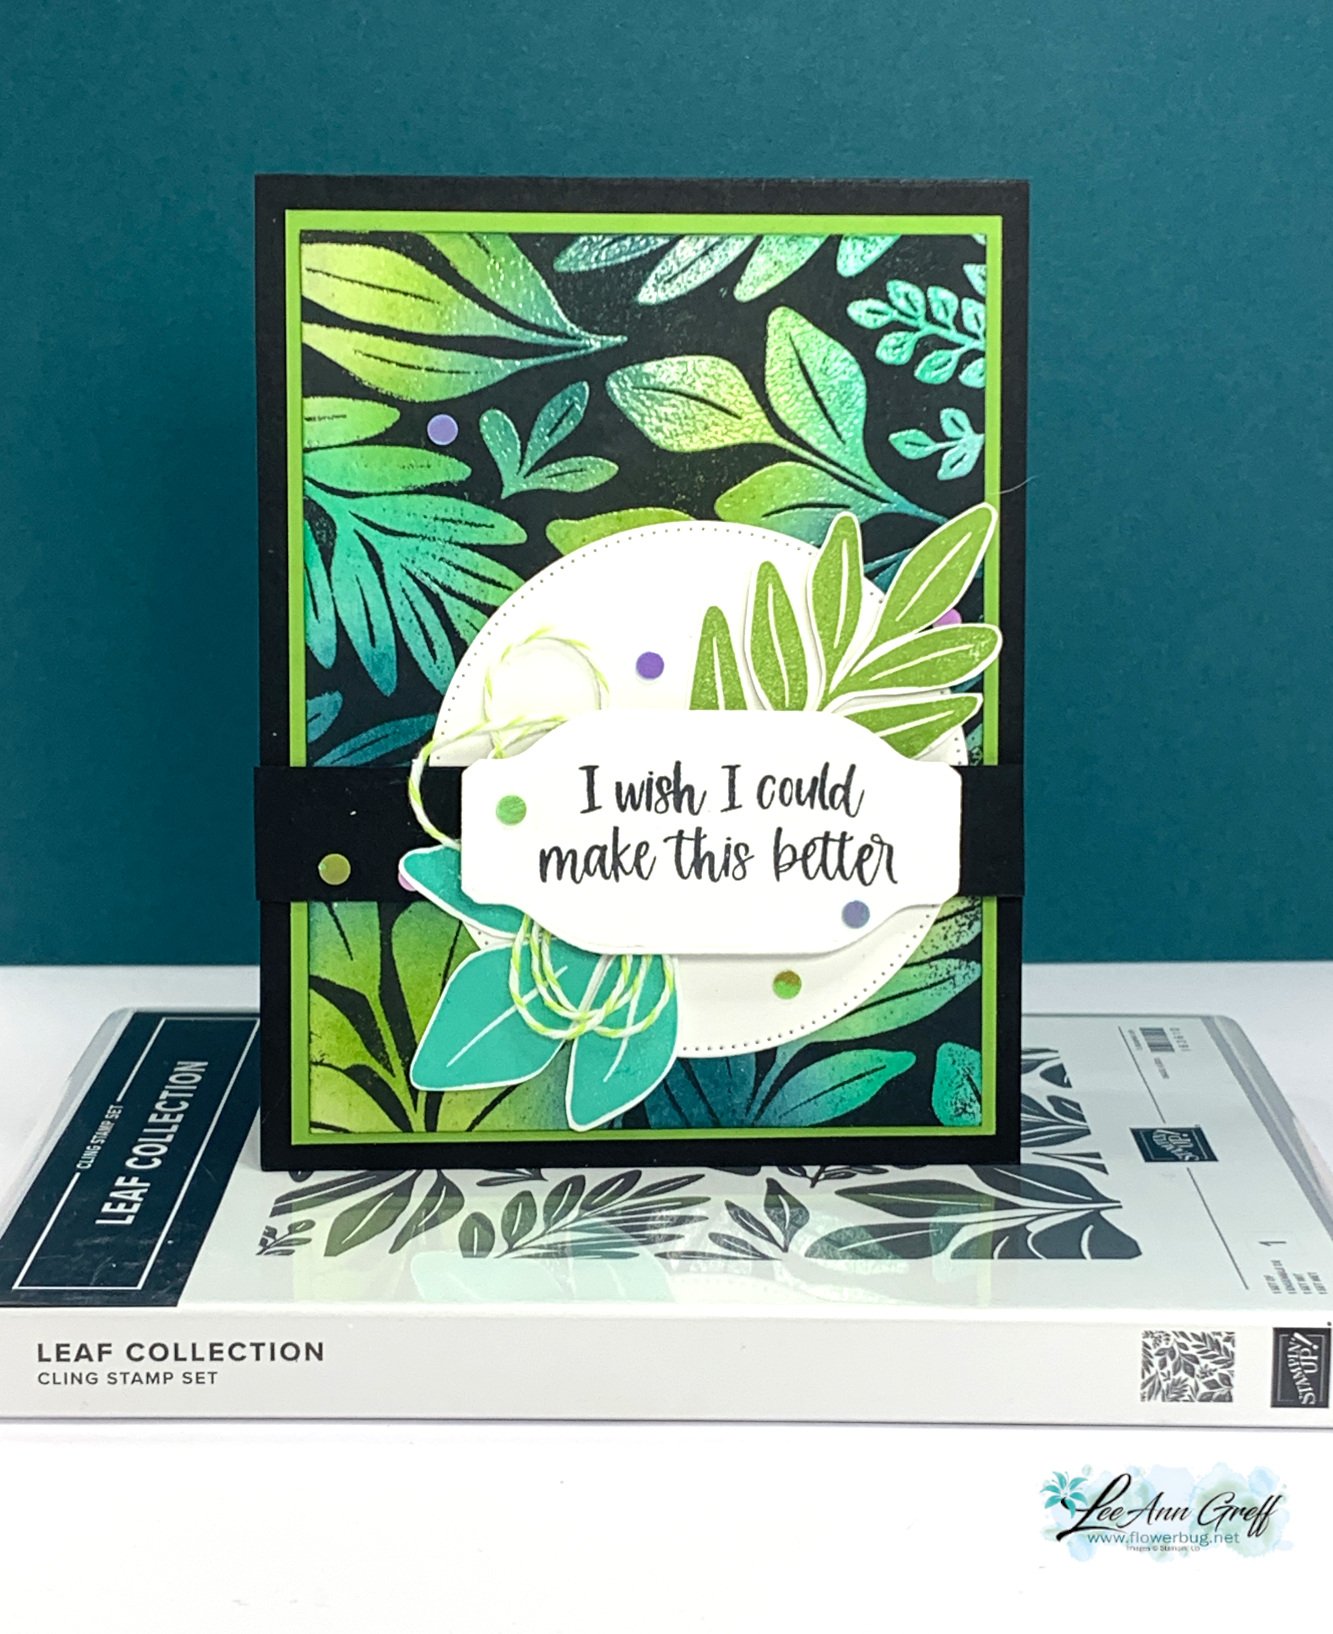
Here's another project made on last week's Live video; it's the Josephs Coat technique using the new, upcoming Leaf Collection stamp.  

That greeting stamp & scalloped oval die-cut are from the new Unbounded Love bundle from the upcoming 2024 Annual Catalog. I showed how to do this technique in the video here.  I also have a free project sheet with directions. 

Here are the steps:

  1. Sponge ink all over a neutral piece of card stock – Pretty Peacock, new Summer Splash and lastly Granny Apple Green. 
  2. Wipe off any excess ink with a tissue to remove moisture.  Swipe with an embossing buddy.
  3. Ink your stamp in Versamark ink. Heat emboss with Clear embossing powder.  
  4. Use a water-based ink pad like Memento Black and rub or tap the ink over it all.  This is called 'Direct to Paper'. 
  5. With a damp tissue or paper towel, wipe off excess ink from the embossed area. It will not stay on the embossed area. 
  6. Finish your card as you'd like. 

I inked the stamp again in a few colors – Granny Apple Green & Summer Splash, and fussy cut some leaves out for accents. Dies used above include Something Fancy & Stylish Shapes. 

The card below features an emboss resist technique.  Same colors but the steps are different. 
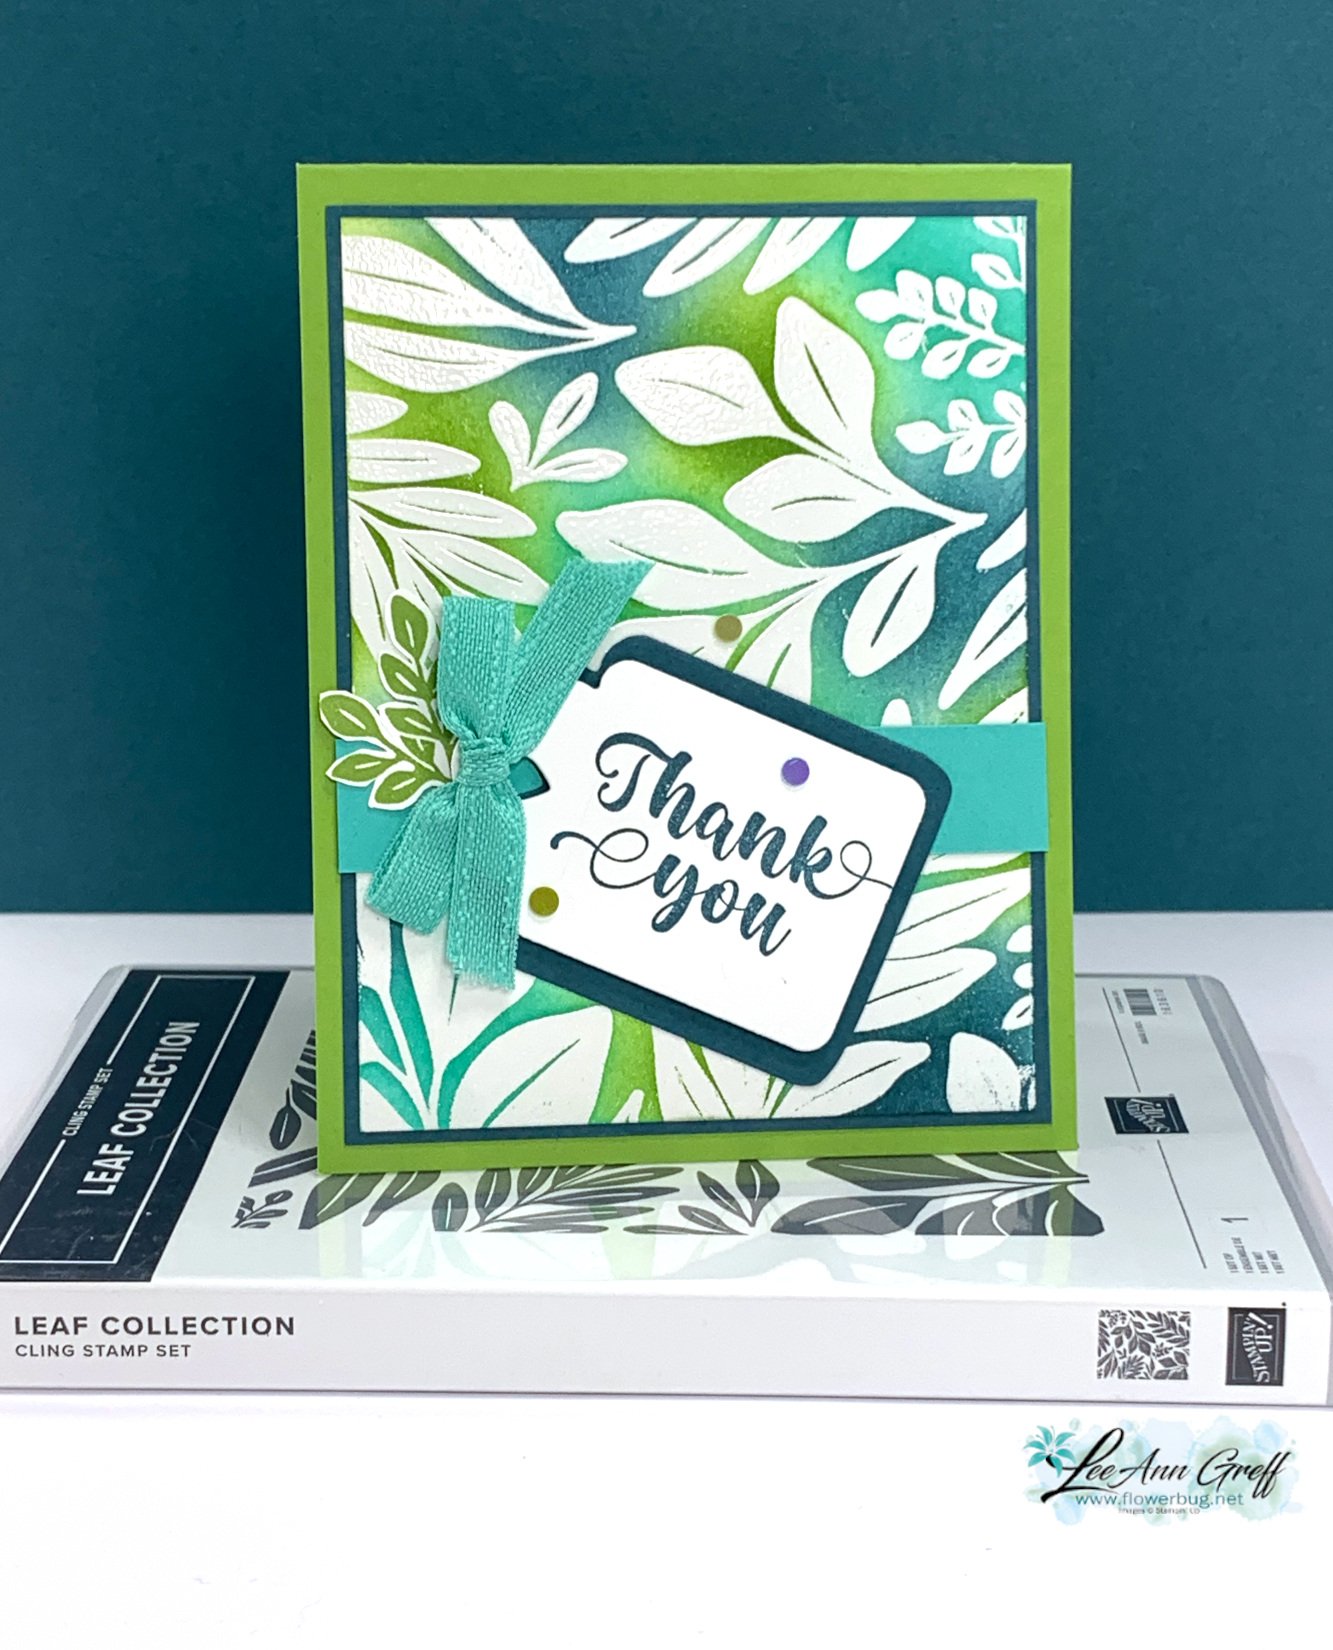
  1. First I stamped using Versamark ink onto White card stock and heat embossed with clear embossing powder. 
  2. Then I added ink over the clear embossing; using Blending Brushes. Inks include: Summer Splash, Pretty Peacock and Granny Apple Green.  *This must be water-based ink!
  3. Use a damp tissue or paper towel to wipe off excess ink that will not stick to the embossed areas. Done! 

The greeting is from the Irresistible Blooms stamp set (online exclusive) and the tags are from the Something Fancy dies (carrying over). 

Click here for the free project sheet:   Download Leaf Collection Josephs Coat cards

Which card do you prefer above?  Left or right? 

Below is the video on how I made this card along with a few resist techniques featuring new Annual Catalog products. I hope you watch it AND subscribe to my YouTube channel too. 

~~~

April Specials: 

*current host code link:   D6QRFZ7J
Here's a link to the Last Chance list 

A free gift with orders in April:

Check out my available Kits & Tutorials here:
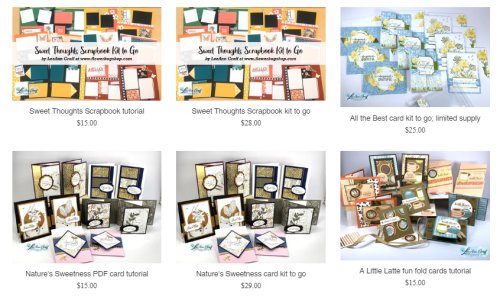
All online orders in April will receive a free multi-project tutorial!

All Posts

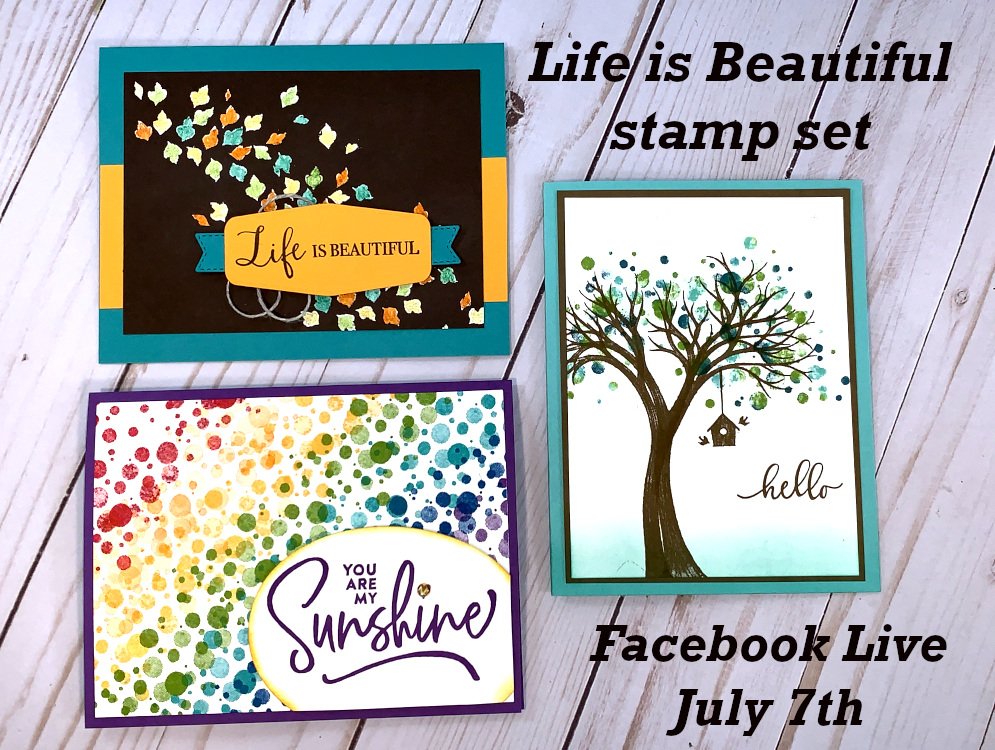
  • 3 cards with my ‘Life is Beautiful’ MDA stamp set!


    You may have spied my stamp set in a previous post, but I haven't shared much yet!  You can be sure I will be posting quite a few projects with it.

    If you didn't know, it's a stamp set I helped create as a perk of achieving a Million Dollars in sales in my career with Stampin' Up!  It's so cool to have my name posted under the stamp set in the upcoming 2020 August – December Stampin' Up! catalog! 

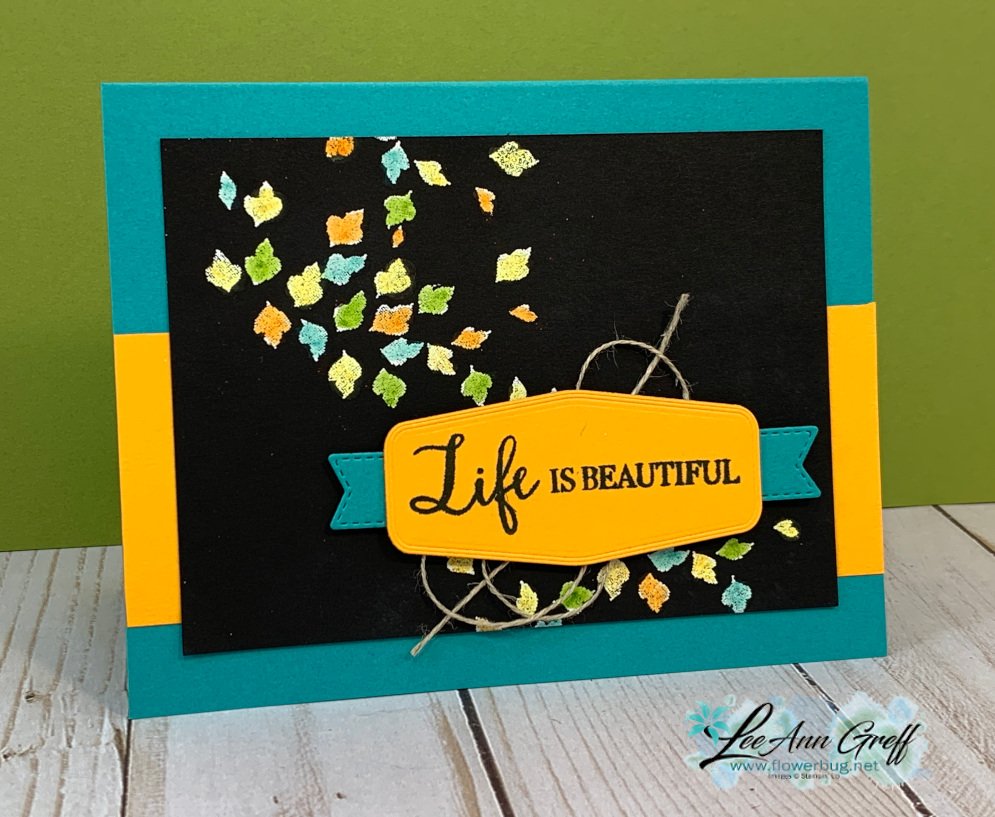
    I shared three technique cards using the Life is Beautiful stamp set on FB live last week.   I did upload it to YouTube so everyone can watch. *see below 

    The top left card is created by stamping and heat embossing the leaves with White embossing powder.  Then coloring over with Blends alcohol markers.  Such a cool effect and actually fun to color too.  The dark card stock covers most mistakes if you go off the image a bit. 

    The colors are Bermuda Bay, Black and Mango Melody.  The pretty label tags are die-cuts from the Tasteful Labels dies seen here. 

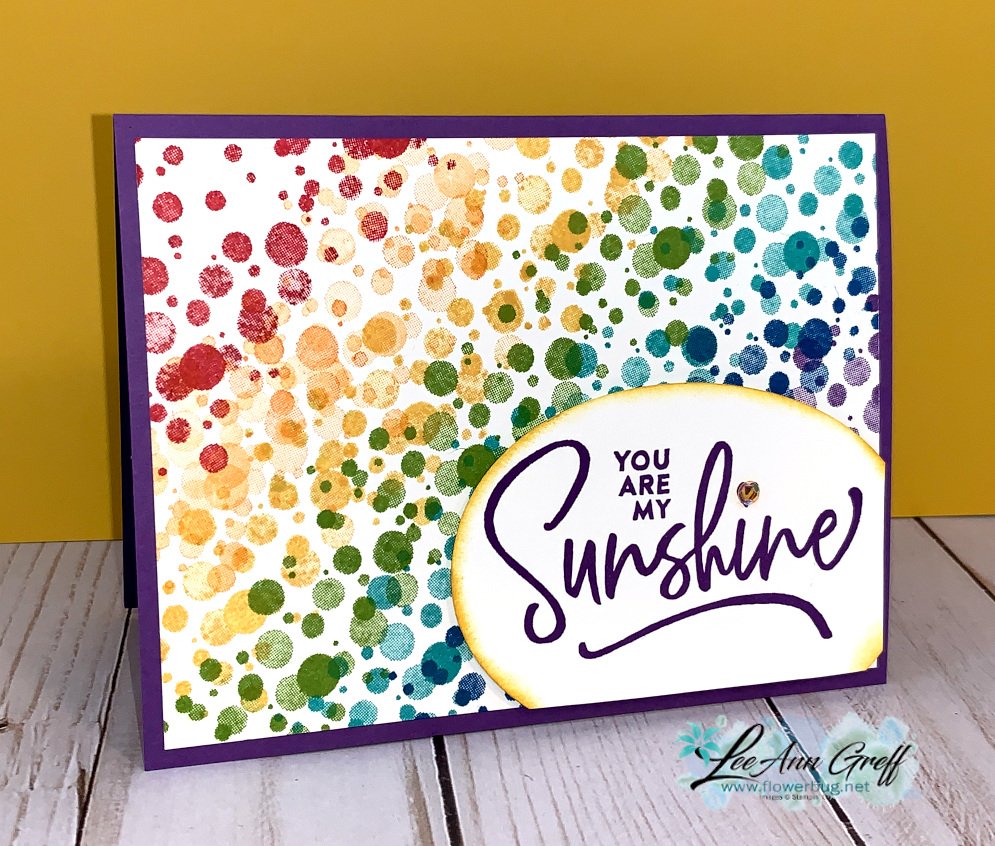
    I wanted to have a play with a rainbow style card using the distinktive dots in the set.  

    I used Gorgeous Grape, Poppy Parade, Daffodil Delight, Granny Apple Green, Bermuda Bay and Pacific Point here.  The greeting is from another MDA set called Ridiculously Awesome. 

    Next is a simple baby wipe technique.  

    I stamped the tree twice to create a wider trunk and more branches.  The colors here are Coastal Cabana, Soft Suede with Granny Apple Green and Pretty Peacock dots. 

    ~~~

    Bonus Days are here!

     
    For every $50 you spend in July you'll receive a $5 coupon to redeem in August!  

    ~~~

    Current Host code is 3MFE2KKP

    Get a free 2020 card stock sampler with online orders over $60. 

    If you have trouble telling which color is which, this is what you need! 

    Order online here

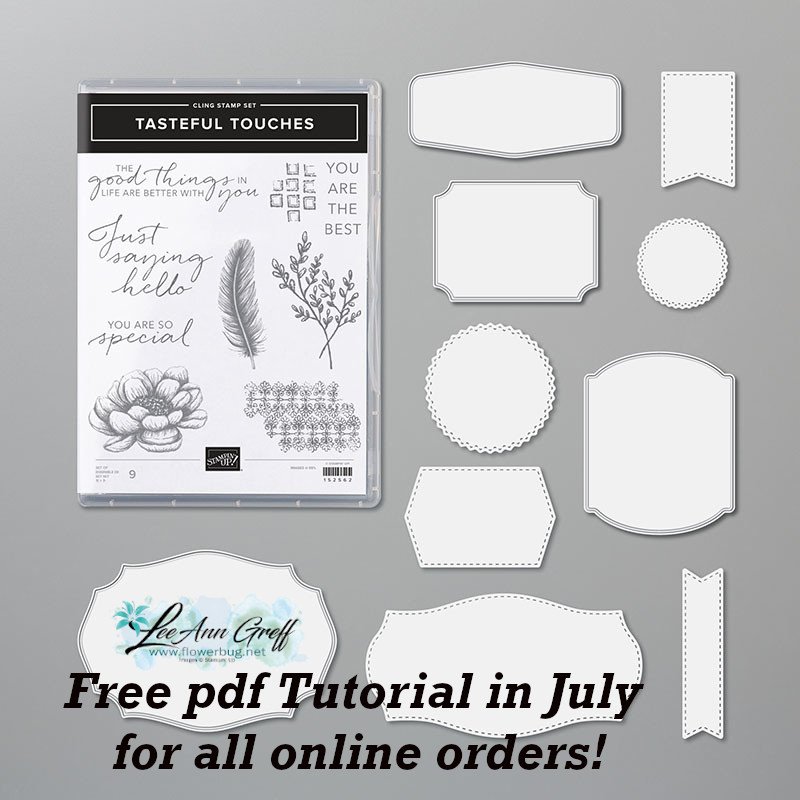
     Get my Tasteful Touches pdf tutorial free with any online order in July


    It includes directions, photos and measurements for 10 cards!

    Leave a Reply

    Your email address will not be published. Required fields are marked *

  • Accordion Style Fun-Fold card with video


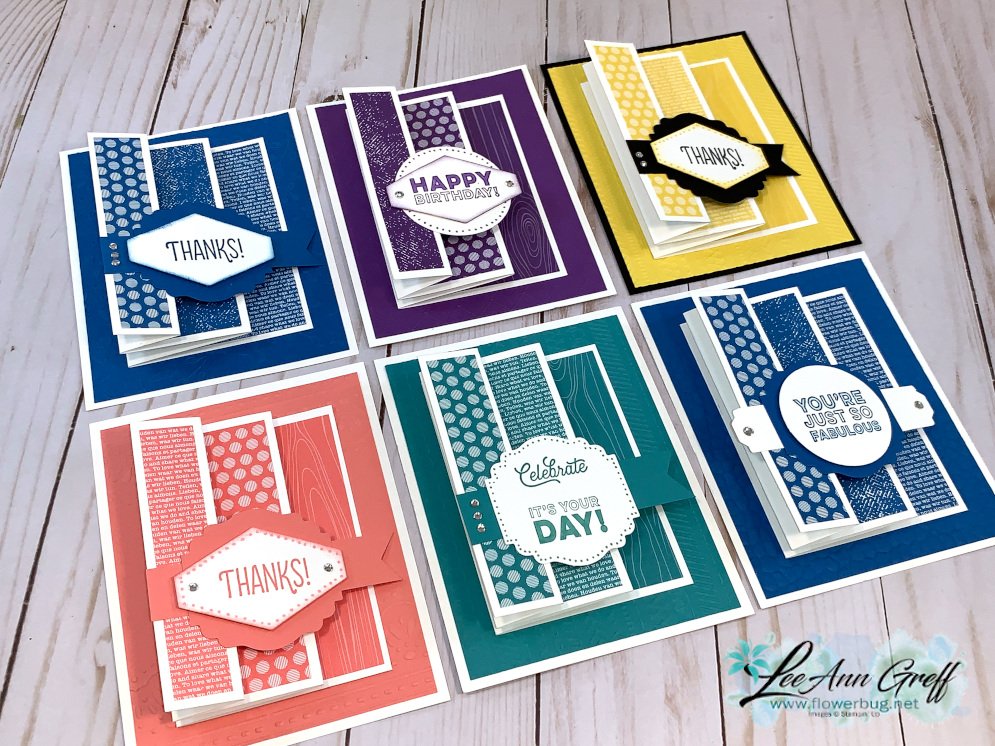
    Here's another easy fun fold card that shows off all sides of your designer series paper.  And uses up thin strips too! 

    I made them during my weekly 'Stamp With Me' Facebook Live last week.  

    I chose to use the Brights 6 X 6" designer paper pack and the Many Mates stamp set.  

    Aren't they fun?  The back is flat and does not open.  You could include a full card base on it instead of a flat piece if you'd like.  I will write or sign the inside on the larger White part.

    You might notice there are dots around some of the punched pieces.  I used my Blends markers to add that fun detail.  I also colored in some of the words on the greetings too.  This stamp set is fun! 

    When you adhere the greeting on the front add adhesive to just the very top flap. 

    Measurements:
    Card base: 5 1/2" X 4 1/4"
    next layer 5 1/4" X 4", textured
    White accordion fold 4 1/4" X 9" scored at 1", 2", 4" and 6"
    Designer paper – 3 pieces 4" tall. 3/4", 1 1/4" and 2 3/4"
     
    Supplies:
    Stamps – Many Mates
    Ink – Gorgeous Grape, Pacific Point, Bermuda Bay, Flirty Flamingo, Black Memento
    Card stock – Brights DSP, Gorgeous Grape, Bermuda Bay, Flirty Flamingo, Daffodil Delight, Pacific Point, Black
    Punches – Tailored Tag, Label Me Lovely, 2" circle, Lovely You Pick a Punch, Banner Triple
    Other – Blends markers, rhinestone jewels, Dimensionals 

    Below is the video for you.  Enjoy! 

    ~~~

    Current Host code is 3MFE2KKP

    Bonus Days!


    Get a $5 coupon to use in August with each $50 you spend in July!

    Get a free 2020 card stock sampler with online orders over $60 that use the above host code.  This is so helpful to really know your Stampin' Up! colors! 

    Order online here

     Get my Tasteful Touches pdf tutorial free with any online order in July


    It includes directions, photos and measurements for 10 cards!


    Leave a Reply

    Your email address will not be published. Required fields are marked *

  • Double Point cards with video


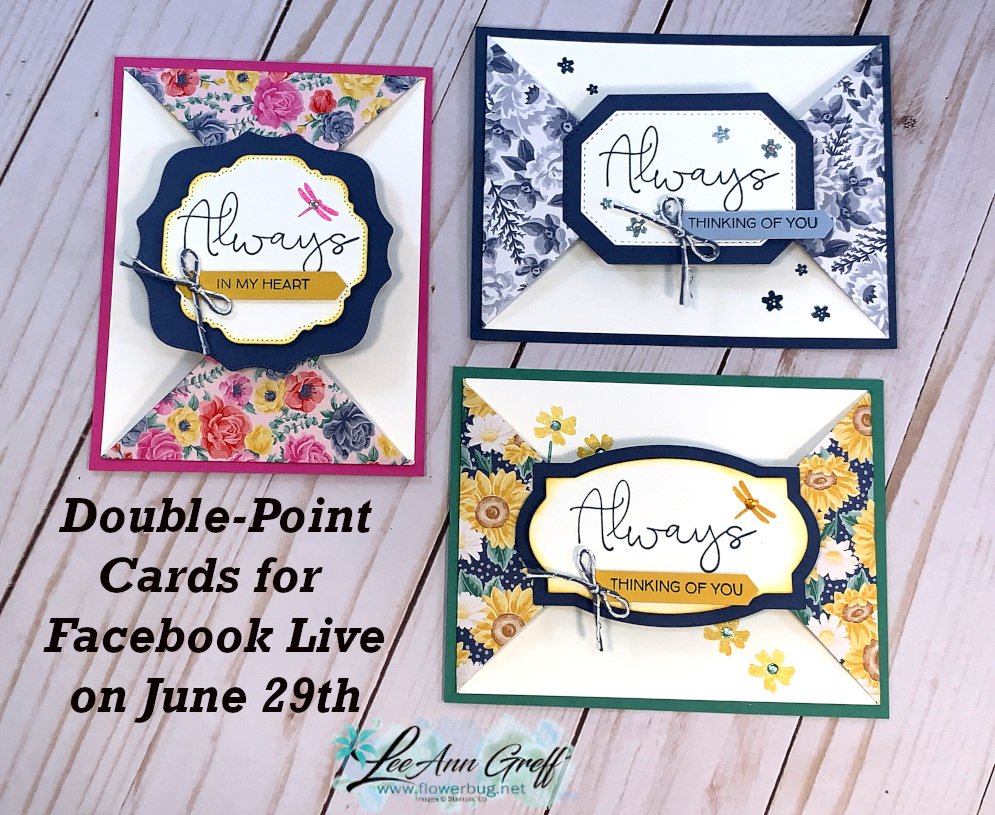
    Have you tried making a Double Point fun fold card yet?  They are so easy! 

    Bonus!  This unique fold truly makes the most of your 12 X 12" paper!  You can get 6 cards from one sheet! 

    I chose to use the Flowers for Every Season designer paper and the Field of Flowers stamp set.  The dies are from the Hippo & Friends dies seen here.  I LOVE these label dies! 

    Measurements:
    Card base 4 1/4" X 5 1/2"
    White inside 5 1/4" X 4"
    DSP 3" X 4", scored at 1" on the long side
    Label dies or punches to 'connect' the points
     
    Products Used: 
    Field Of Flowers Photopolymer Stamp Set [152589] – Price: $17.00 – see here
    Ridiculously Awesome Cling Stamp Set [152512] – Price: $22.00 – see here
    Hippo & Friends Dies [153585] – Price: $36.00 – see here
    Flowers For Every Season 6" X 6" (15.2 X 15.2 Cm) Designer Series Paper [152486] – Price: $11.50 – seen here
    2020–2022 In Color Enamel Dots [152480] – Price: $8.00 – see here

    If you want step by step instructions you can watch the video below.

    ~~~

    Current Host code is 3MFE2KKP

    Get a free 2020 card stock sampler with online orders over $60 that use the above host code.  This is so helpful to really know which color is which! 

    Order online here

     Get my Tasteful Touches pdf tutorial free with any online order in July


    It includes directions, photos and measurements for 10 cards!


    Leave a Reply

    Your email address will not be published. Required fields are marked *


Notice: LeeAnn Greff, Independent Stampin’ Up! Demonstrator, Manager. The content of this website is my sole responsibility as an independent Stampin’ Up! demonstrator and the use of, and content of, the classes, services, or products offered on this website is not endorsed by Stampin’ Up! Copyright 2025