/


Latest Post

See how the Josephs Coat Technique is done; with video & free project sheet


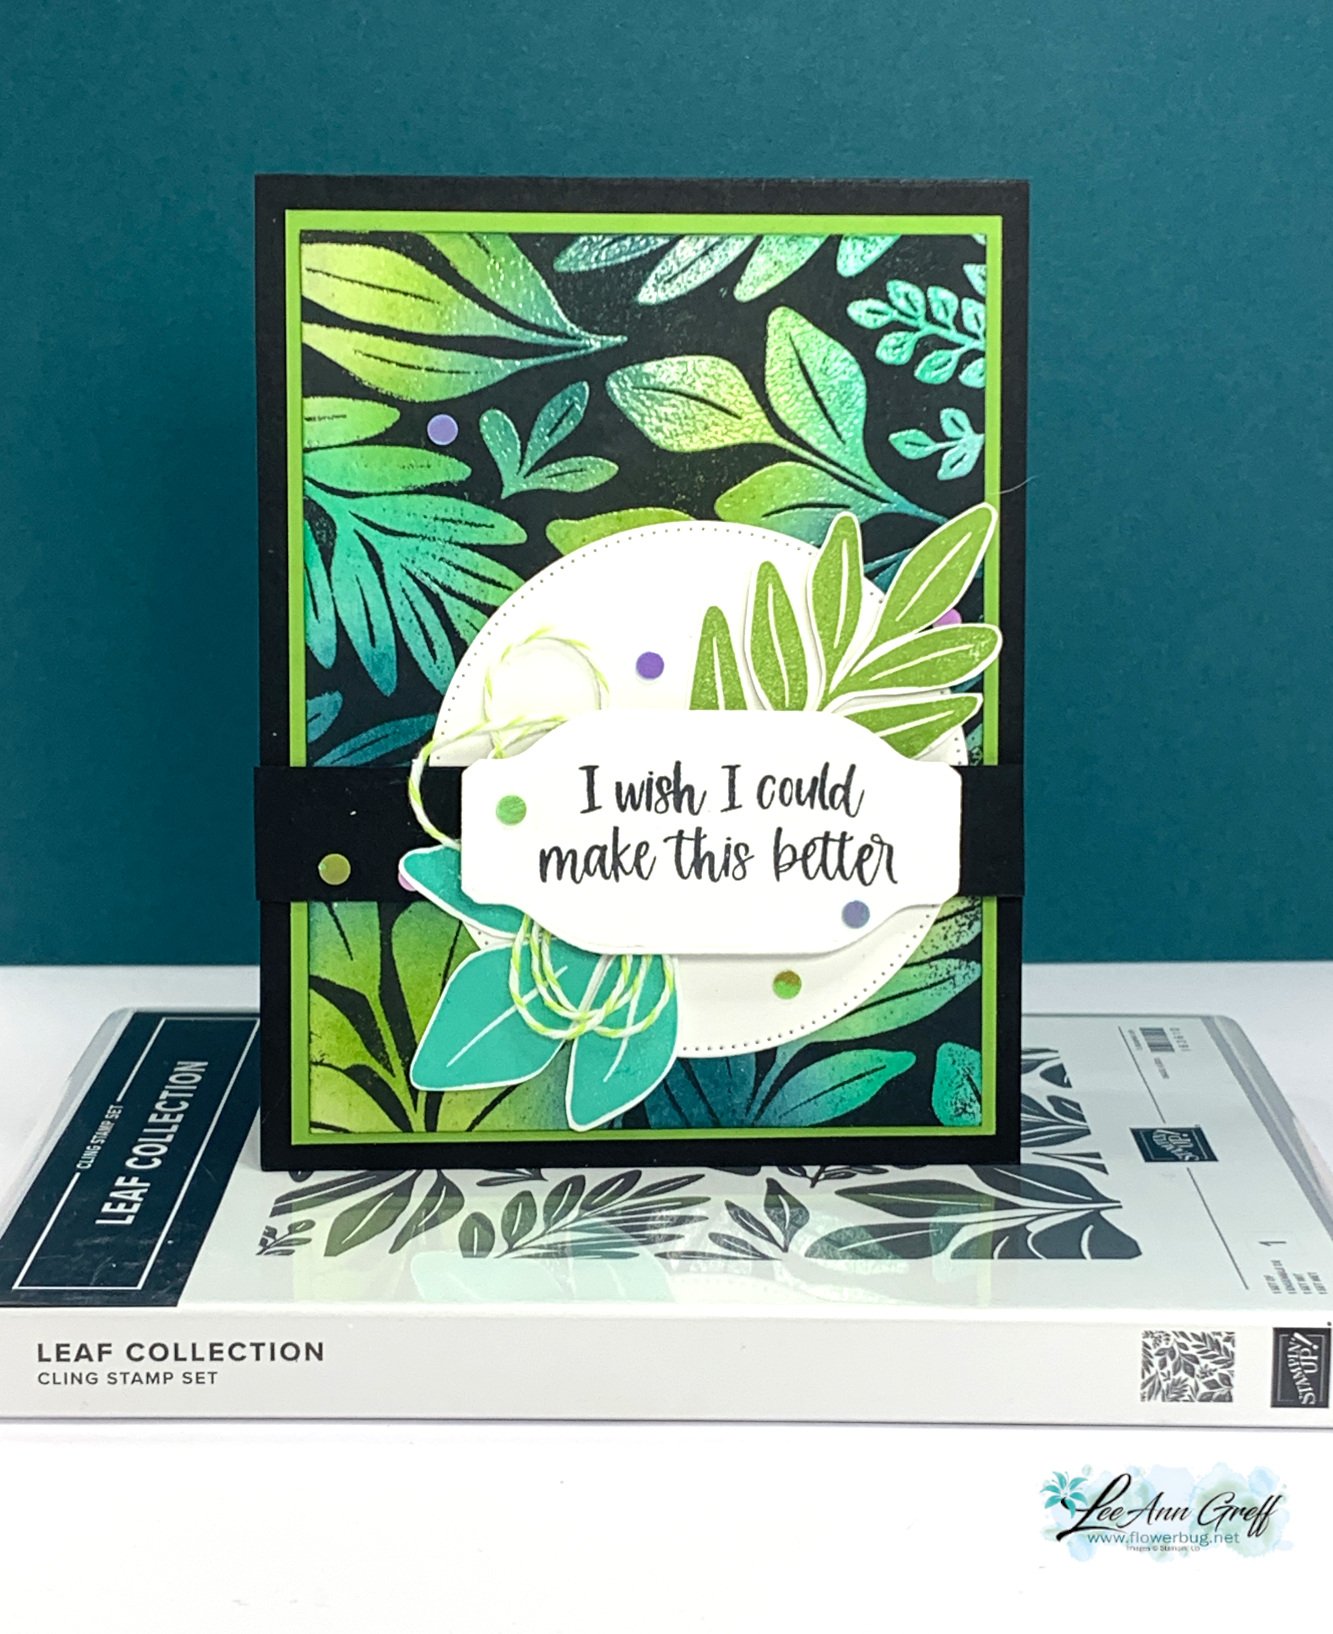
Here's another project made on last week's Live video; it's the Josephs Coat technique using the new, upcoming Leaf Collection stamp.  

That greeting stamp & scalloped oval die-cut are from the new Unbounded Love bundle from the upcoming 2024 Annual Catalog. I showed how to do this technique in the video here.  I also have a free project sheet with directions. 

Here are the steps:

  1. Sponge ink all over a neutral piece of card stock – Pretty Peacock, new Summer Splash and lastly Granny Apple Green. 
  2. Wipe off any excess ink with a tissue to remove moisture.  Swipe with an embossing buddy.
  3. Ink your stamp in Versamark ink. Heat emboss with Clear embossing powder.  
  4. Use a water-based ink pad like Memento Black and rub or tap the ink over it all.  This is called 'Direct to Paper'. 
  5. With a damp tissue or paper towel, wipe off excess ink from the embossed area. It will not stay on the embossed area. 
  6. Finish your card as you'd like. 

I inked the stamp again in a few colors – Granny Apple Green & Summer Splash, and fussy cut some leaves out for accents. Dies used above include Something Fancy & Stylish Shapes. 

The card below features an emboss resist technique.  Same colors but the steps are different. 
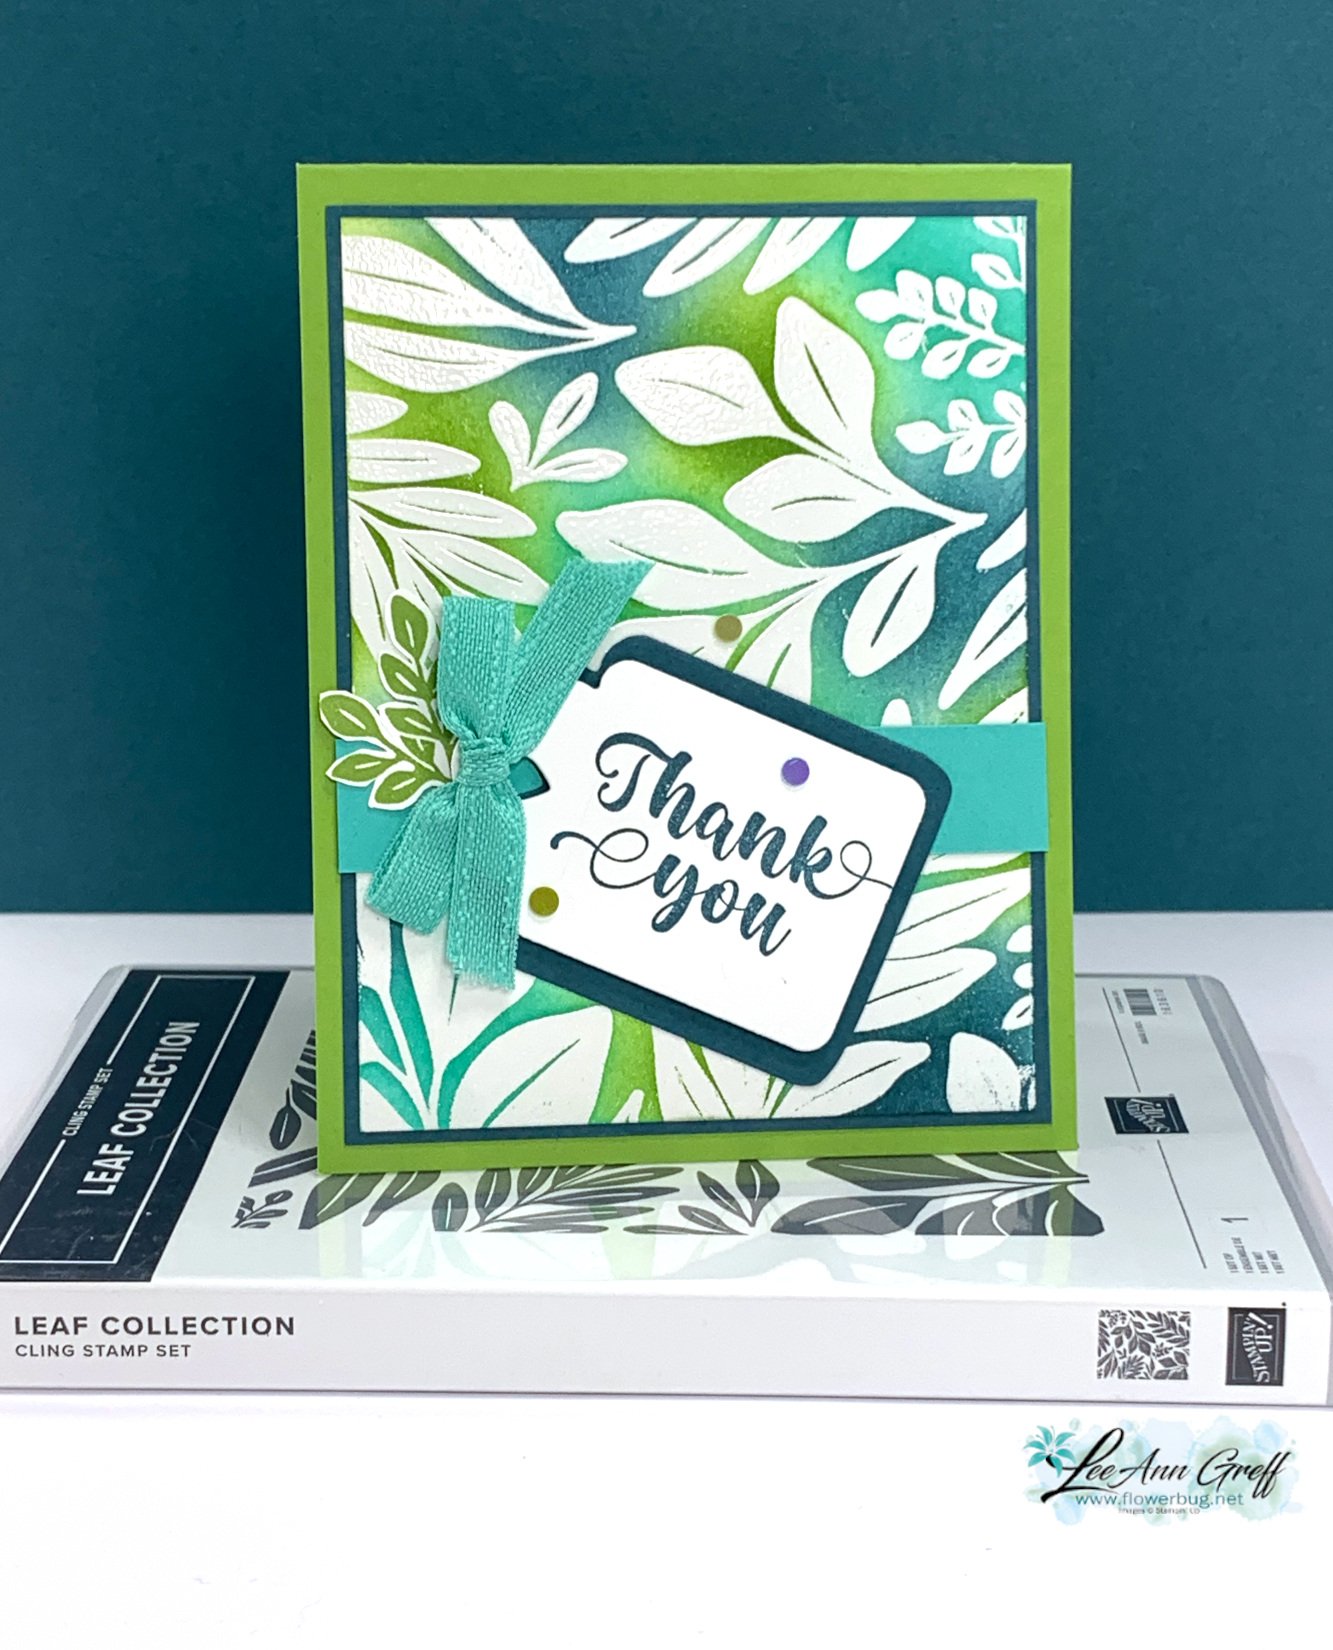
  1. First I stamped using Versamark ink onto White card stock and heat embossed with clear embossing powder. 
  2. Then I added ink over the clear embossing; using Blending Brushes. Inks include: Summer Splash, Pretty Peacock and Granny Apple Green.  *This must be water-based ink!
  3. Use a damp tissue or paper towel to wipe off excess ink that will not stick to the embossed areas. Done! 

The greeting is from the Irresistible Blooms stamp set (online exclusive) and the tags are from the Something Fancy dies (carrying over). 

Click here for the free project sheet:   Download Leaf Collection Josephs Coat cards

Which card do you prefer above?  Left or right? 

Below is the video on how I made this card along with a few resist techniques featuring new Annual Catalog products. I hope you watch it AND subscribe to my YouTube channel too. 

~~~

April Specials: 

*current host code link:   D6QRFZ7J
Here's a link to the Last Chance list 

A free gift with orders in April:

Check out my available Kits & Tutorials here:
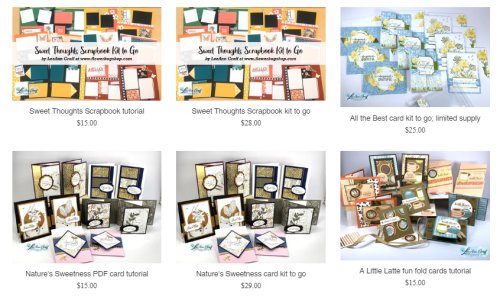
All online orders in April will receive a free multi-project tutorial!

All Posts

  • Dressed to Impress meets Ornate Frames for a gorgeous hand made box!


    These are the boxes I included in my Spring Retreat last month.  I think they're gorgeous and was so happy with how they turned out!

    They're hand made from White and Lovely Lipstick card stock with fussy cut flowers and leaves from the Best Dressed designer series paper added to the top. The greeting is from the Dressed to Impress stamp set. The pretty die-cuts are from the Ornate Frames & Ornate Border dies which are now available again!  See them here. 

    Here's a picture of the assembly process: 

    Here are the box dimensions:

    • Top is 3 3/4" X 5 1/2" scored at 3/4" on all sides
    • Bottom is 3 5/8" X 5 3/8" and scored at 3/4" on all sides.  

    Tips:

    • Once you have the box pieces cut and scored you can use the Ornate Border dies to die-cut the pretty windows in the sides.  
    • Cut the White frame using the Ornate Frames dies. Stamp the greeting and add fussy cut leaves and flowers. 
    • Fill with chocolate! 

    ~~~

    May Specials


    Get my 'ALL Fun Fold cards tutorial' free with any online order.

    It includes directions, photos and measurements for 18 fancy card folds!


    May Host code is EYDJ4MQN

    Get a free pkg. of Noble Peacock rhinestones from me if your order is over $55. 

    Order online here

    Leave a Reply

    Your email address will not be published. Required fields are marked *

  • Introducing the new 2020-22 In Colors!


    They're in my hands!  The new In Colors that is.  Look at these gorgeous new colors we'll all get to play with soon!

    I added a few of our current colors of card stock with each new color so you can compare them.  The Misty Moonlight is like soft, worn denim. 

    This one seems like a color we've never had before!  It's a honey brown or rich, caramel color. 

    The Magenta Madness is a pretty bright pink.  If you've been around long enough it reminds me of the Pink Passion we used to have years ago.

    The Bumblebee is a golden version of Crushed Curry but a bit brighter. 

    Just Jade is a pretty green and also seems different from anything I remember us having before.  It's lovely! 

    Here's a sneak peak of 5 cards I made with LOTS of brand new products!  Everything is new but the White card stock. 

    How many new products can you spy here?  

    We are going to absolutely LOVE these new colors!  I cannot wait to play and create new, favorite combinations with our current line of colors.   

    Special offer! Each year at my Open House event in early June I offer my local gals a fabulous bundle of our new In Color products . This year I'll be offering it online to everyone (in the USA)!   It's usually consists of the In Color ink pads, ink refills, assorted In Color card stock, In Color designer paper and embellishments (or ribbon).  Then with that purchase they get the set of In color markers free!   It's a great way to have it all and not worry about needing ink refills or markers later.  

    However Stampin' Up! is already running low on a few of these items so I may have to change it up this year.  I'll know more the last week of May, which is when I'll open it up to everyone.  The Covid-19 crisis is sure causing havoc with shipping and inventory; not just with SU but globally.  But we make do with what we have right?  And that will include a ton of new and excited products!

    ~~~

    May Specials


    Get my 'ALL Fun Fold cards tutorial' free with any online order.

    It includes directions, photos and measurements for 18 fancy card folds!


    May Host code is EYDJ4MQN

    Get a free pkg. of Noble Peacock rhinestones from me if your order is over $55. 

    Order online here

    Leave a Reply

    Your email address will not be published. Required fields are marked *

  • A new template for 6 X 6″ Designer paper – makes 3 fast, cute cards!


    I made these three pretty cards on Facebook Live on Monday.   See it here! 

    I created a new template for a 6 X 6" piece of designer paper.  You'll cut on the lines and use the 8 pieces to make 3 cards. Cut and prep your projects ahead of time so you can stamp and create right along with me using the directions and easy template below.

    Download this project sheet with the directions and template here. Download 6 X 6 Quick cards template


    The measurements for the layers are included in the project directions in the download above. 

    Supplies:

    • Stamps – Positive Thoughts stamp set and the Nature's Thoughts dies (butterflies). 
    • Ink – Mossy Meadow, Blackberry Bliss
    • Paper – Best Dressed designer paper, Blackberry Bliss, Mossy Meadow, Purple Posy and Whisper White
    • Other – Nature's Thoughts dies (butterflies), Stitched Shapes and Stitched So Sweetly dies, ribbons, dimensionals, sponges, pearls 

    I hope you can join me each Monday at 7:30 pm, CDT here on my Facebook Page where you can stamp right along with me.  

    ~~~

    May Specials


    Get my 'ALL Fun Fold cards tutorial' free with any online order.

    It includes directions, photos and measurements for 18 fancy card folds!


    May Host code is EYDJ4MQN

    Get a free pkg. of Noble Peacock rhinestones from me if your order is over $55. 

    Order online here

    Leave a Reply

    Your email address will not be published. Required fields are marked *


Notice: LeeAnn Greff, Independent Stampin’ Up! Demonstrator, Manager. The content of this website is my sole responsibility as an independent Stampin’ Up! demonstrator and the use of, and content of, the classes, services, or products offered on this website is not endorsed by Stampin’ Up! Copyright 2025