/


Latest Post

Save time on finishing the inside of your cards with this trick!


I’m excited to share these stunning snowflake cards with you today. We made them at my card clubs in December.
Living in North Dakota, we usually see a lot of snow in the winter so these cards are great for many occasions.

I used the Snowflake Kisses bundle seen here. It’s filled with wonderful greeting images and lots of snowflake dies.

My colors include Pretty Peacock with Cloud Cover and Gorgeous Grape with Fresh Freesia. I think blues & purples are perfect for snowflakes. We used a blending brush to add more color to the large snowflake die-cut.

After creating the cards above I thought I’d try combining the colors on the large die-cut.

Isn’t that pretty? I just love combining Gorgeous Grape with Pretty Peacock on the Fresh Freesia die-cut. Blending Brushes make this a breeze!

Look how we finished the inside.
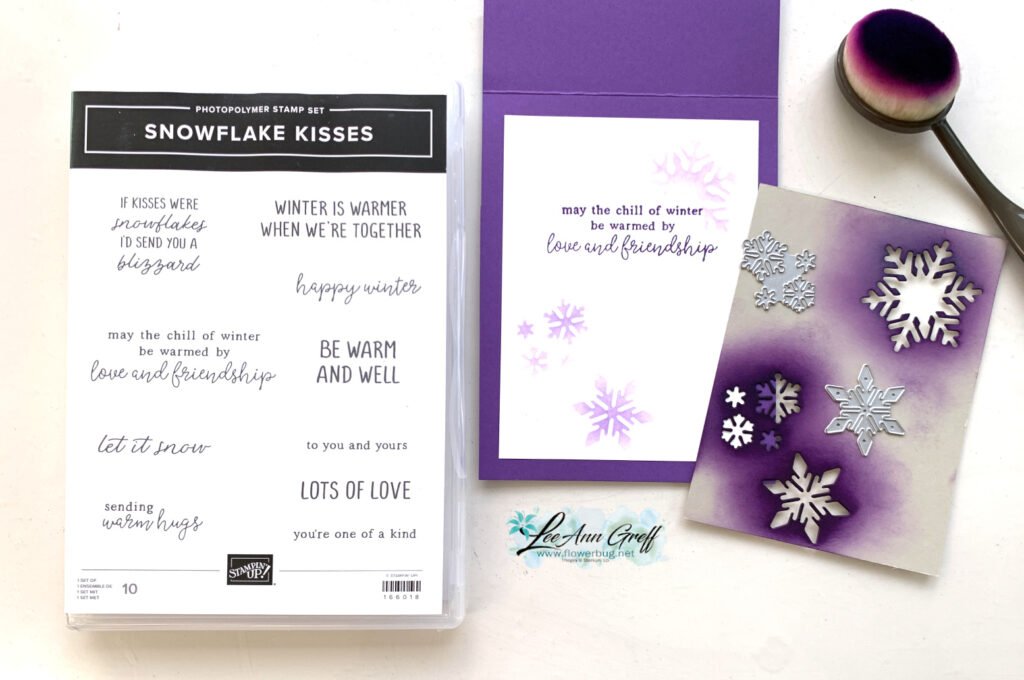
I wanted to add snowflakes to the inside of the card but didn’t want to die-cut tons of them for my club gals. So I came up with creating a snowflake stencil.
I cut multiple snowflakes from a piece of card stock and we used Blending Brushes to add pretty snowflakes to our White layer. I truly love the effect it gives.

If you’d like the free project sheet for this card click here. You can download or print it.

See how this card is made in the video below. I also shared a second Snowflake Kisses fun fold card.

*You’ll receive a PDF with multiple projects featuring this product
after the 20th of the month.
~~~

The Last Chance list has been updated!
Click here to shop.
Get a free PDF tutorial with any online order from me in December!
All Posts

  • Two-Tone Flora card with more ideas in the video


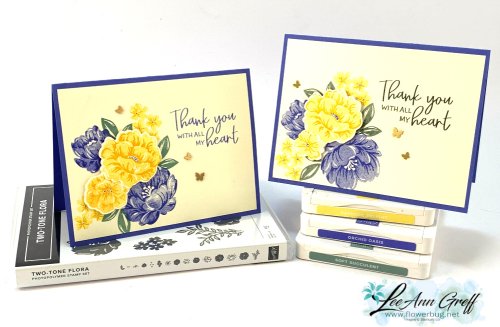
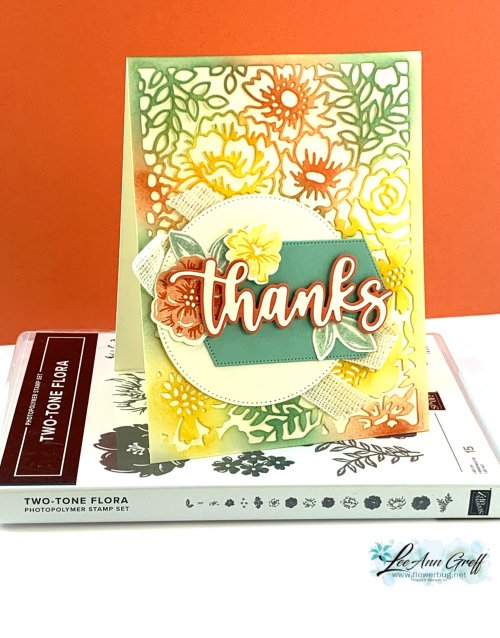
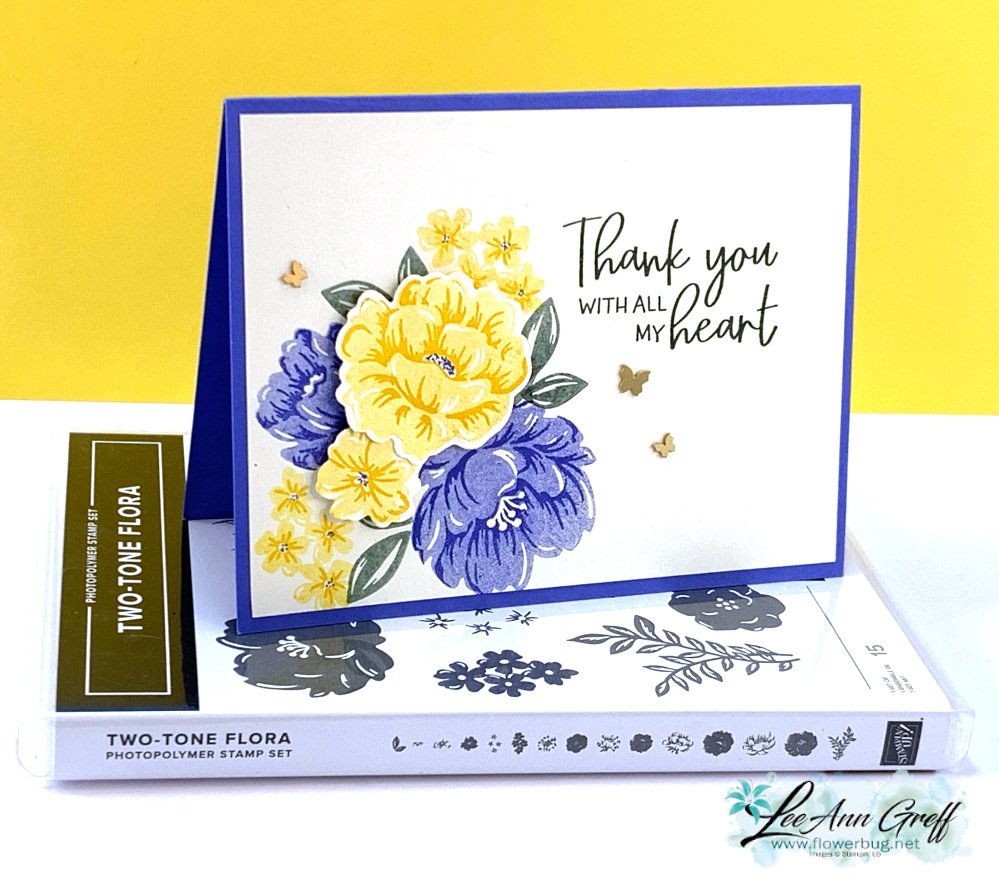
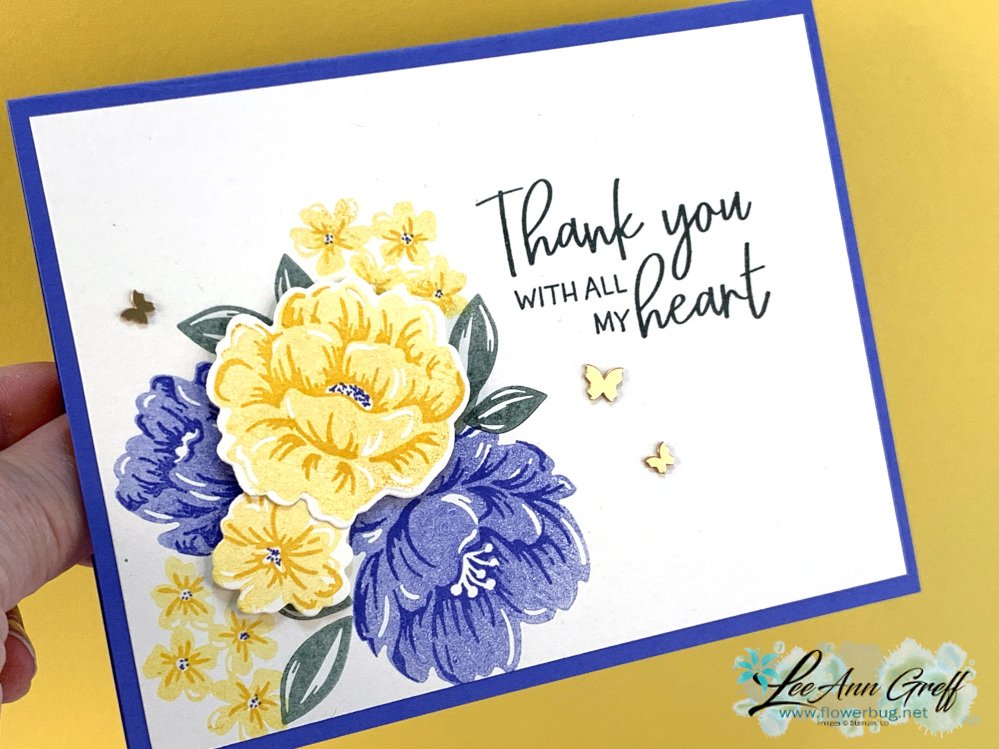
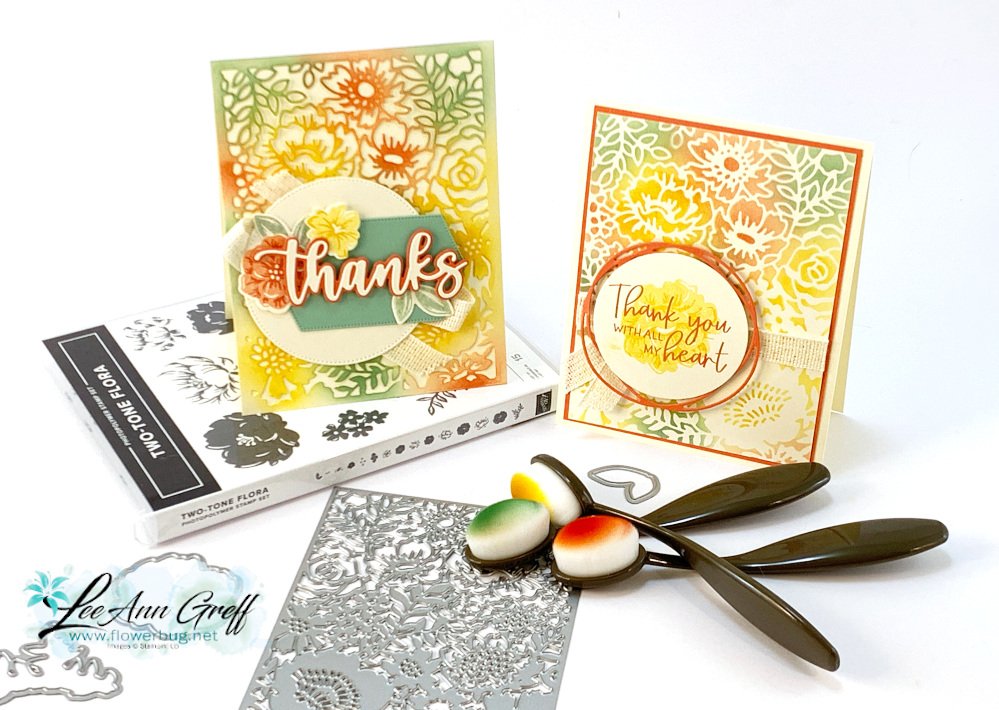
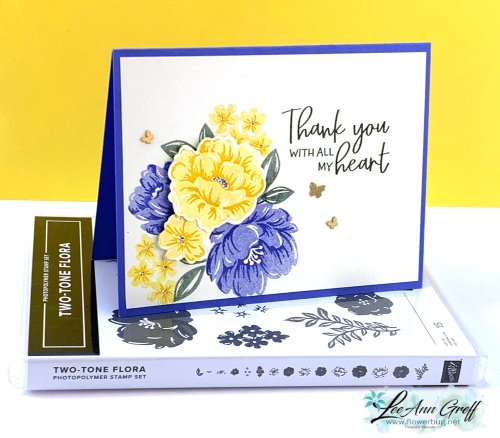
    Here's a pretty card I shared on a recent Facebook Live.  It features the Two-Tone flora bundle seen here. 

    My colors include Daffodil Delight, Soft Succulent and Orchid Oasis. I kept this card very simple to show off the beautiful detail in the flowers.  

    The greeting is from the Framed Florets stamp set seen here. 

    I used Very Vanilla to stamp on as I haven't used it much lately.  It's a softer feel than White.  Does your Vanilla need some love too? 

    I hope you're inspired by this fun technique.  Click on the photo below to watch the video and see more cards with this bundle. 

    ~~~

    February specials:

    February Host code links:

      CNV2VCBT or 7EUM6NB9 

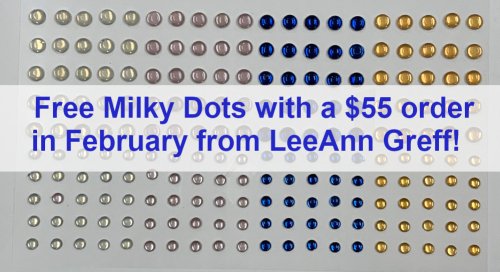
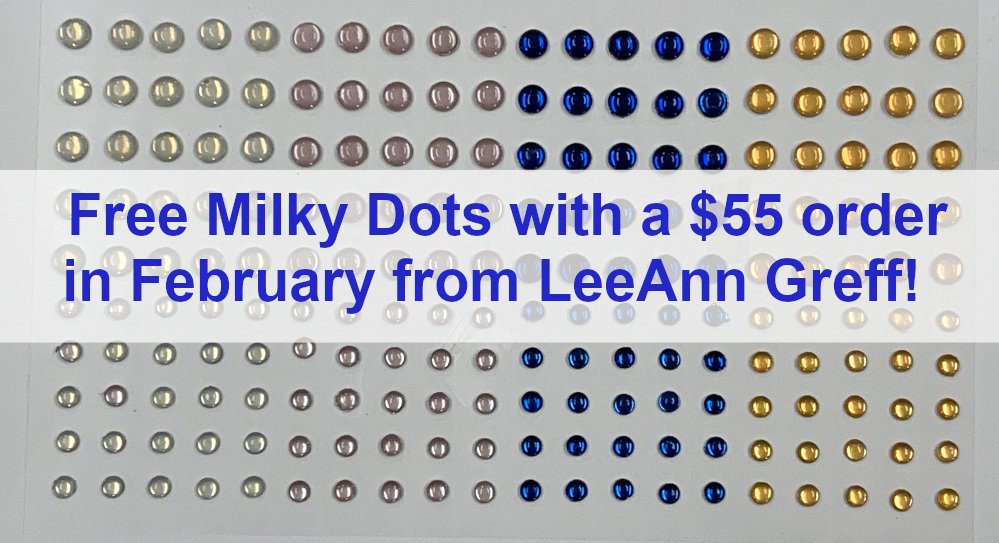
    Get free Pastel Sequins with online orders over $55 when using the host code above!
     Earn free products with my loyalty rewards! 

    Click here to download yours and earn a $50 shopping spree!

    ~~~

    Best Deal Ever on the Starter kit here!

    Choose $175 in products for just $129 plus the new mini machine!

    Or choose $175 for $99 without a new Mini.  AMAZING!

    Leave a Reply

    Your email address will not be published. Required fields are marked *

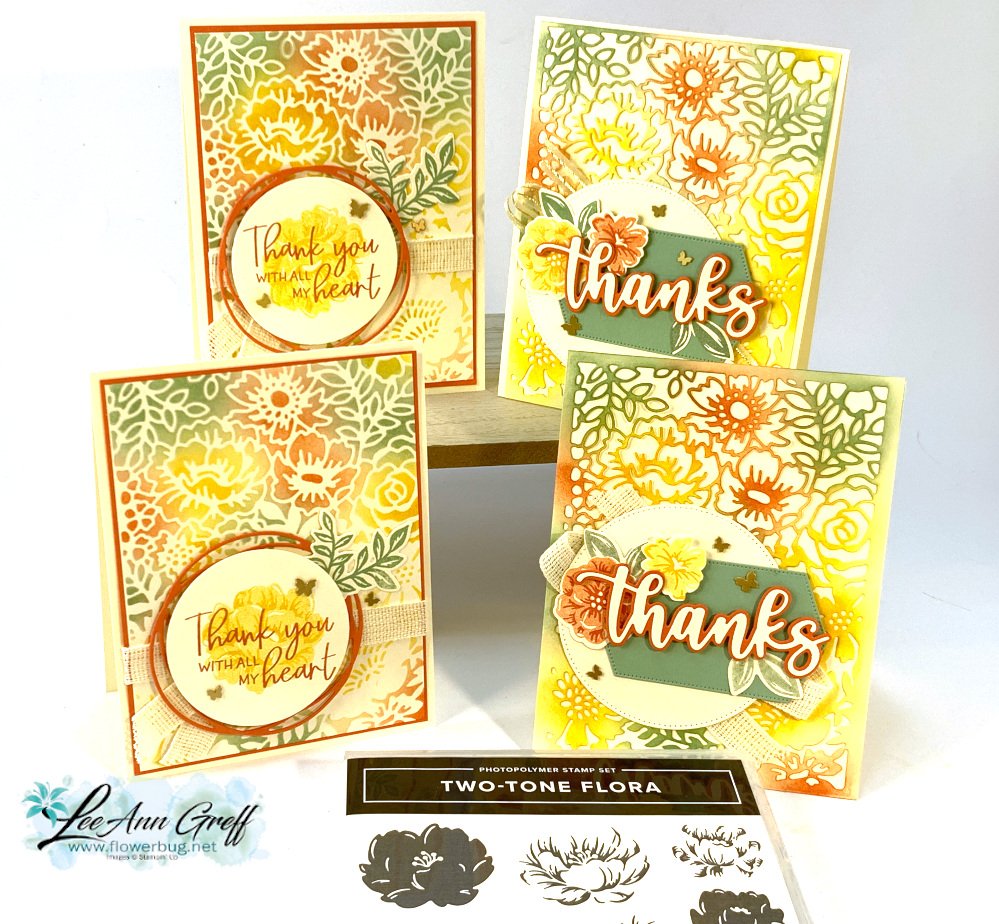
  • Two-Tone Flora cards; get two cards with one technique!


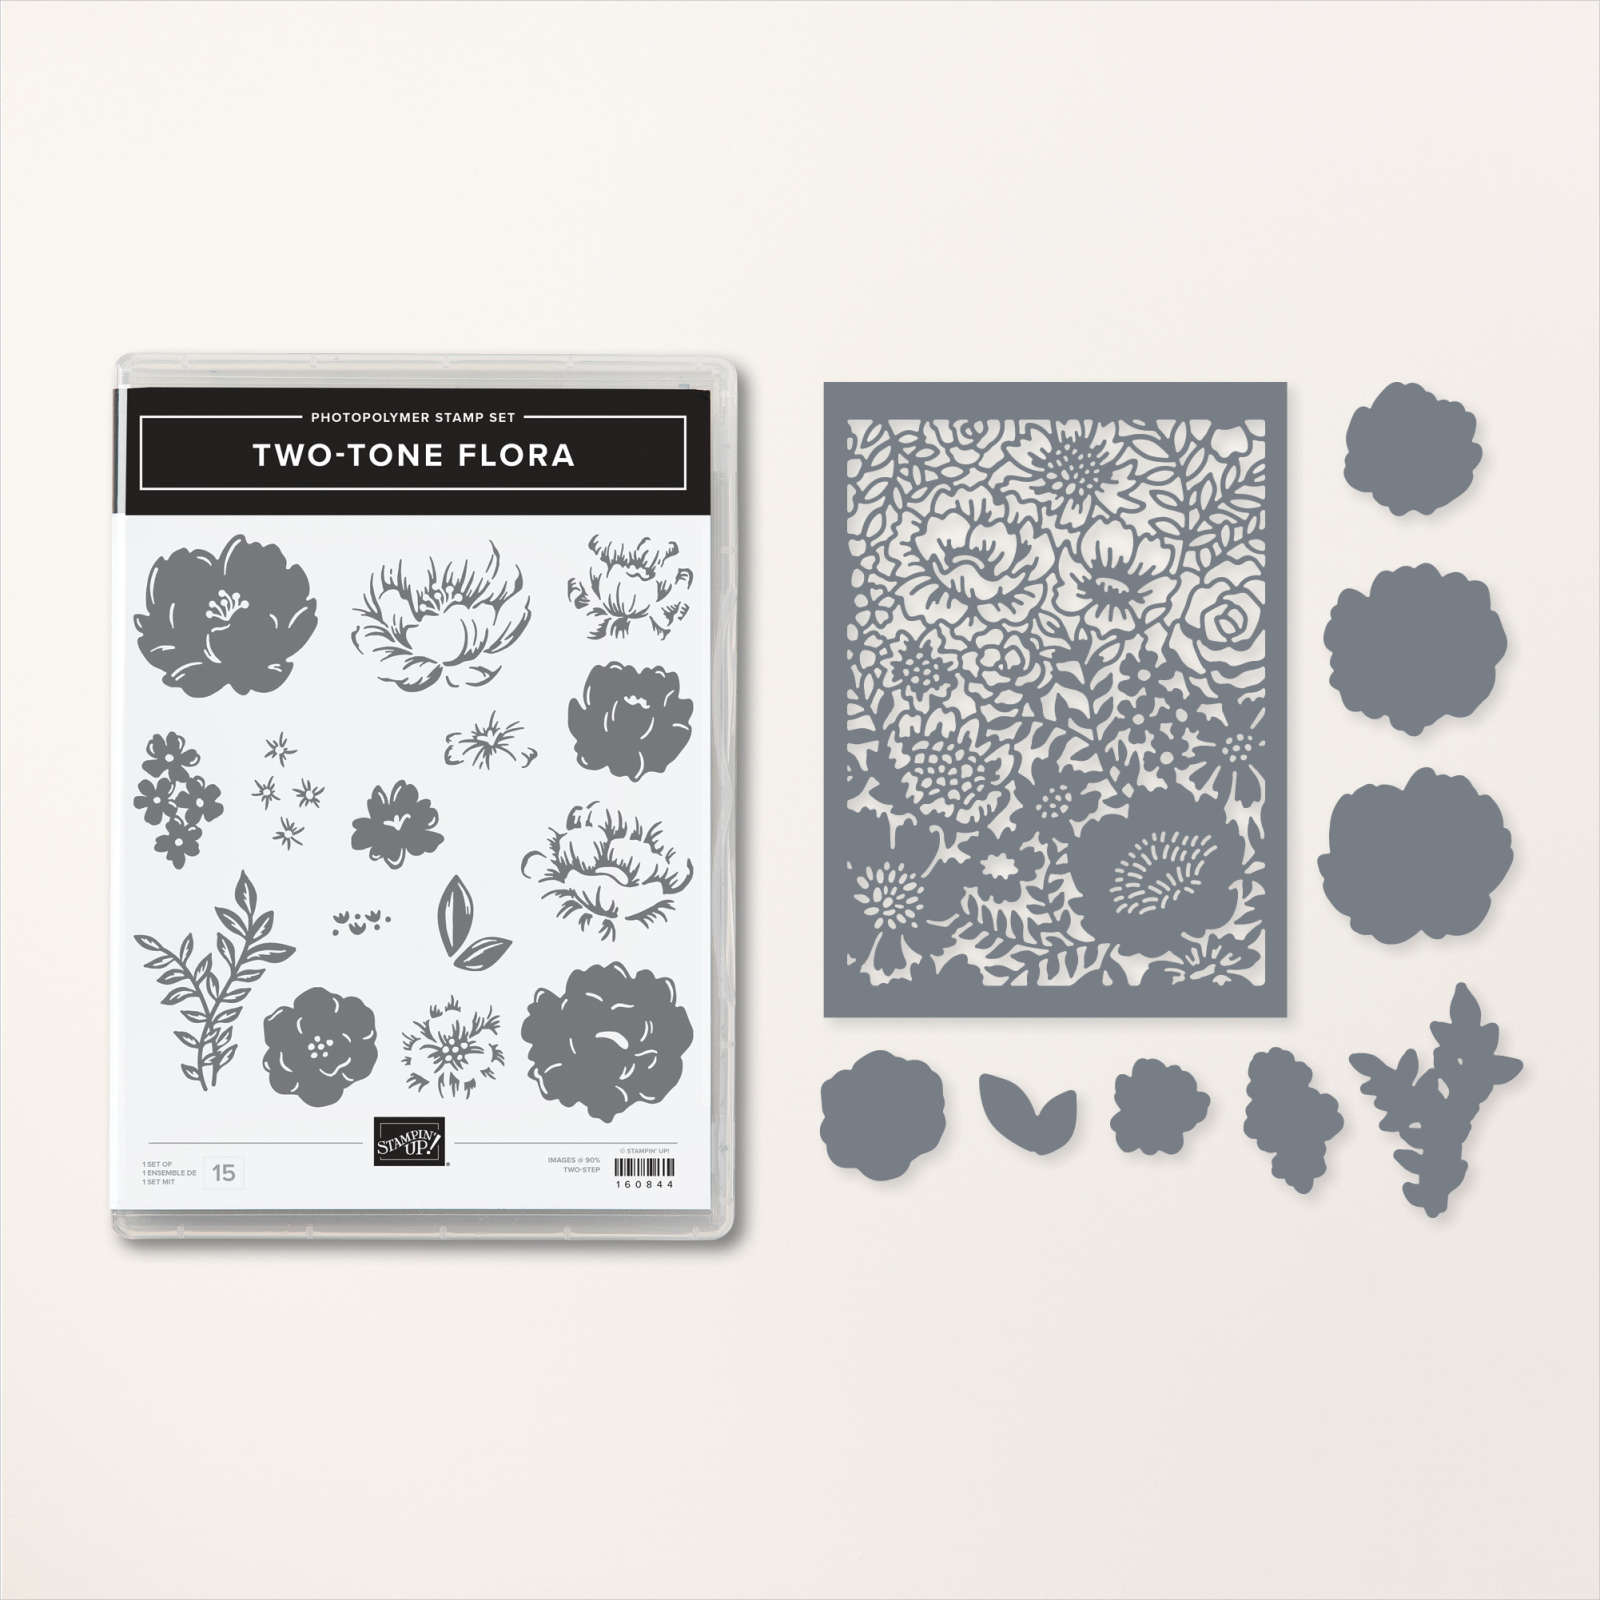
    I shared a bunch of projects featuring the Two-Tone Flora bundle seen here on last week's FB Live video.  

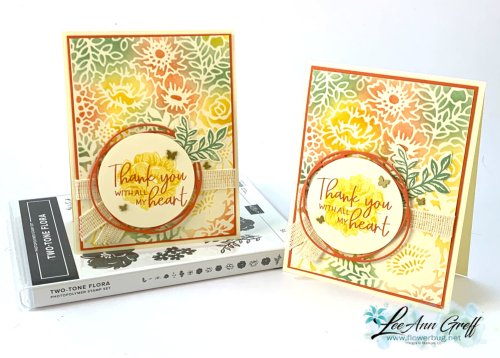
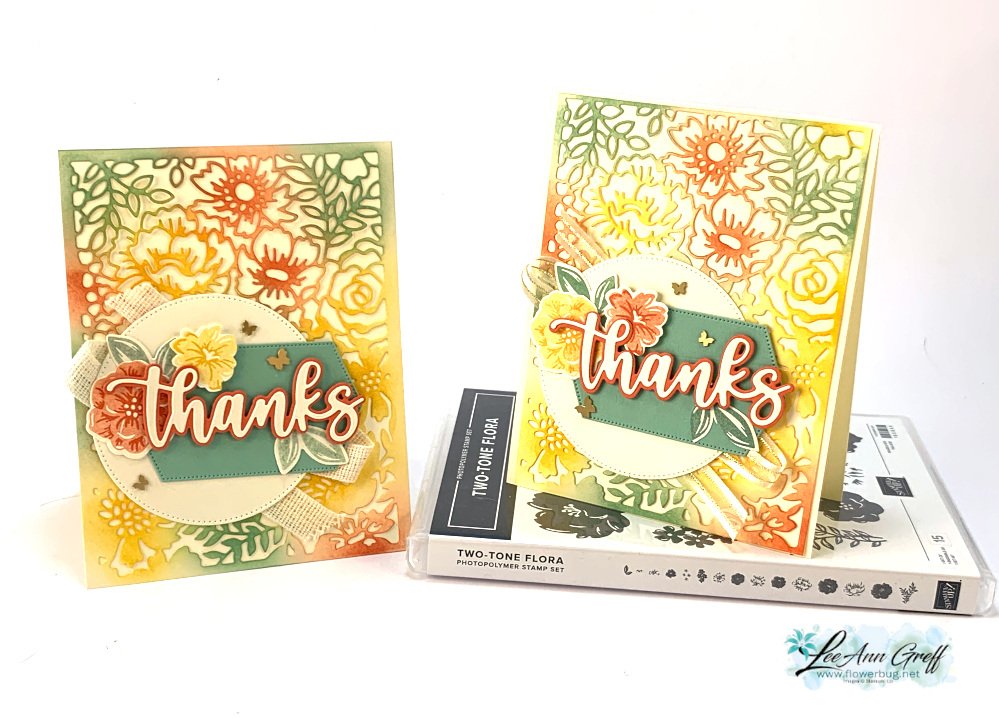
    I hadn't played with it at all and couldn't stop once I started!  Here are two cards that may look similar at first, but look closely….

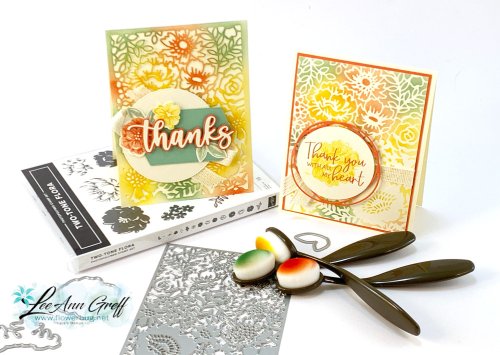
    The card on the left has the large, sponged & colored die-cut on the front.  But the card on the right is the colored layer underneath the other.  So cool!  I show how this is done with the small Blending Brushes in the video here.  

    I used three colors for these cards – Daffodil Delight, Mint Macaron and Calypso Coral. It also features Very Vanilla which I don't use often enough. I found the small blending brushed worked really well for the detailed areas on the die-cut. You can see these brushes here. 

    Here are both cards with the actual colored die-cut piece on the front. 

    I accented it with the Sentimental Park, Stylish Shapes and Amazing Thanks dies. Also a few Brushed Brass Butterflies finished the garden feel of these cards. 

    Below are the cards that show off the area under the sponged die-cut.  The colorful sponging reveals the die-cut detail on the Vanilla but the flowers and leaf areas are colored. I love this 2 for 1 technique!  I'm sure you have some dies you could use like this too.  

    The dies above include the Painted Label and Circle Collection dies; along with the Two-Tone Floral dies for the leaf. 

    I enjoy using two-step stamp sets for the wonderful details and hues of color you can achieve.  

    I hope you're inspired by this fun technique.  Click on the photo below to watch the video and see more cards with this bundle. 

    ~~~

    February specials:

    February Host code links:

      CNV2VCBT or 7EUM6NB9 

    Get free Pastel Sequins with online orders over $55 when using the host code above!

     Earn free products with my loyalty rewards! 

    Click here to download yours and earn a $50 shopping spree!

    ~~~

    Best Deal Ever on the Starter kit here!

    Choose $175 in products for just $129 plus the new mini machine!

    Or choose $175 for $99 without a new Mini.  AMAZING!

    Leave a Reply

    Your email address will not be published. Required fields are marked *

  • There are just two days left to get this gorgeous card kit to go!


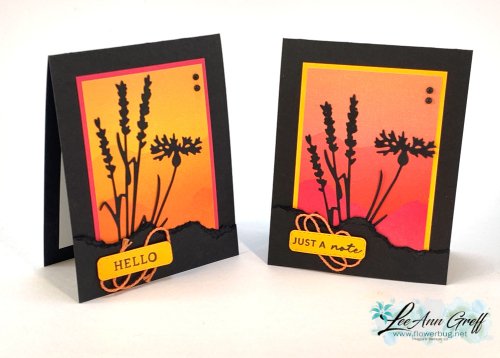
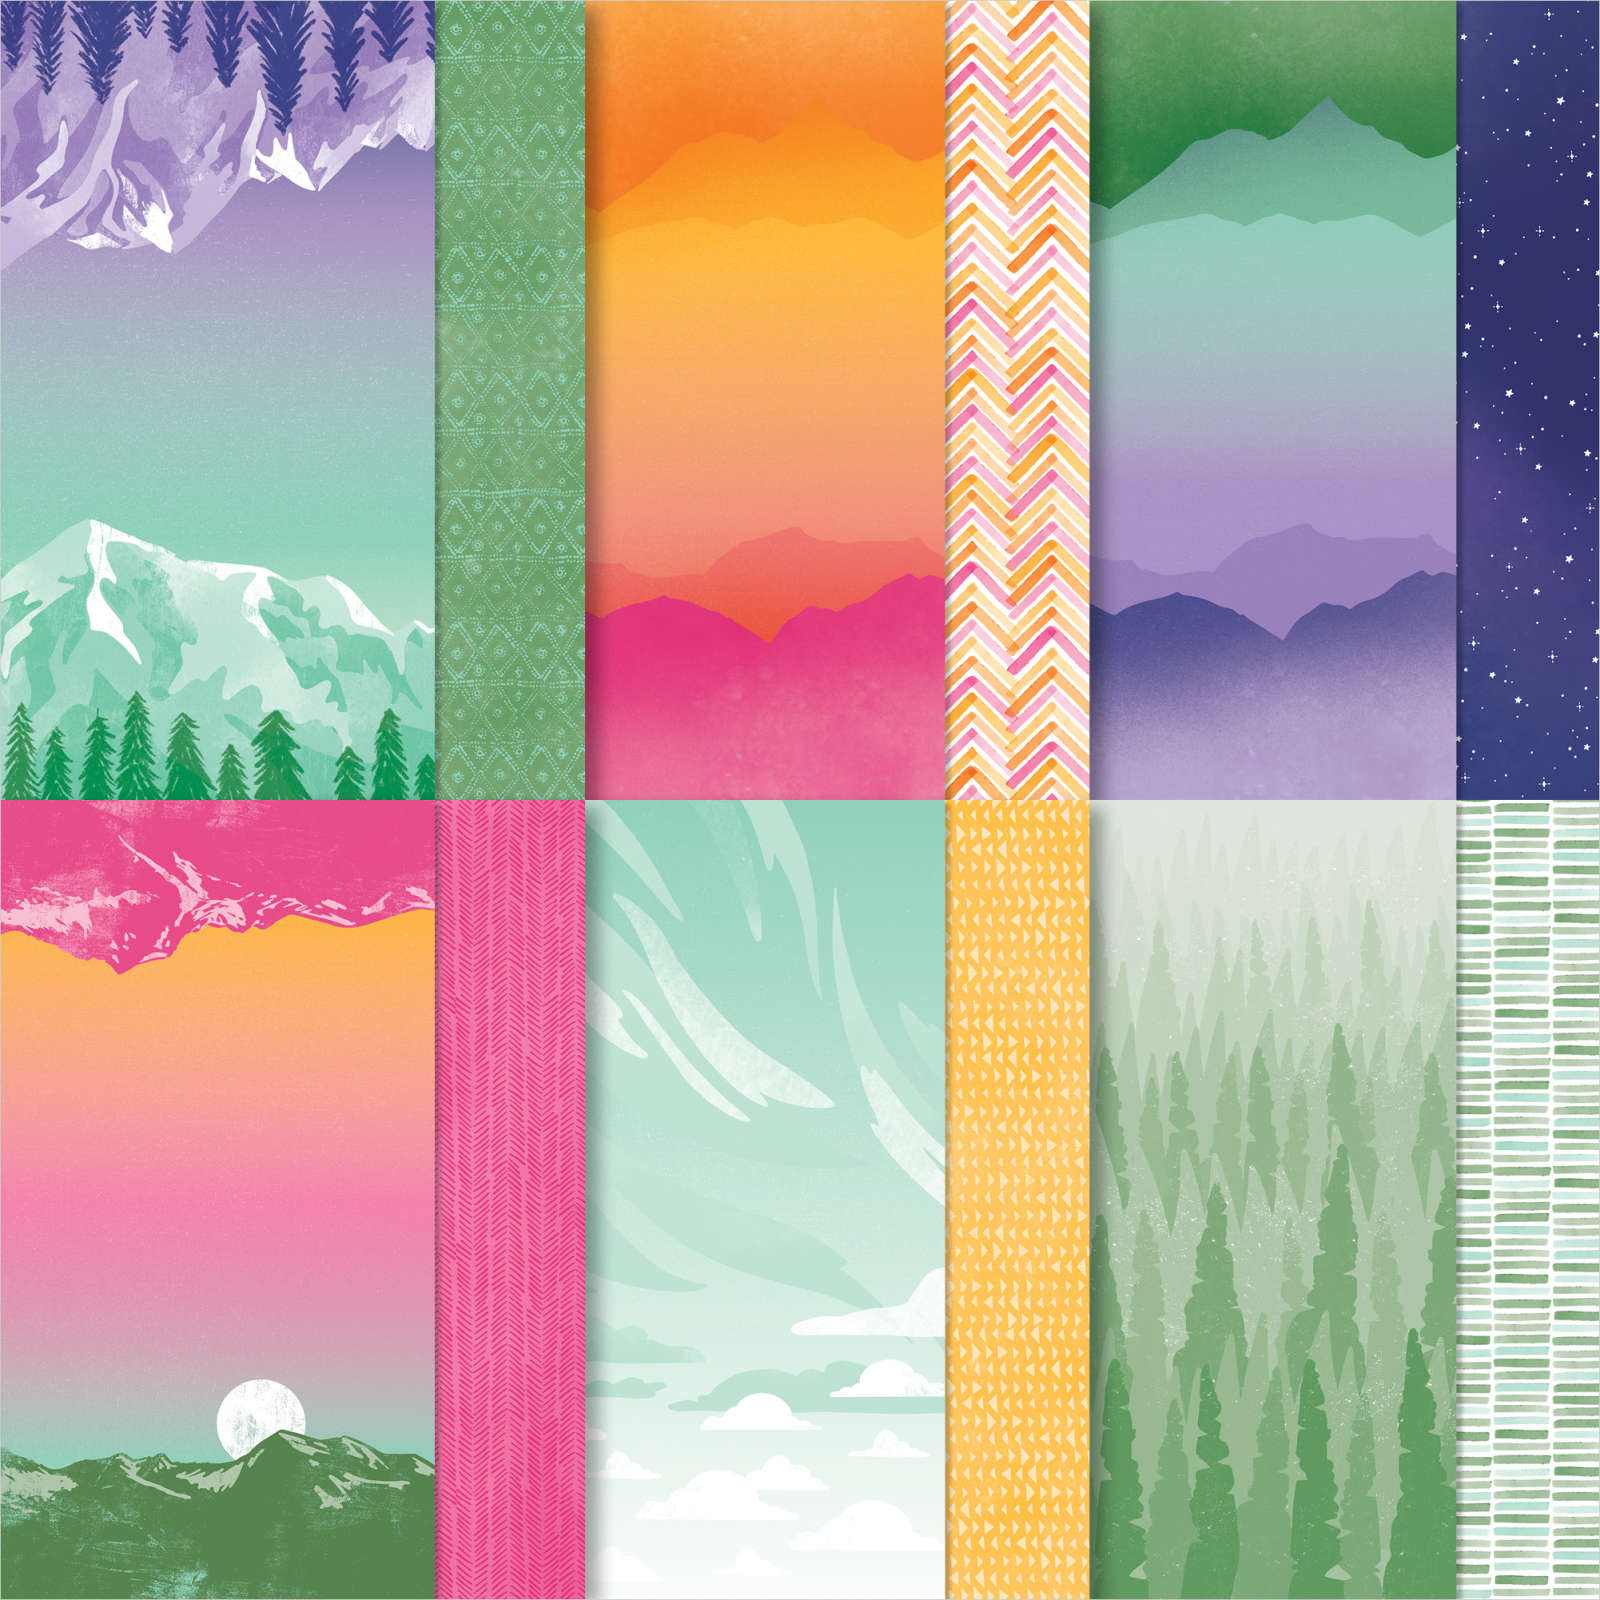
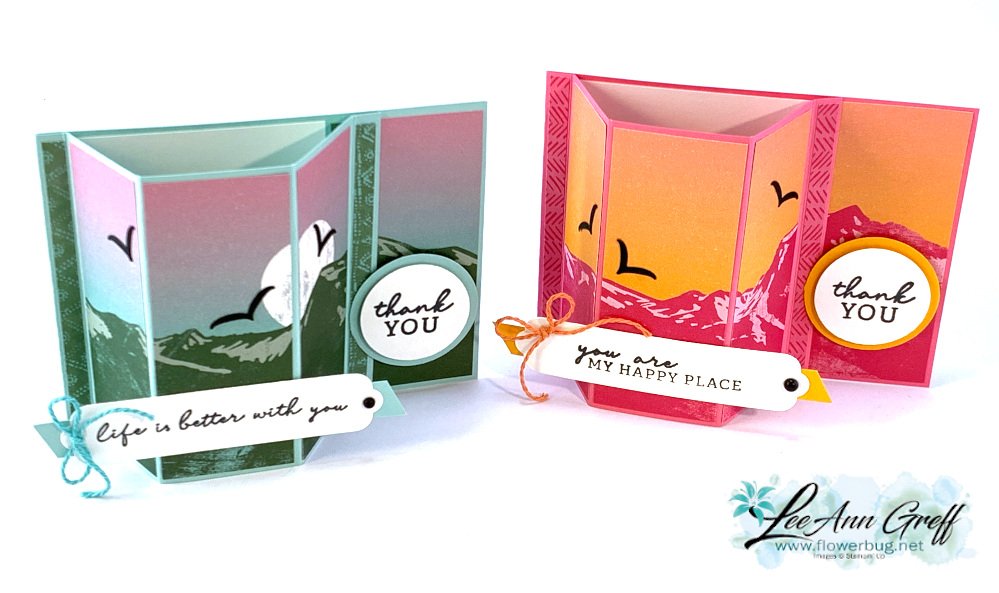
    Sunday is the last day to opt in to receive this beautiful pre-cut card kit to go.  It features the stunning Enjoy the Journey designer paper.  

    Cards like this one really show it off! 

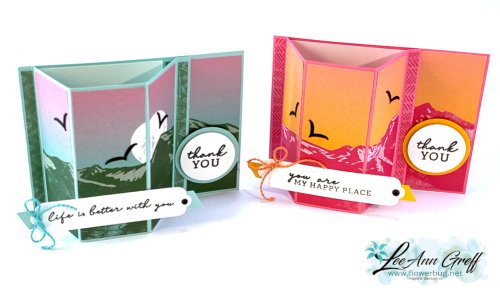
    Many of the cards in this kit are fun folds.  Remember that everything is pre-cut for you including die-cuts & punched pieces.  The only thing you have to cut is your brand new designer paper that's included in the card kit.  

    Besides a half pack of designer paper you also get shares of three spools of twine and Black Matte dots.  The PDF tutorial is free in the kit.  It's $28 plus shipping and the kits are mailed out at the end of the month.  

    I design these cards so all you need are greeting images; this time I featured the Happy Labels stamp set seen here. Add it on to the kit to go and you're just $6 away from a free Sale-a-Bration choice! Contact me here to add on to your kit. Black ink is the only color you'll need to finish the cards.

    This is another card included in this kit.  

    Remember all of the die-cuts are included; just follow the directions in the PDF tutorial for assembly.  

    Click here to purchase the pre-cut product based card kit.  Click here for the PDF tutorial only for $15. 


    Did you know that this designer paper is free with a $50 order?  It's part of the 'More to Sale-a-Brate' in February.  

    ~~~

    February specials:

    February Host code links:

      CNV2VCBT or 7EUM6NB9 

    Get free Pastel Sequins with online orders over $55 when using the host code above!

     Earn free products with my loyalty rewards! 

    Click here to download yours and earn a $50 shopping spree!

    ~~~

    Best Deal Ever on the Starter kit here!

    Choose $175 in products for just $129 plus the new mini machine!

    Or choose $175 for $99 without a new Mini.  AMAZING!

    Leave a Reply

    Your email address will not be published. Required fields are marked *


Notice: LeeAnn Greff, Independent Stampin’ Up! Demonstrator, Manager. The content of this website is my sole responsibility as an independent Stampin’ Up! demonstrator and the use of, and content of, the classes, services, or products offered on this website is not endorsed by Stampin’ Up! Copyright 2025