/


Latest Post

Rainbow of Happiness shaker card with video tutorial


Did you know you get a free $50 shopping spree when you place online orders with me?  It's true!  

I love to give these sprees to my online or local shoppers.  If you never knew about this and have shopped with me in the past you can redeem your spree too!  

Click here to download the form. 

I played with the Rainbow of Happiness bundle on Facebook Live earlier this week.  Here's a neat shaker card I made: 

Shaker cards look difficult but they're fun AND easy!  Watch the video below to see how it's done.

The Rainbow of Happiness bundle is 10% off in our Spring catalog.  See it here.  I just noticed it's on low inventory. That means when they run our it will not be available again until the product is restocked. That Global Shipping issue you know!!

It's hard to see in the photo above but the paper inside the shaker is our Rainbow Glimmer specialty paper from the annual catalog.  I share a neat trick to get these rainbow die-cuts in place in the video below or click here. 

Here's a close up of another: 

Here are some details:

  • The large rainbow is made with the Brilliant Rainbow dies – it's part of the Rainbow of Happiness bundle. 
  • The small clouds are die-cut from our Supple Shimmer paper & the Rainbow dies
  • The sequins & beads in the shaker are from the Sparkle & Shine sequins
  • I used our Foam Adhesive strips on the back side of the White die-cut piece to raise it and keep the shaker pieces in place.
  • The large clouds are punched with our new Cloud Punch. One is punched from the Sunshine & Rainbows free DSP during our Sale-a-Bration promotion. See it here. 

The card above on the left has a cloud bank made with our Border Basic dies and our new Supple Shimmer paper.  Stampin' Up! is terrific at coordinating their products so incredibly.  

The shaker card is the first project I make in the video below. Click on it to watch! 

~~~

January Specials:

Purchase the Starter Kit during Sale-a-Bration

and choose ANY 2 stamp sets free plus FREE shipping too!

Click here to get yours.


Host codes:  T9YW6QCC or S9WGFH9Z

 *click here to order 

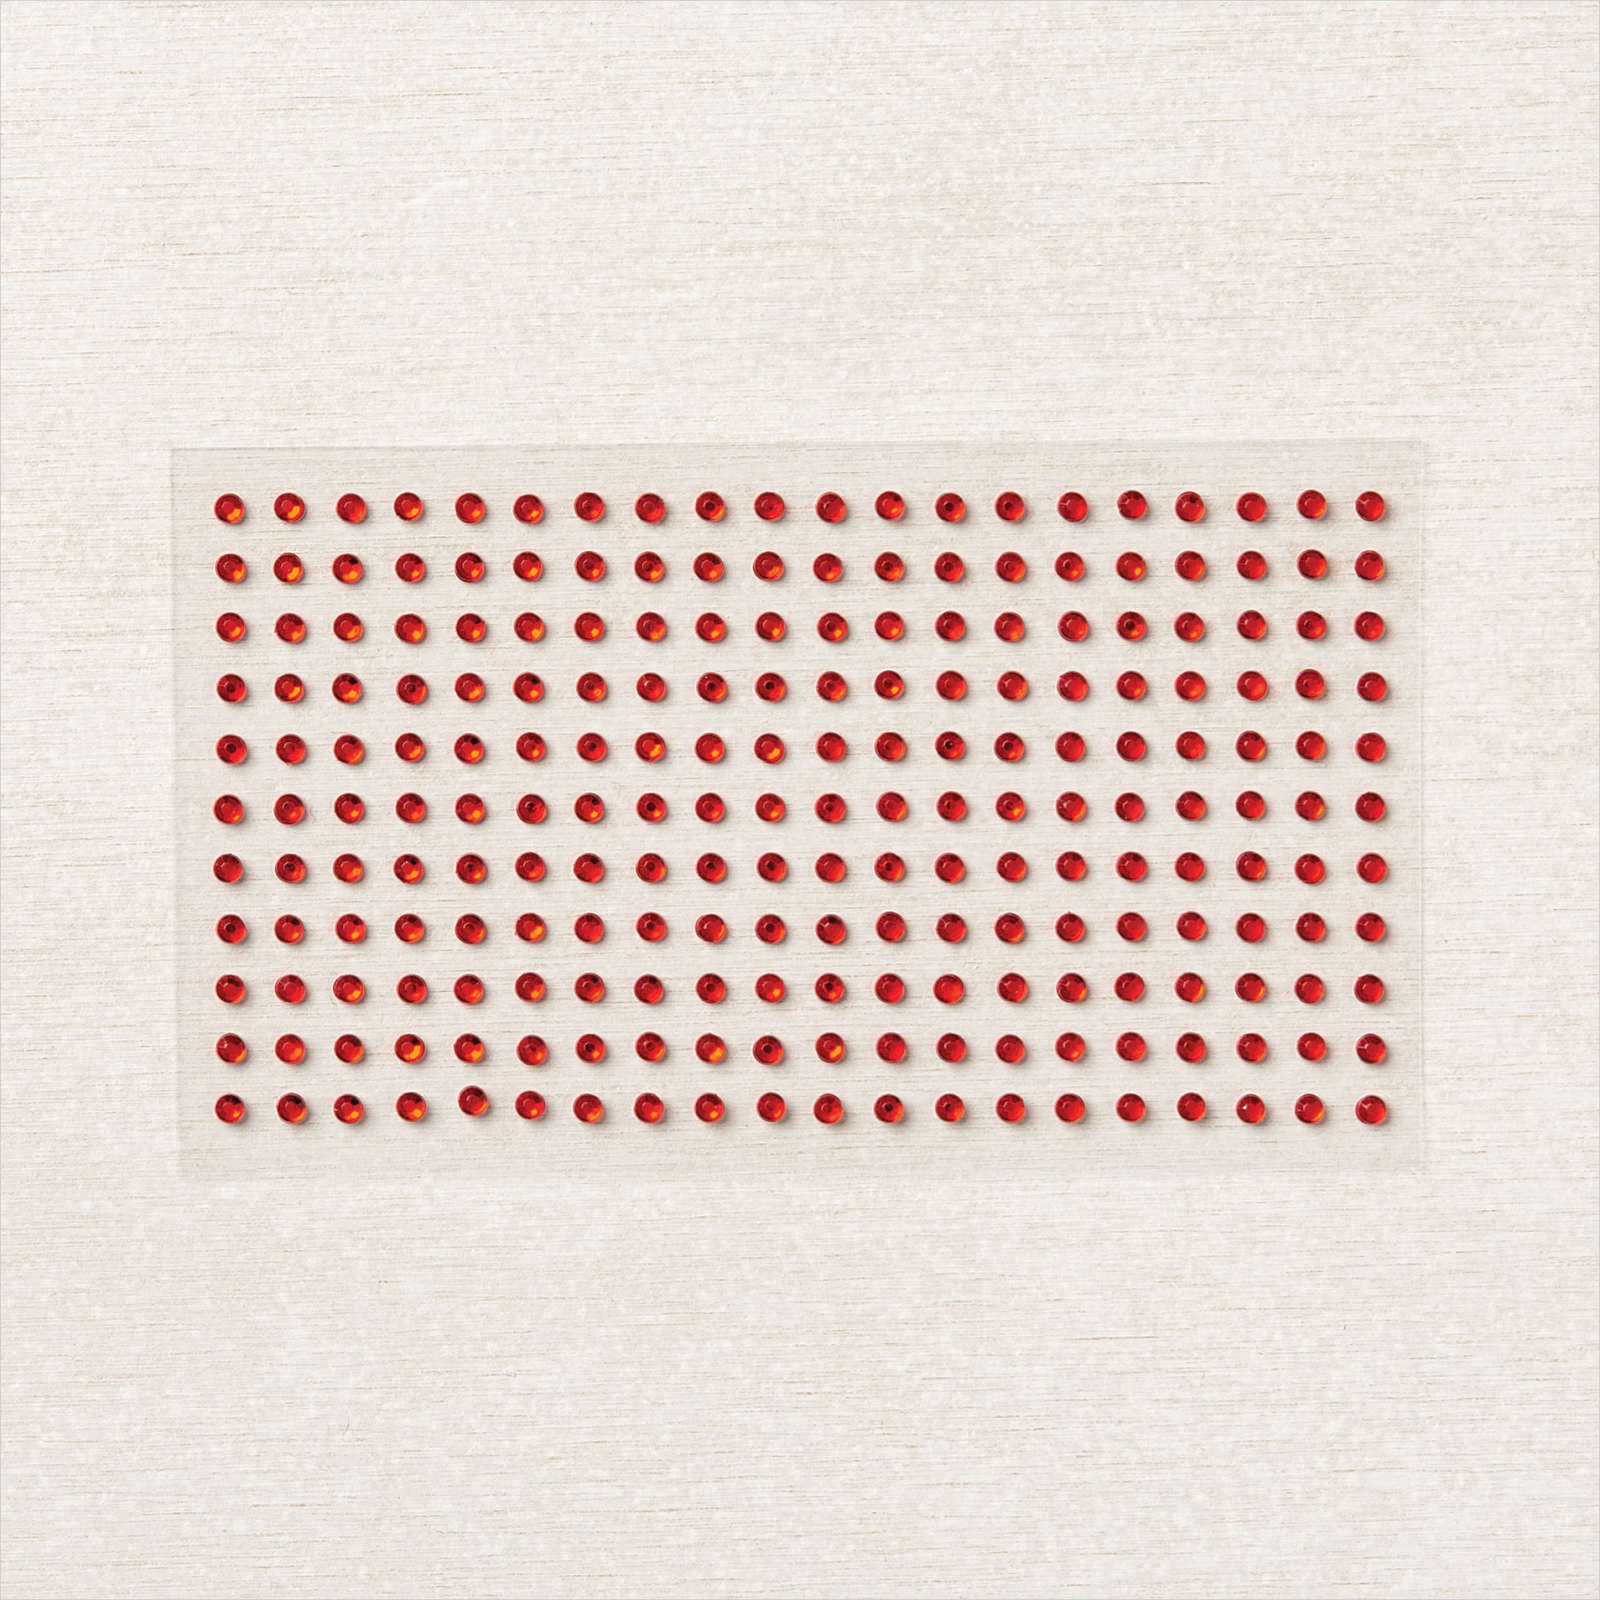
Use the host code above & get free Iridescent Rhinestones with

a $50 order in January, 2022! 

All Posts

  • Easiest Shake Card Ever; plus the quickest Christmas cards you can make!!


    Have you wanted to make a shaker card but didn't want to deal with the Foam Adhesive and window sheets?  Well I have a solution for you!  Use a clear envelope!  Yes; it works beautifully!

    I used one of the Wonder of the Season cards, cutting it down to 4" X 5 1/4" and adding another layered strip.  I then inserted it into one of our clear envelopes (seen here) and folded the excess to the back, securing it with Tear & Tape.  Then I added some Sequins for Everything and sealed it up.  It's adhered to a Real Red card base and the greeting is adhered to the front. 

    The stamps are from the Tag Buffet stamp set. 

    You can watch how I did this in the video below; it's one of the first projects. 

    In the video I also shared the Wonder of the Season Memories & More projects.  These cards are beautiful and filled with gold & red foil accents.  I love these because they are super quick & easy!  All I added were some Red rhinestones!  No stamping or extra card stock!  

    Here are a few I made:

    Remember I only used three products on these!  All you need are the cards (seen here) and the cards & envelopes (seen here) and Red Rhinestones.

    You can use the 3 X 4" cards for the pretty card bases so the foil accents show.  Or flip the front to the inside and use the larger 4" X 6" cards on the front.  This way you can still see that pretty foil on the inside! 

    Watch the video below to see these projects & more! 

    December Ordering Special: 

    Current Host code is NQHKDKZR

    Order online here

    All online orders will receive my 16 Christmas cards class PDF!

    Get a free package of 220 Red Rhinestones from me with an online order over $50 using the host code above.


    Leave a Reply

    Your email address will not be published. Required fields are marked *

  • Wow Peace & Joy card!


    Look at this amazing card Jacki made for our Flowerbug's swap last month!  Count the layers! 

    I count 8 layers on the front alone!  She used lots of Holiday catalog products to make this gorgeous card including the following:

    • Peace & Joy Bundle seen here
    • Brightly Gleaming Specialty DSP
    • Plush Poinsettia Specialty paper seen here
    • Snowflake Adhesive Backed sequins

    Aren't those Joy dies amazing? They include all 3 layers of the greeting.  It also includes the words Joy & Peace too. 

    December Ordering Special: 

    Current Host code is NQHKDKZR

    Order online here

    Get a free package of 220 Red Rhinestones from me with an online order over $50 using the host code above.


    Leave a Reply

    Your email address will not be published. Required fields are marked *

  • Video with Stampin’ Up! Stitched Dies for some easy WOW cards!


    Look at these fun and unique cards made with the Stitched Triangle dies!  

    Aren't they neat?  Our Stitched dies are quite versatile and can be used in a variety of ways as you can see! 

    I used the Well Said stamp set, Well Written & Stitched Triangle dies.  The DSP is 5 1/4" X 4" and the Vellum ¾" X 4”

    These cards were created on last week's FB Live video.  If you're not following me yet here's the link to my FB page.  Be sure to like & follow so you catch them every week on Tuesdays at 11 am CT.  

    Check out the Stitched Rectangle cards below.  I cut all of the Playful Patterns Designer Paper layers at the same time using just 2 dies.  

    How did I do it?  Start out with a piece measuring 5 1/4" X 4" and choose the 3rd & 6th dies from the outside.  Perfect layers! 

    I then layered the Designer Paper with card stock and added a die-cut greeting from the Best Year stamp set. 

    Supplies & Measurements:

    • Coastal Cabana, Crushed Curry, & Calypso Coral
    • Tasteful Label dies, Detailed Bands dies, rhinestones
    • DSP – 5 ¼” X 4”, and cut with dies at 3 ¾” X 3” & 3 1/8” X 1 ¾”
    • CS – 4 5/8” X 3 ¼” and 3 3/8” X 2”

    Remember you can find me here on Facebook 6 times a month! 

    ~~~

    Today's the last day for my November specials:

    Current Host code is NQHKDKZR

    Order online here


    All online orders receive my FREE Curvy Celebrations 22 project PDF Tutorial! 

    Below are the Multipurpose Glue stands we're making. They're available in my Shop here.  


    We can fit three in a box for almost the same shipping cost. They are $6 each and shipping is about $3-4 in US.   They make great gifts for your stamping friends!  

    Leave a Reply

    Your email address will not be published. Required fields are marked *


Notice: LeeAnn Greff, Independent Stampin’ Up! Demonstrator, Manager. The content of this website is my sole responsibility as an independent Stampin’ Up! demonstrator and the use of, and content of, the classes, services, or products offered on this website is not endorsed by Stampin’ Up! Copyright 2025