/


Latest Post

Quick All Aflutter card with the Extraordinary Washi tape


Here’s a sweet card made with both the All Aflutter bundle and the Extraordinary Washi tape:

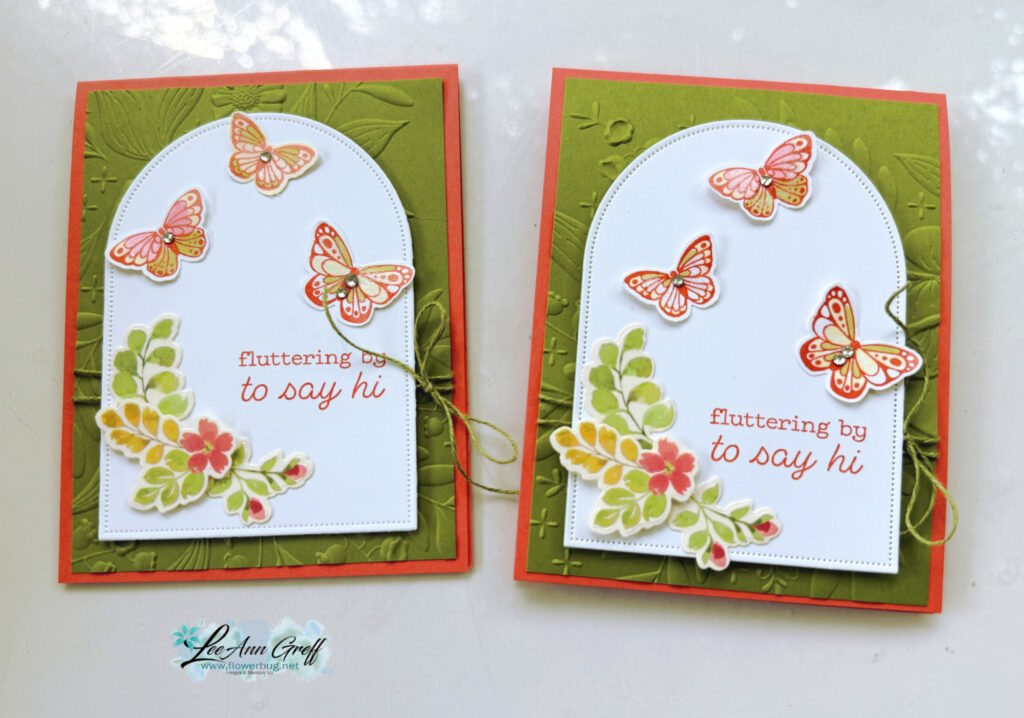
My colors include Calypso Coral, Old Olive and White. The Arches dies used in White here give a wonderful focal point to highlight the butterflies, greeting and flowers from the Washi tape. Unfortunately they are out of stock currently; but see them here and put your email in to get notified when they’re back in stock.

The background texture on the Old Olive layer is the Floral Spray 3D embossing folder. This folder is super popular and out of stock right now. Again, please add your email to be notified when it’s available.

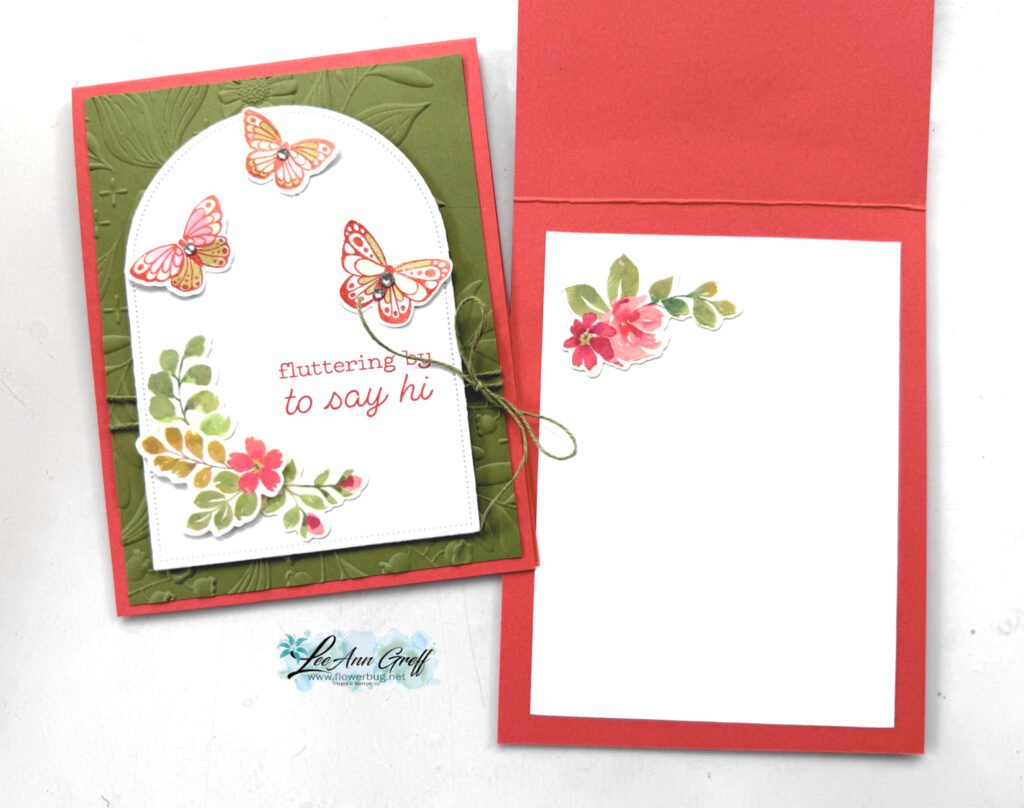
I love the Extraordinary Washi tape with coordinating die. You can cut out lots of colored flowers and leaves with ONE CUT! I save the extras to use them when I need just a little something extra. See the Washi tape here (you get 10 yards!) and the coordinating die-cut here. There’s also a bundle you can get here; it includes both the stamps and die-cut.

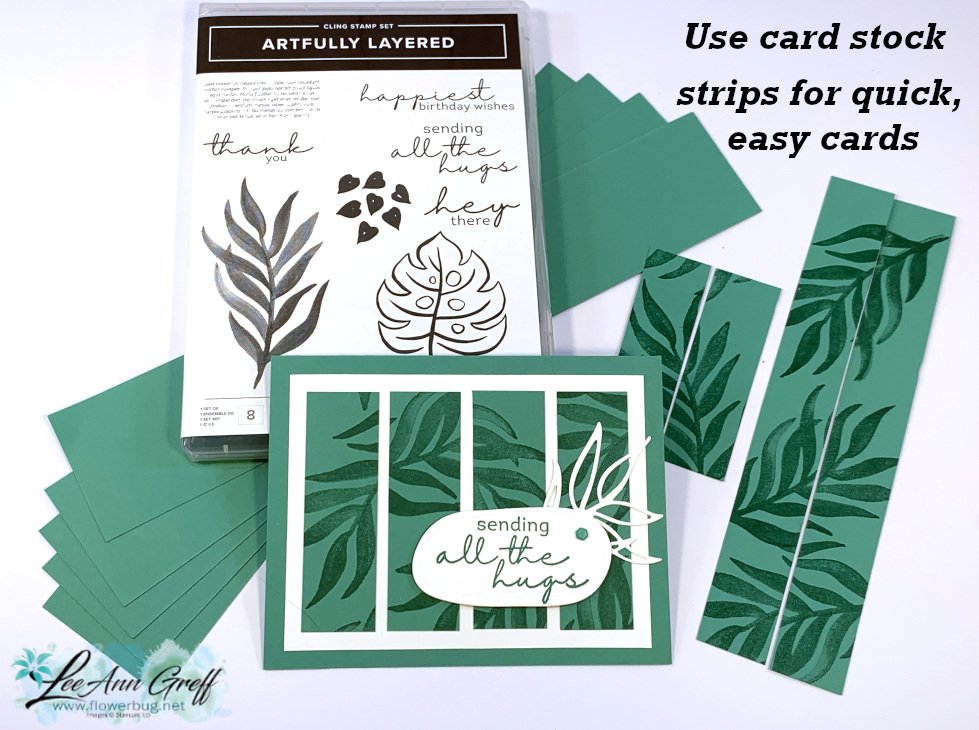
It’s simple to use this washi tape! Start by adhering a strip of it to white card stock (vellum or window sheet also works). Then use the die-cut to cut all of the pieces out.

I created a free project sheet for this card. Click here to download it or print it out.

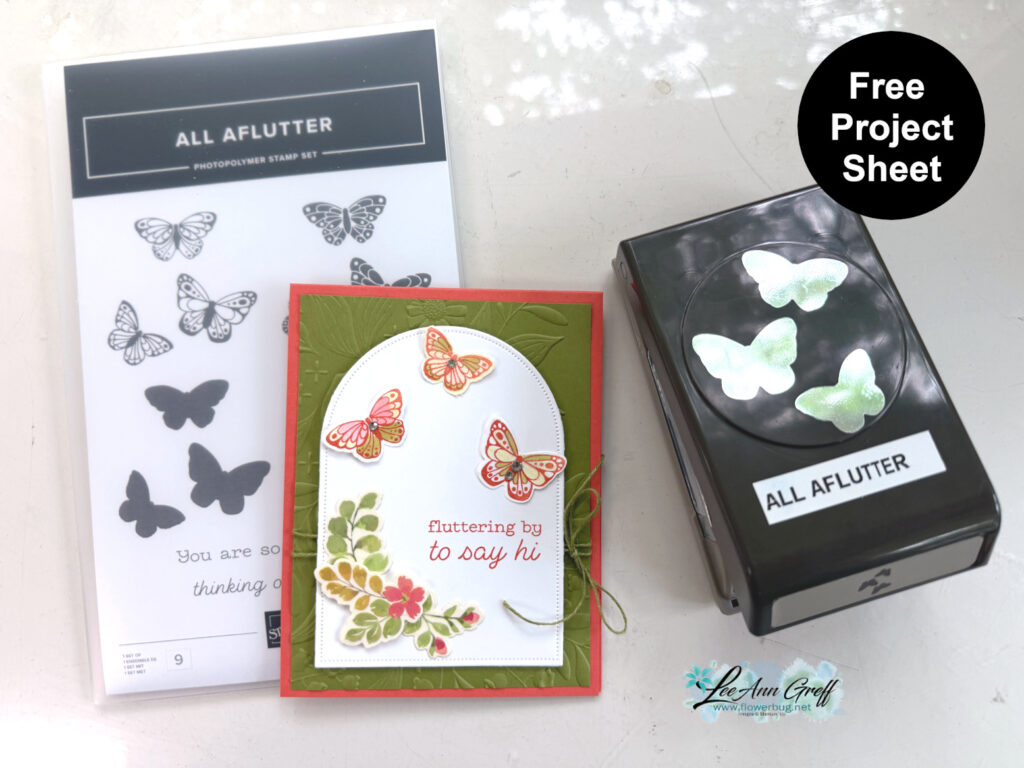
See the All Aflutter bundle here.

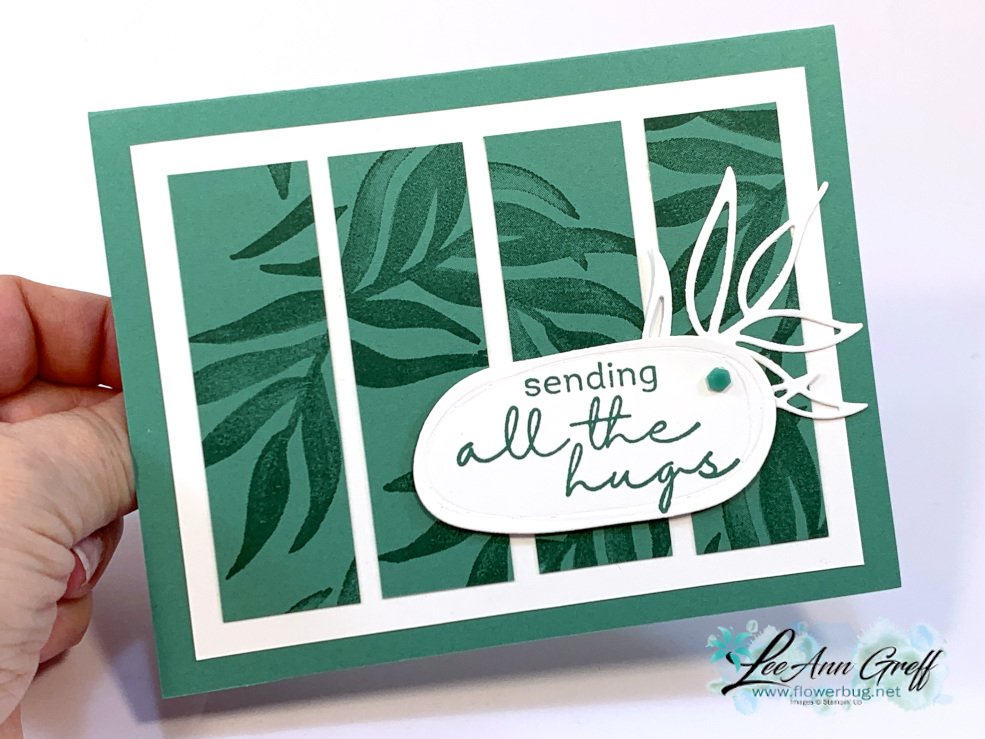
There’s also a video tutorial for this card and another sweet All Aflutter fun fold card. See it below.

All Posts

  • Abstract Beauty; my January card kit to go with a PDF tutorial option too!


    I chose this gorgeous Abstract Beauty specialty designer paper for my January class kit to go because it's filled with striking colors & patterns.  I created these fun & unique cards; most of which are fun folds! 

    This kit to go includes all pre-cut pieces for 10 cards plus approximately $20 in Stampin' Up! product; 1/2 pkg of Abstract Beauty 4 X 6" specialty designer paper, some Just Jade & Gold ribbon & a share of Brass Butterflies. You'll get the PDF tutorial FREE (valued at $15). 

    The PDF tutorial is emailed to you immediately after payment from my Shopify site.  Check your spam or junk folder. 

    Order by January 17th. The kit to go will ship out in late January via Priority Mail. 

    I used the Slim Saying stamp set for my greetings.  Add it on and I'll include it with your kit at 10% off. Message me here for a PayPal invoice. Otherwise use a greeting set you already own. 

    I also used these inks: Just Jade, Black, Misty Moonlight, Crushed Curry, Balmy Blue & Versamark.  You will also need White embossing powder if you want to make your cards exactly like mine.  

    Click here to order the pre-cut kit to go.  It's the best value at $28 plus shipping. 

    Click here to get the PDF tutorial for $15.

    This is the kit my monthly subscribers will receive.  I have a second kit available here but it's in short supply.  See all of the available kits here.  You can purchase two or more and save on shipping! 


    ~~~

    January Specials:

    Host codes:  T9YW6QCC or S9WGFH9Z

     *click here to order 

    Use the host code above & get free Iridescent Rhinestones with

    a $50 order in January, 2022! 

    Free Heart & Home PDF projects with any online order!


    Leave a Reply

    Your email address will not be published. Required fields are marked *

  • Easy idea with your leftover paper strips with Artfully Layered


    I had a bunch of leftover Just Jade card stock strips I was determined to use. I believe it was from a fun fold card I offered in one of my kits to go. Luckily inspiration struck and I created this neat card for an online swap I participated in.  I love it! 

    I used the new bundle called Artfully Layered stamping the largest leaf multiple times in Just Jade ink.  The botanical images, dies and super fun greetings in this bundle were one of my top picks from the new 2022 Jan-June Stampin' Up! catalog.  You can see this bundle here. 

    Each of the strips are 1" X 3 1/4" and they are adhered to a White piece measuring 3 3/4" X 5".  I adhered them so they did not match up purposefully.  You could also stamp them as shown and place them onto the card in order.

    Simply add a greeting and a punch or die-cut.  I LOVE when I can use leftovers to create wonderful cards easily.  

    The greeting die-cut is from the Beautiful Shapes dies seen here.  They include circles, hexagons, a few odd shapes & triangles.  They're fun, modern & unique! 

    ~~~

    January Specials:

    Host code:  T9YW6QCC

     *click here to order 

    Use the host code above & get free Iridescent Rhinestones with a $50 order in January, 2022! 


    Leave a Reply

    Your email address will not be published. Required fields are marked *

  • Swedish Stars in both Shimmer Vellum & Simply Marbelous Designer Paper with easy video tutorial


    Have you seen some of these fancy folded stars online and thought you could never make them?  Well this one is so much easier than it looks and I made them on a FB Live recently.  

    Honestly they are quite easy.  Basically you need a 6 X 6" piece of Designer paper – twelve 1/2" X 6" strips to create them.  I did add a medallion in the center but it's not necessary at all.  Here I used the brand new Simply Marbelous designer paper from the new Sale-a-Bration catalog.  It's available in 6 different colors and absolutely gorgeous!!

    I also made a few in our 2021-23 In Color Shimmer seen here & Gold Shimmer vellum seen here. I used snowflakes from the So Many Snowflakes dies in the Stampin' Up! Annual Catalog.

    You can see the video below; I share these beautiful Swedish stars as well as a two cards featuring a brand new stamp set; Calming Camellia! 

    ~~~

    January Specials:

    Host code:  T9YW6QCC

     *click here to order 

    Use the host code above & get free Iridescent Rhinestones with a $50 order in January, 2022! 


    Leave a Reply

    Your email address will not be published. Required fields are marked *


Notice: LeeAnn Greff, Independent Stampin’ Up! Demonstrator, Manager. The content of this website is my sole responsibility as an independent Stampin’ Up! demonstrator and the use of, and content of, the classes, services, or products offered on this website is not endorsed by Stampin’ Up! Copyright 2025