/


Latest Post

Quick All Aflutter card with the Extraordinary Washi tape


Here’s a sweet card made with both the All Aflutter bundle and the Extraordinary Washi tape:
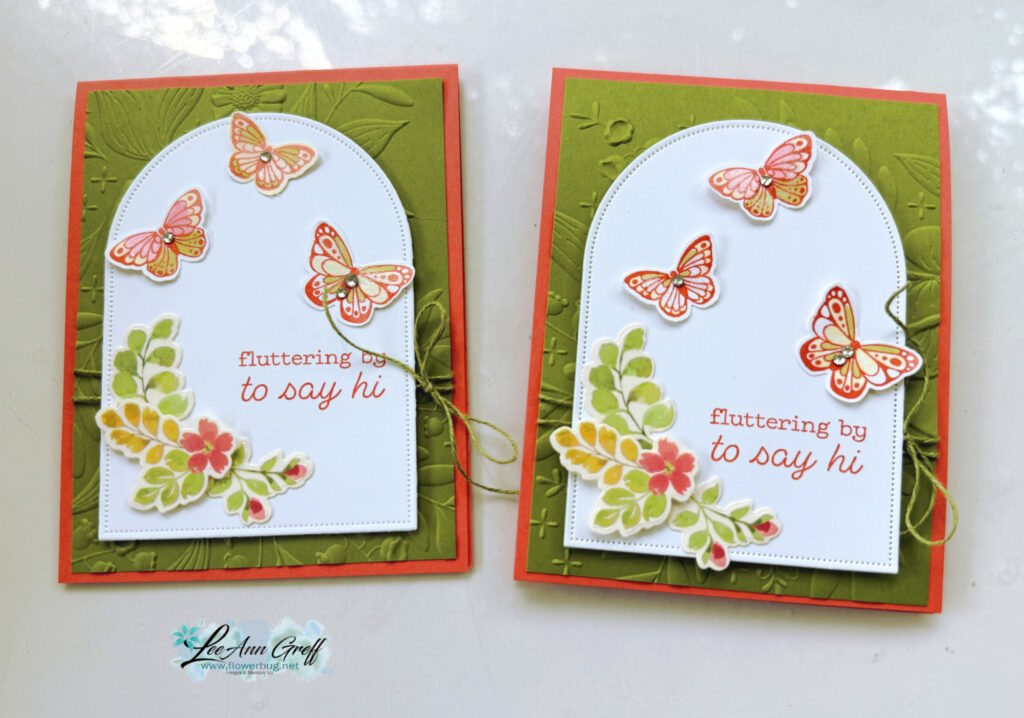
My colors include Calypso Coral, Old Olive and White. The Arches dies used in White here give a wonderful focal point to highlight the butterflies, greeting and flowers from the Washi tape. Unfortunately they are out of stock currently; but see them here and put your email in to get notified when they’re back in stock.

The background texture on the Old Olive layer is the Floral Spray 3D embossing folder. This folder is super popular and out of stock right now. Again, please add your email to be notified when it’s available.
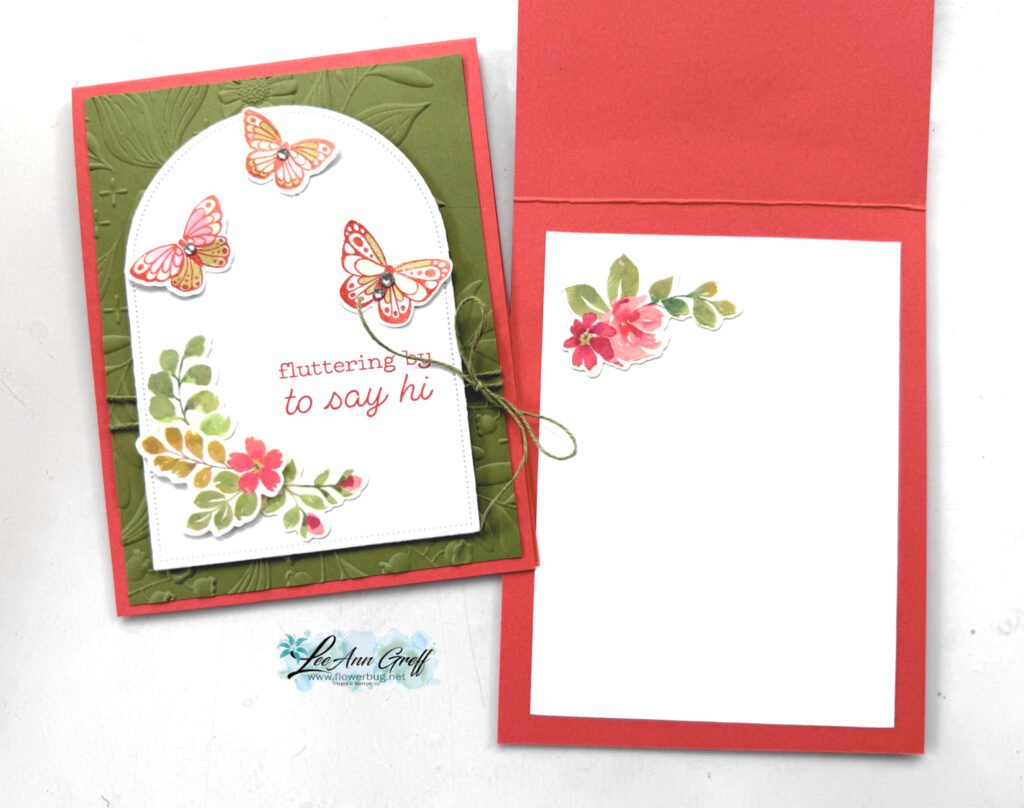
I love the Extraordinary Washi tape with coordinating die. You can cut out lots of colored flowers and leaves with ONE CUT! I save the extras to use them when I need just a little something extra. See the Washi tape here (you get 10 yards!) and the coordinating die-cut here. There’s also a bundle you can get here; it includes both the stamps and die-cut.

It’s simple to use this washi tape! Start by adhering a strip of it to white card stock (vellum or window sheet also works). Then use the die-cut to cut all of the pieces out.

I created a free project sheet for this card. Click here to download it or print it out.
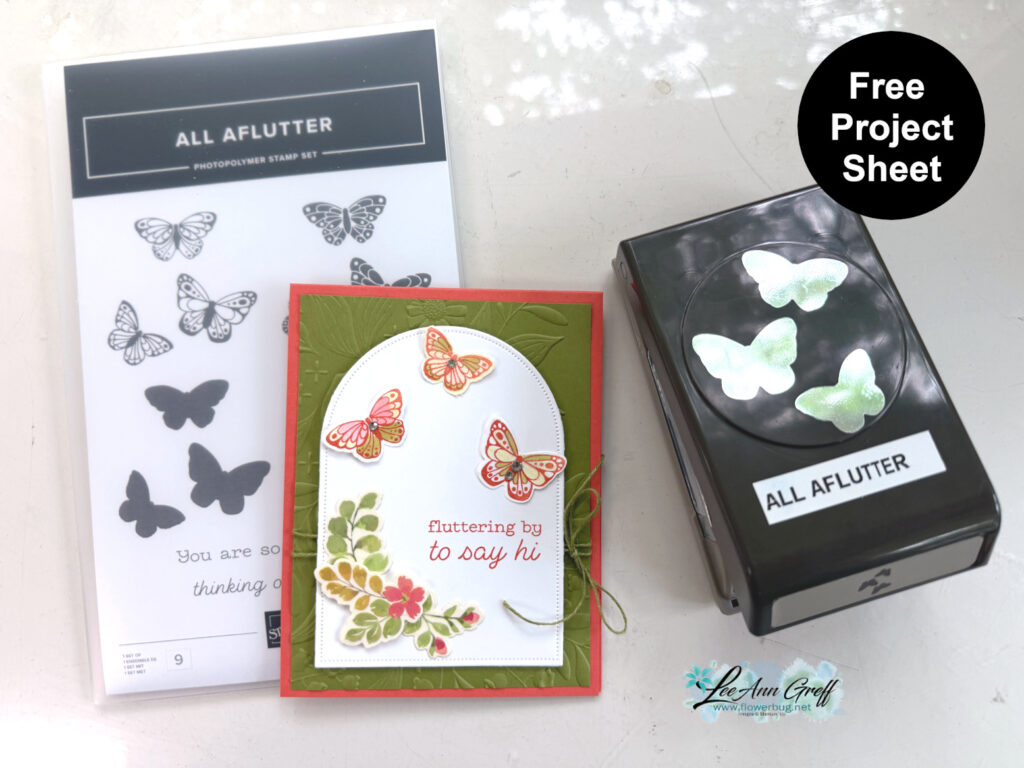
See the All Aflutter bundle here.

There’s also a video tutorial for this card and another sweet All Aflutter fun fold card. See it below.

All Posts

  • Clean & Simple Blog Hop; Pretty Pop-Up dies


    Welcome to the Control Freak's May blog hop!  The theme is Clean & Simple projects. 

    You may have just arrived or hopped over from Wendy's blog.  I'm sure you loved her unique projects. 

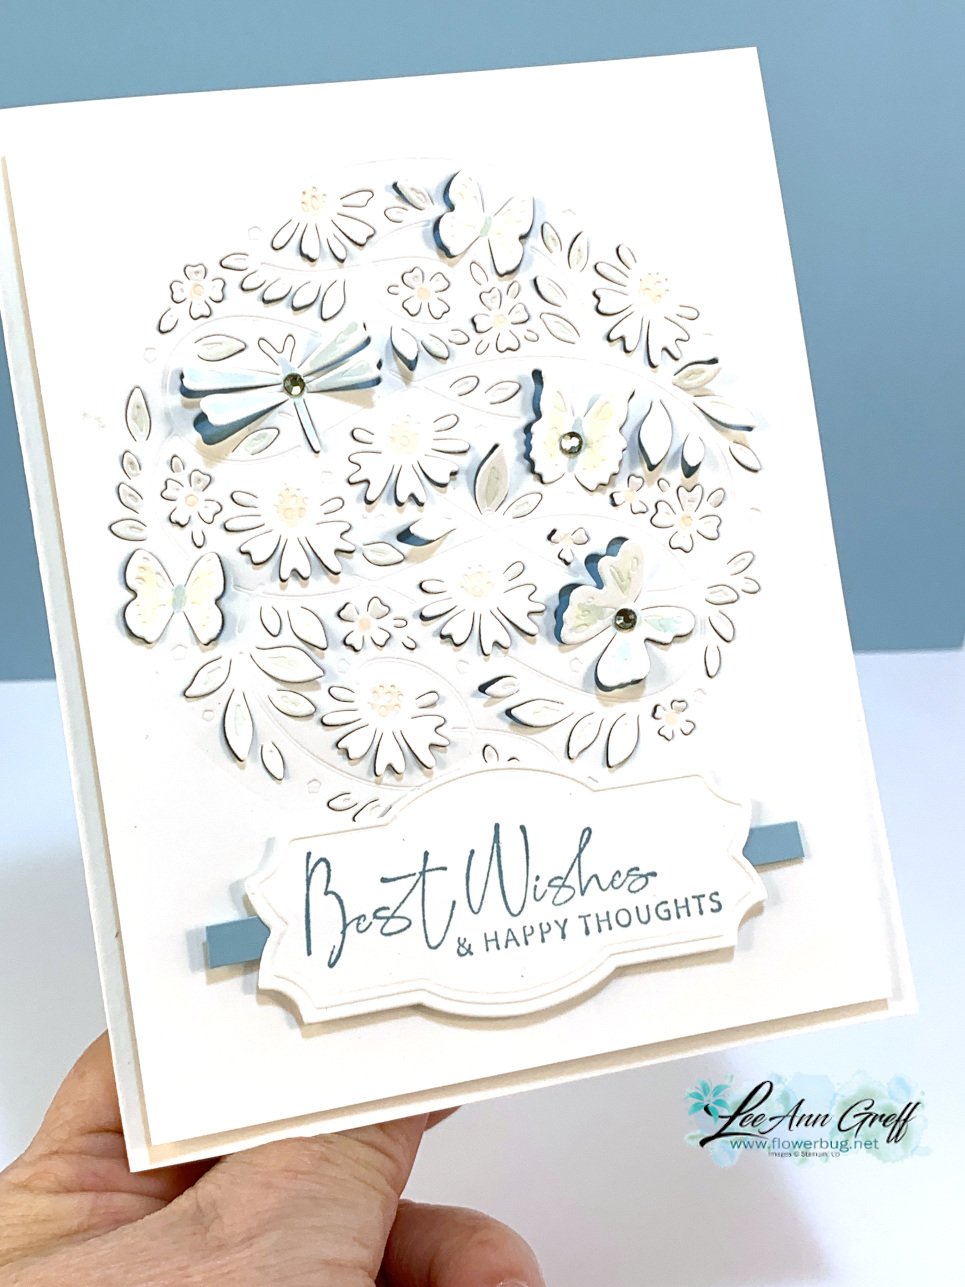
    For some reason when I think of clean & simple I lean towards mostly white projects.  I've been wanting to play with my new Pretty Pop-Up dies so here is what I came up with for my first project: 

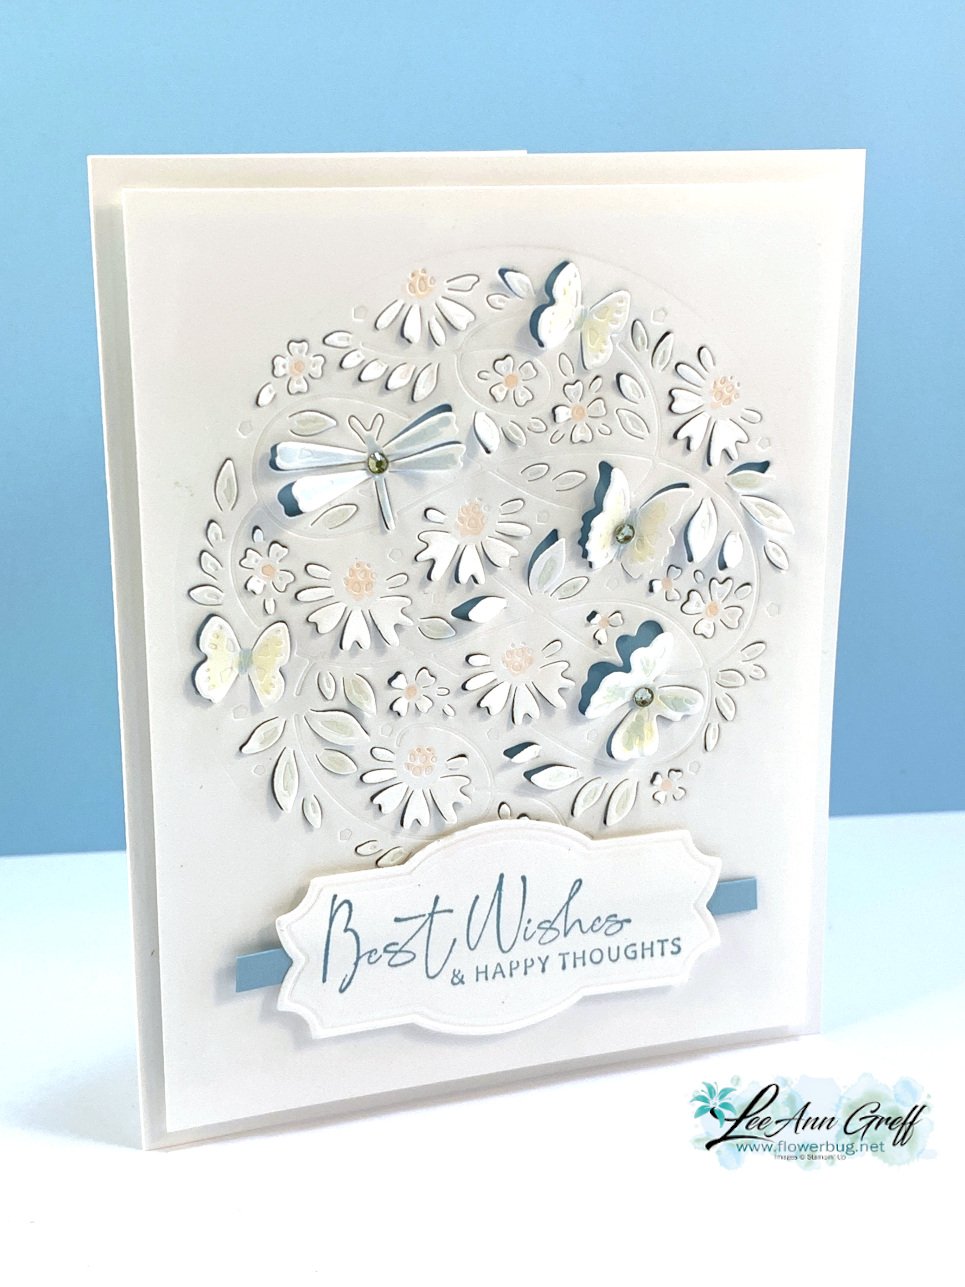
    It's almost all white; just a few accents of Balmy Blue & Petal Pink.  These Pretty Pop-Up dies do not cut all of the way through; they provide detailed texture and a 'peak' behind the die-cuts.  

    I added a bit of color to some of the flowers and butterflies with Balmy Blue & Petal Pink light blends markers.  To get them to pop up a bit I pushed each die-cut outward with my Take Your Pick tool.  I adhered this 4" X 5 1/4" piece to a smaller piece of Balmy Blue card stock using mini dimensionals.  

    The greeting is from the Nature's Thoughts stamp set and on a die-cut from the Natural Prints dies.  I added a 1/4" strip behind this to bring in a bit of Balmy Blue. This card might not be considered true clean & simple but it does only have a few layers!  Ha!

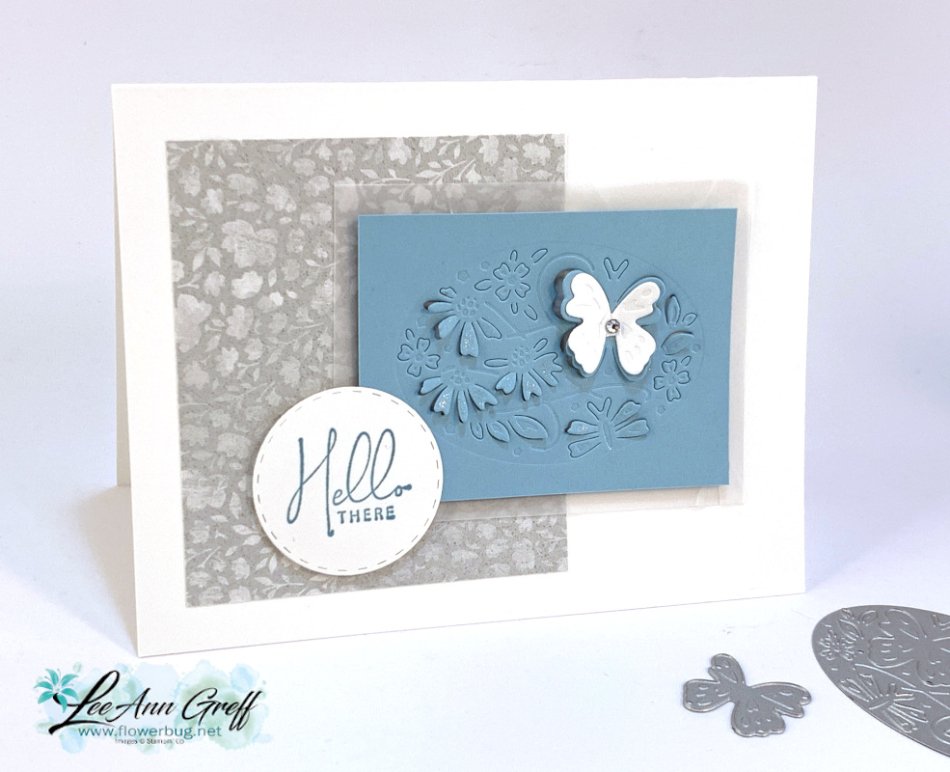
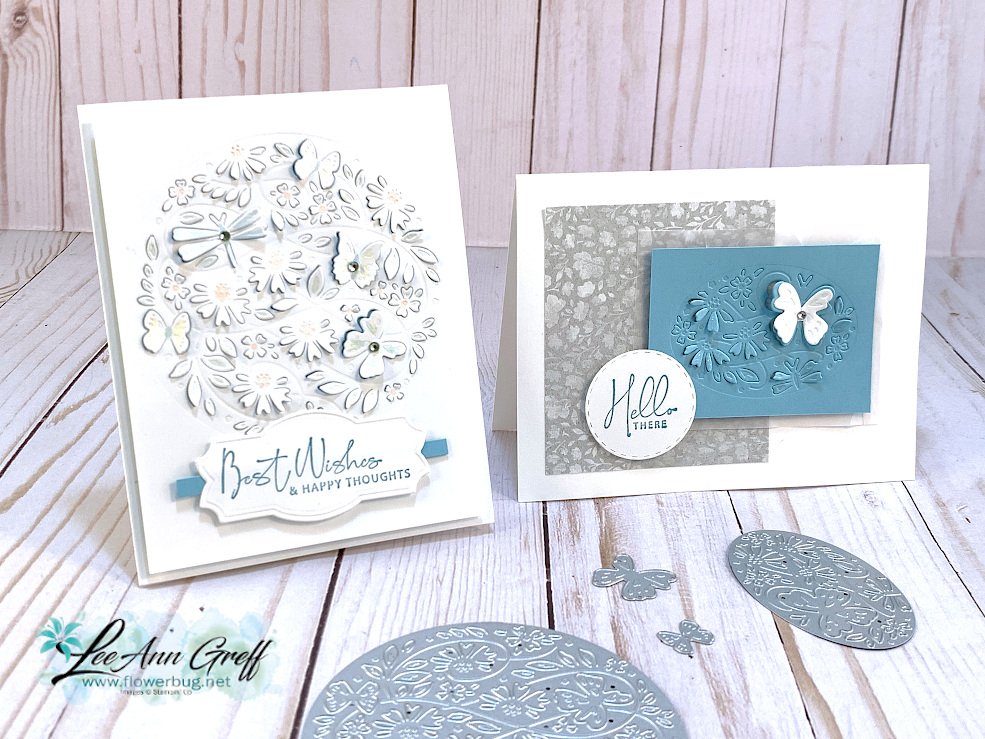
    I stuck with the Balmy Blue & White them for my second card but added a bit of Gray Granite with the Abigail Rose designer paper. 

    I used the smaller oval die for this card and used one of the single dies for the White butterfly.  

    The greeting is stamped on a circle die from the Picture This dies and is from the Nature's Thoughts stamp set as well. There is a piece of Vellum card stock behind the Balmy Blue layer. 

    You can see some of the dies I used in the photo below: 

    Thank you so much for stopping in today; I hope you enjoyed seeing these Pretty Pop-Up die projects!  

    I hope you'll stick with the 'hop' to see all of the projects!  Click here to see Melissa's projects or on the icon below.  
    ~~~

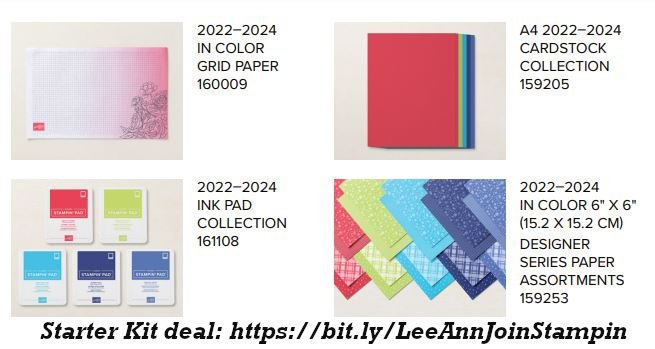
    Get a bunch of NEW In Color products FREE in your Starter Kit! 

    It's $99 for $213 in products!!!  And Free Shipping! Click here. 


    Host codes: HUNR9DB6

     *click here to order 

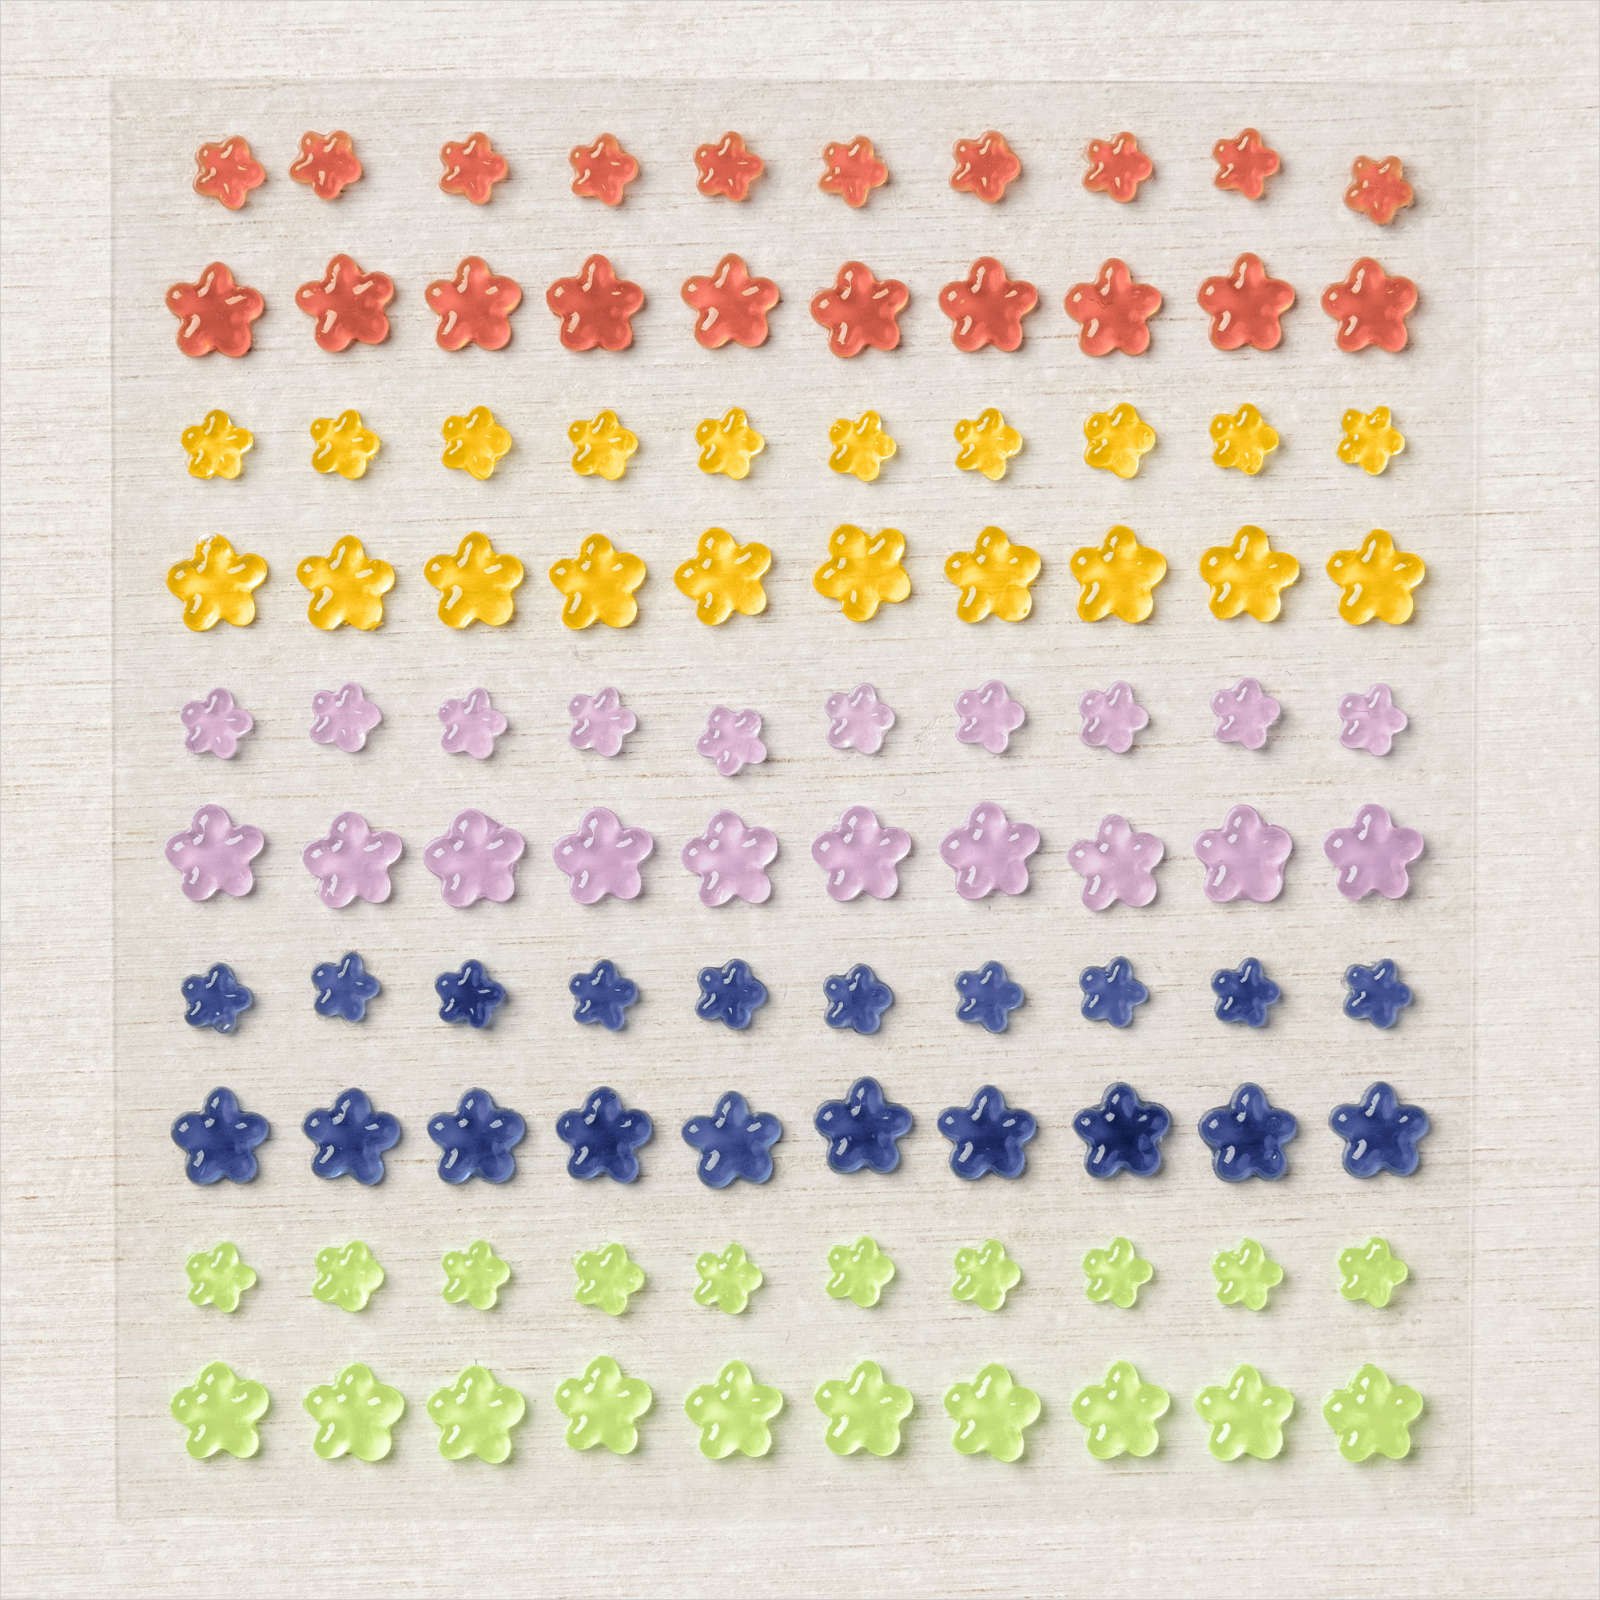
    If your order is over $50 you'll receive a set of NEW embellishments from me.

    Don't forget about my loyalty rewards! 

    Click here to download yours and earn a $50 shopping spree!  


    Opt in for my New Catalog Designer Paper Share

    It's $26 plus shipping


    Leave a Reply

    Your email address will not be published. Required fields are marked *

  • Sending Smiles card; a fabulous & versatile bundle with video


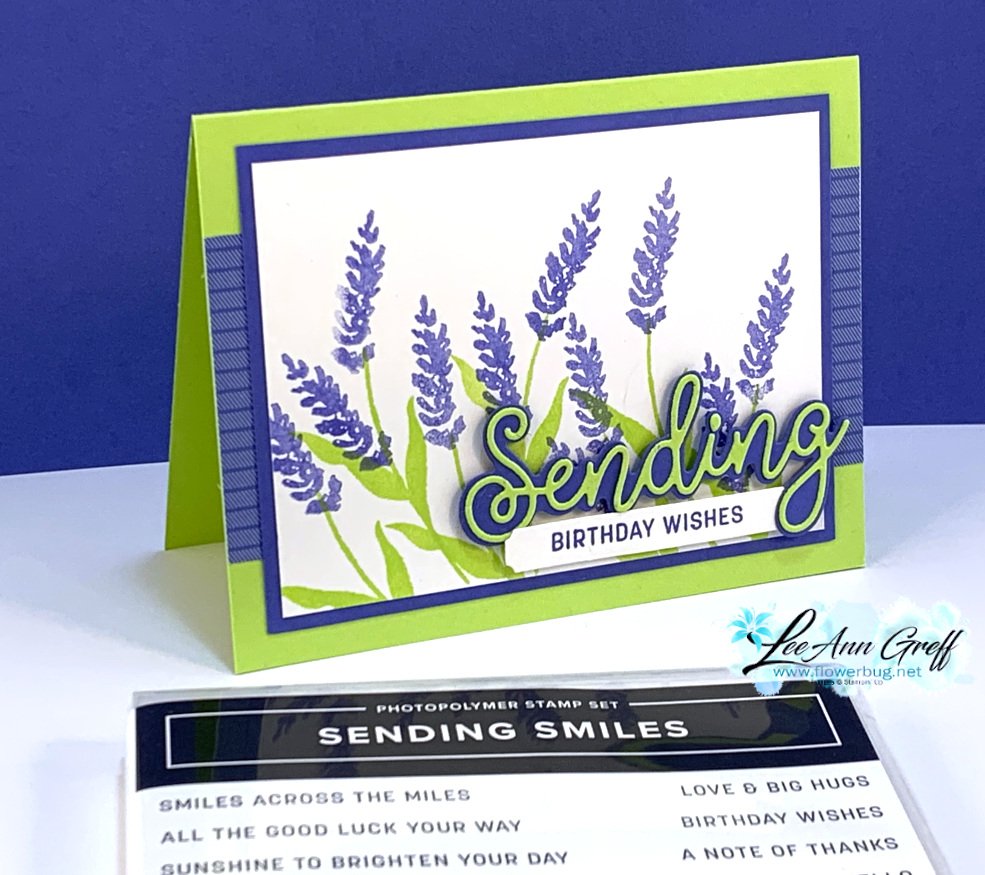
    I made a bunch of these cards for a swap in April and also demonstrated it on FB Live last Tuesday here.  

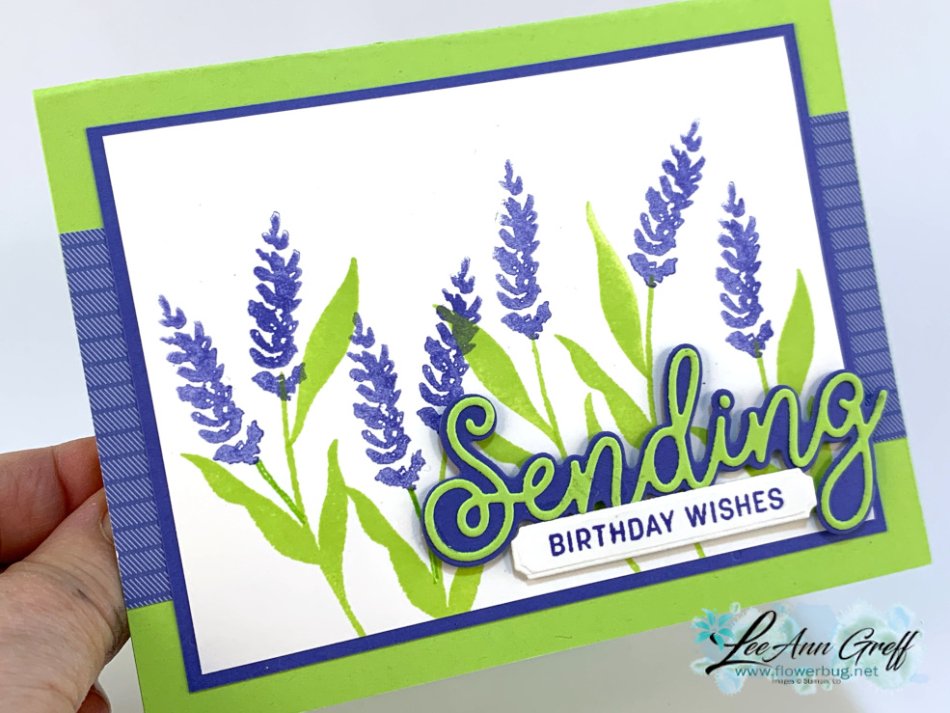
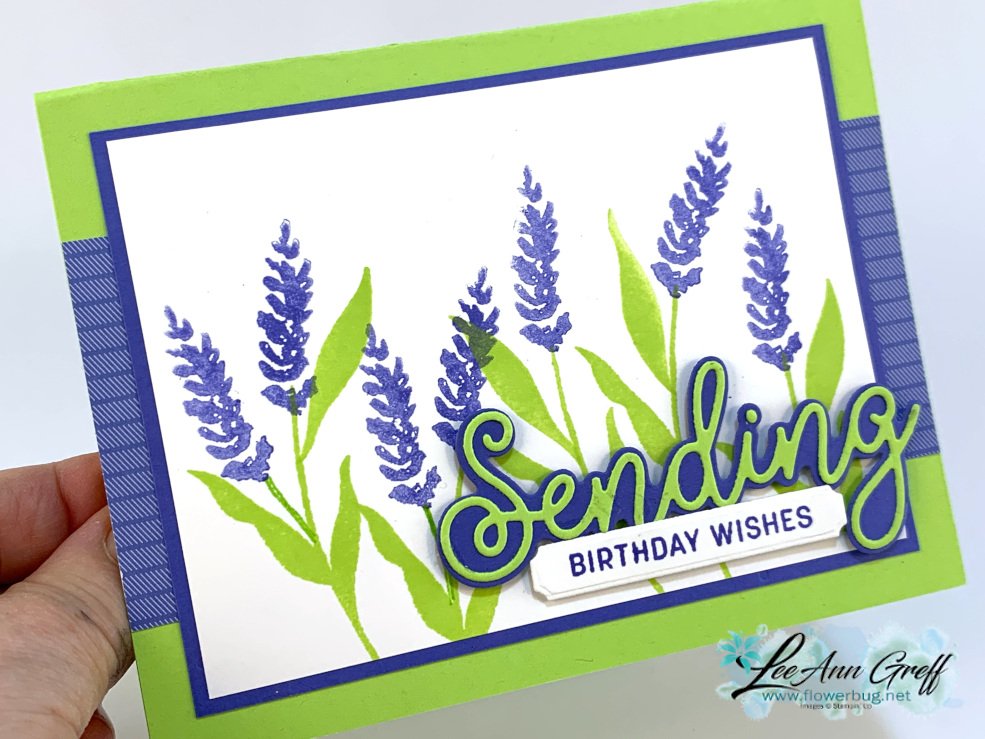
    I LOVE the colors of Parakeet Party & Orchid Oasis together.  This new lime color of Parakeet Party brightens up our color line and it works with blues & purples beautifully! 

    The Sending Smiles bundle seen here is wonderful and was #1 on my list of 'must have's'.

    I made three projects on last week's Facebook Live using this fabulous bundle.  See it here. 

    I love the fact that they provided two sizes of the die-cut 'Sending'.  The larger one fits under the finer die-cut like seen on the card below.  But it also fits the stamped greeting image too.  So smart!  
    You can create a variety of flowers with this bundle as you can see.  This flower can be falling like wisteria or growing up like these here; they remind me of grape hyacinth.  

    Click here or on the photo below to watch the video for this card and TWO MORE as well. 

    ~~~

    Get a bunch of NEW In Color products FREE in your Starter Kit! 

    It's $99 for $213 in products!!!  And Free Shipping! Click here. 


    Host codes: HUNR9DB6

     *click here to order 

    If your order is over $50 you'll receive a set of NEW embellishments from me.

    Don't forget about my loyalty rewards! 

    Click here to download yours and earn a $50 shopping spree!  

    Leave a Reply

    Your email address will not be published. Required fields are marked *

  • Unique diagonal card layout using your Designer Paper


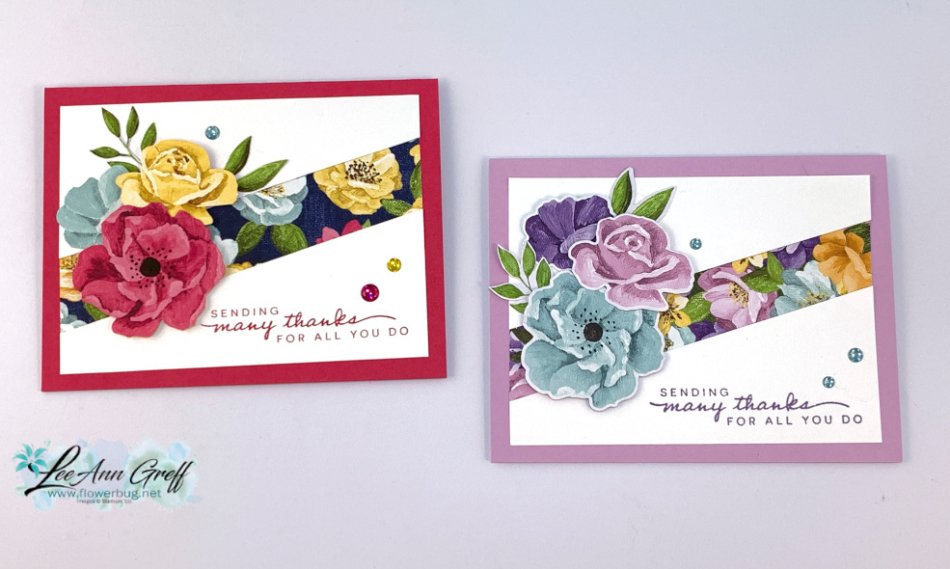
    I've made a few of these cards lately; I just love the diagonal layout and how easy it is to stamp your greeting directly on the White layer.  

    It's made with the beautiful Hues of Happiness designer paper seen here.  It's been my top seller this month!  So far it's not on the low inventory list but I fear it will be the way it's going! 

    I cut some of these flowers directly from the DSP using the Blossoming Happiness dies; they match up perfectly to many of the flowers in the paper.  

    I made a bunch of these cards for swaps in May in both colors seen below. This way I could use two different sheets of paper since they provided flowers in many hues. 

    Tip: The nice thing about this layout is that you don't have to measure your diagonal cut on the White CS perfectly.  Mine are about 3/4" from the lower left and the upper right. 

    The Melon Mambo card on the upper left is part of my Hues of Happiness card kit to go seen below.  You get 1/2 pkg of this pretty DSP, a share of ribbon and Glossy dot gems in the kit for $28 plus shipping. Tomorrow (May 18th) is the last day to opt in for this pre-cut kit to go.  See details on it here.  
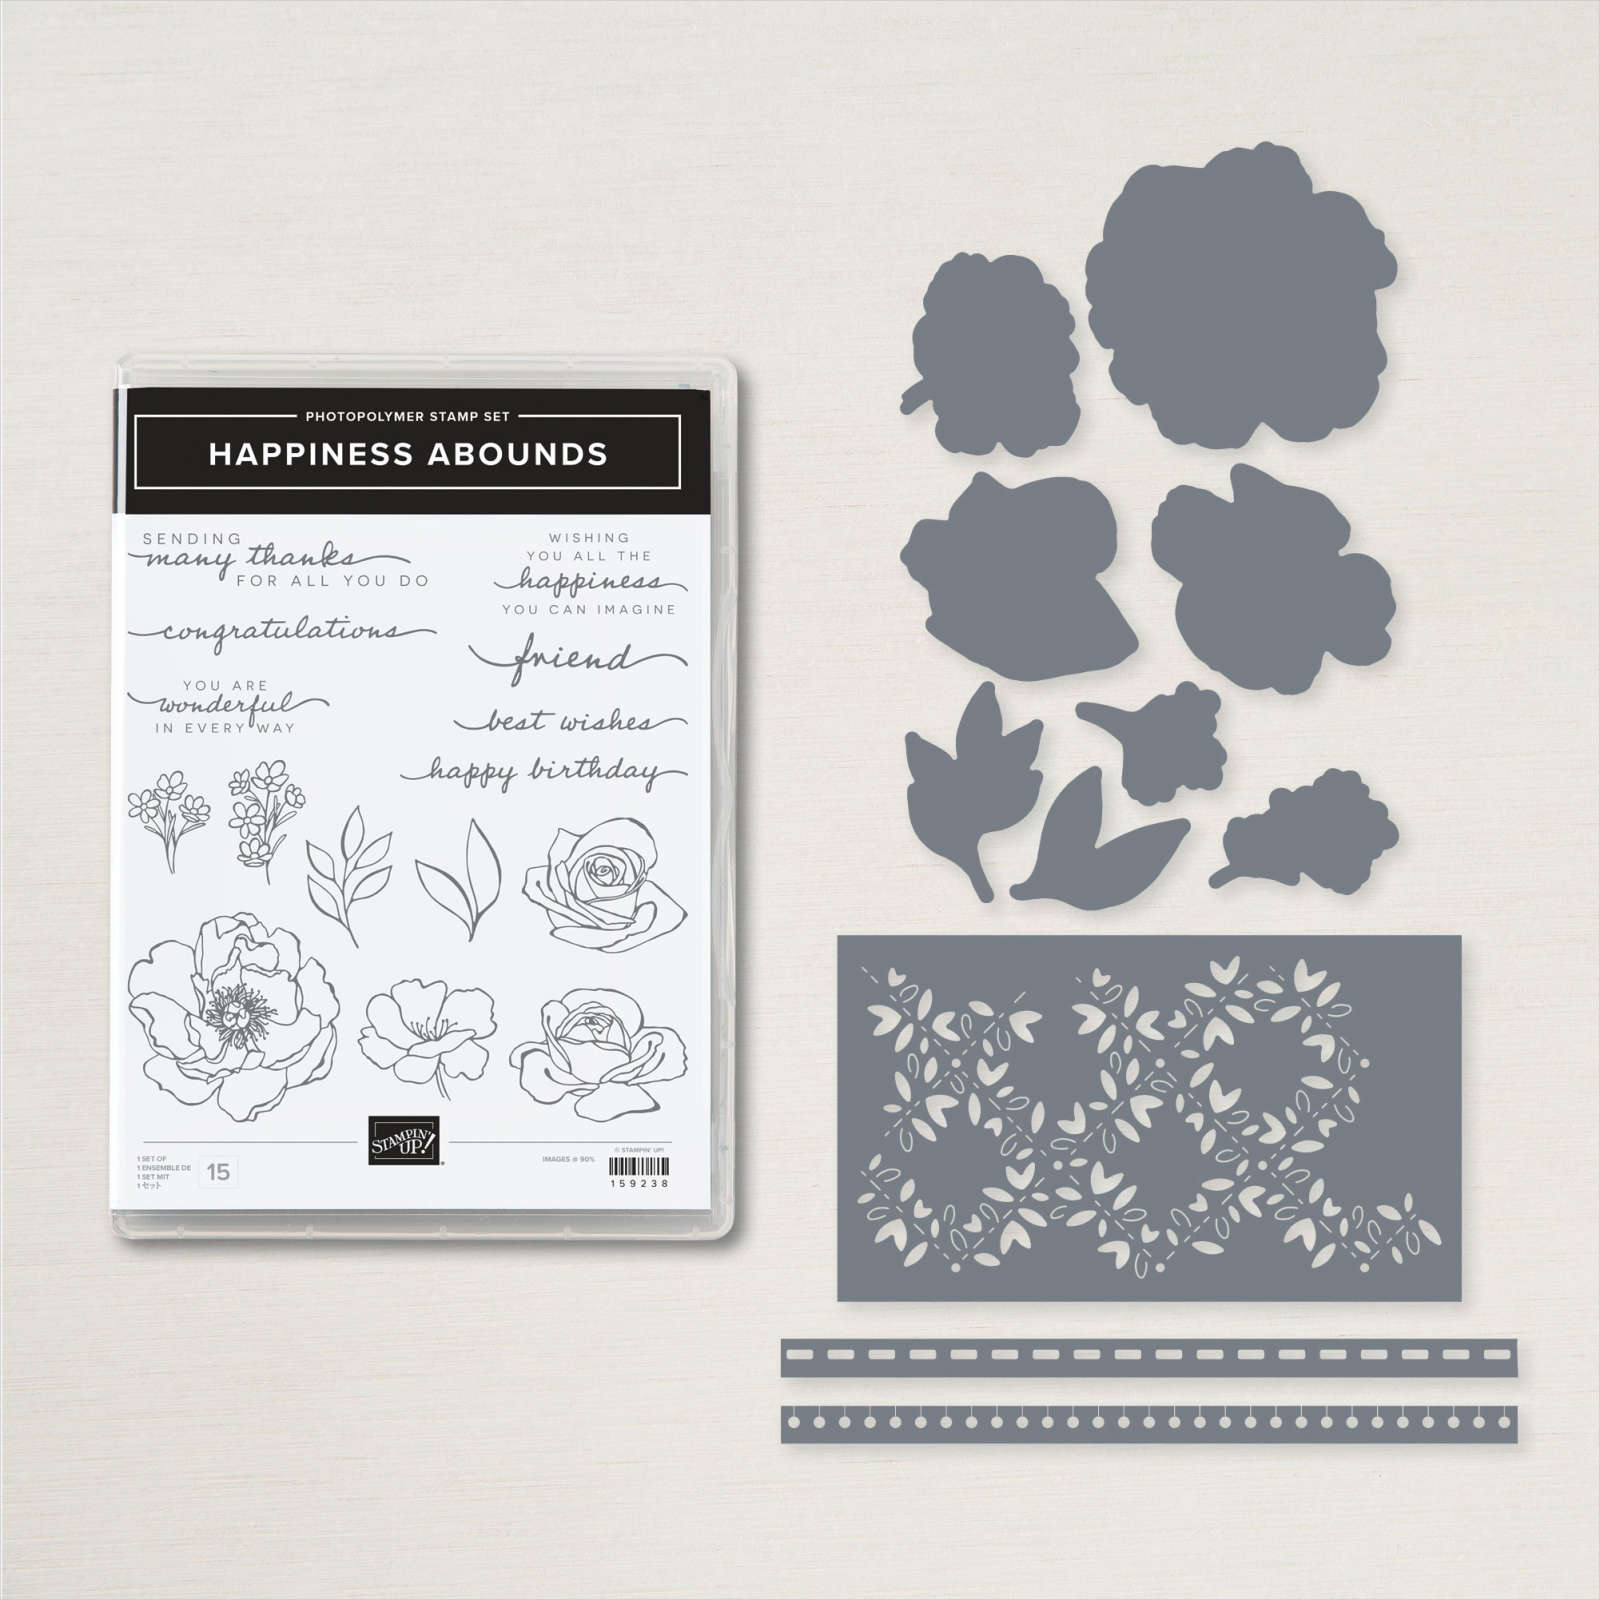
    I used the Happiness Abounds bundle for these cards.  See that here.  

    This card below is made with Fresh Freesia as it's card base.  There are a nice variety of colors in this designer paper; so many card stock & ink colors will work with it.

    Here are the measurements: 

    • Card base 5 ½” X 8 ½” scored at 4 ¼”
    • White front 5” X 2 ¾” cut in half about 3/4" from the lower left and upper right
    • DSP – 5” X 2 ¾”

    ~~~

    Get a bunch of NEW In Color products FREE in your Starter Kit! 

    It's $99 for $213 in products!!!  And Free Shipping! Click here. 


    Host codes: HUNR9DB6

     *click here to order 

    If your order is over $50 you'll receive a set of NEW embellishments from me.

    Don't forget about my loyalty rewards! 

    Click here to download yours and earn a $50 shopping spree!  

    Leave a Reply

    Your email address will not be published. Required fields are marked *


Notice: LeeAnn Greff, Independent Stampin’ Up! Demonstrator, Manager. The content of this website is my sole responsibility as an independent Stampin’ Up! demonstrator and the use of, and content of, the classes, services, or products offered on this website is not endorsed by Stampin’ Up! Copyright 2025