/


Latest Post

Pretty Rustic Crate bundle ideas by Mary


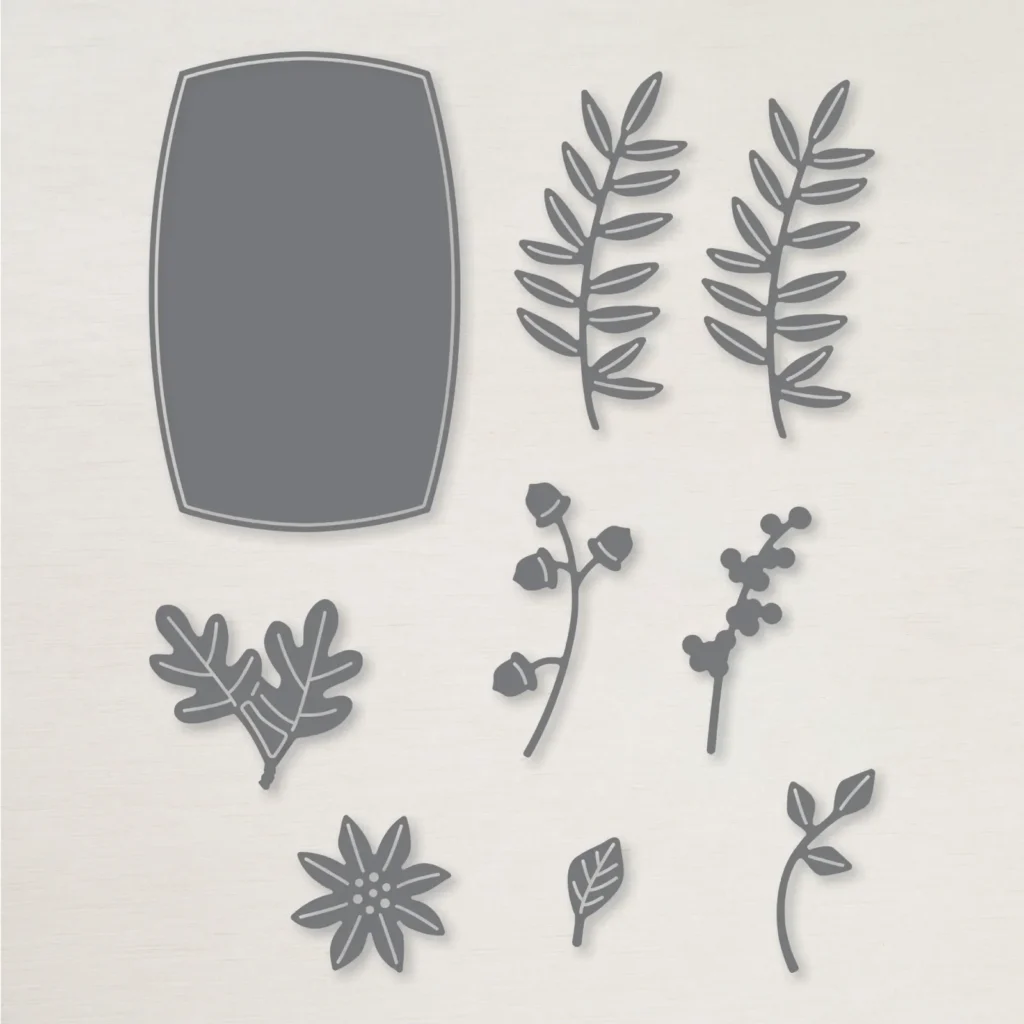
Today I'm sharing a few cards made by my Team Member Mary.  She was my October Artist of the Month and she chose to feature the Rustic Crate bundle seen here. 

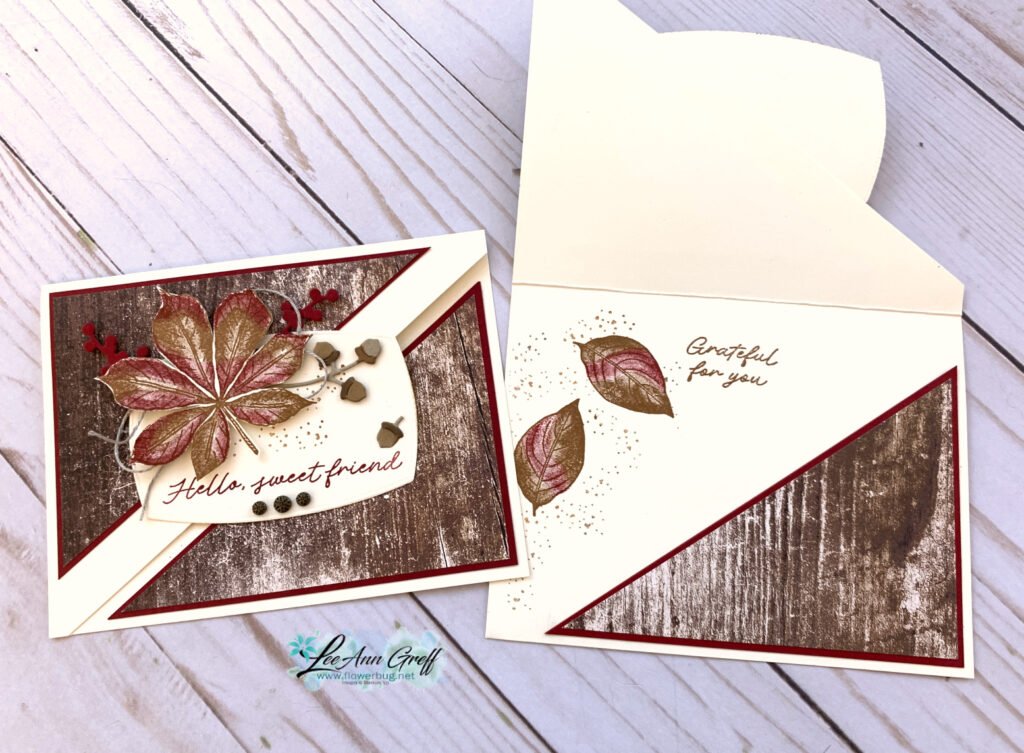
Her first project shows off her beautiful coloring and that neat create die-cut. 

I believe she colored the fall image with Blends markers. Products used include the Let's Go Fishing designer paper, Mossy Meadow, Early Espresso and Wild Wheat card stock as well as the Nested Essential dies and In Color twine. 

That cute little 'hello' die-cut is included in this bundle. 

Measurements:

  • Card base 8 1/2" X 5 1/2" score at 4 1/4"
  • Wild Wheat banner 4 1/4" X 1"
  • Let's Go Fishing designer paper 2 1/2" X 5 1/4"

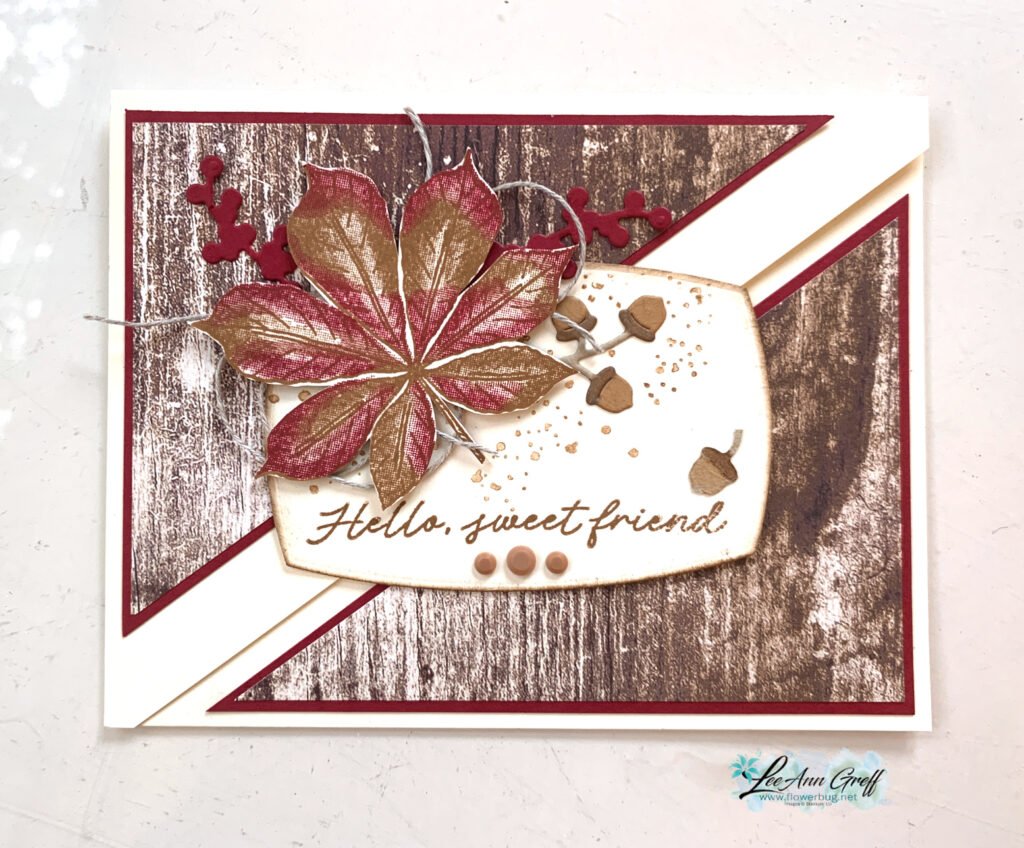
Her next card features a beautiful color combination of Copper Clay with Pretty Peacock, Very Vanilla and Lost Lagoon. 

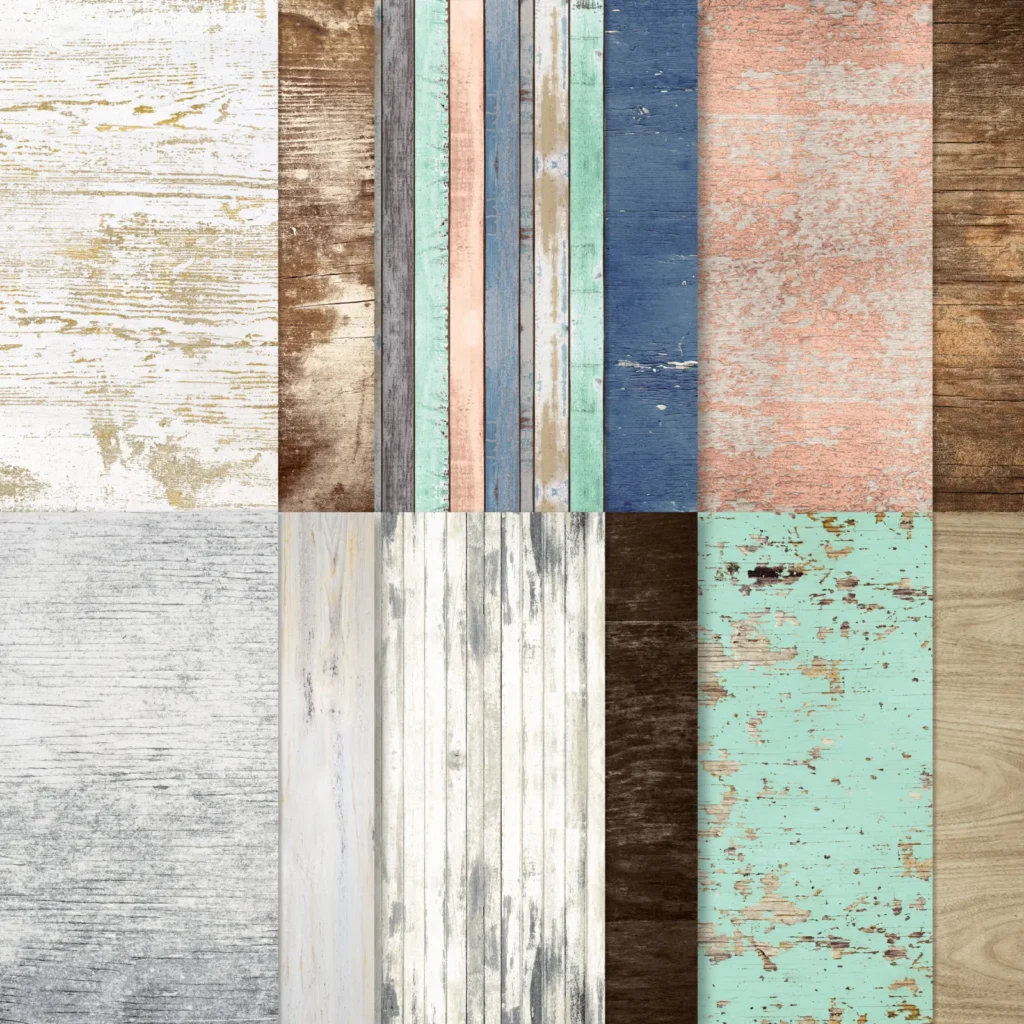
It also shows off the pretty All About Autumn specialty designer paper.  It's back in stock now too; see it here! 

She simple sponged a bit of Copper clay ink over the fall image. 

The Pretty Peacock die-cut leaf is from the Autumn Leaves dies. 

Measurements:

  • Copper Clay card base 5 1/2" X 8 1/2" score at 4 1/4"
  • Lost Lagoon 5 1/4" X 4" plus a 1 3/4" circle punch
  • All About Autumn Designer paper 5 1/8" X 3 7/8" plus a 4" X 1/2" strip
  • Vanilla 3" X 2 1/4"

~~~

November Specials: 

*current host code: HTHK4TQU or 4GHXYSDQ

All Posts

  • Cheers & Sips card with the Everyday Arches dies; video & free project sheet too!


    A simple fun fold with the Everyday Arches dies and the Cheers & Sips suite.  

    I fussy cut the two drinks from the designer paper for the front arch.  The inside arch has the drink, umbrella and greeting stamped from the images in the set.  The card base is Old Olive and scored at 2 1/8" & 4 1/4". To get the arches lined up I encourage you to adhere the inside arch first and then close the card.  Now adhere the front arch to match. Easy! 

    There's a free project sheet I created for you here. Click on the following link to print or download it.  Download Cheers & Sips Celebratory card

    The Cheers & Sips bundle is unavailable right now; but should be back in stock any day now. Click here to see it.  

    Below is the video for this card and TWO more with this neat bundle and the coordinating Celebratory Sips DSP seen here.   I love this colorful & unique paper; it's something completely different! 

    Click below to watch the video for this and two other cards! 

    ~~~

    July Specials:

    New Online Exclusives are here!  

    ~~~

    Last Chance List has been updated!  see it all here. Don't miss out on the deals!

    ~~~

    Get my Turtle-y Cute PDF tutorial free with any online order in July!

    Leave a Reply

    Your email address will not be published. Required fields are marked *

  • Super neat fun fold card that’s easy with my tips! Free project sheet & video tutorial


    You're going to love this neat fun fold card I'm sharing today.  

    It doesn't look like much of a fun fold card does it? Look a bit closer to the right pink flap on this card; see how it's sticking up a bit at the bottom? That's where it opens.  

    I featured the Sentimental Framing stamp set seen here on the pretty greeting here. 

    The layered circles are from the Spotlight on Nature dies and the 2 3/8" circle punch. The leaf die-cut is from the Gallery Blooms dies. My colors include Bubble Bath with Mossy Meadow & Blackberry Bliss.  

    Here's how it opens. The horizontal strip holds the right side of the card base closed with a type of 'latch'.  

    I hope you watch the video below to see how easy this fold is.  

    Here's the free project sheet with measurements & a supplies list: Download Sentimental Framing latch fold card

    Below is the video for this card and TWO more with this neat bundle and the coordinating Celebratory Sips DSP seen here.   I love this colorful & unique paper; it's something completely different! 

    Click below to watch the video for this and two other cards! 

    ~~~

    July Specials:

    New Online Exclusives are here!  

    ~~~

    Last Chance List has been updated!  see it all here. Don't miss out on the deals!

    ~~~

    Get my Turtle-y Cute PDF tutorial free with any online order in July!

    Leave a Reply

    Your email address will not be published. Required fields are marked *

  • 3 Stamping Tips you need to know!


    I thought I'd share some of my favorite tips with you today.  

    • how to use a ruler – some people find this extremely challenging
    • standard card sizes and layers
    • which ink to use when coloring with markers

    First up is the ruler and card measurements.  Understanding measurements can make card making so much easier!

    I hope the above graphic helps you when you're creating a card. Save it or print it out. 

    ~~~

    Next I have a helpful photo for coloring your stamped images.  It's very important to use the correct ink to prevent smearing as you color. 

    I do also want to share a few more tips for coloring:

    • Use Stazon ink when coloring with colored pencils, blender pens, water painters or when picking up our Classic ink from your ink pad.

    ~~~

    Lastly is a list of the three types of stamps Stampin' Up! offers.  It might be hard to read so I'll share the details in this list:

    1. Photopolymer stamps are entirely transparent and adhere to your clear block. They're flexible and easy to use; especially with 2-step use.  
    2. Clink stamps are made of high-quality rubber. They cling like crazy to our clear blocks. 
    3. Distinktive stamps are a photo-realistic image with a special texture that give added depth and dimension with a single stamp. 

    *I hope one or more of these tips help you.  Let me know which one or two you learned from today.  

    ~~~

    July Specials:

    New Online Exclusives are here!  

    ~~~

    Last Chance List has been updated!  see it all here. Don't miss out on the deals!

    ~~~

    Get my Turtle-y Cute PDF tutorial free with any online order in July!

    Leave a Reply

    Your email address will not be published. Required fields are marked *


Notice: LeeAnn Greff, Independent Stampin’ Up! Demonstrator, Manager. The content of this website is my sole responsibility as an independent Stampin’ Up! demonstrator and the use of, and content of, the classes, services, or products offered on this website is not endorsed by Stampin’ Up! Copyright 2025