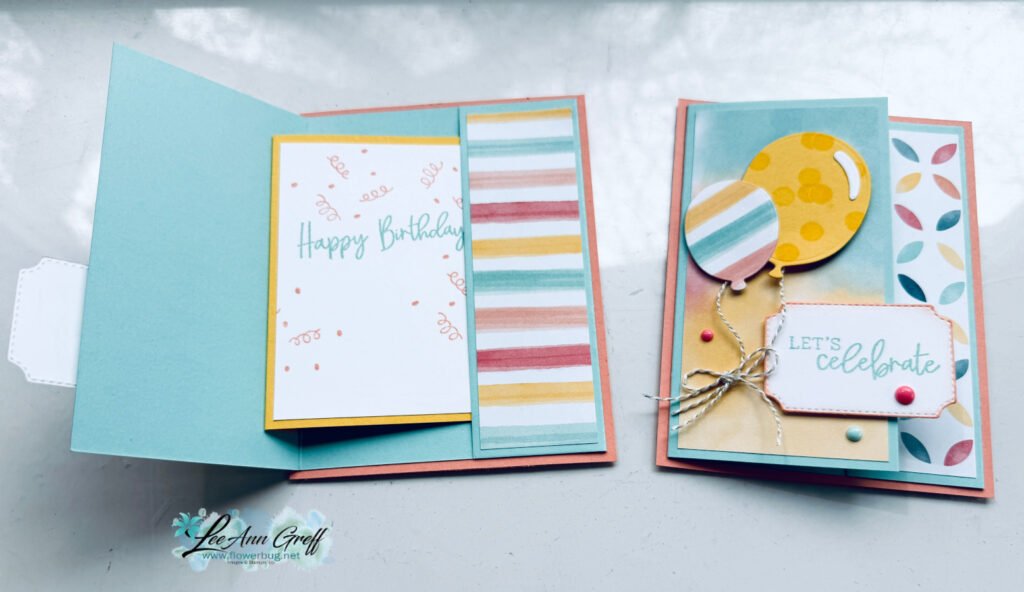
I love this fun fold layout! I cased it from my friend & team member Tina.
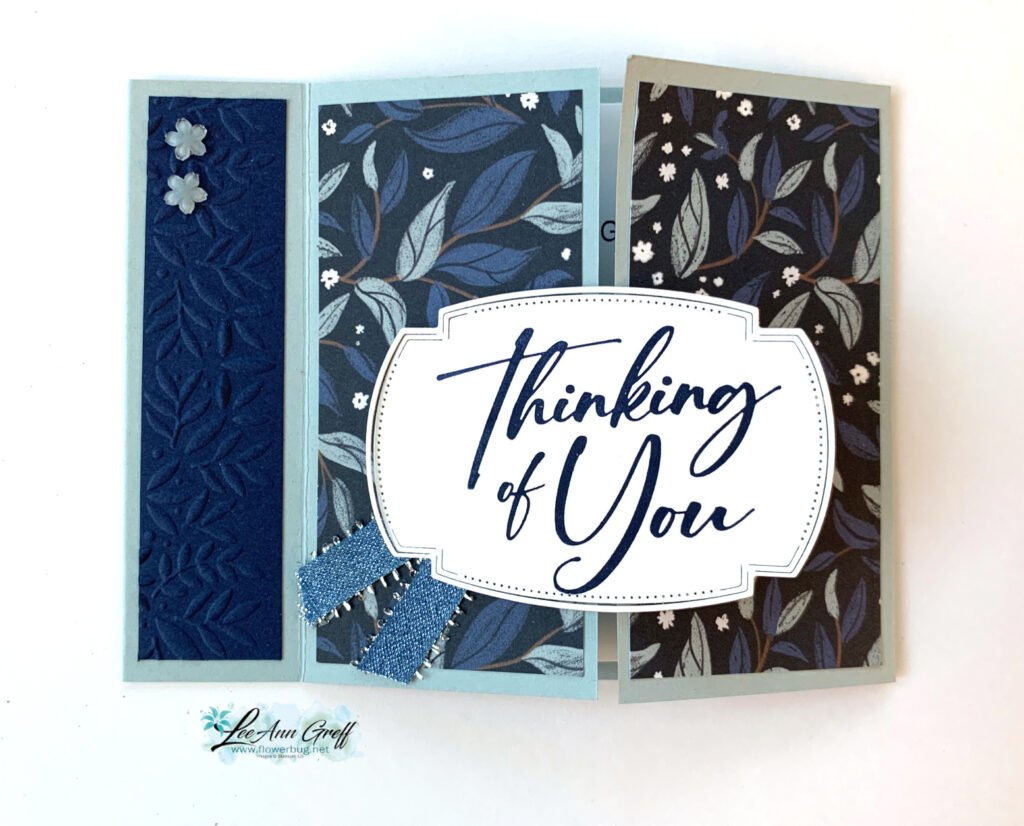
My colors include Cloud Cover with Night of Navy & White. The designer paper is the Peaceful Garden seen here. The greeting is from the Sentimental Framing set seen here. I textured the Navy side layer with the Peaceful Greenery embossing folder. That beautiful die-cut is from the Traditional Labels dies seen here; my very favorite set of label dies right now!
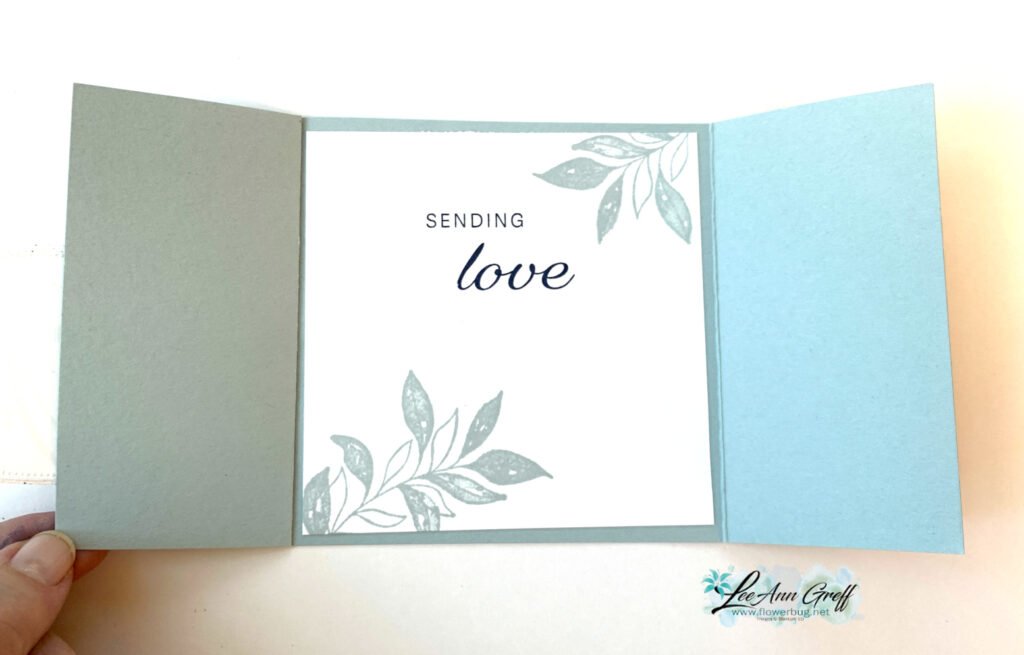
I stamped the inside with Cloud Cover ink (available in an ink spot) and the Textured Notes stamp set. The leaves match this DSP perfectly!
I created a free project sheet for this card with measurements & directions. Click here to download or print it.

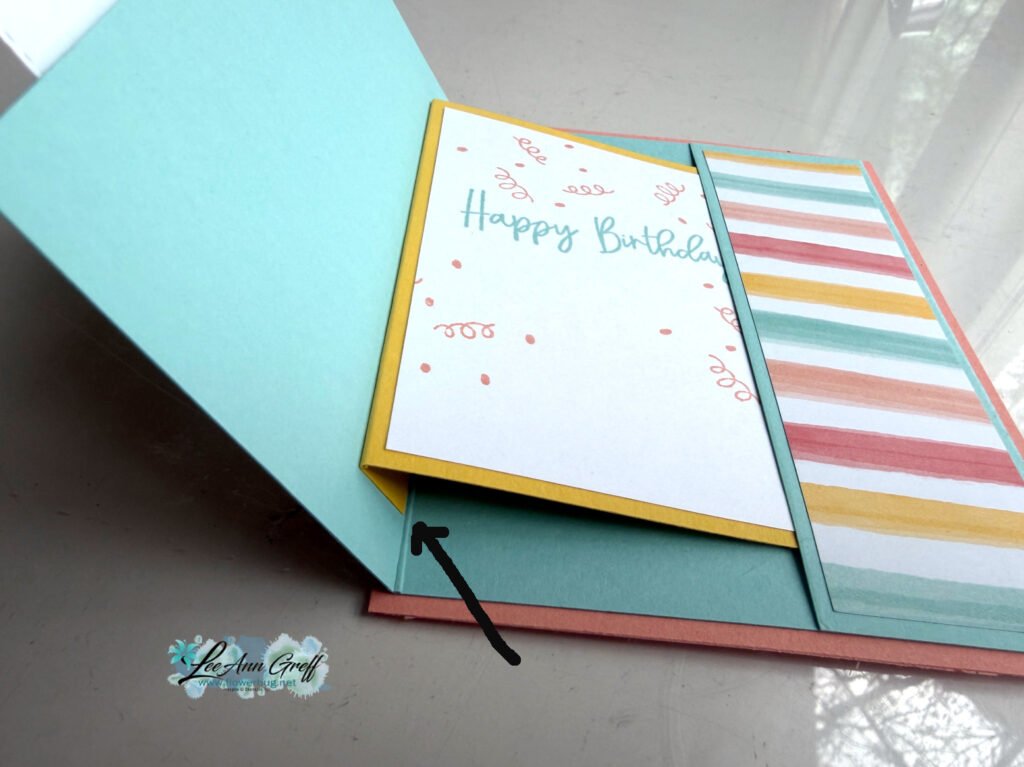
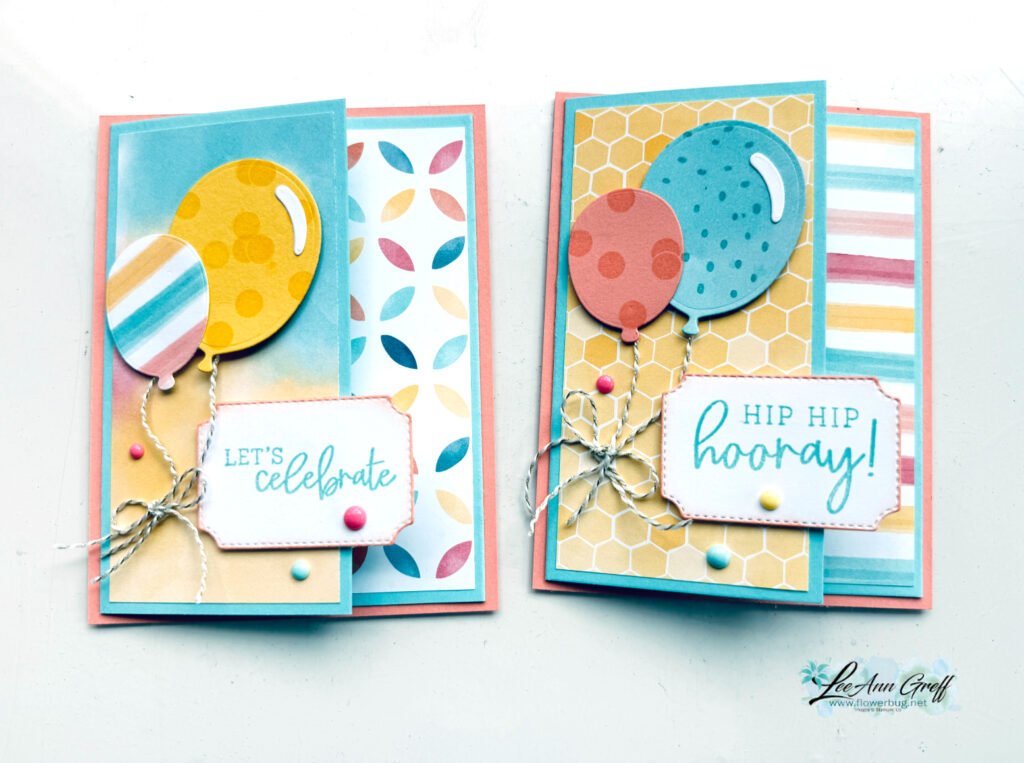
I’ll share the other two cards I created on last week’s Live in the next few days.
Below is the video where I made this card and two more featuring the Peaceful Garden suite.
Reasons to ShopwithLeeAnn.com
- Get a free PDF project tutorial with any online order! (changes monthly)
- An order of $55 or more earns you a free 3 card stamping kit with pre-cut layers; ready to stamp & assemble
- Earn 10% host rewards on each order you place (over $20). Redeem on a future order.
- Join my Flowerbug’s Team and get $90 in free product of your choice in October! Details here.
- Be a Paper Pumpkin subscriber and enjoy the free bonus project PDF tutorial every month. Subscribe here. Refills here.

~~~
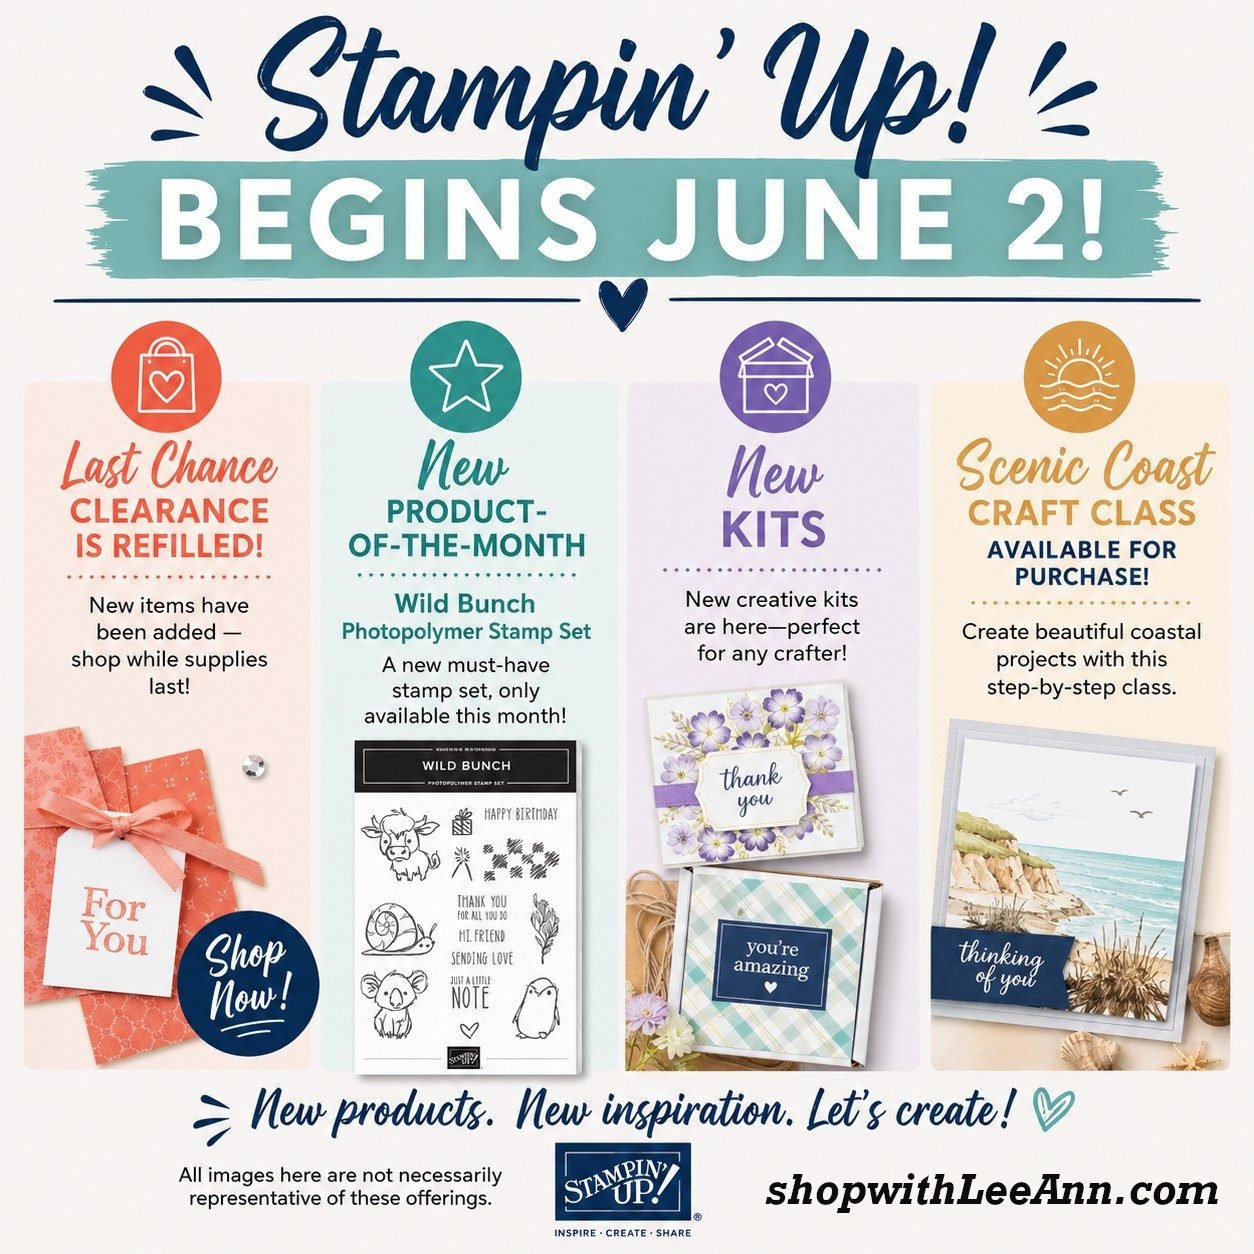
October Specials
3 new kits and a Starter Kit special! See the kits here.

And get the Starter kit here. *Choose your deal – $35 or $99 plus $90 in free products including free shipping, free Paper Pumpkin kit & free catalogs/business supplies!
~~~
All online orders from me will receive a beautiful PDF of projects featuring the Modern Christmas suite.


Leave a Reply