/


Latest Post

Ombre Blending with Decorative Masks; an easy technique!


If you struggle to get a smooth blend I have a few suggestions for you.  We made this striking card at a class this weekend.  Everyone loved it and they all turned out fabulous!

Details:

  • The colors here are Crushed Curry, Pumpkin Pie and Cherry Cobbler; with a bit of gold glitz thrown in.
  • The leaves are die-cut from the Intricate Leaves dies seen here. 
  • The greeting is from the Thinking, Thanks & Peace stamp set in the Holiday catalog. I love this greeting!  See it here.

Here are some tips & suggestions for perfect Ombre' blending:

  • Use out Blending Brushes; they really do make a smooth blend easier.
  • Choose colors that are similar in hue. For instance blues and greens, or yellows to reds.  
  • Blend over a Decorative Mask – see them all here.  The patterned stencils/masks seem to break up any inconsistencies in your blending. 
  • Here I added color onto Crumb Cake card stock; that also helps and would be a a good color to practice on. 
  • I start out with the lightest color and work my way downward; in this case at an angle.  
  • I leave a tiny space between colors and make sure to blend/connect them by going into the previous color just a bit before moving. 

~~~

August Specials

Host code: UTDM9JQG

*click here to order

All online orders will receive a free PDF tutorial filled with projects featuring

the Harvest Meadow Suite!
Get the Cute Star Adhesive-Backed Sequins with a $50 online order from me in August! Use this host code: 7JB43RUH

Order here


Get a free bundle from the Holiday Catalog when you choose the Starter kit!  Pick out $125 in product of your choice for just $99 and shipping is free!  

All Posts

  • Delightfully Eclectic fun fold with video & 2 other projects too


    Today is a FREE Shipping day!  Woo hoo! 

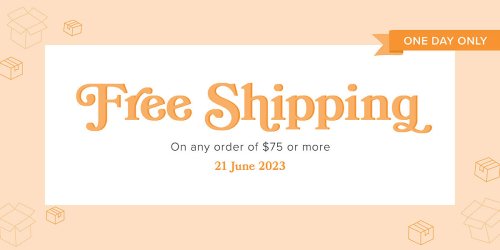
    One day only, all orders over $75 will receive free shipping!  


    Don't miss out! Get that designer paper (on sale) and any other Annual Catalog products, Online Exclusives AND pre-paid Paper Pumpkin subscriptions too!  #BestDealEver

    ~~~

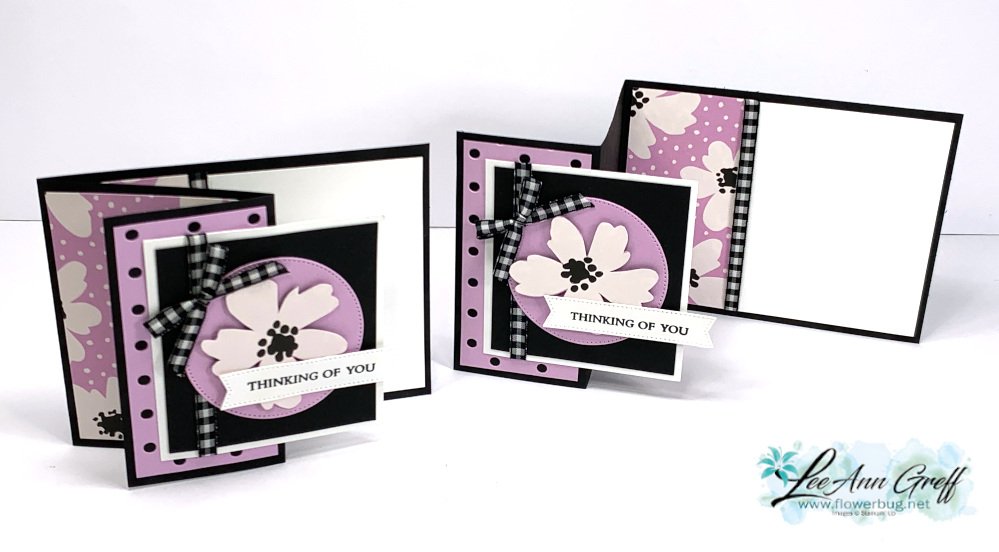
    Here is another fun fold card I made on last week's Tuesday video.  If you'd like to watch me live, join me on Tuesday's at 11 am CT here on Facebook or see them later on my YouTube channel here. 

    This card features the Delightfully Eclectic designer paper and a favorite card theme of 'Black & White with a pop of color'.  

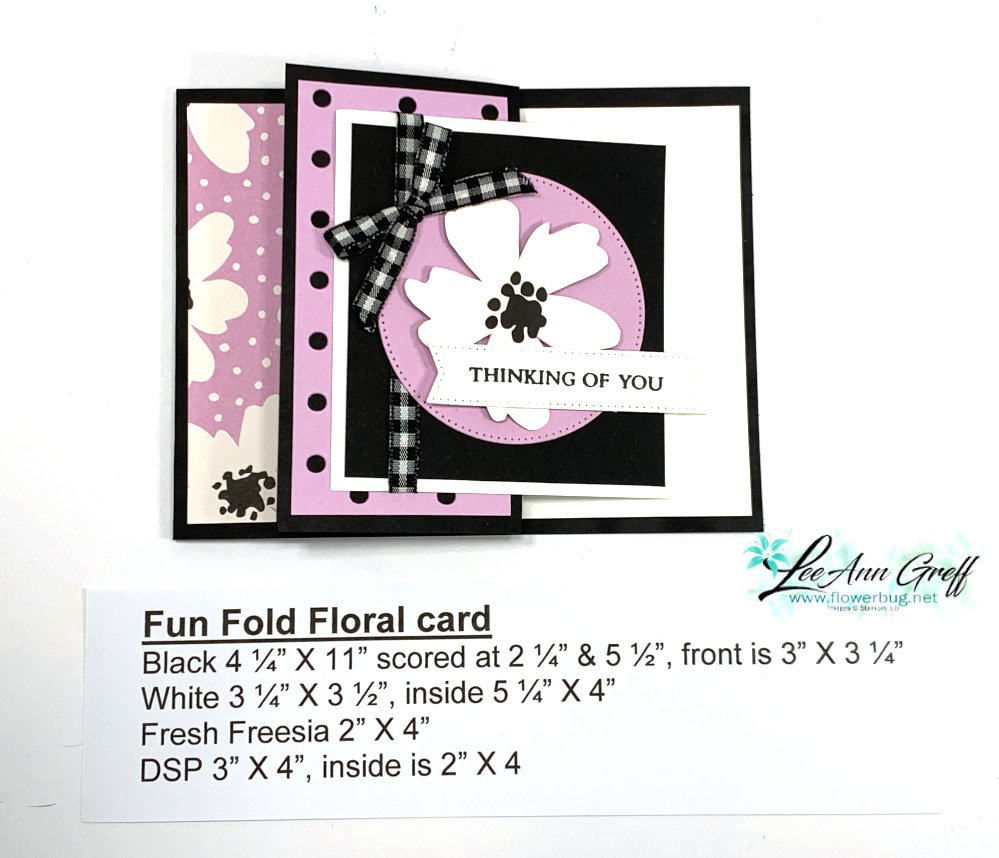
    The pretty floral paper sheet in the Delightfully Eclectic DSP chose the color theme.  I fussy cut one of the flowers from the designer paper to add to my stitched circle die-cut.  I mimicked the dots in the DSP and used the Dots & Spots die on a piece of the Fresh Freesia card stock.  

    This Delightfully Eclectic designer paper is on sale now in June.  See it here. 

    The measurements are listed in the photo below.  

    Here are all three of the cards I share in the video. Scroll down a bit or watch it here. 

    Here's the link to see a recent video featuring this card.  I also make two other cards made with the Delightfully Eclectic designer paper.  

    ~~~

    June Specials:

    Designer Paper is 15% off in June!

    WOW – get $155 in product for $99 with free shipping! click here!

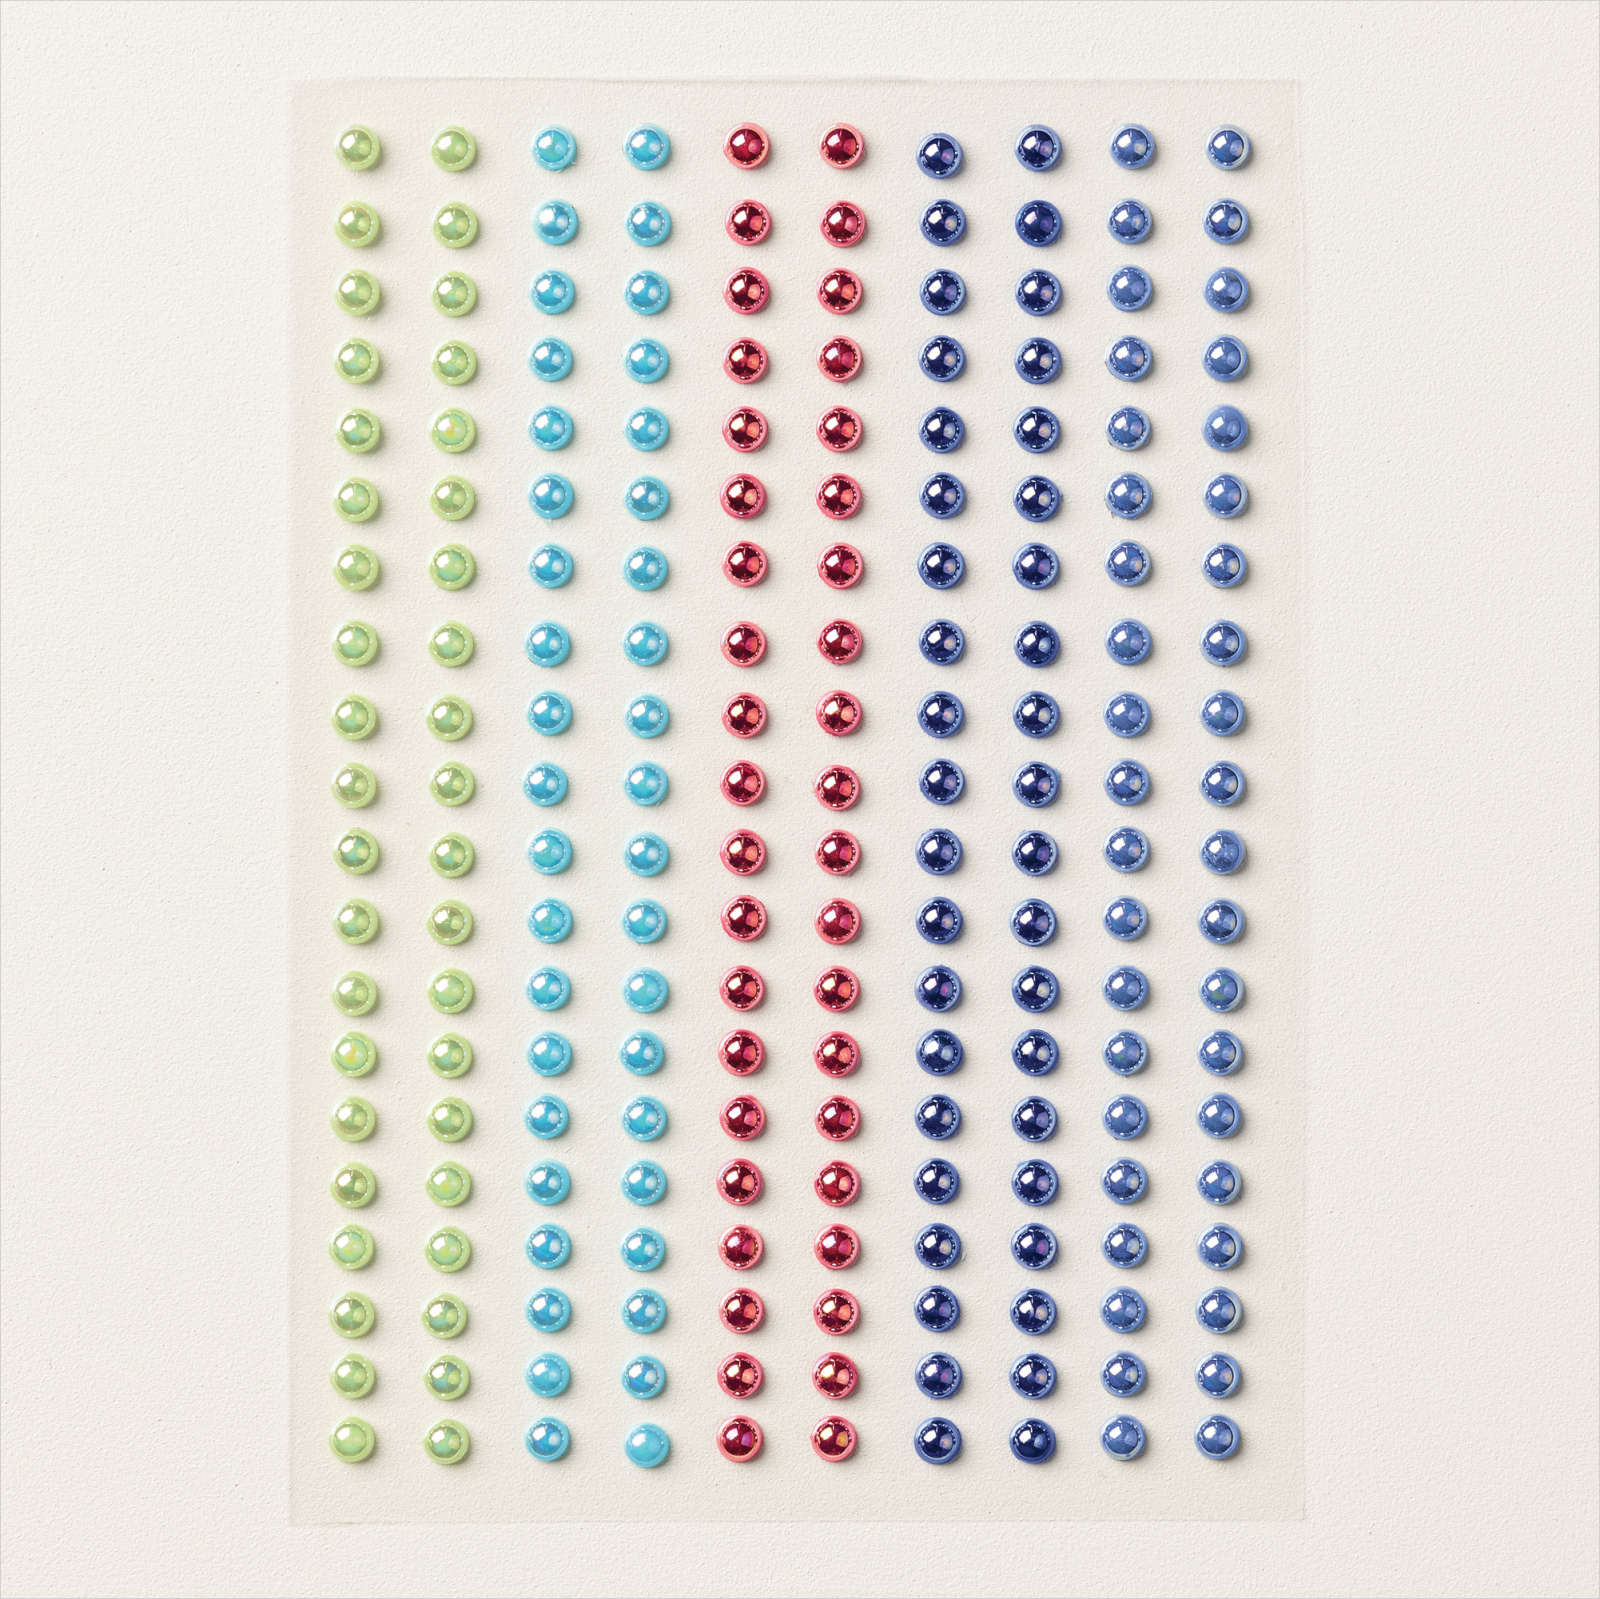
    Get a package of In Color pearls with online orders over $55 using a host code.

    *current host code: RH9S6G94 

     Earn free products with my loyalty rewards! 

    Click here to download yours and earn a $50 shopping spree!

    Leave a Reply

    Your email address will not be published. Required fields are marked *

  • Inked & Tiled punch pack with Delightfully Eclectic DSP – a perfect match up! Plus FREE Shipping Wednesday, June 21st!


    Tomorrow is a FREE Shipping day!  Woo hoo!  June 21st all orders over $75 will receive free shipping!  


    Don't miss out! Get that designer paper (on sale) and any other Annual Catalog products, Online Exclusives AND pre-paid Paper Pumpkin subscriptions too!  #BestDealEver

    Today's project is one I made for two reasons.  One was to feature the Delightfully Eclectic designer paper in my weekly Live video and the other was for my Flowerbug's Team monthly card swap. 

    It's sweet & summery! 

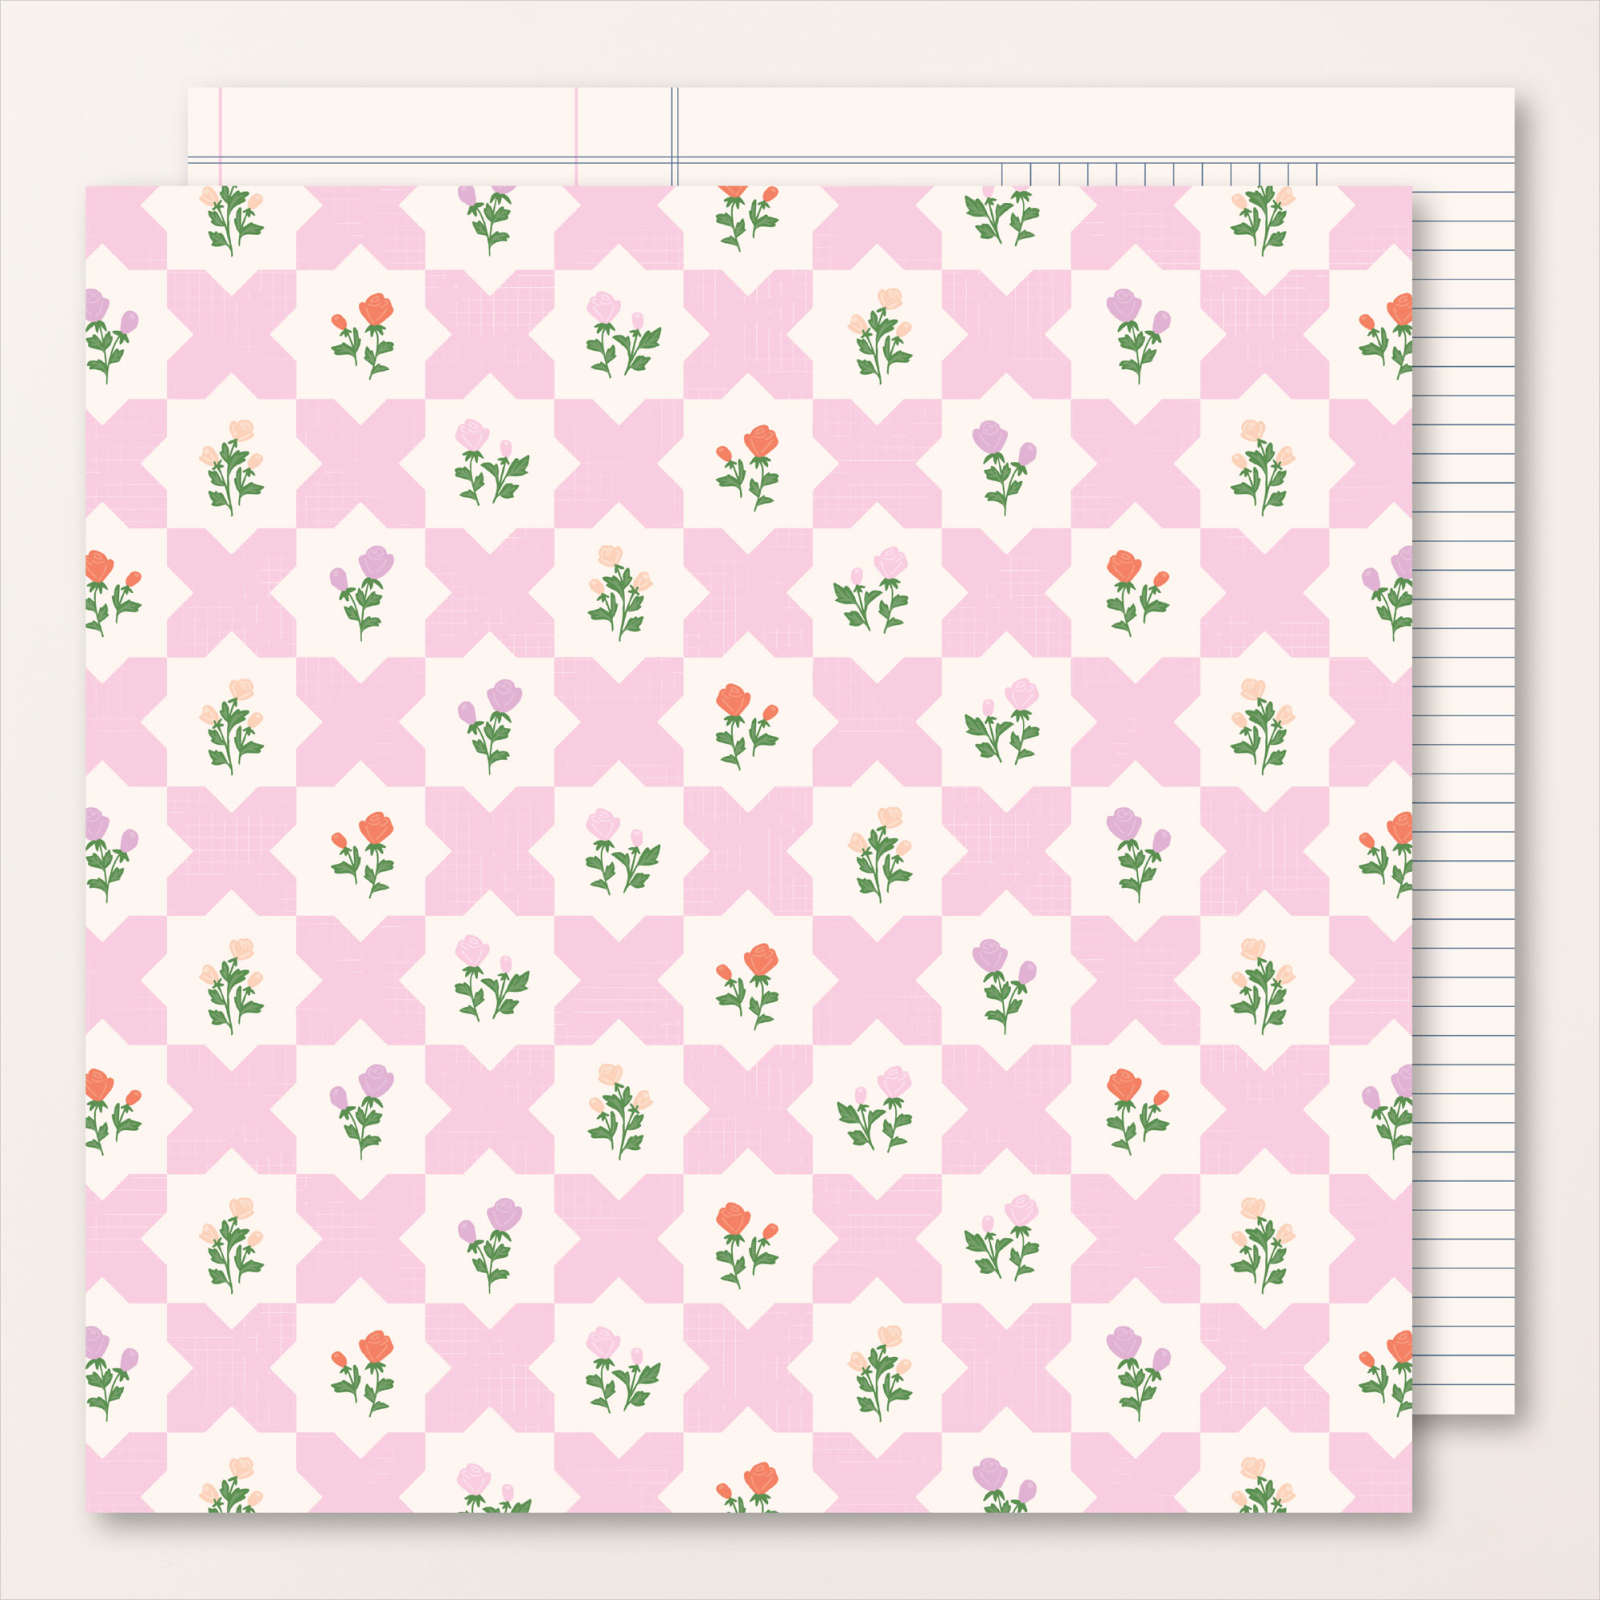
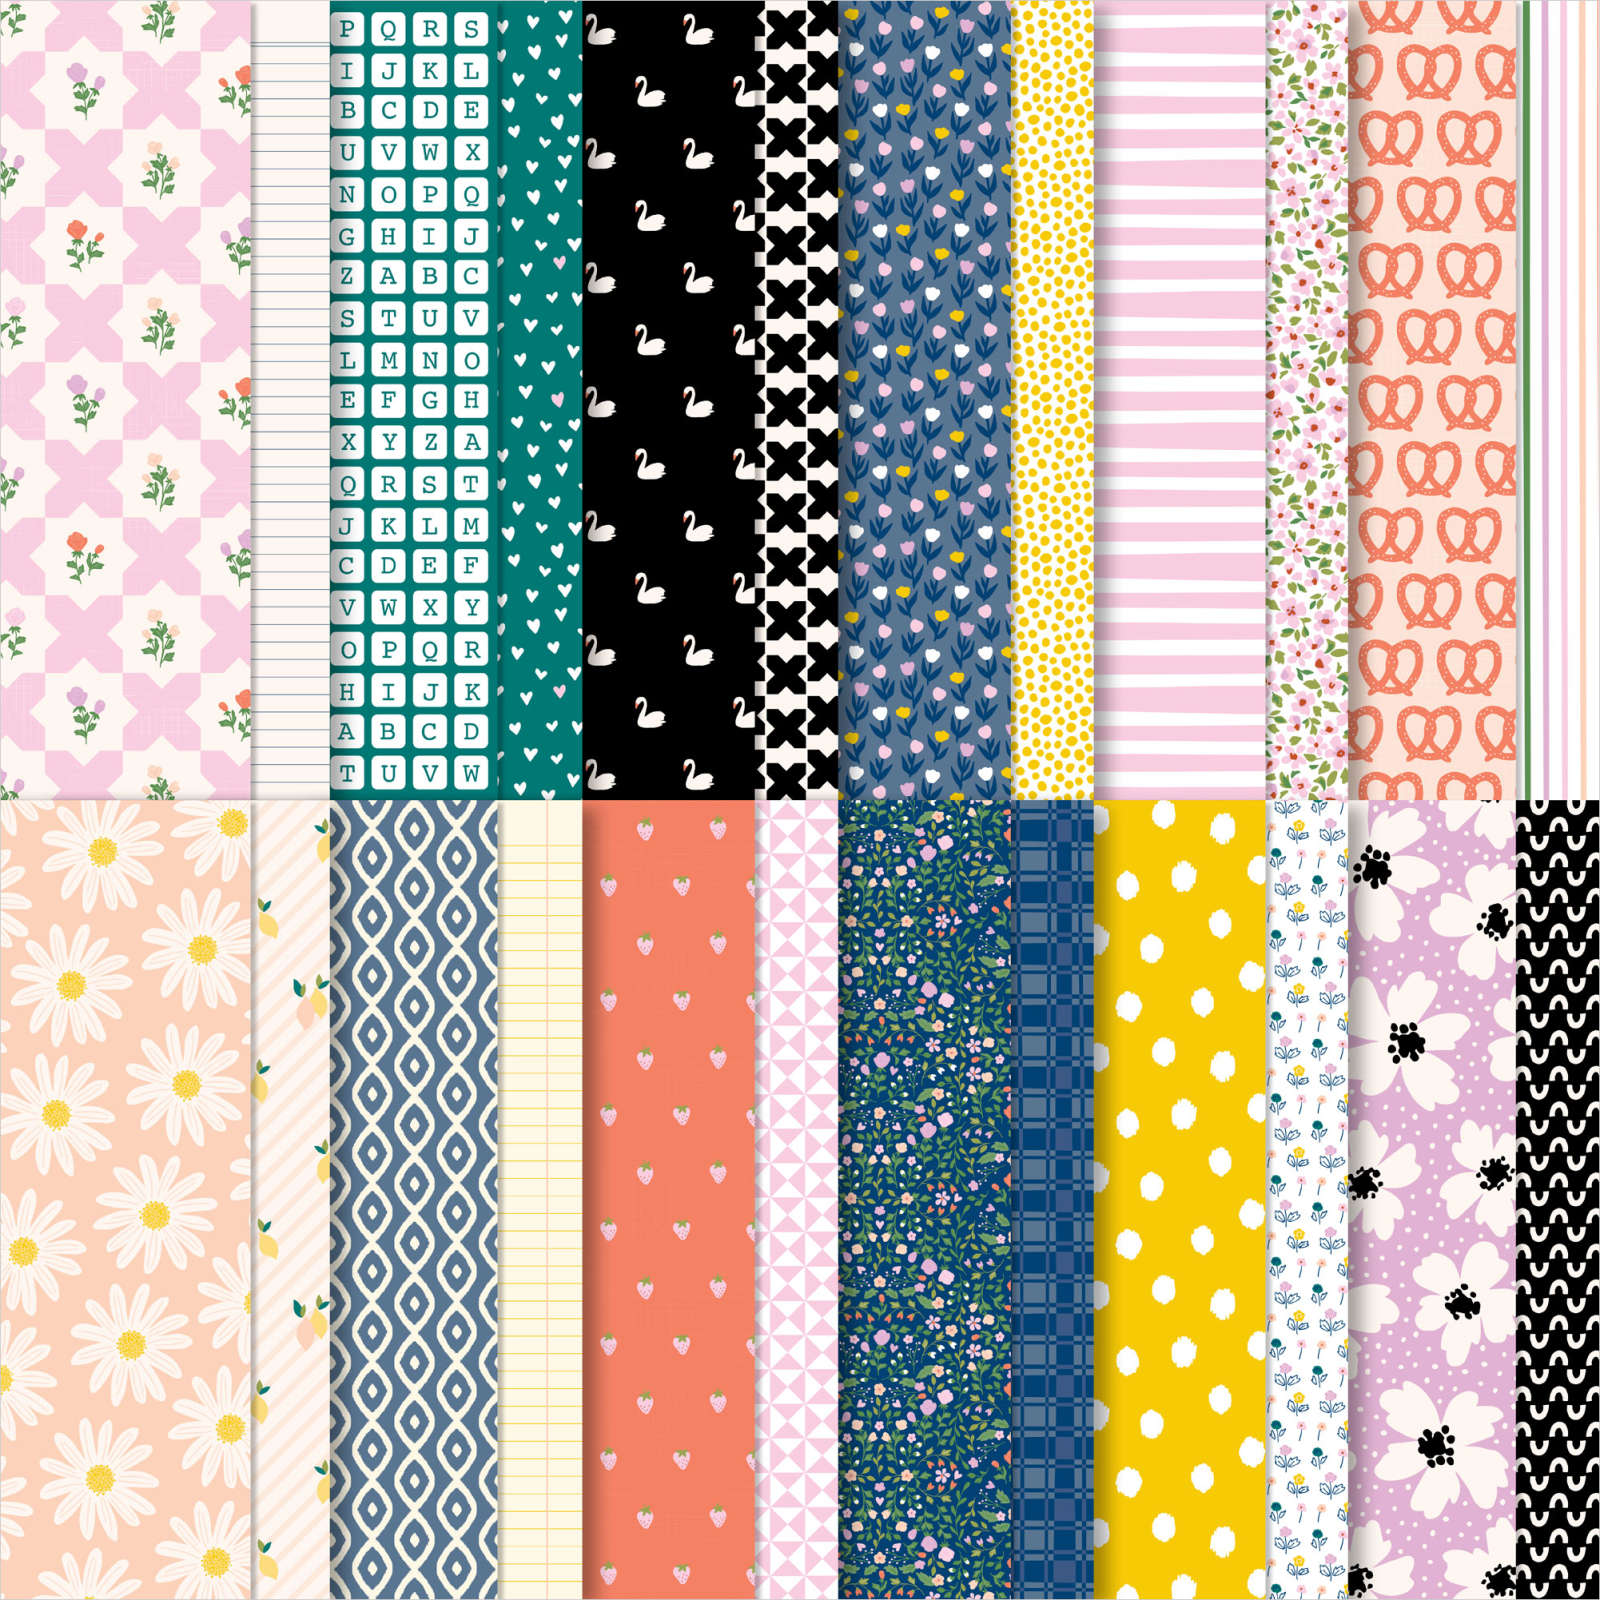
    You might wonder where I got these shapes & flowers.  Well they are both from a sheet in the Delightfully Eclectic designer paper seen here.  Here's what the full sheet looks like:

    And the best part?  The new Inked & Tiled punch pack matches this paper perfectly with very little waste! 

    The punches are in a bundle with the Inked & Tiled stamp set here.  

    My card base is the beautiful new Bubble Bath pink.  I added a layer of Garden Green 3 7/8" C 2 5/8".  That is added to a Scalloped Contours die-cut measuring 4 1/2" X 3 1/8".  

    The greeting is heat embossed in White powder on a strip of Garden Green. Then I cut it into a 1/2" strip and used one of the punches to get that cute greeting shape.  


    This is one of the reasons I ordered these punches; for greetings.  But they sure make a sweet card front too.

    I think you could use other small images, stamped or designer paper, and do this same thing! 

    Below are all three of the cards I share in the video. Scroll down a bit or watch it here. 

    Here's the link to see a recent video featuring this card.  I also make two other cards made with the Delightfully Eclectic designer paper.  

    ~~~

    June Specials:

    Free Shipping June 21st only!

    Designer Paper is 15% off in June!

    WOW – get $155 in product for $99 with free shipping! click here!

    Get a package of In Color pearls with online orders over $55 using a host code.

    *current host code: RH9S6G94 

     Earn free products with my loyalty rewards! 

    Click here to download yours and earn a $50 shopping spree!

    Leave a Reply

    Your email address will not be published. Required fields are marked *

  • This cool ‘Fun Fold’ makes the most of your card stock & designer paper!!


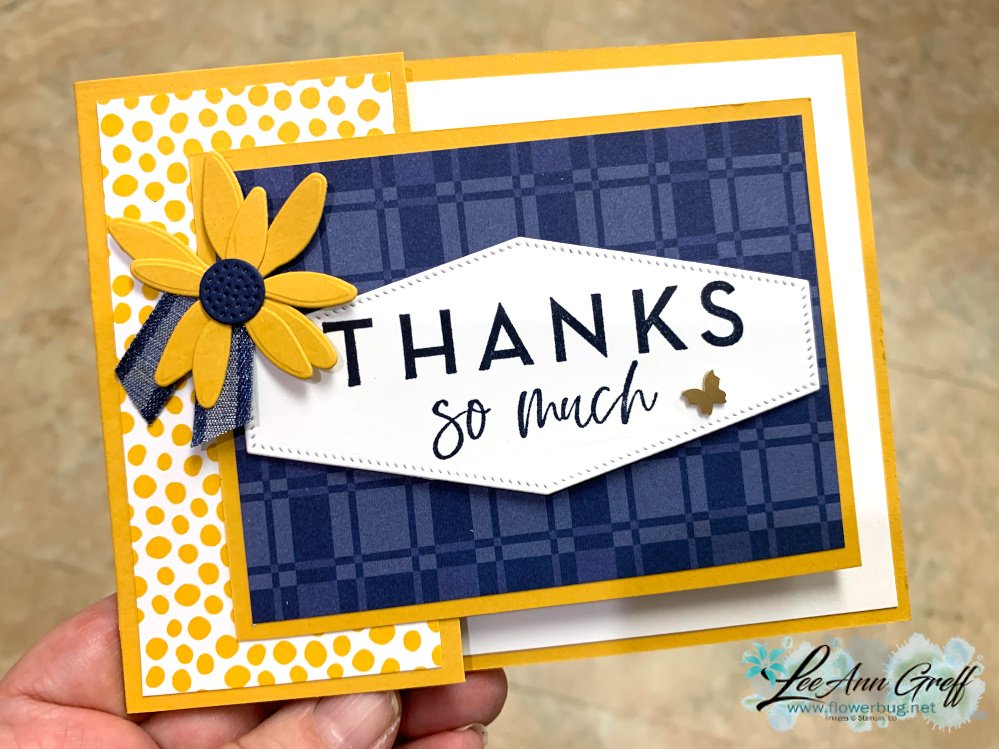
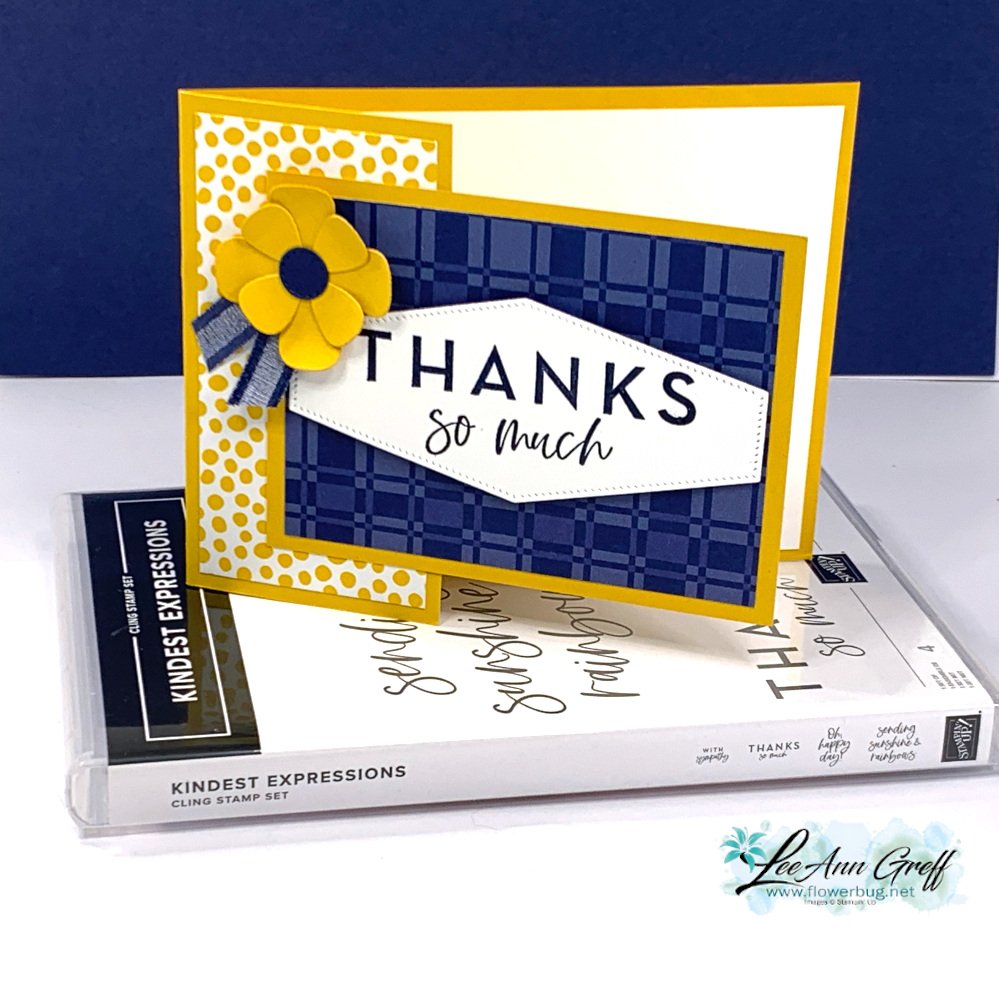
    This easy fun fold is so smart!  It truly makes the most of both your card stock and your designer paper.  

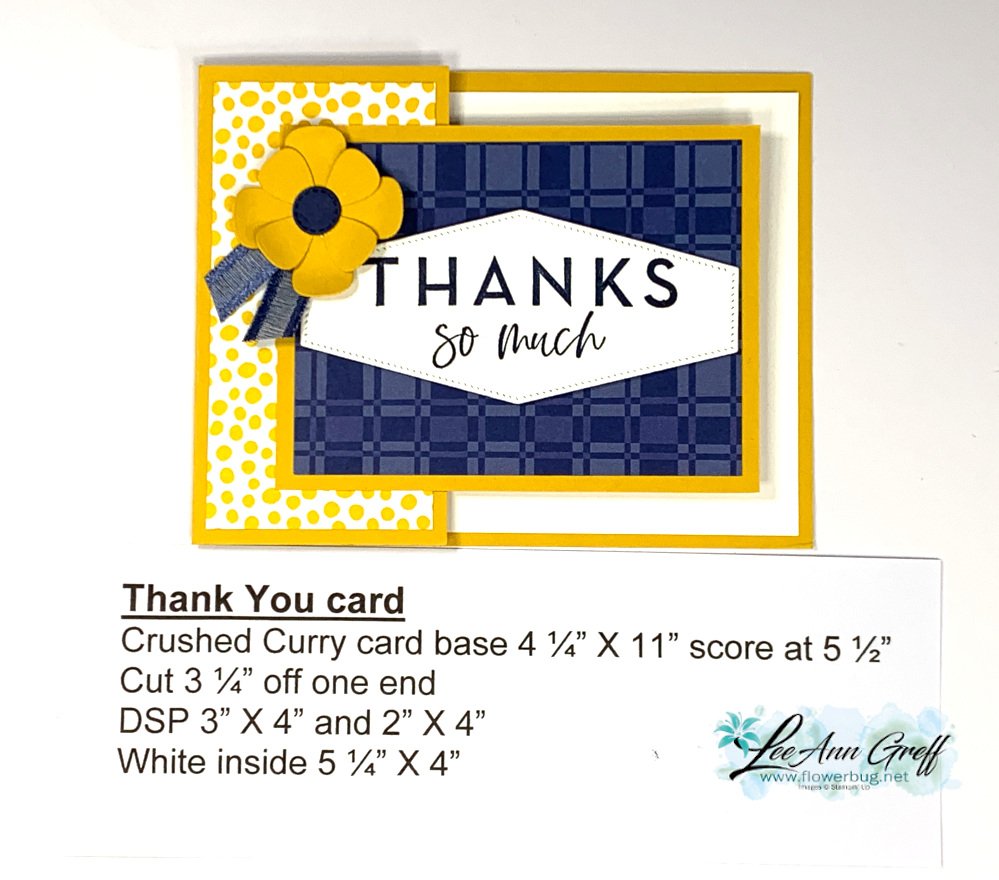
    How?  Well the card base starts out at 4 1/4" X 11" scored at 5 1/2".  Then you cut off one end at the 3 1/4" mark.  This piece is then flipped and is the front panel.  So smart! 

    The greeting die-cut is from the Nested Essentials dies seen here. I love the shapes! 

    The Delightfully Eclectic designer paper seen here is also used well on this card layout.  This versatile designer paper is on sale now and is the best deal on DSP we have!  You get 48 12" X 12" sheets for $25.50 in June.

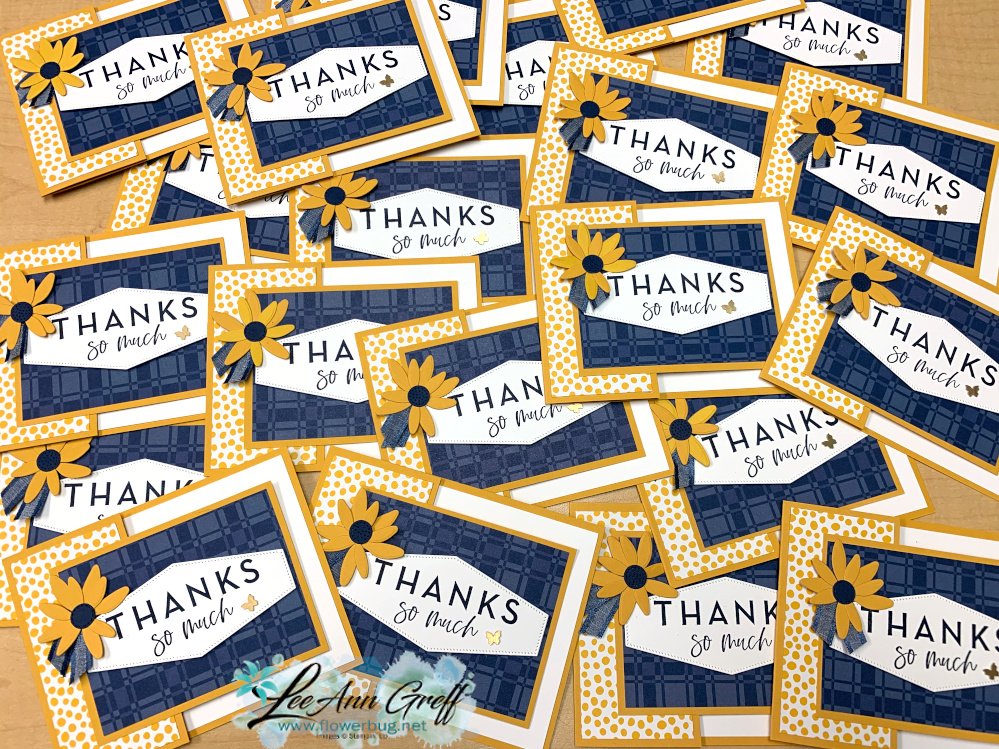
    The navy layer is 4" X 3"; perfect size to max out your 12" designer paper if making more than one.  And the vertical 'yellow' piece is 2" X 4" which is a wonderful size for either 12" DSP or 6" DSP. 

    I made over 20 of these for a swap so it helped me save on designer paper.   

    I used the Kindest Expressions stamp set seen here for the greeting.  The pretty flowers – different on each card – are from the Paper Florist dies seen here. 

    Here's the link to see my recent video featuring this card.  I also make two other cards made with the Delightfully Eclectic designer paper.  

    ~~~

    June Specials:

    Designer Paper is 15% off in June!

    WOW – get $155 in product for $99 with free shipping! click here!

    Get a package of In Color pearls with online orders over $55 using a host code.

    *current host code: RH9S6G94 

     Earn free products with my loyalty rewards! 

    Click here to download yours and earn a $50 shopping spree!

    Leave a Reply

    Your email address will not be published. Required fields are marked *


Notice: LeeAnn Greff, Independent Stampin’ Up! Demonstrator, Manager. The content of this website is my sole responsibility as an independent Stampin’ Up! demonstrator and the use of, and content of, the classes, services, or products offered on this website is not endorsed by Stampin’ Up! Copyright 2025