/


Latest Post

Notes of Spring tutorial is available!


Each month I collaborate with other Demonstrators to create a Product of the Month (POM) tutorial. Everyone who purchases the POM from me will receive it free!
How it works: you can redeem any of the Product of the Month items for just $5 once your order reaches the $75 mark.

Here’s a peek of the 12 projects in this tutorial:

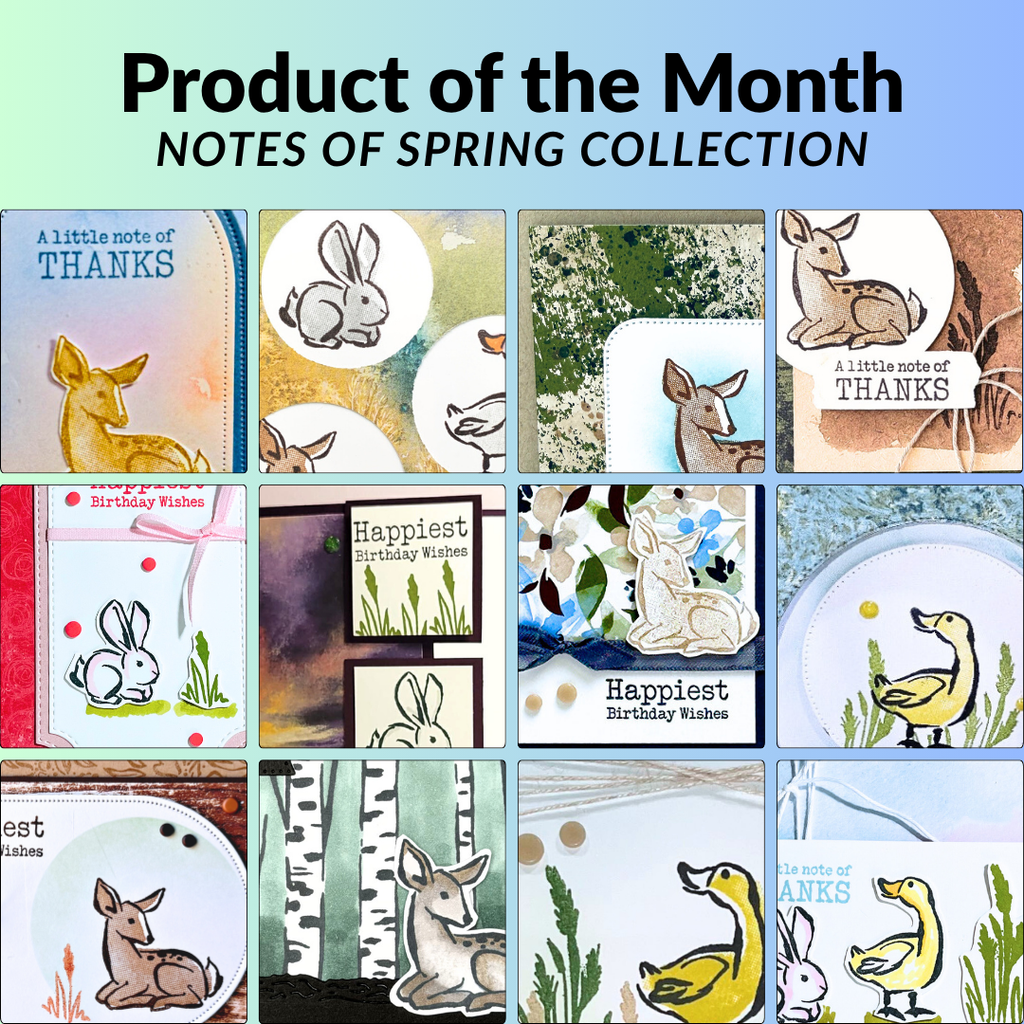
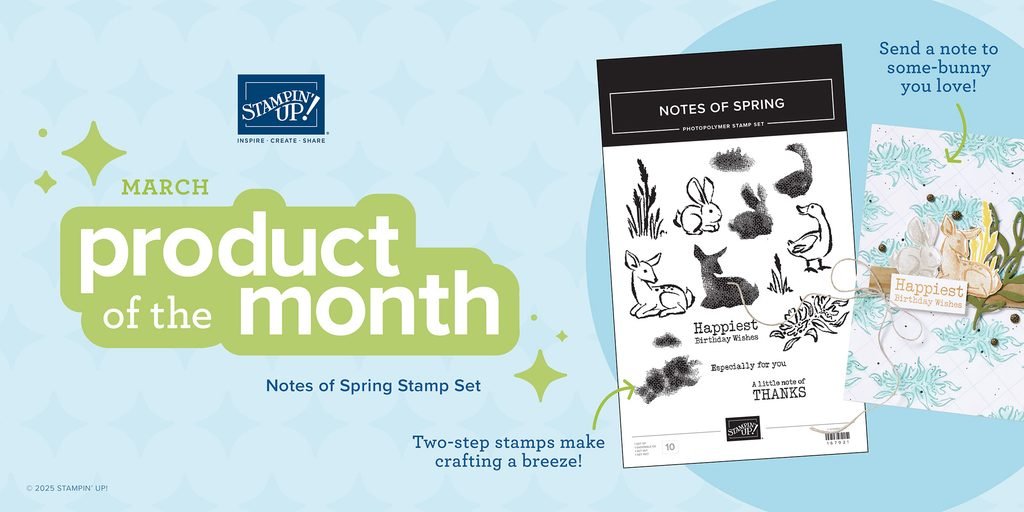
The March POM is the Notes of Spring stamp set seen here. It’s a 2-step stamp set that includes greeting images too!

I’ve sent this tutorial to each of my customers now, but the offer never ends! If you order it and the set is available, I’ll send it to you.

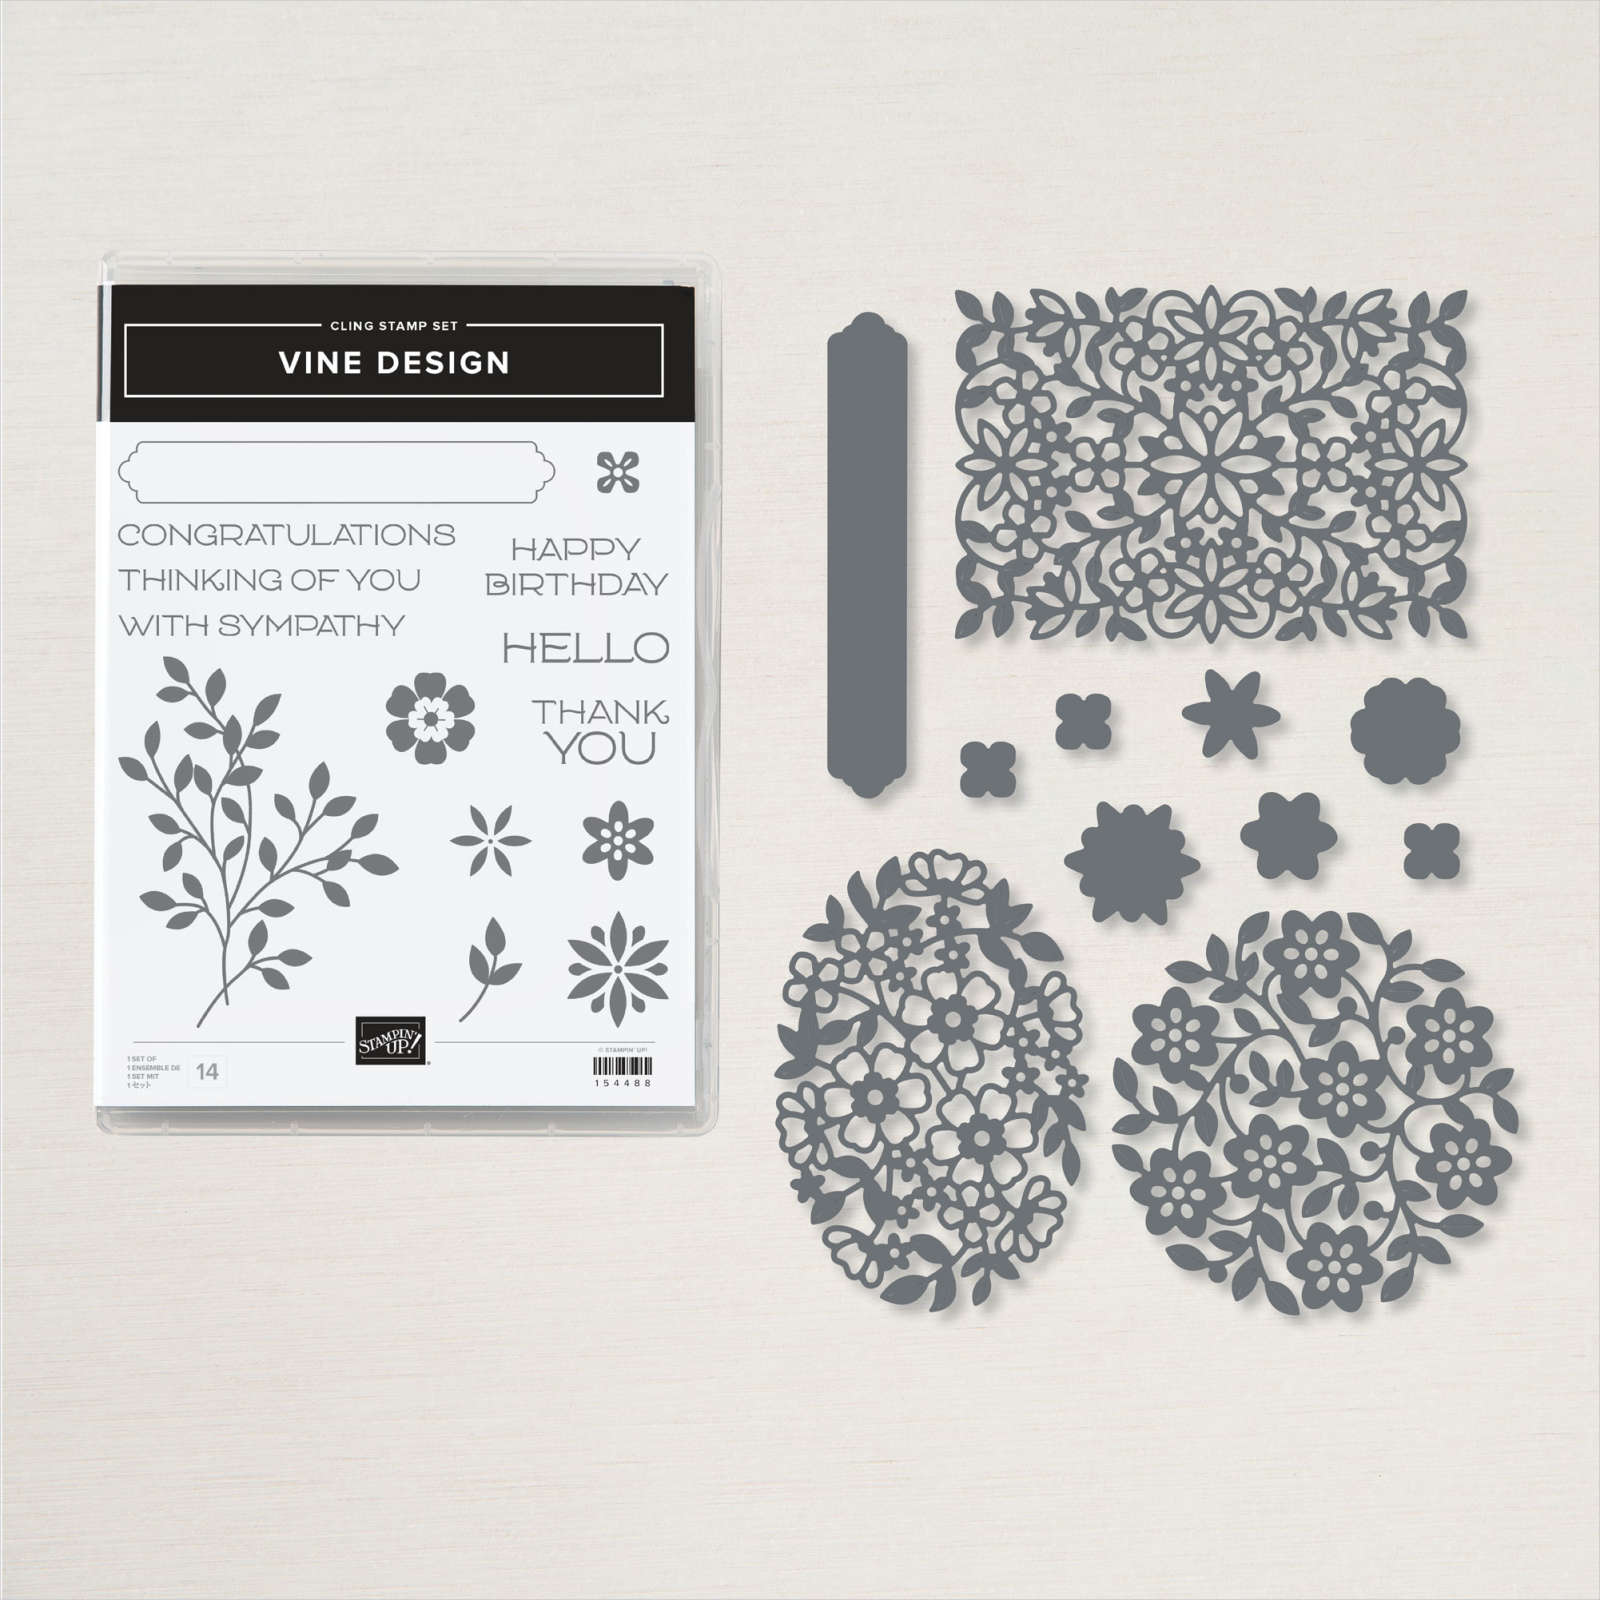
There is one other POM available – the Painted Illusions DSP seen here.

These items are available while supplies last; once they’re gone they will not return. So get them while you can!

Starting April 1st we’ll have a new POM to choose from; the Eyelet Bloom dies.

Its intricate pattern creates a full background that fills large areas beautifully for a polished, handcrafted look in one easy cut.

March Specials!

March Product of the Month is the Notes of Spring stamp set!

It’s just $5 with a $75 purchase.

Get my March PDF free with any Online purchase!

NEW Online Exclusives are here!

Get the retiring In Colors while you can; they’re already going fast!

All Posts

  • Mini Coffee Carriers; a special gift with treats & glue stands!


    Have you noticed the mini coffee carriers on page 9 of the Holiday catalog? They're actually quite large and should not be called mini!  You can see the entire suite here. 

    My friend Marilyn made this one for me; casing the catalog project on page 10.  It's so cool! 

    She used the Heartwarming Hugs and Wrapped in Christmas stamp set.  She wrapped her coffee cups with Real Red CS. Tip; use strong adhesive like Tear & Tape for this. 

    Here's another version. I made these for my Flowerbug's Team that attended OnStage@Home a few weeks ago.  It was filled with treats, apple cider packet and a liquid glue stand that we make *see photo below

    I actually sprayed my coffee cups with a mixture of rubbing alcohol and Real Red ink refill.  

    Here are the Multipurpose Glue stands included in the gift above. We have them available in my Shop here.  They are $6 each. 


    We can fit three in a box for almost the same shipping cost.  They make great gifts for your stamping friends!  

    ~~~

    November Specials!

    Current Host code is A2MTFYEB


    All online orders receive my FREE Curvy Celebrations 22 project PDF Tutorial! 

    Leave a Reply

    Your email address will not be published. Required fields are marked *

  • Three easy cards with Curvy Christmas set


    I mentioned I'd made quite a few cards with the Curvy Christmas stamp set.  I wanted to share a few of them.  

    To clarify these products, the Curvy Christmas & Classic Christmas 6" Designer Paper will be available through January 4th or while supplies last.  You can see it all here: 

    I used the pine bow to create a garland and added a fussy cut bow. Super quick card! 

    Here I used the Pine Tree punch and Perfectly Plaid stamp set with the Classic Christmas DSP.  The White card base measures 5 1/2" X 7", scored at 4 1/4".  Add a 1" strip of DSP on the inside right edge.  

    Above I used the Curvy Dies on my White layer.  Look how perfectly the dies match the stamp!  I added a few greenery die-cuts and one from the Poinsettia dies on the top. I may have gotten a little carried away with my Red rhinestones!  

    Remember that all online orders in November get my 22 project PDF for the Curvy Celebrations bundle.  Order online here. 

    FREE 22 project PDF Tutorials for Curvy Celebrations! 

    ~~~

    November Specials!

    Current Host code is A2MTFYEB


    All online orders receive my FREE Curvy Celebrations 22 project PDF Tutorial! 

    Leave a Reply

    Your email address will not be published. Required fields are marked *

  • 3 Unique Snowflake Splendor Fun Fold cards with video!


    Look at these awesome fancy fold cards featuring the Snowflake Splendor designer paper!  They're so pretty but also very easy too. 

    I made them on a recent Facebook Live video and think you might like to see how they're made.  Here's a link to this gorgeous Snowflake Splendor designer paper; it will be retiring soon so get it now! 

    The greetings and images and dies are all from the Snowflake Wishes bundle seen here; I just love this one!

    The two dies I used are the Painted Poppy and Ornate Border dies. 

    I used the Itty Bitty Christmas and Snowflake Wishes stamp sets and So Many Snowflake dies on the card above. 

    Below is the video so you can catch the tips on make them.  

    ~~~

    November Specials!

    Current Host code is JRZFR4QU


    All online orders receive my FREE Curvy Celebrations 22 project PDF Tutorial! 

    Leave a Reply

    Your email address will not be published. Required fields are marked *


Notice: LeeAnn Greff, Independent Stampin’ Up! Demonstrator, Manager. The content of this website is my sole responsibility as an independent Stampin’ Up! demonstrator and the use of, and content of, the classes, services, or products offered on this website is not endorsed by Stampin’ Up! Copyright 2025