/


Latest Post

NEAT Center Pop-up Fun Fold card with video & free project sheet


I hope you're enjoying your holiday weekend.  We are having a quiet one at home, getting yard work done and also enjoying time off together. We've had lovely rain lately. The grass is green and I hope my garden takes off once the weather warms up a bit. 

On last week's Live I made a super neat fun fold card.  This photo shows the card front which starts out as a gatefold card. 
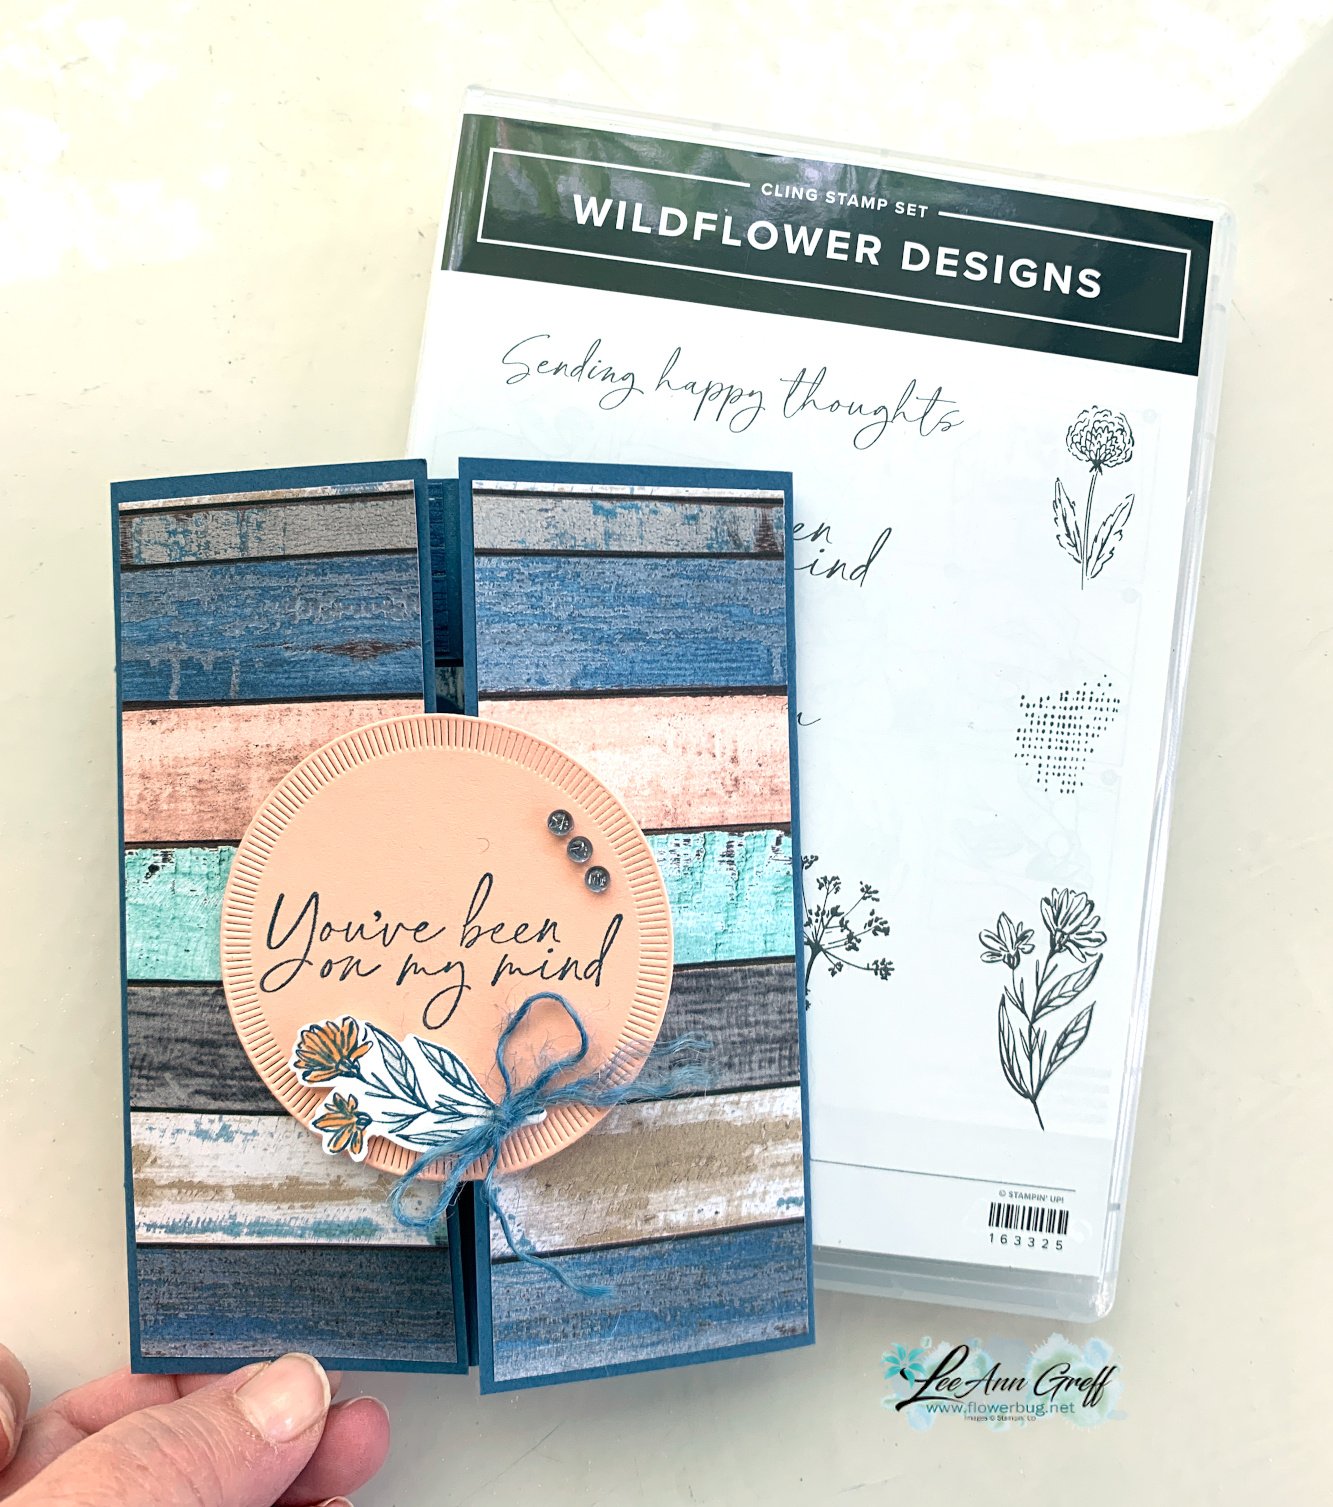
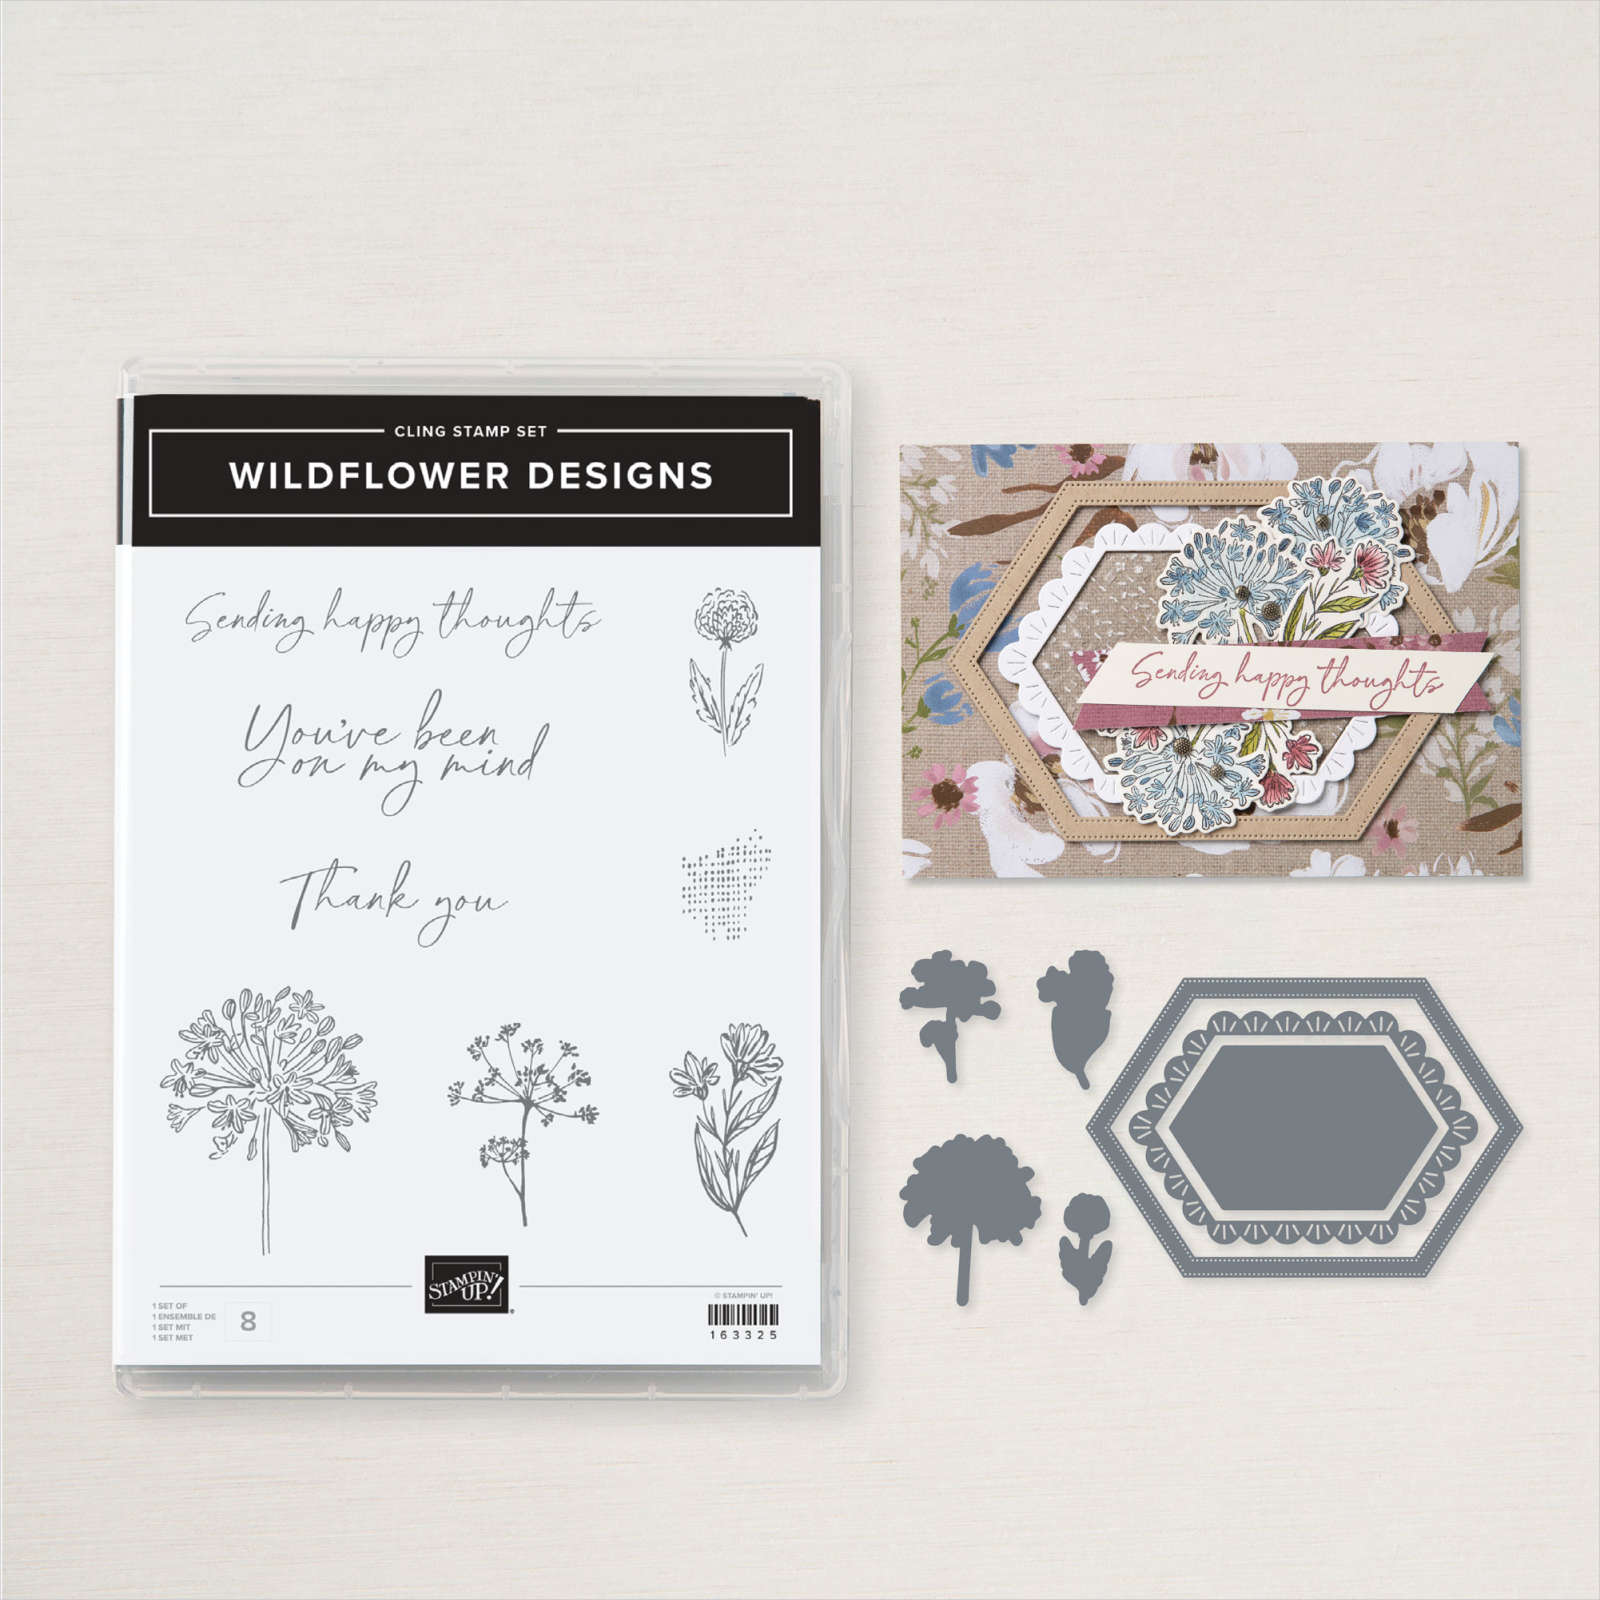
I chose the Wildflower Designs bundle because it seems to have everything I like in a bundle – florals & botanicals, lovely greetings and wonderful dies too.  
The designer paper is the Country Woods seen here.  It's currently unavailable as they ran out of stock. But it should be back within a week or so.  That pretty die-cut circle is from the Spotlight on Nature dies seen here.  Love these dies so much! 

Here's what it look like open: 
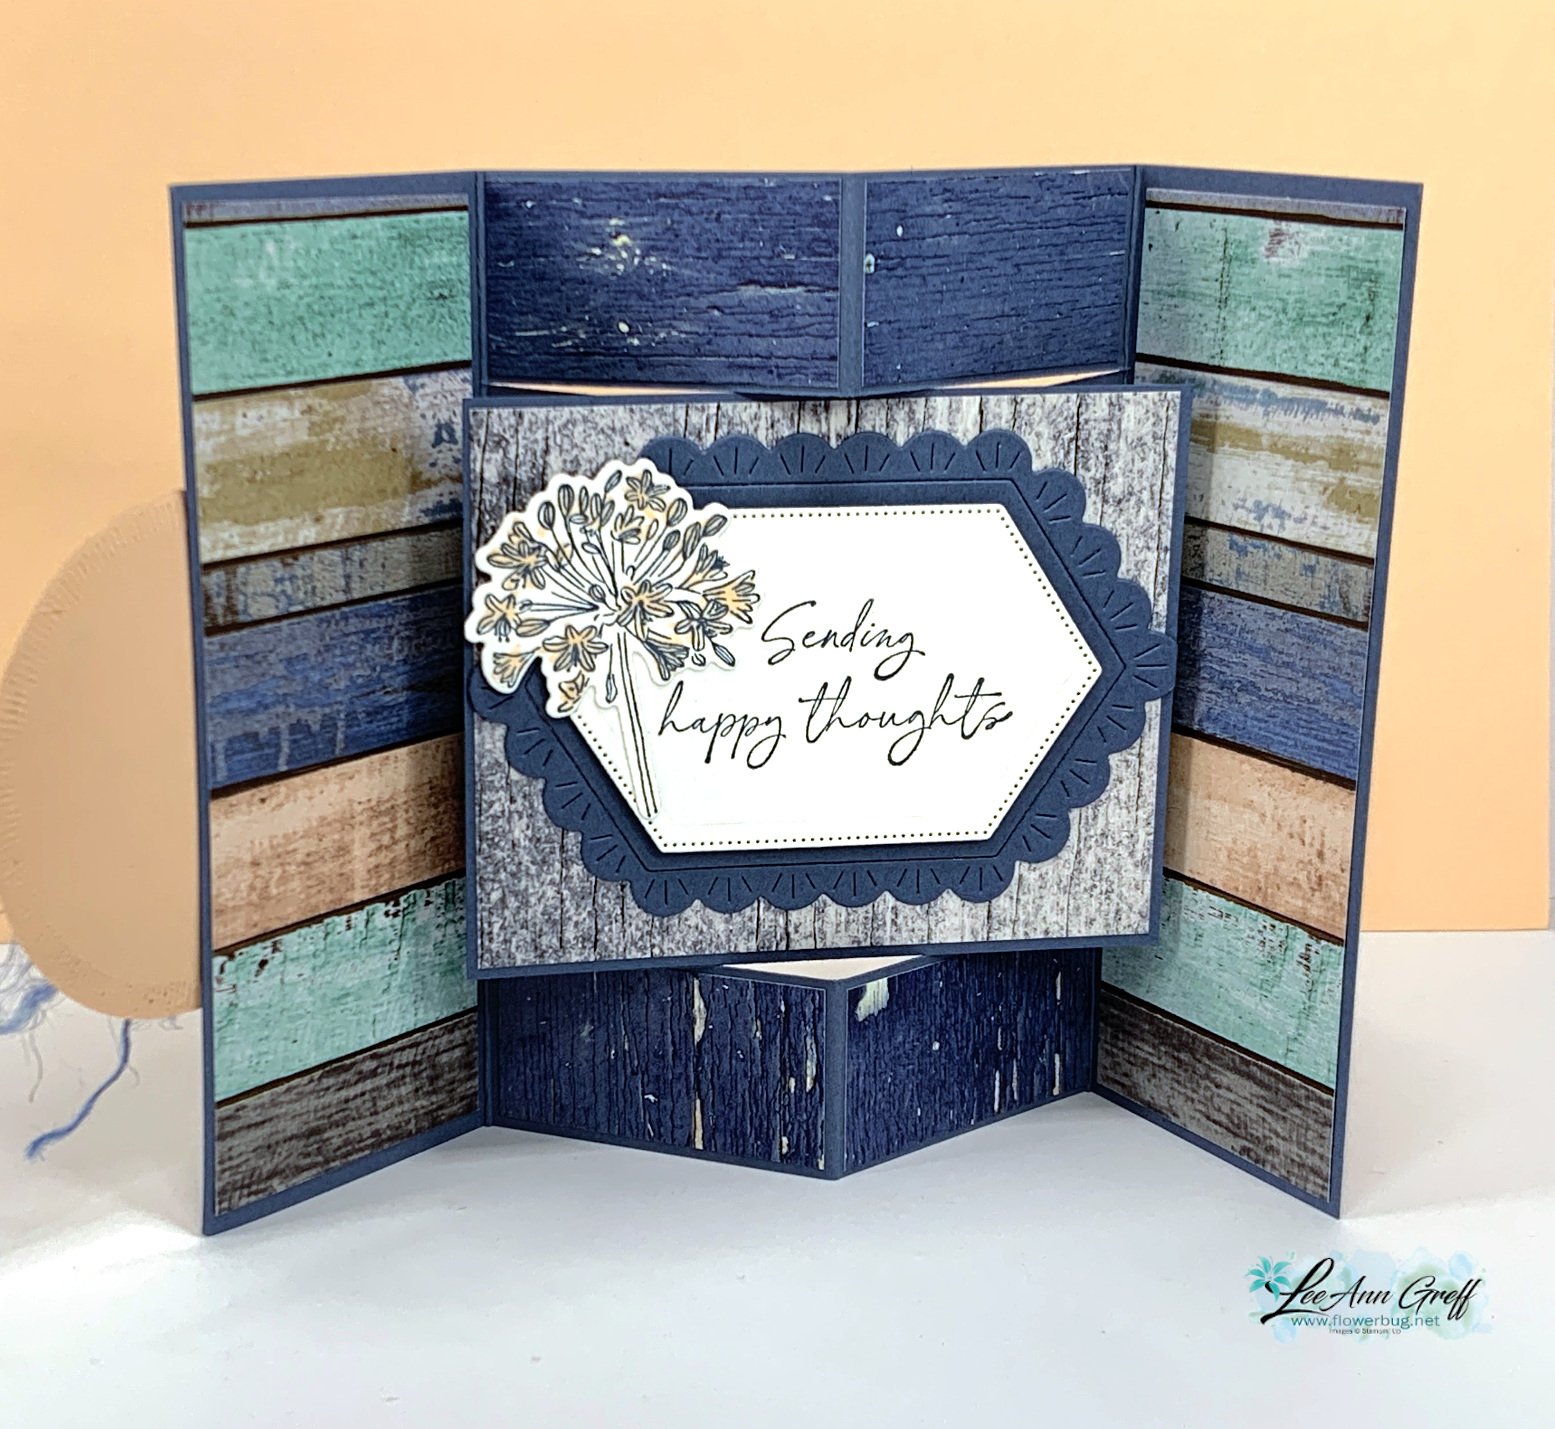
I was inspired by two of my team members to try this fun fold card layout.  I thought it looked quite complicated but they assured me it wasn't.  They were right!  It was just a few extra score and cut lines. I hope you'll watch the video below to see how it's done.  

The center dies are included in the Wildflower Designs bundle seen here.  All of these patterns are included in the Country Woods designer series paper pack. No wonder it's already sold out!  


Compare these cards; I changed both the front and the inside. 

Click on this link to download & print the free project sheet: Download Wildflower Designs Center pop up card

Watch the video below; it's the second project I share. I'll share the first card in a day or two.

Don't forget to subscribe to my YouTube channel while you're there. 

~~~

May Specials: 

*current host code link:  9AWSF9T9 or FERX3EKC

~~~

Get over $200 in products for just $99 in May! 

You'll get tons of new In Color products plus choose $125 in products of your choice! 

Click on the pictures above or below to get to my new catalog shares – choose from designer papers or a ribbon share. 
~~~
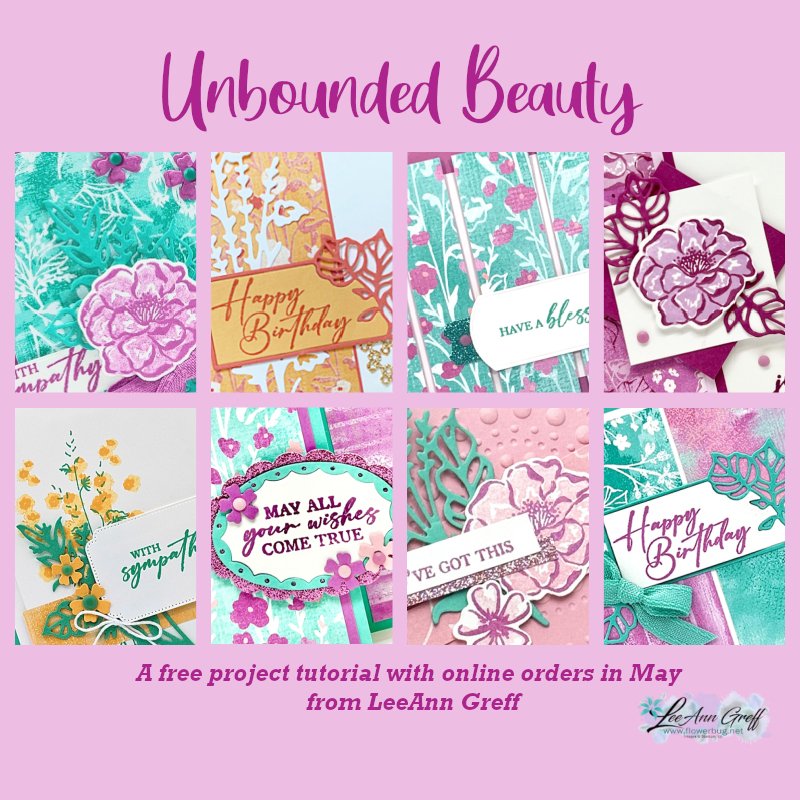
All online orders in May will receive a free project tutorial and if your order is over $50 I'll also send you a pre-cut card kit!

All Posts

  • Video tutorial for a Tea Bag gift box that holds 6 bags of tea!


    On last Tuesday's live I made projects with the Tea Boutique suite.  If you missed it click here for the video and click here to get to my Facebook page. Follow me and you'll get notified when I am Live.  

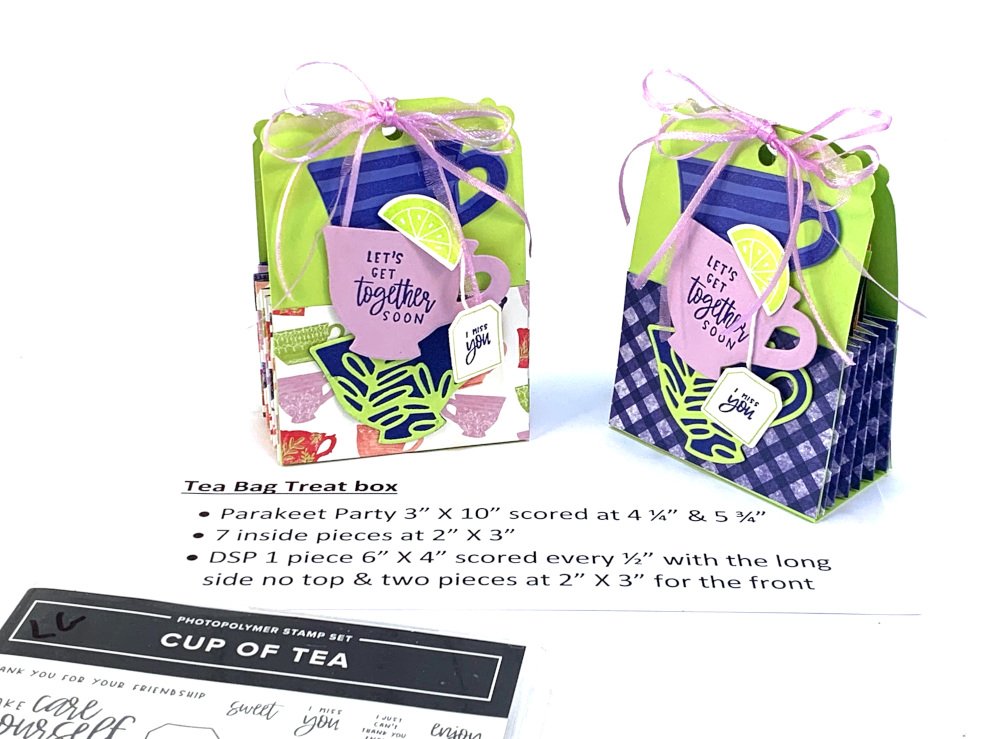
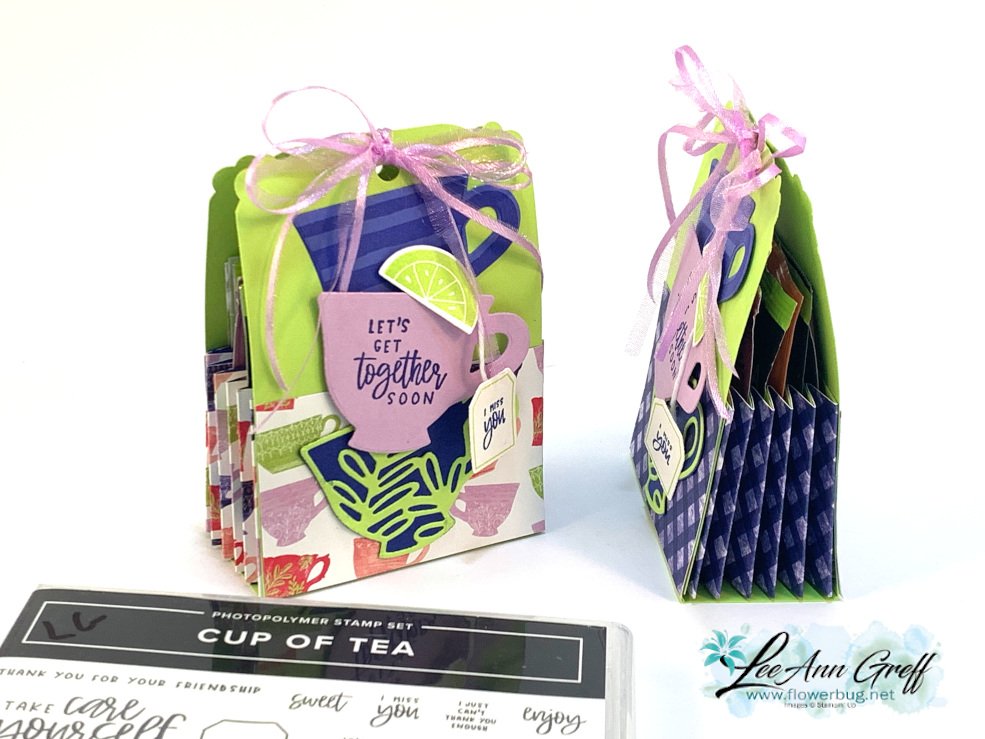
    This tea bag gift box is so cute!  It's about 3" X 4 1/2" and quite easy to make. I used the Cup of Tea bundle seen here for the stamped images and die-cuts. 

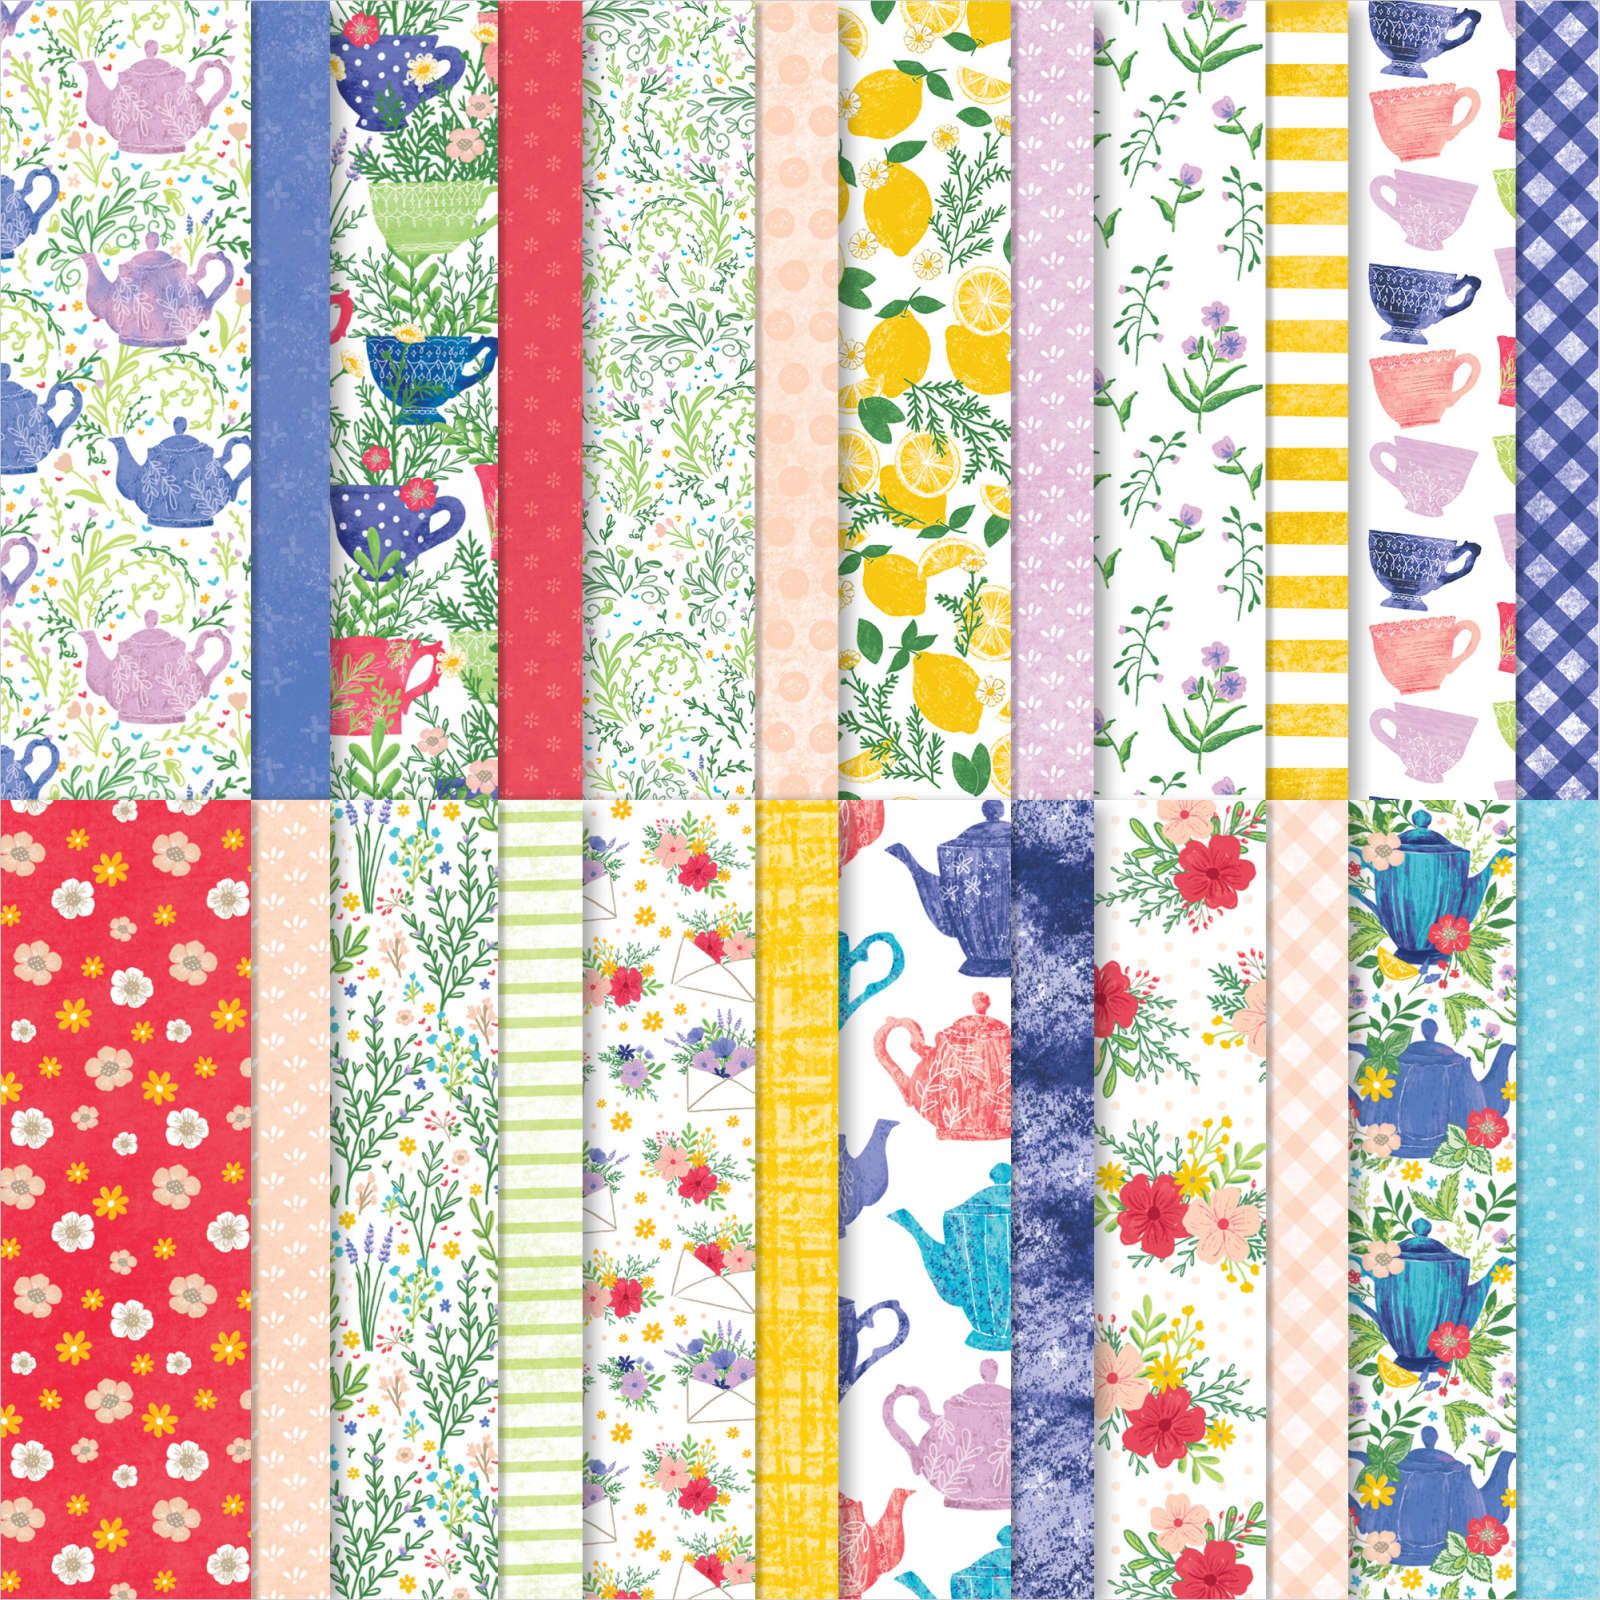
    The Tea Boutique designer series paper seen here includes all of our newest in colors so it's bright and colorful. I chose to use Parakeet Party for the main box and accents of Fresh Freesia, Starry Sky & Orchid Oasis.

    Here's a picture of the inside. There are two pieces of designer paper scored every 1/2" for the sides and card stock dividers between each fold for a tea bag.  

    I used a new punch called the Lasting Label punch for the top corner detail.  I share how in the video; you'll look at your punches in a whole new way! 


    Click on the photo below to watch the video. Don't forget to subscribe to my YouTube channel while you're there!  

    ~~~

    Get a bunch of NEW In Color products FREE in your Starter Kit! 

    It's $99 for $213 in products!!!  And Free Shipping! Click here. 


    Host codes: HUNR9DB6

     *click here to order 

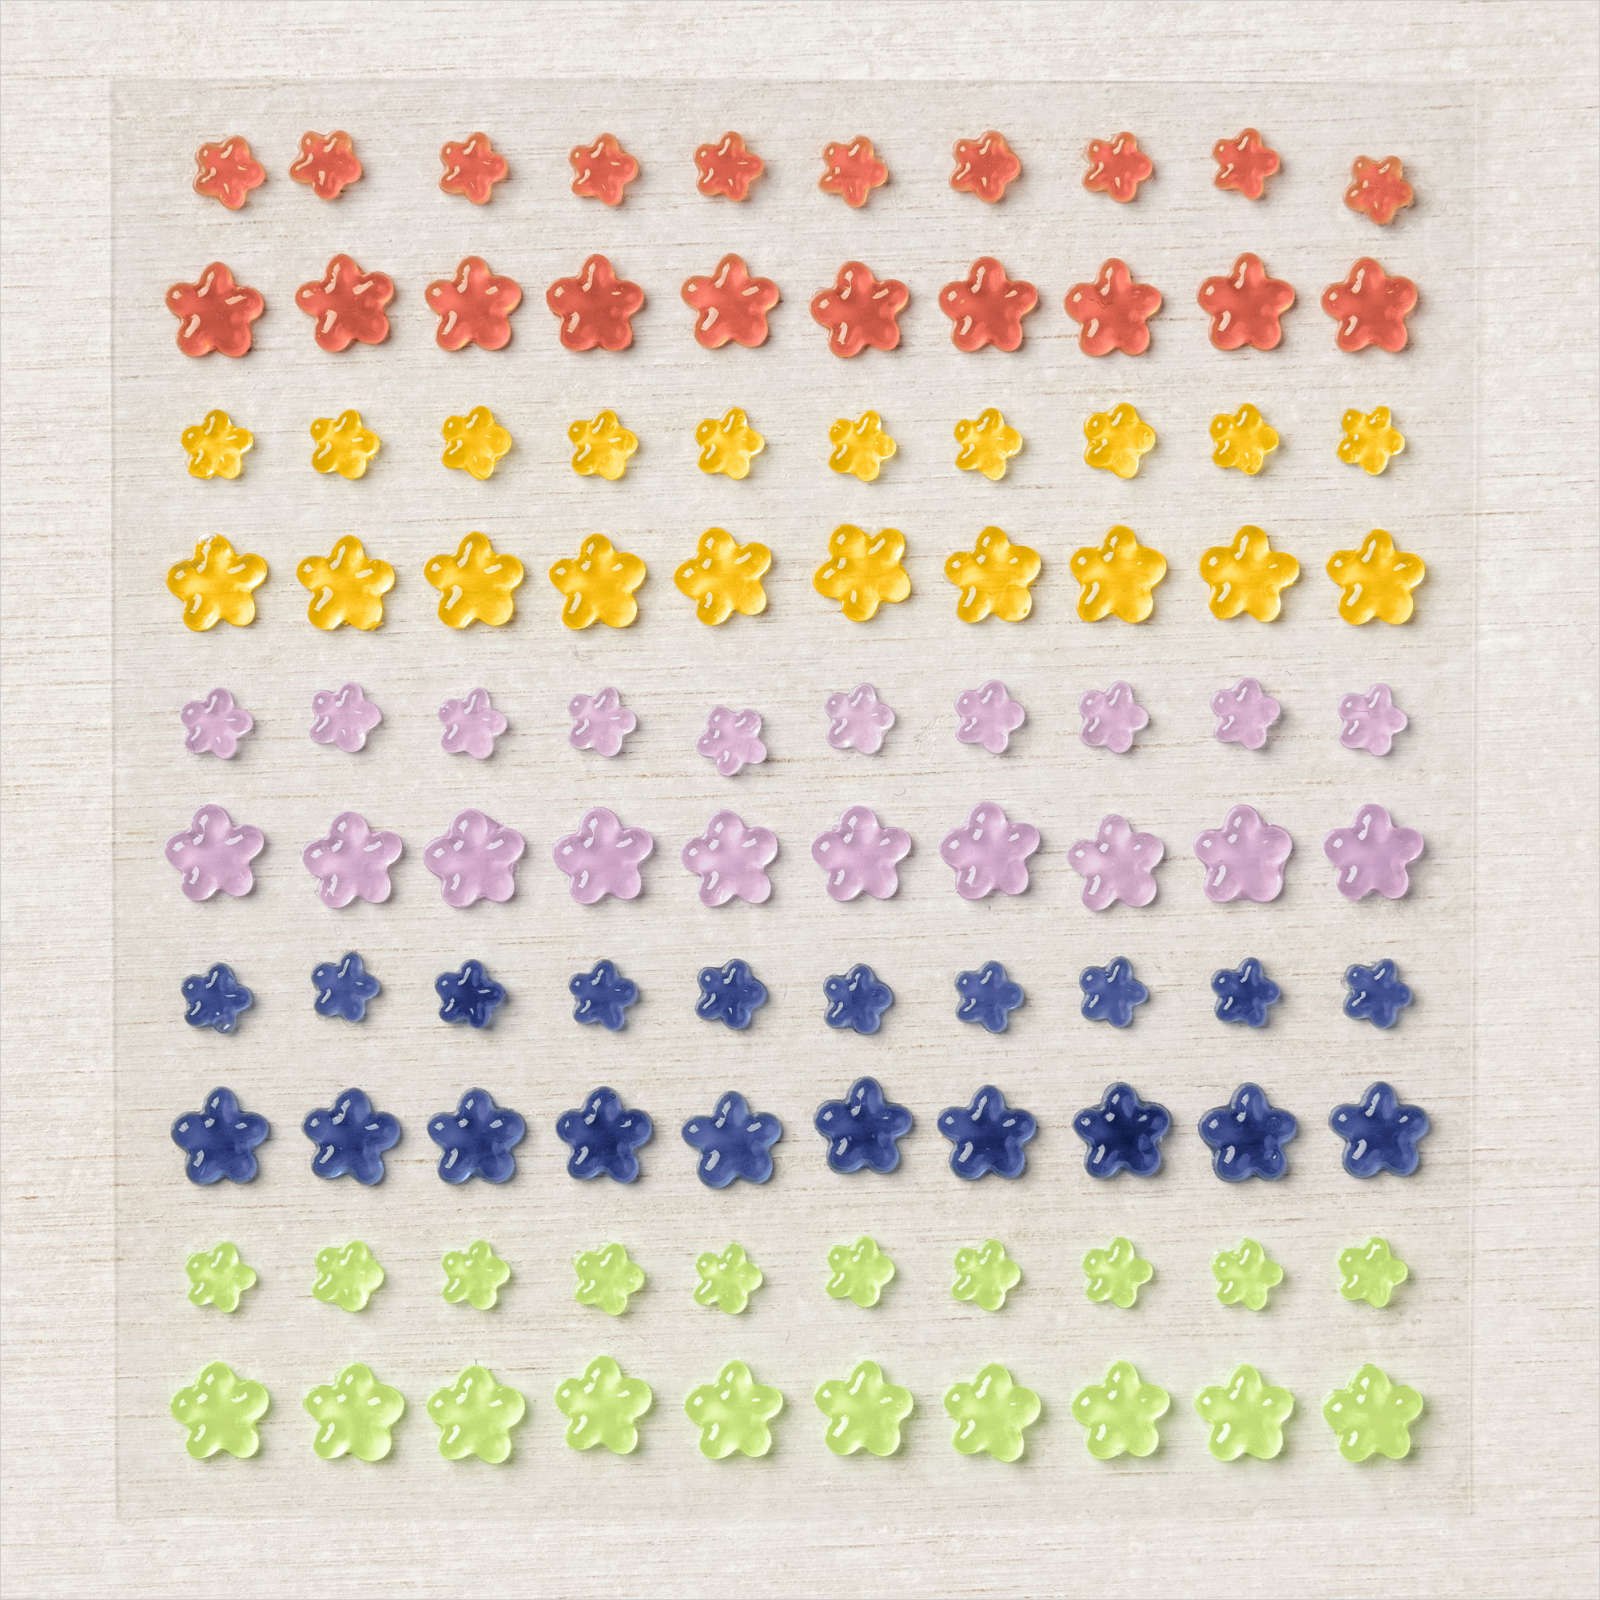
    If your order is over $50 you'll receive a set of NEW embellishments from me.

    Don't forget about my loyalty rewards! 

    Click here to download yours and earn a $50 shopping spree!  


    Opt in for my New Catalog Designer Paper Share

    It's $26 plus shipping

    Leave a Reply

    Your email address will not be published. Required fields are marked *

  • A $99 order gets you over $220 in product in May! It’s 50% off!


    This weekend we added three new members to our Flowerbug's Group!  Woo hoo!!

    It's hard to pass up the incredible In Color Starter Kit promotion!  If you love Stampin' Up! products and a good bargain you're likely considering this option!  

    It's just a $99 order!

    True; it is really just an order.  Once you get this fabulous deal you can then decide how long you're going to continue ordering as a Demonstrator.  

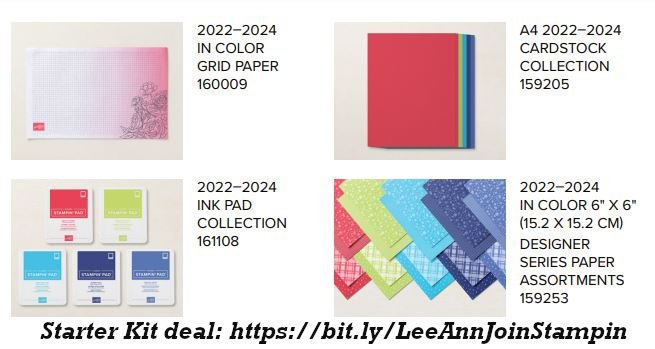
    Here are the details: You receive over $220 in Stampin' Up! products for just $99 and FREE SHIPPING too! That means your products are over half off!

    You pick out $125 in product of your choice and get the In Color items below FREE plus a FREE Paper Pumpkin kit too!  Of course they add in the catalogs and business supplies at no cost.  

    I want to share some facts you may not know about the Starter Kit & becoming a Stampin' Up! Demonstrator.

    Did you know? 

    Fact 1: You get 20% and up to 25% off every single order while you're active as a Demo. 

    Fact 2: In June we get to see the new Holiday AND Sale-a-Bration catalogs and we can order from them too!  And we earn FREE SAB items for our orders at the same time!

    Fact 3: Many demos enjoy the discount and fun and do not sell or offer classes.  But if you do want to run a business I'll be there to help guide and support you. *I've been in the top 100 in the Stampin' Up! company for the last 15 years; I'm happy to work with you to meet your goals. 

    Fact 4: You get all of my past AND future PDF tutorials FREE! (and optional pre-cut kits to go at a special price)

    Fact 5: Your first $300 minimum purchase isn't due until the end of September and ALL orders placed count towards that minimum. 

    Fact 6: You'll have access to the exclusive websites/FB groups for Demo's. 

    Fact 7: If you're ordering up to or over $99 anyway why not choose the Starter Kit & get another $100 FREE and the continuous discount on all future purchases?

    Fact 8: When you're done being a Demo you just stop ordering.  That's it!  Enjoy it while you can.  No pressure to stay or do more than you want.  

    Fact 9. Most of my Team say they wish they'd joined earlier.  TRUE! We have the most supportive and friendly team there is!  Seriously! My Flowerbug's Group is AMAZING!

    Fact 10: Our group is super active – full of project shares, swapping, Artist of the Month opportunities, multiple challenges & prizes every single month!  Everything is optional.

    Who's ready to try it out?  If you have questions email me here and we can chat.

    Go here to get your Starter Kit Deal and join in the fun!

    ~~~

    Get a bunch of NEW In Color products FREE in your Starter Kit! 

    It's $99 for $213 in products!!!  And Free Shipping! Click here. 


    Host codes: HUNR9DB6

     *click here to order 

    If your order is over $50 you'll receive a set of NEW embellishments from me.

    Don't forget about my loyalty rewards! 

    Click here to download yours and earn a $50 shopping spree!  


    Opt in for my New Catalog Designer Paper Share

    It's $26 plus shipping

    Leave a Reply

    Your email address will not be published. Required fields are marked *

  • Joseph’s Coat technique video with the Botanical Layers


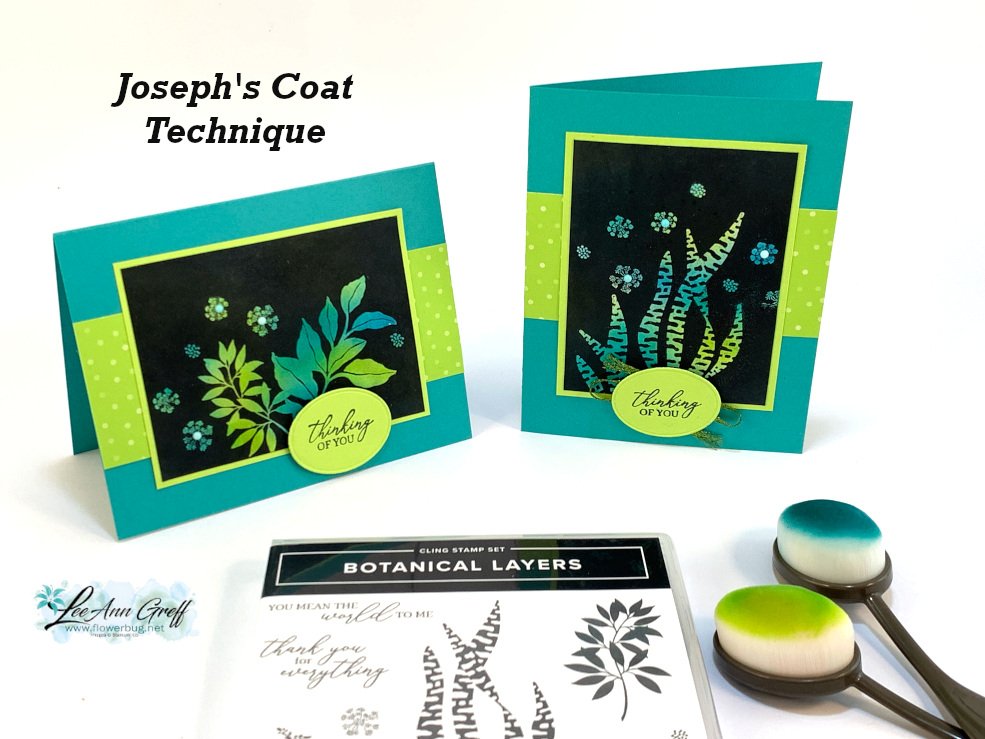
    We're making these cards tonight on Facebook Live here on my FB page!  It's a technique that will WOW you with it's magic.  

    I chose to use the new Botanical Layers stamp set along with two new In Colors of Tahitian Tide & Parakeet Party.  I also added a bit of Bermuda Bay. 

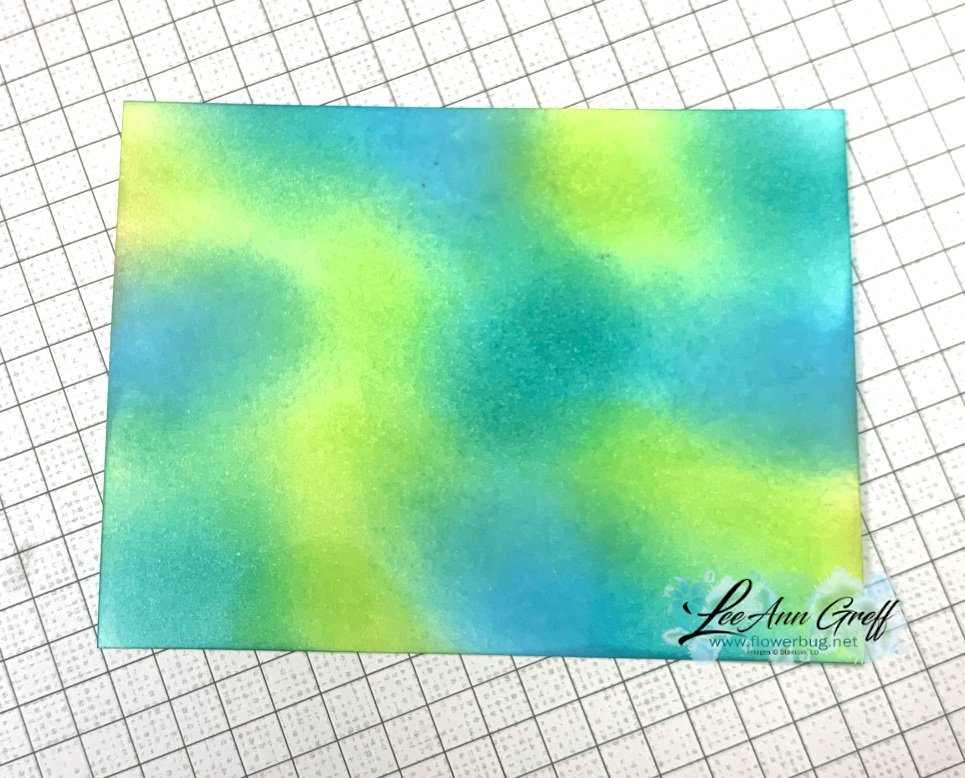
    The first step is to add color to a Basic White piece of card stock.  I used our Blending Brushes and added it randomly like this: 

    The next step is to stamp your images onto this colored card stock using Versamark ink and heat emboss using Clear embossing powder.  I highly recommend using an embossing buddy; although Stampin' Up! does not currently have them in our catalog.  It prevents excess powder from adhering to your paper before you stamp and heat emboss.  

    After your heat embossing dries you need just two things to make these colorful, magical technique.  A classic 'dark' color of ink – I used Memento Black.  And a tissue or paper towel.  

    You will take your classic/water-based ink pad (Black Memento for me here) and rub the ink pad directly over the heat embossed card stock.  Because the ink is water-based it will not adhere to the heat embossed areas but WILL adhere to the background that is NOT heat embossed. 

    Next use a tissue or soft paper towel to rub off excess ink to reveal your colorful design.  

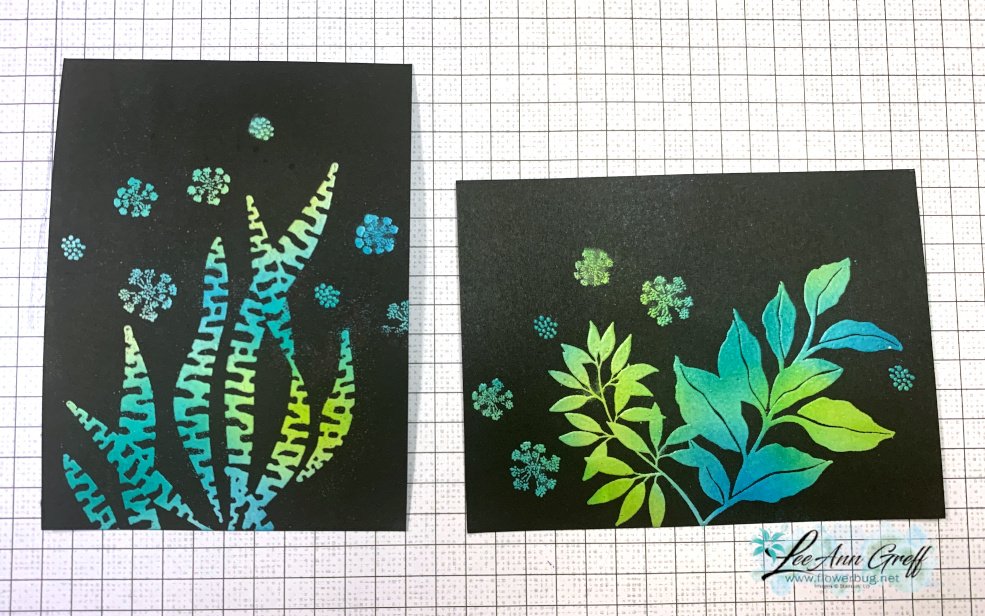
    Here are my two pieces before I finished my cards: 


    Here are the measurements:

    • Card base is 5 1/2" X 8 1/2"
    • stamped layer is 4" X 3", Parakeet Party green is 3 1/4" X 4 1/4"
    • 2 pieces DSP 2" X 1 1/2" and a greeting die-cut

    In this photo you can see a bit of the shine on the leaves from the heat embossing.  It truly is magic!  Join me here tonight at 7:30 pm CT. 


    ~~~

    Get a bunch of NEW In Color products FREE in your Starter Kit! 

    It's $99 for $213 in products!!!  And Free Shipping! Click here. 


    Host codes: HUNR9DB6

     *click here to order 

    If your order is over $50 you'll receive a set of NEW embellishments from me.

    Don't forget about my loyalty rewards! 

    Click here to download yours and earn a $50 shopping spree!  


    Opt in for my New Catalog Designer Paper Share

    It's $26 plus shipping

    Leave a Reply

    Your email address will not be published. Required fields are marked *


Notice: LeeAnn Greff, Independent Stampin’ Up! Demonstrator, Manager. The content of this website is my sole responsibility as an independent Stampin’ Up! demonstrator and the use of, and content of, the classes, services, or products offered on this website is not endorsed by Stampin’ Up! Copyright 2025