This is the third batch of Christmas card swaps I've shared – all made by my talented Flowerug's Team.
First up today is an adorable card made by Candy. She used the Snowy Wonder bundle seen here in the Holiday catalog.

I adore her color combination of Pool Party with Real Red & White. It's one of my favorites for the holidays. She stamped her snowflake background. The snow globe is stamped with the Falling Snow background stamp.
She added tons of layers and textures here! From the Forever Plaid 3D embossing folder to her die-cuts, greetings and snowflake embellishments. So much detail!!
Here's the inside view. This greeting is from the Peaceful Season stamp set.

~~~
Next is a sweet & simple card made by Karen.

Her greeting is from the Peaceful Season bundle. She chose to feature the nostalgic Sentimental Christmas Designer Series Paper.
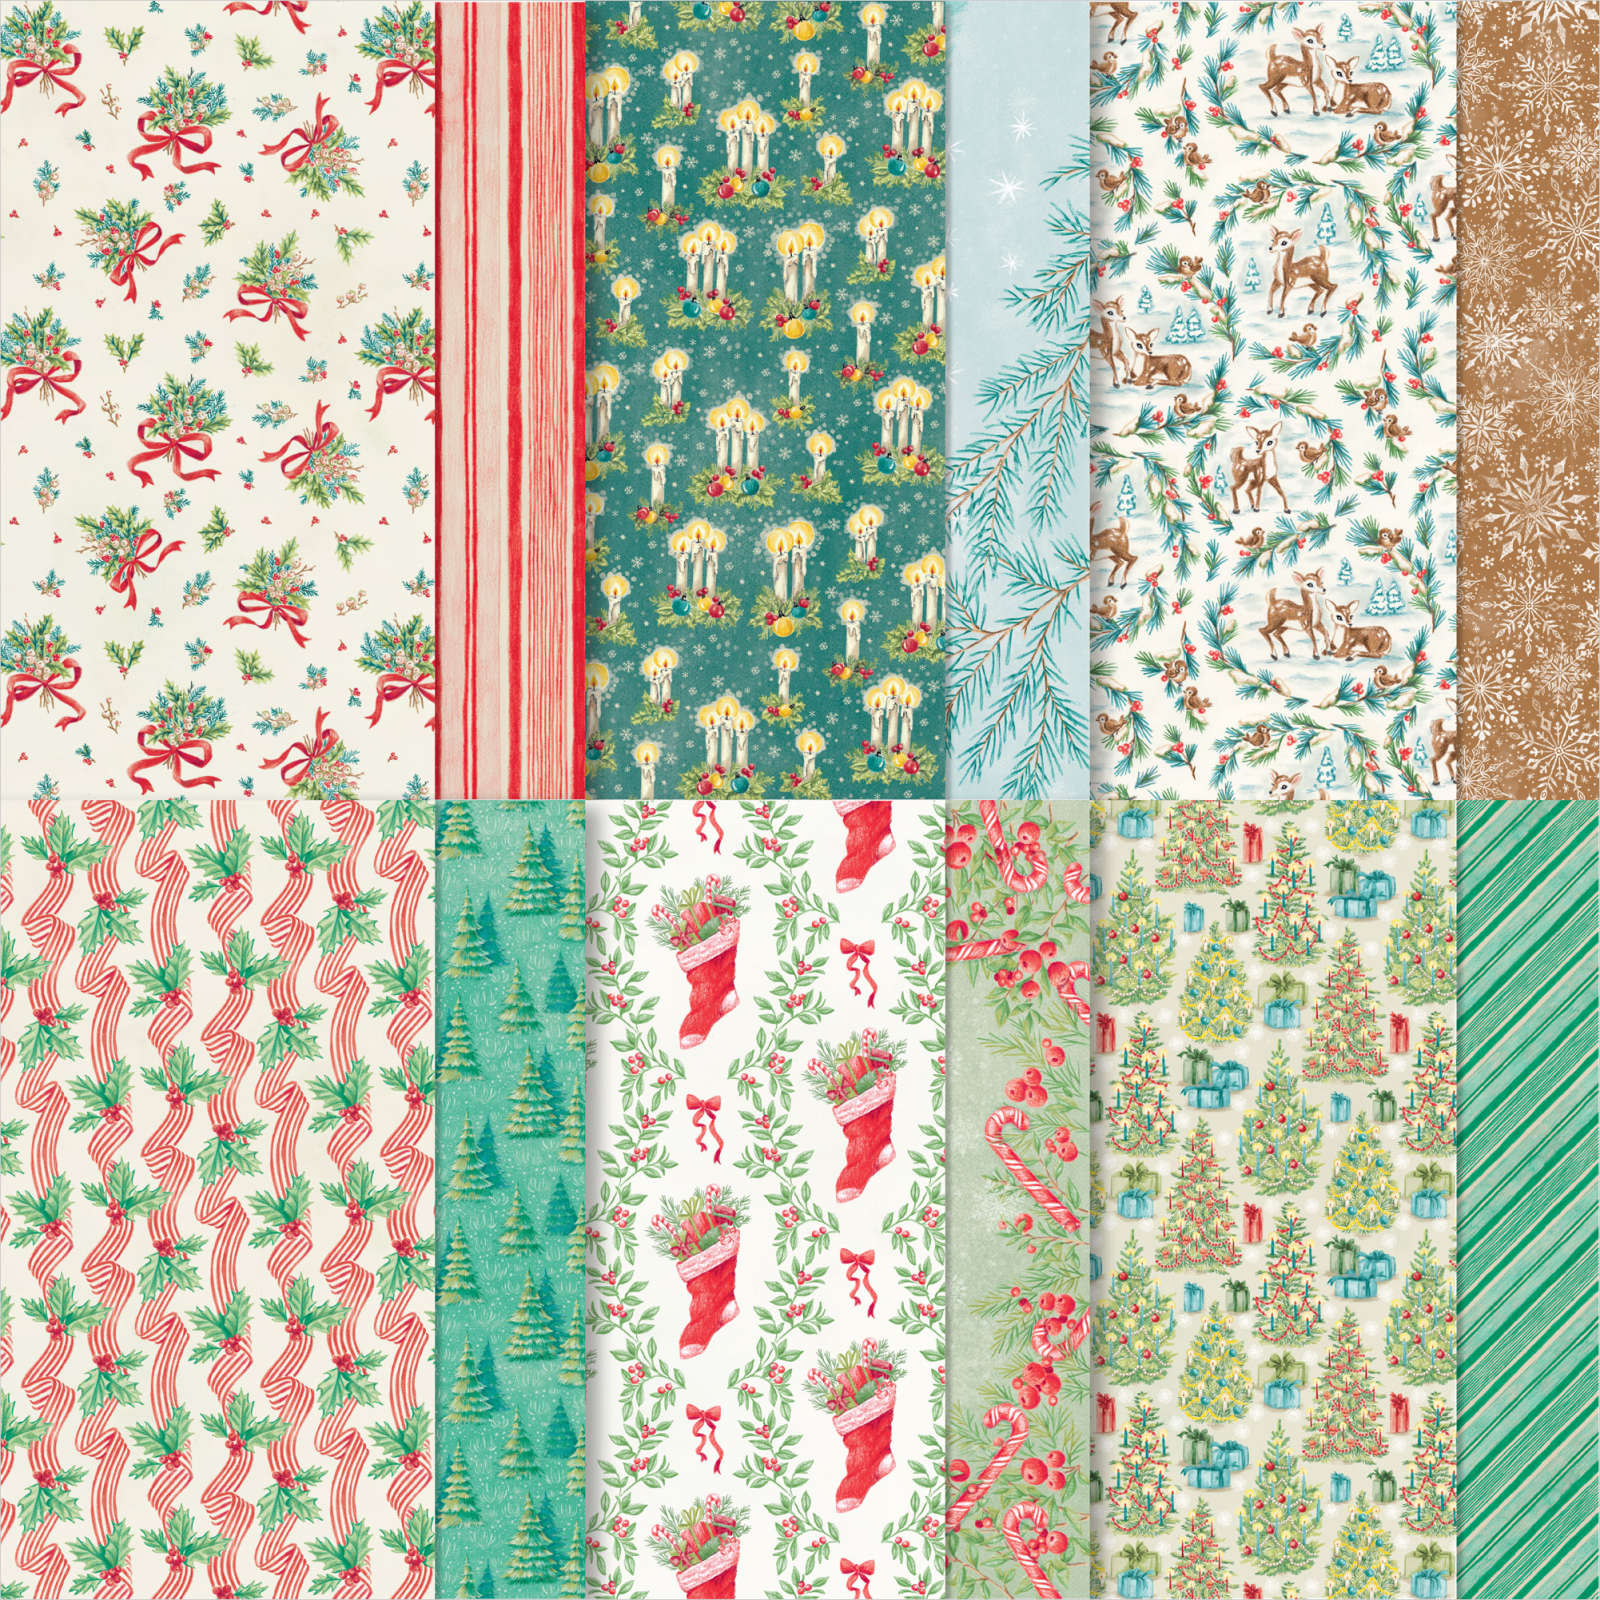
This pretty paper is one of the frequent 'give back's' that Stampin' Up! does each year. They are donating $3 to children's literacy programs around the world for each pack they sell.
~~~
Mary also chose to use this same DSP on her card. Another simple but neat way to make your designer paper the star of the card. Her colors are Pecan Pie, Cherry Cobbler & Vanilla.

There are still more swaps left to share; stay tuned!
~~~
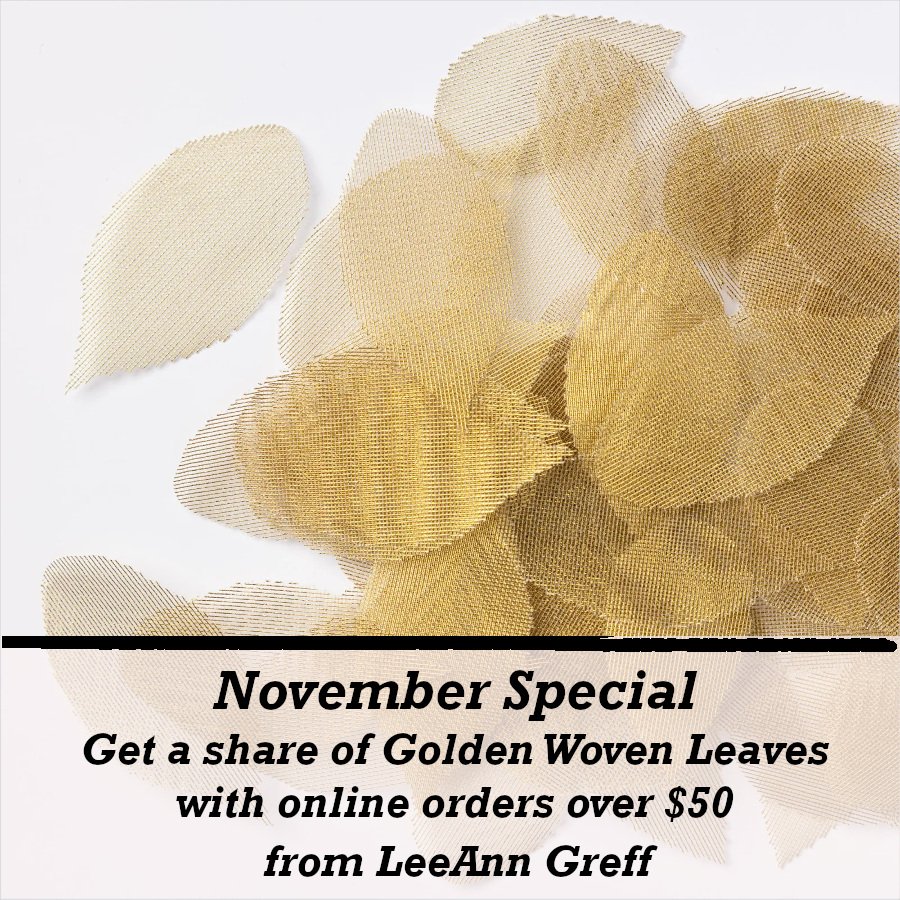
October Specials:
*current host code link: VGUD6UA7
Get a share of Woven Golden Leaves

Get an extra $30 in your Starter kit in October! Click here to read more

~~~
The Kits Collection is on sale! Check it out here.

~~~
All online orders in October will receive a free PDF tutorial featuring the Season of Elegance suite


Leave a Reply