This week it's all about sharing October's Team swaps with a Christmas theme. I know you love seeing what they make as much as I do!
First is a gorgeous card made by Kim with the Merriest Moments stamp set & Merriest Frames Hybrid embossing folder. These products were a bundle in last year's Holiday catalog, but this year they are offered separately.

She used Starry Sky and White card stock with beautiful Silver embossing on the greeting and some of our gorgeous Silver mesh ribbon under the center panel.
Did you know you can cut and emboss card stock at the same time with our Hybrid embossing folder & dies? See them here; it's sooo cool!

Absolutely stunning!
~~~
Next up Paula used the same dies and stamp set, plus she added the Christmas Banners bundle to it as well.
Her colors are Real Red with Garden Green & White.

She turned it into a fun fold too but scoring the front panel one extra time at 2 1/8". Look closely at the many die-cuts she has here!
Next is a beautiful card made by Brenda in blues & white with lots of layers.

She used the Spruced Up bundle seen here for the trees with lots more product as well.
Details:
- Twigs & Springs embossing folder for the large White layer (seen in the annual catalog here)
- She embossed her Vellum card stock with the Wintry 3D embossing folder
- The DSP is the Storybook Gnomes seen here
- That iridescent Snowflake is from the Wonderful Snowflakes seen here; all cut & ready for you & a great value!

Stay tuned for more incredible swap cards by my Team.
*Love swapping? Or maybe you like discounted products? Consider joining my Flowerbug's Team! The Starter Kit has bonus free dollars this month! Check it out below:
~~~
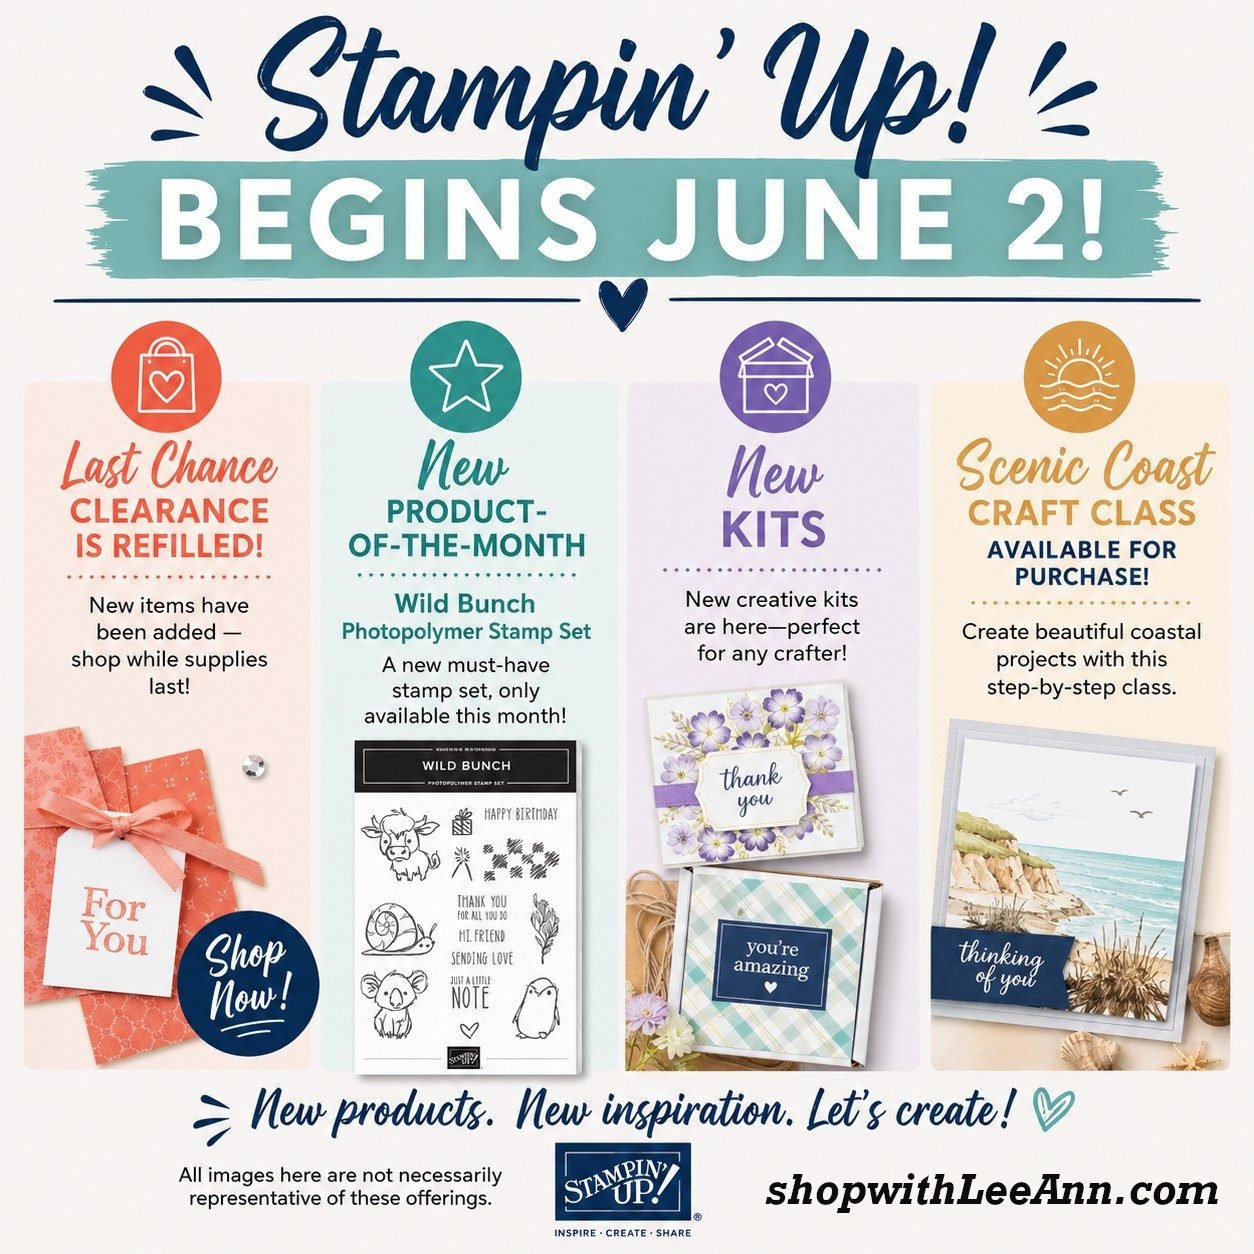
October Specials
Starter Kit special! Get $155 in product for just $99

~~~
Host code link: SVBHWRCY
Get a free embellishment from me with online orders over $50!

Earn free products with my loyalty rewards!
Click here to download yours and earn a $50 shopping spree!


Leave a Reply