/


Latest Post

Lots of amazing Masculine card ideas this week!!


This weekend my Flowerbug's Team met for our monthly gathering and swap.  Our theme was masculine cards and wow, did they get creative. I'll be sharing them all week long!

Note that each of these animals are stamped in just one color.  There's no need to color them in; let the beautiful images be the star!

This first card is made by Kim; she used the Wildlife Wonder stamp set from the 2022 Annual Catalog by Stampin' Up!  


The unique dies she stamped & layered are from the Diorama dies seen here. 

Her card is a book binding fun fold.  The main card measures 4 1/4" X 11" scored at 4 1/2" & 5 1/2" for the side & front fold.  The designer paper is from the He's the Man DSP on page 134 of the Annual Catalog.  It measures 3/4" X 4" & 4 1/4" X 4". 

~~~

Next is another simple yet striking card made by Marilyn.  She used the Wild & Sweet stamp set seen here in the Annual Catalog. 

Again, simply stamping the gorgeous detailed image in one color is all you need.  The colors include Early Espresso, Mossy Meadow & Pear Pizzazz with Very Vanilla.  

Other products are the Fern 3D folder, Stylish Shapes, Stitched Rectangles & Picture This dies.  The gems are the Rustic Metallic Adhesive-Backed dots.  

Measurements:

  • Card base 5 1/2" X 8 1/2"
  • Fern embossed layer 5 1/4" X 4",
  • Vanilla & Early Espresso die-cuts 4" X 2 5/8"

~~~

This next card was made by Paula; she featured TWO new Sale-a-Bration items on her unique card. 

I love that she made the rings of Love designer paper the star by 'framing' it. The 1 3/4" X 3" 'frame' is made with our new 'Deckled Rectangle dies' seen here. This DSP is from the Sale-a-Bration selection called Rings of Love seen here. It's free with any $50 Stampin' Up! order. 

The greetings are from the Amazing Phrasing stamp set; also in the Sale-a-Bration catalog & seen here.  She stamped on the Sahara Sand layer before she textured it with the Timber 3D embossing folder.  The White Frayed ribbon adds a neat detail.

~~~

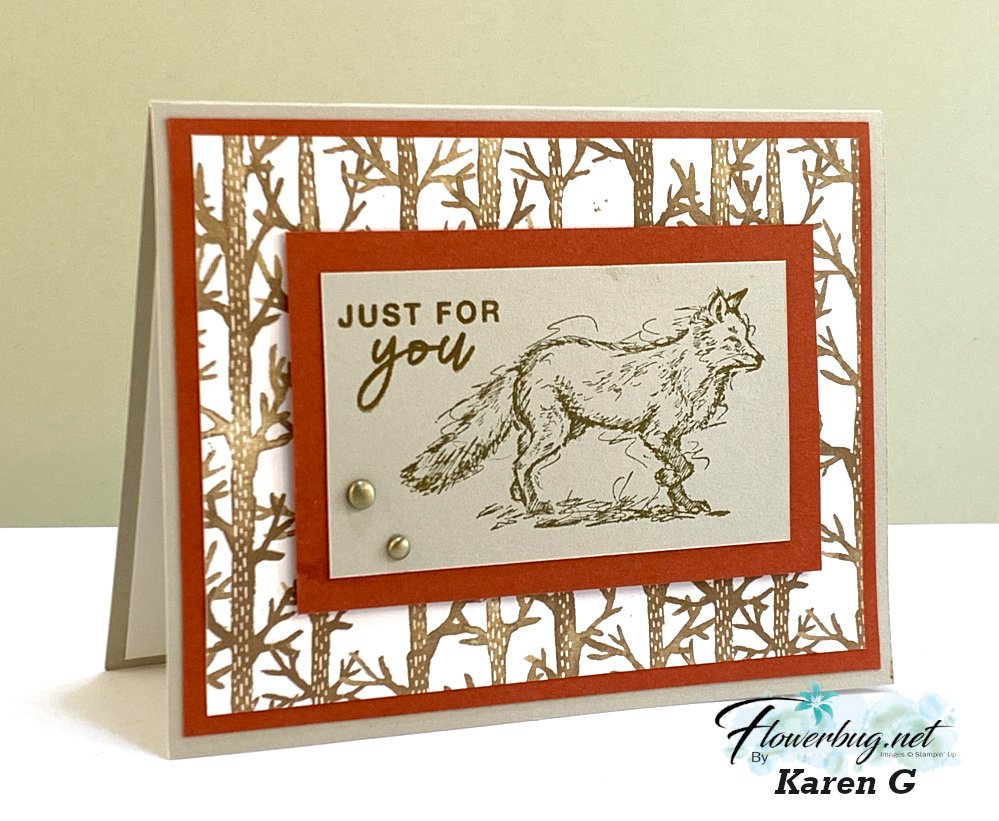
Last but not least is a wonderful card made by Karen.  She is featuring the Stylish Sketches stamp set; a free choice from the current Sale-a-Bration catalog. *see it here
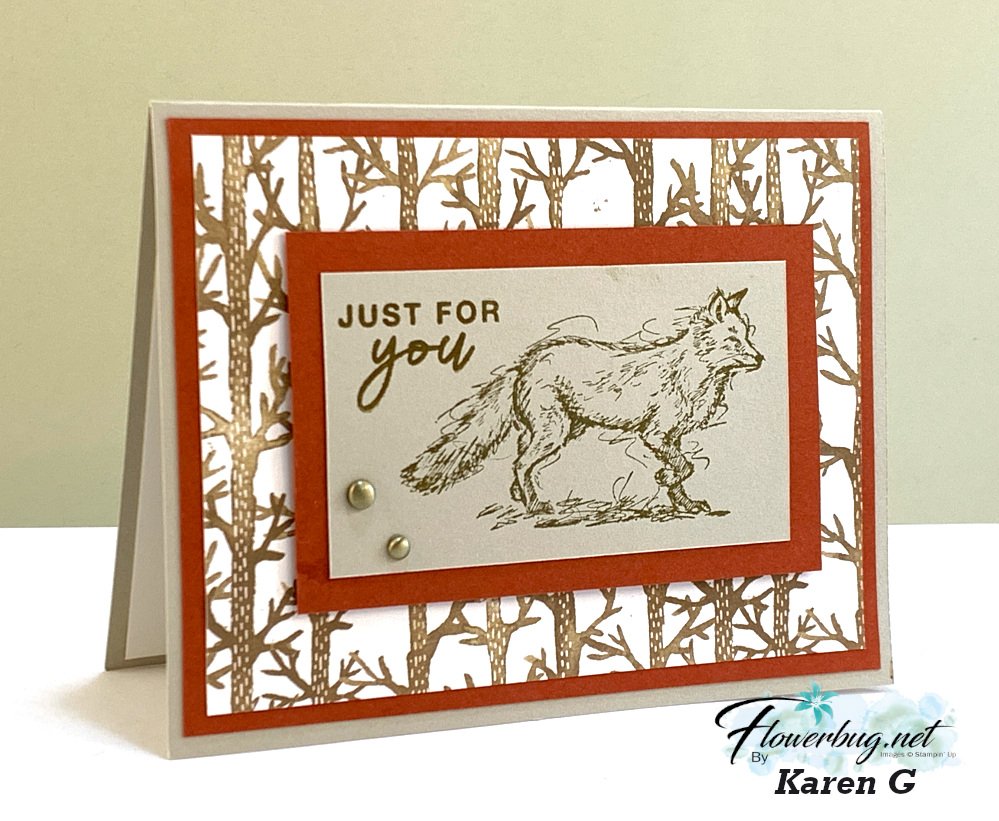
 

Her colors include Cajun Craze with Sahara Sand. I really like the images stamped on the Sahara Sand instead of our usual White or Vanilla.  

That pretty DSP is from the Sale-a-Bration selection called Rings of Love seen here. It's free with any $50 Stampin' Up! order.  The greeting is from the coordinating Ringed with Nature set in the Holiday catalog.  

Measurements are:

  • Card base 5 1/2" X 8 1/2"
  • Cajun Craze 5 1/4" X 4" and 4" X 2 1/2"
  • DSP 5" X 3 3/4"
  • Sahara Sand stamped layer 3 1/2" X 2"

Stay tuned for more manly card ideas tomorrow and all this week!  

~~~

July Specials

Get free items here in July & August during Sale-a-Bration! 

Host code: SX67P4XQ
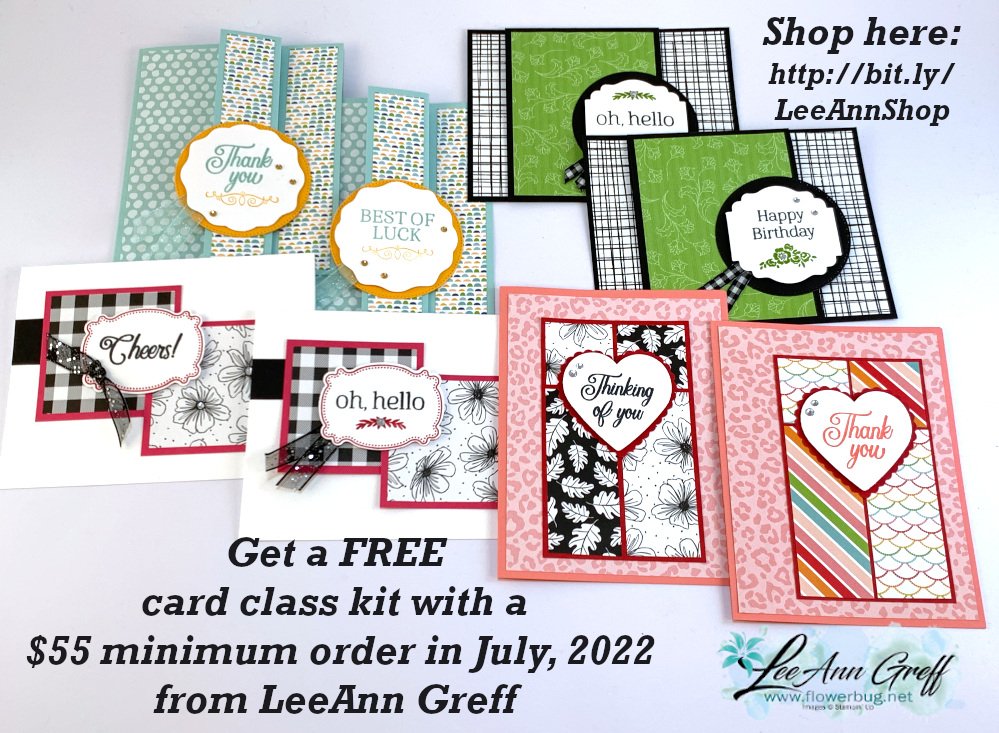

Get a free card class in the mail with a $55 order from July 1-30th.

 *click here to order 

Earn free products with my loyalty rewards! 

Click here to download yours and earn a $50 shopping spree!

~~~

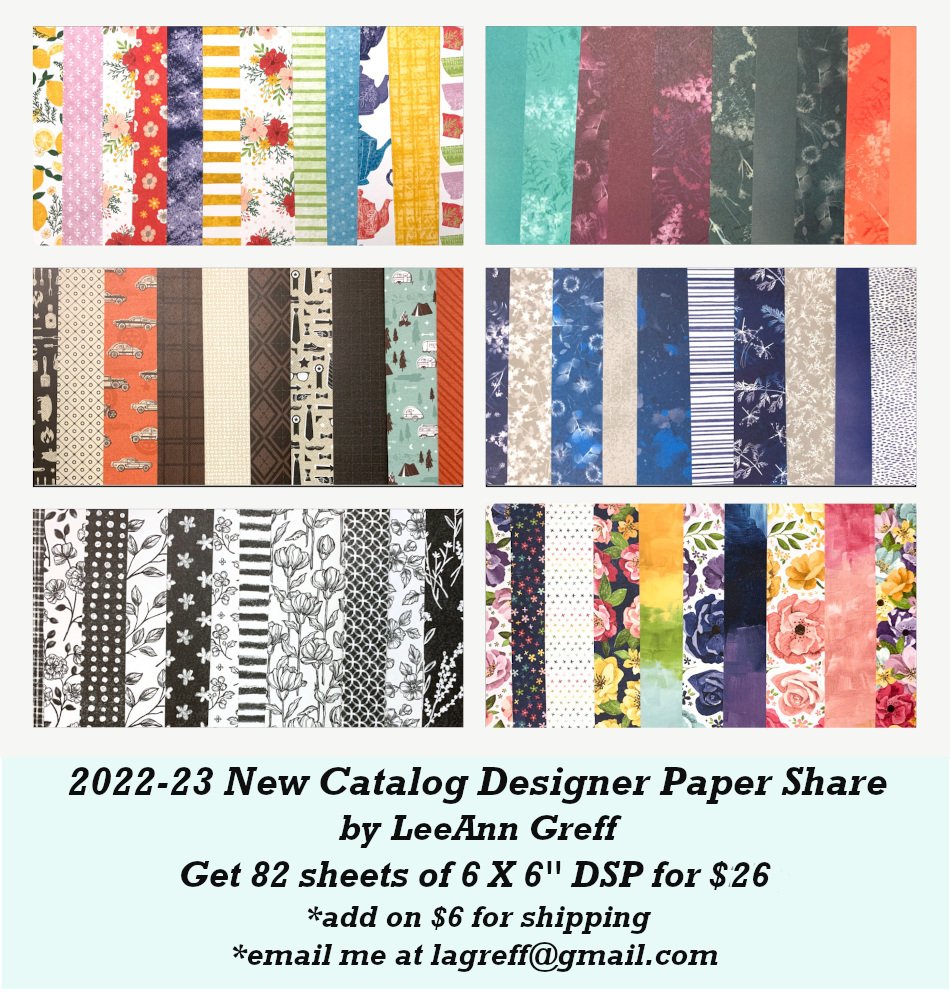
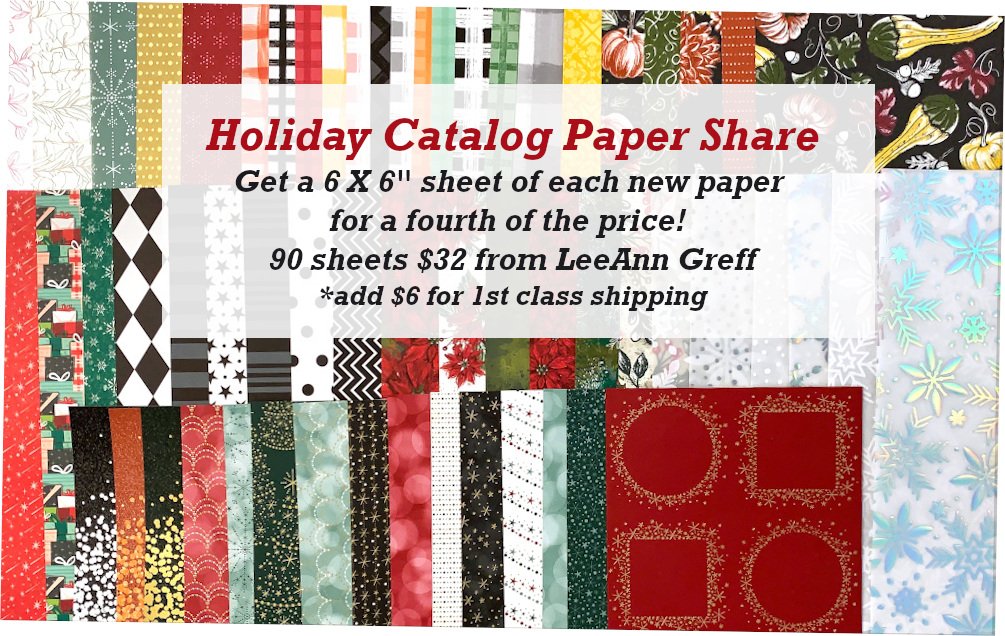
Get either of my Designer Paper shares; or both & save on shipping!  

Holiday Catalog DSP or Annual Catalog DSP (I have 2 spots left) 
 

All Posts

  • Check out these projects featuring Clearance Rack deals


    There are quite a few amazing deals on the Clearance Rack now and I thought I'd highlight a few of my favorites:  

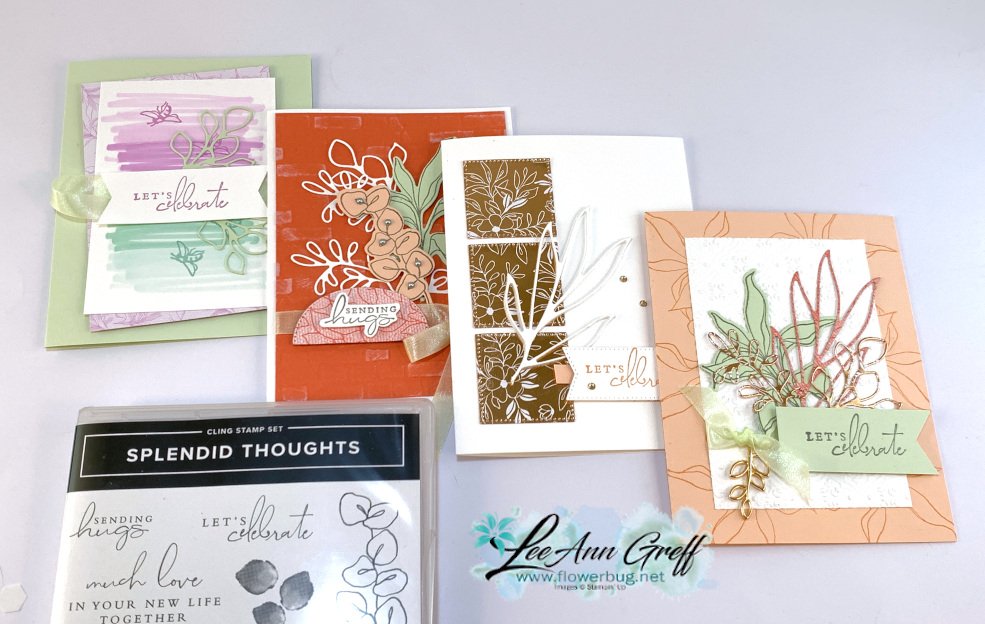
    First is the beautiful Splendid Thoughts stamp set for just $16 and the coordinating Splendid Stem dies for just $8.25. I shared these projects last year: 


    I am surprised that the stamp set and dies are both there along with the pretty Soft Seafoam ribbon and the Open Leaf Trinkets. *Both are now just $1.25! Click on the blue highlighted words to see these items in the Clearance Rack. 


    Remember the Clearance Rack changes every day; do not delay if you want anything! *Remember to use this host code when ordering.  XNYX2DWG

    ~~~

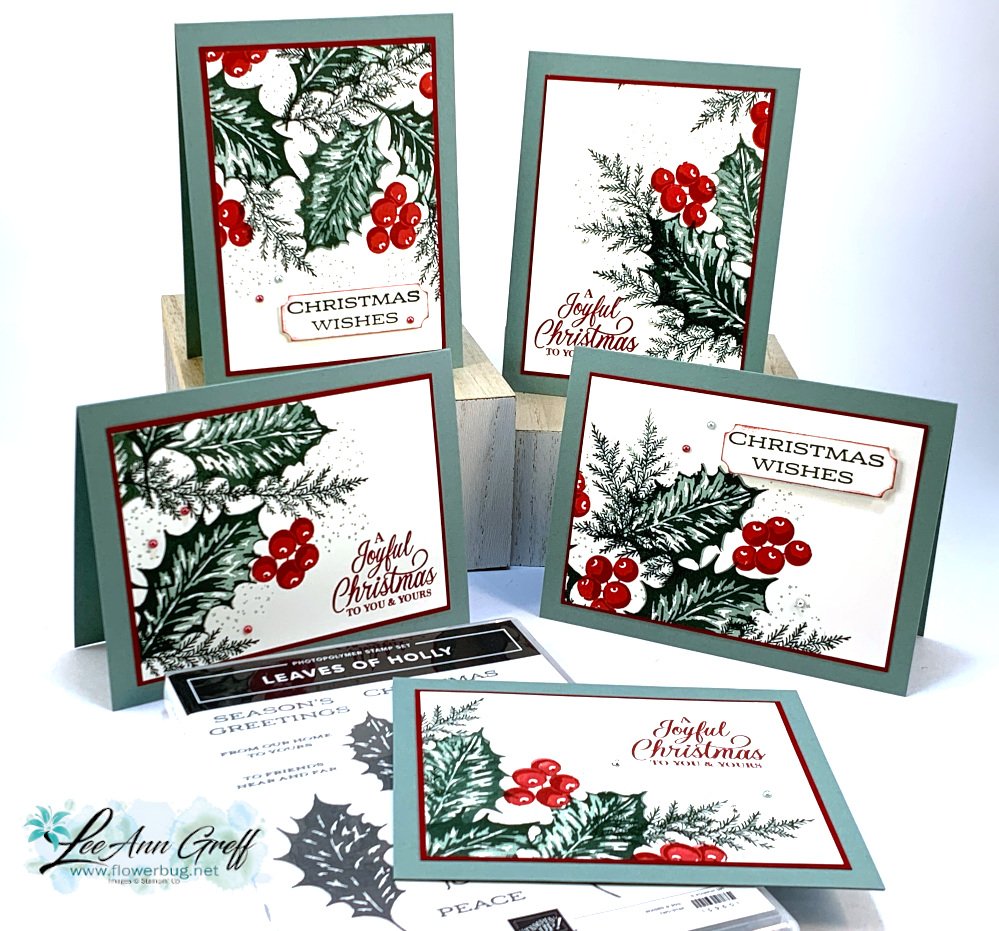
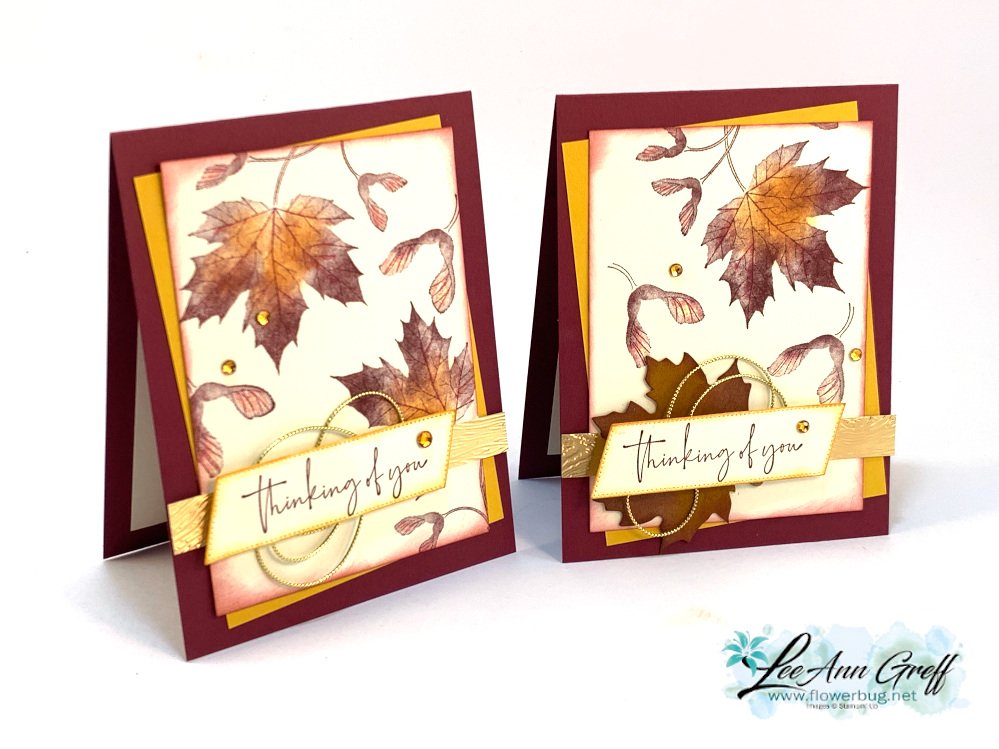
    Next is the Leaves of Holly stamp set.  It was $22 and is now just $15.25 on clearance. 

    I created these beautiful Christmas cards on a video last year.  

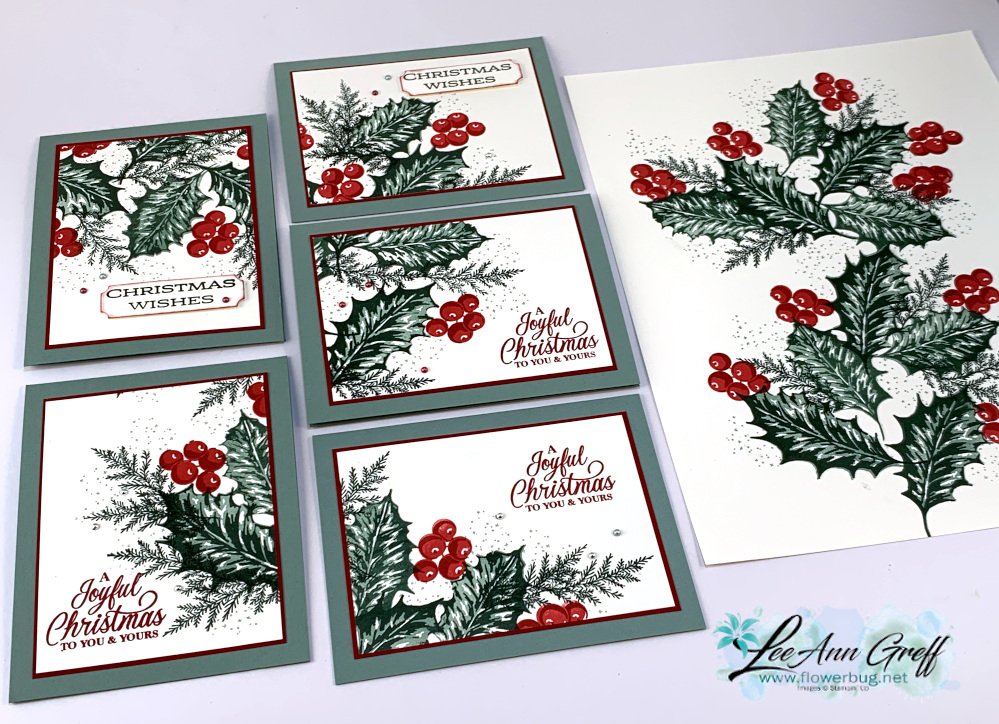
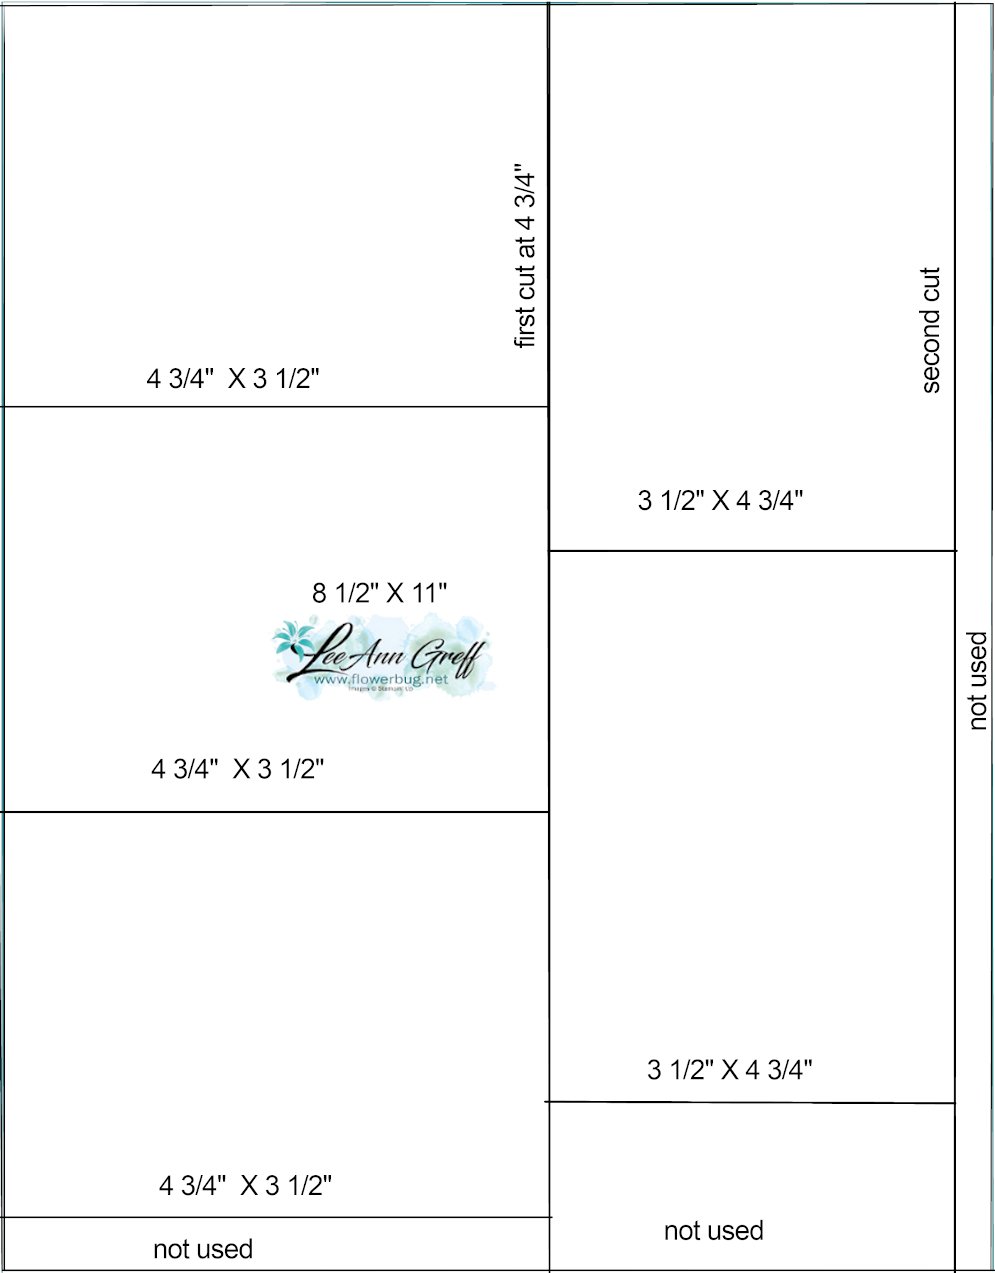
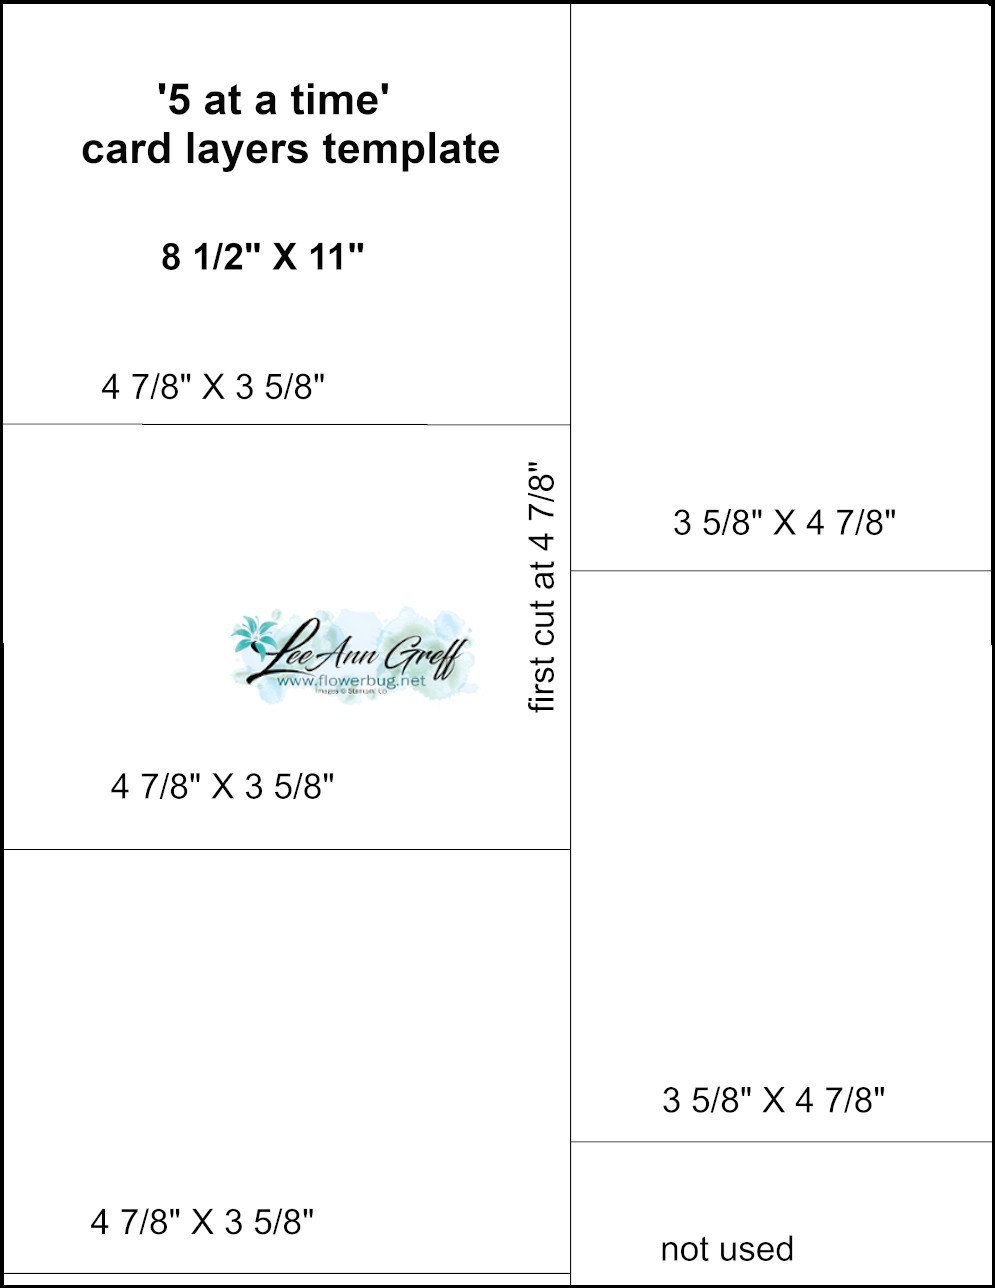
    I call it the 5 at a time technique.  You stamp one sheet of neutral paper and then cut it into 5 pieces using my template below.  And the neat thing is the layers under the stamped White card stock are also cut using a template. Just 2 sheets of card stock to make 5 card fronts!  *Watch the video below or click here. 


    See how I stamped down the center of the White card stock on the photo above?  Next I cut it using the template below: 

    The first template is what you stamp on.  The one below is for the layers under the stamped pieces. It's just 1/8" larger for a nice thin layered accent.  

    Next is the template for the colored layers on each stamped layer.  


    Watch the video below to see how it's done.  Think about your favorite stamp sets and how fast you can create beautiful cards using these templates!  

     ~~~

    July Specials: 

    Bonus Days!

    Get a $5 coupon for each $50 order you place in July.  Redeem in August!


    Clearance Rack update!

    See all items available here

     NEW Online Exclusives will be available

    See them all here

    ~~~

    I have 3 free card kits left!  It includes a Beautifully Happy stamp set 

    with online orders over $65; must use a host code.

     *current host code: XNYX2DWG

    Leave a Reply

    Your email address will not be published. Required fields are marked *

  • Pinwheel Tower Fancy Fold card with video & free projects sheet!


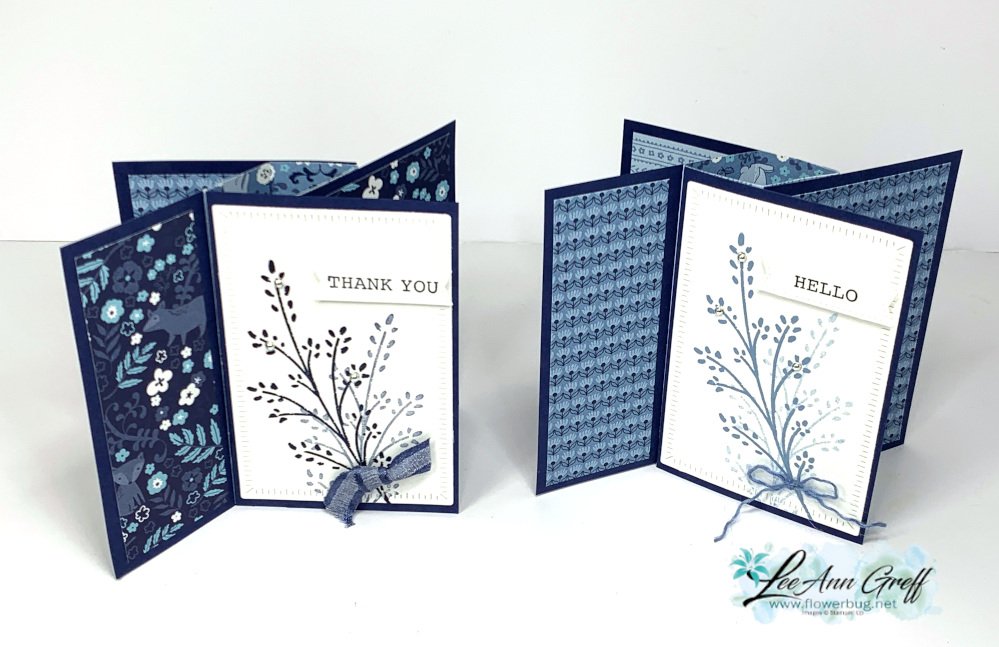
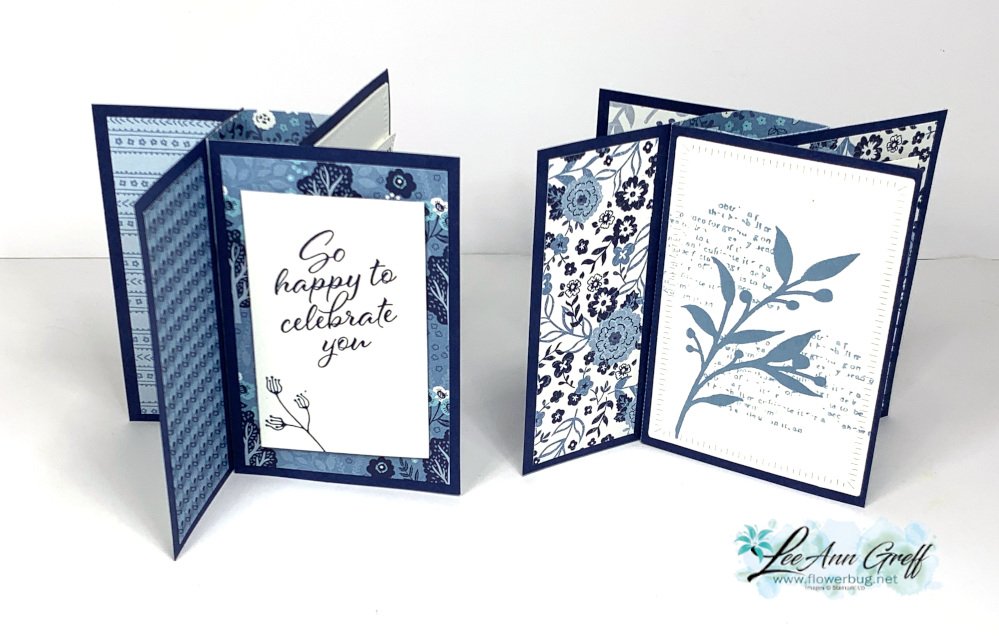
    Here's another card we made at my July Card Clubs.  I always try to feature one fun fold card and this was a doozy!  

    When they saw the many pieces they were a bit worried it would be hard.  But as we made it together they loved it!  Be sure to watch the video here or below; it's so much easier than it looks!  

    This card is super fun to play with; it reminds me of a 'never ending' card.  You can turn and turn it and see something new each time. But the finished card lays flat and is 5 1/2" X 4 1/4" so it fits nicely in an envelope.  

    Besides the Gorgeously Made stamp set (seen here) I chose the Layering Leaves (seen here) for the pretty greetings and leaf images. 

    I chose to feature the Countryside Inn designer series paper seen here with it's many shades of Blue.  I chose to use Night of Navy and White card stock, Navy and Boho Blue inks. 

    You can find the measurement, photos, directions and supplies list here on this free project sheet. Download July 23 Pinwheel Tower card

    Each of the 4 panels of Navy card stock is adhered to the center 'tower' made from a 4 1/4" square of designer paper. Once you have your card base created it's simple to add the 6 pieces of DSP and your stamped panels. 

    I also used the Radiating Stitches dies seen here (online exclusive) and the Stylish Shapes dies for the greeting.  The ribbon is the Night of Navy 3/8" bordered ribbon.  

    Click here or on the photo below to watch the video.  It's the second project featured.  

     ~~~

    July Specials: 

    Bonus Days!

    Get a $5 coupon for each $50 order you place in July.  Redeem in August!


    Clearance Rack update!

    See all items available here

     NEW Online Exclusives will be available

    See them all here

    ~~~

    I have 3 free card kits left!  It includes a Beautifully Happy stamp set 

    with online orders over $65; must use a host code.

     *current host code: XNYX2DWG

    Leave a Reply

    Your email address will not be published. Required fields are marked *

  • Gorgeously Made with a neat background technique & video tutorial


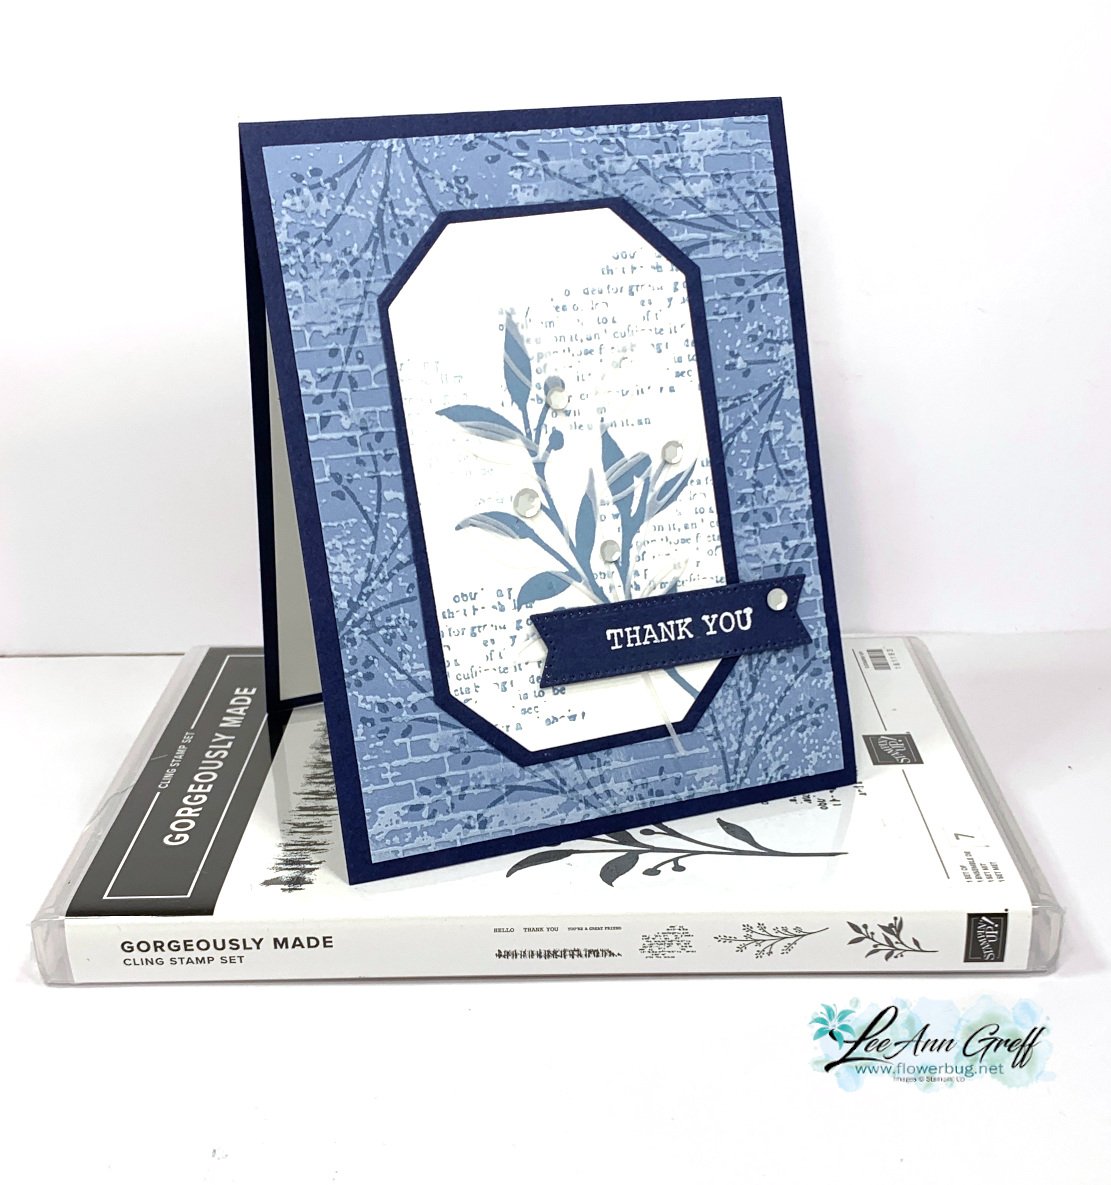
    I shared this card as part of my Tuesday Live video last week.  I was featuring the Gorgeously Made bundle.  Check out the background! 

    I focused on creating a pretty, textured background under the main image. Here are the steps:

    1. I first stamped the foliage image with Boho Blue ink onto Boho Blue card stock.
    2. Next I textured it with the Exposed Brick embossing folder seen here. (It's one of my favorite folders.)
    3. Lastly I dragged my White Craft ink pad over the texture. Tip: use a very light touch or ensure your ink pad is a little bit dry. I LOVE the look of this so much!  

    I used the same foliage image for the inside of the card as I did the pretty background, stamping once in full strength Boho Blue ink and stamping again without reinking.  

    I stamped the other large leafy image from the Gorgeously Made set on the Countryside Corners white die-cut. I added the print image a few times in second generation Boho Blue ink (this means stamped off once). It's layered on a Navy die-cut before adding to the card base.  

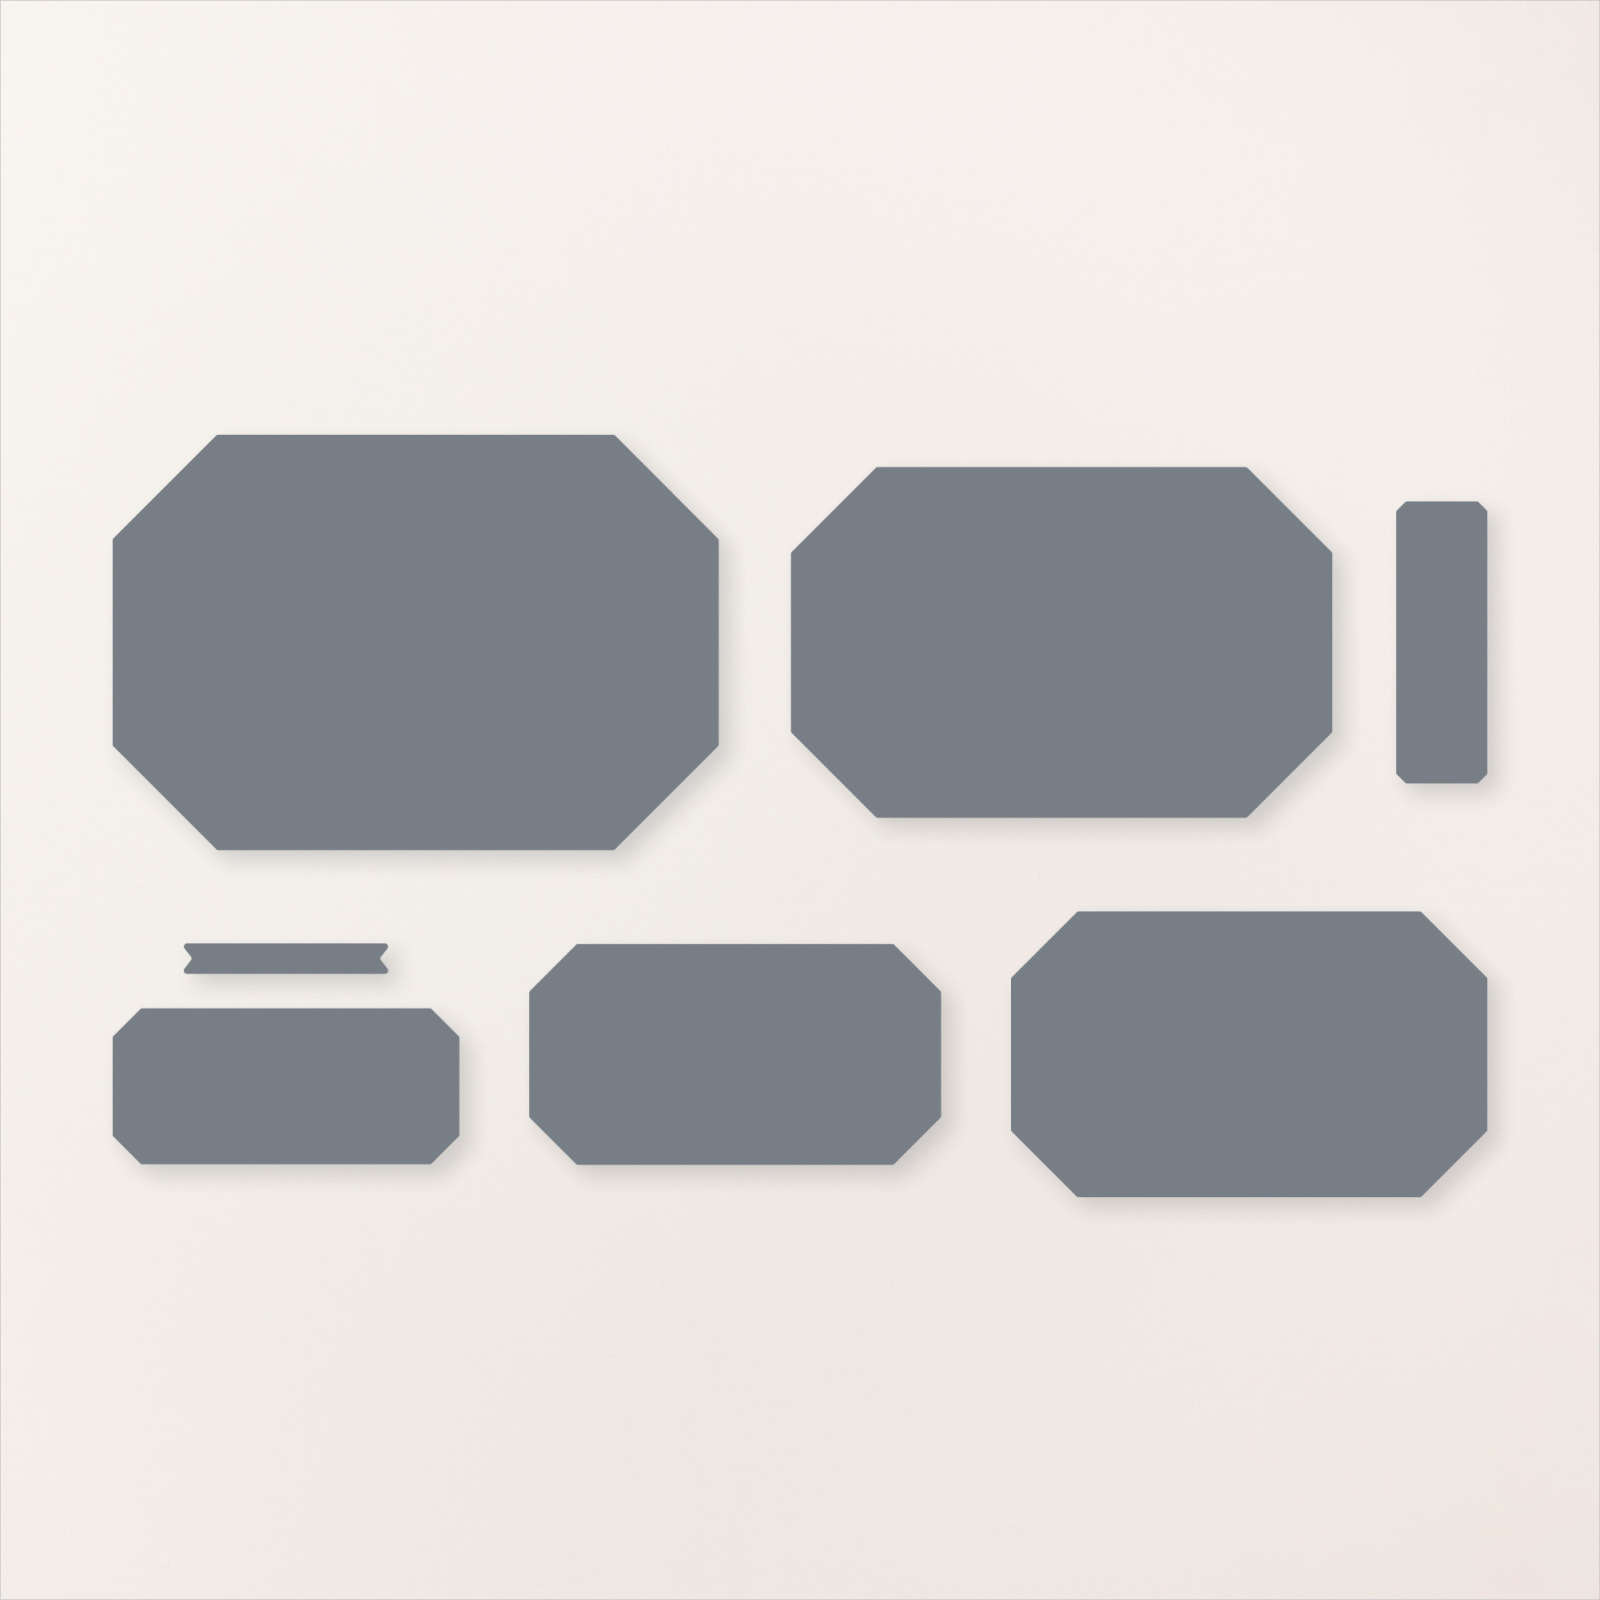
    The greeting is heat embossed on Navy using White embossing powder. The die-cut is from the Stylish Shapes dies – my go-to dies for greetings. 

    There's just something special about a monochromatic card; this time in blues.  If you're going for an elegant or cohesive look try using just one color in varying hues.  Greens, blues and browns are some of my favorite choices.  

    Click here or on the photo below to watch the video.  It's the first project featured; the other is a super fun 'fancy fold' card.  

     ~~~

    July Specials: 

    Bonus Days!

    Get a $5 coupon for each $50 order you place in July.  Redeem in August!


    Clearance Rack update!

    See all items available here

     NEW Online Exclusives will be available

    See them all here

    ~~~

    I have 3 free card kits left!  It includes a new Beautifully Happy stamp set 

    with online orders over $65; must use a host code.

     *current host code: XNYX2DWG

    Leave a Reply

    Your email address will not be published. Required fields are marked *


Notice: LeeAnn Greff, Independent Stampin’ Up! Demonstrator, Manager. The content of this website is my sole responsibility as an independent Stampin’ Up! demonstrator and the use of, and content of, the classes, services, or products offered on this website is not endorsed by Stampin’ Up! Copyright 2025