/


Latest Post

Live tonight! Show off your Designer Paper with this fun layout!


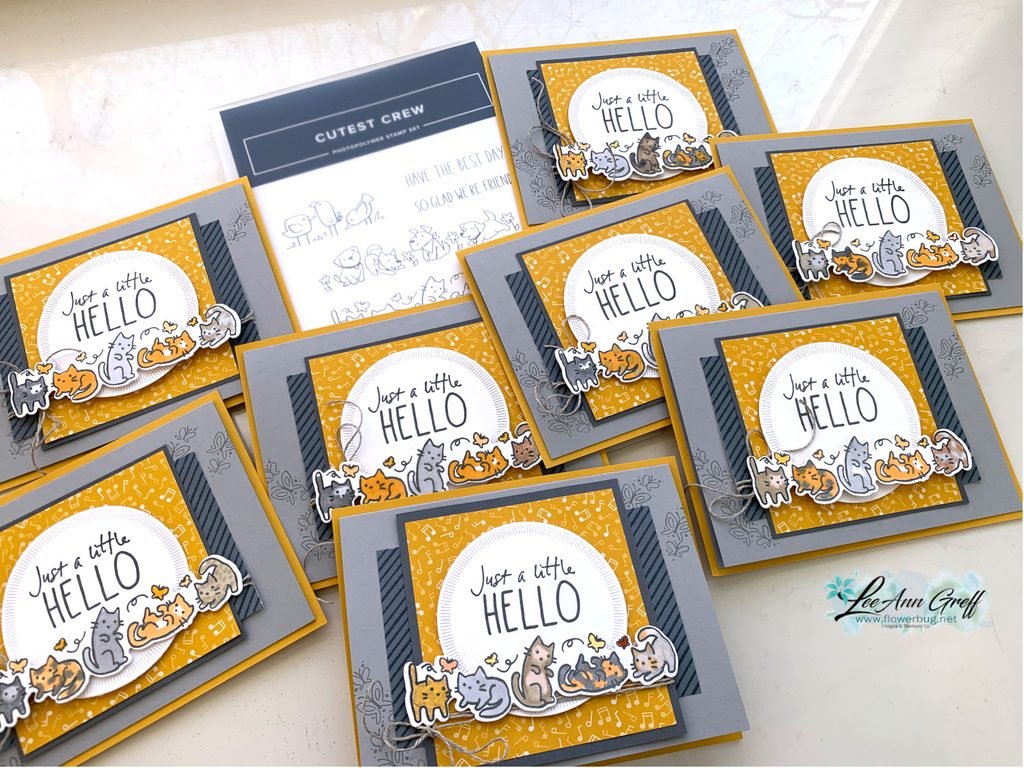
We're making these cards tonight on Facebook Live here.  Every other Monday I host a 'Stamp with Me' Live where we use our Designer Paper in fun ways.  

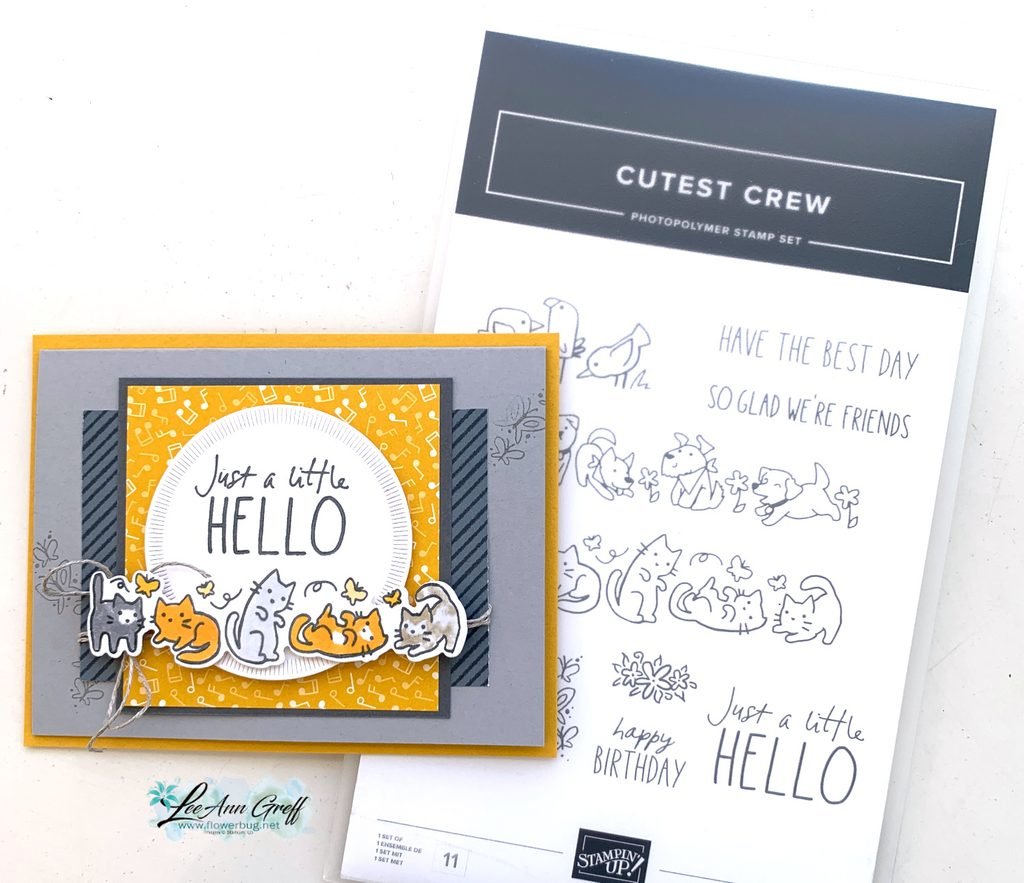
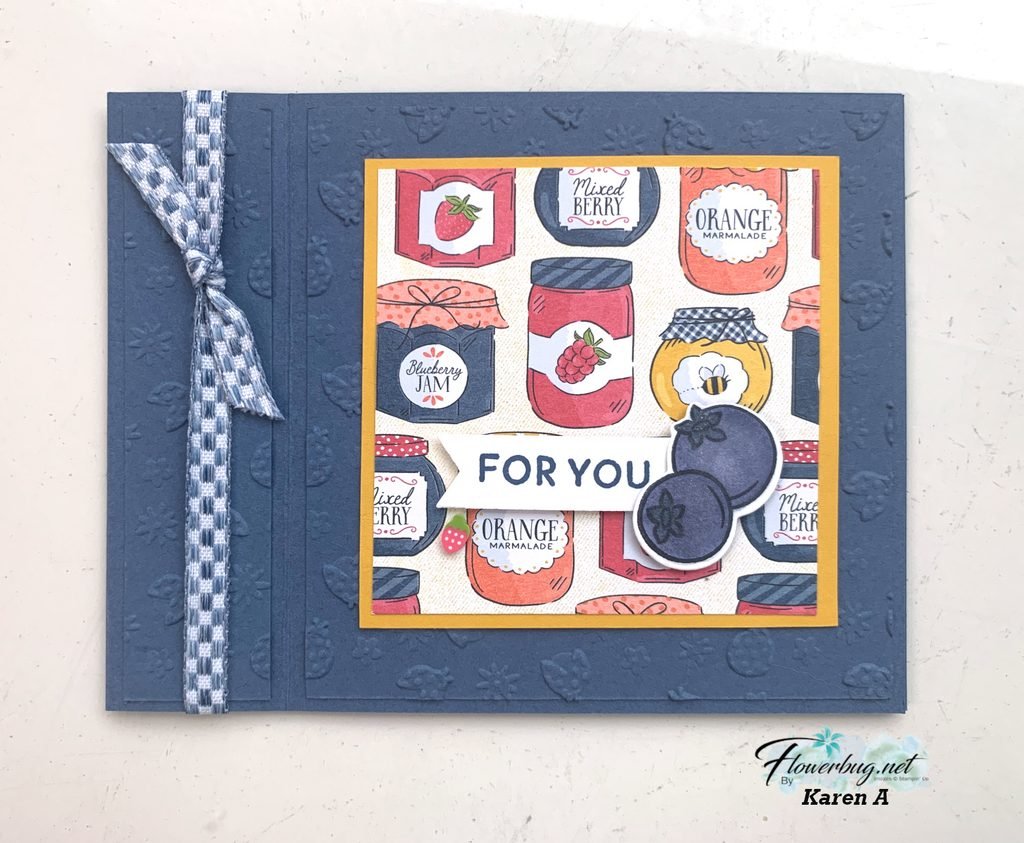
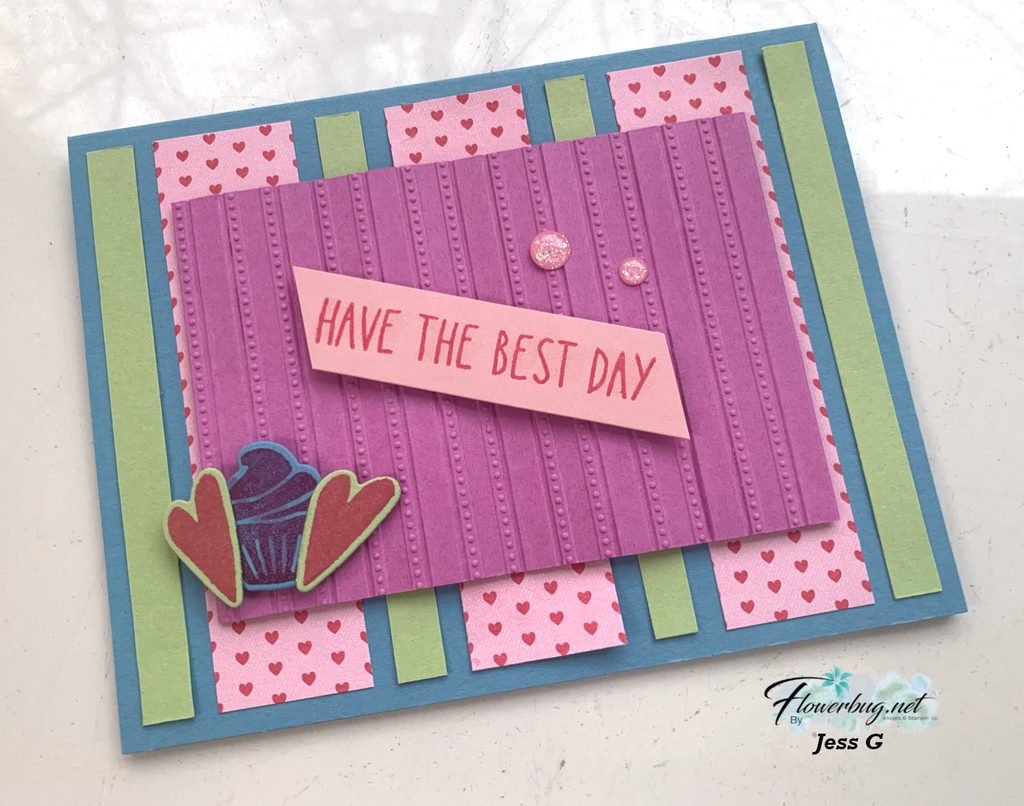
I love this layout!  It is perfect for small patterns of Designer Paper. Turning squares on the angle adds a lot of playful interest to your card and showcases one main image, die-cut or punch in the center. 

I post the measurements a few days before the Live event so you have the time to prep your pieces so we can complete them together.  

I chose to use the Heartwarming Hugs designer paper from the Holiday catalog. (see it here)  And the Perfectly Plaid stamp set & Pine Tree punch.  

Card stock is Real Red, Mossy Meadow & Basic White; ink is Mossy Meadow. 

Measurements:
Card base 4 1/4" X 11" scored at 5 1/2" 
White CS – 2" square, 2 7/8" square, 4" X 5 1/4" plus a scrap for the punched piece
DSP (Heartwarming Hugs) – 2 1/4", two different patterns at 2 3/4"

See all of my videos here on my YouTube channel. 

You can see this one here; click on the photo below: 

~~~

November Specials: 

Host codes: Z2RQ7BB6

*click here to order

Online orders over $50 get a pre-cut card kit of 4 cards & PDF tutorial.
*Orders over $80 will receive the card kit PLUS 24 Iridescent snowflakes!

All online orders will receive my Eden's Garden PDF 22 project tutorial free! 

Get the deal on the Starter kit here!  $125 in product for $75 plus free shipping!

Get any of the tutorials or kits to go below in my Kit & Tutorial shop here:

Peaceful Wishes Christmas – limited supply available; 20 cards!


Christmas cards stamp a stack; limited supply! 

All Posts

  • Merry Christmas to you!


    Merry Christmas! I hope you are able to spend it with loved ones.

    It’s my favorite time for our family! Our kids are coming as usual and we have a good time playing games, making puzzles, lots of sweet treats and good meals too. We also play Minute to Win It games and have an appetizer showdown too!

    Leave a Reply

    Your email address will not be published. Required fields are marked *

  • Pretty Bridge fold card with Snowflake Kisses with free project sheet & video tutorial


    I shared this pretty card on last week’s Live video. It features the Elegant Pine Snowflake designer paper and the Snowflake Kisses bundle.

    My colors include Pretty Peacock, White & Lost Lagoon above. The Elegant Pine Snowflake designer paper is beautiful and can be seen here.

    I created a second card with Secret Sea as the card base instead of Pretty Peacock. Which do you prefer?

    This card is a bridge fun fold layout. It starts out with a 5 1/2″ X 8 1/2″ card base but requires two extra cuts from the center score line down 1 1/8″ from each edge. It’s easy with our Paper Trimmer. Watch the video below to see how it’s done.

    I created a free project sheet for you with photos and measurements. Click here to print or download it.

    I hope you try one. If you haven’t made one before please watch the video below. They are quite fun to make & open!

    The photo below shows the card closed, the main panel lifted and the inside! Tip: We used a handmade stencil to sponge snowflakes on the inside. *cut snowflakes from a piece of card stock and sponge or blend ink through the windows.

    Below is the video tutorial which includes a second card with this bundle. I hope you watch it! Don’t forget to subscribe to my YouTube channel here.

    *You’ll receive a PDF with multiple projects featuring this product
    after the 20th of the month.
    ~~~

    The Last Chance list has been updated!
    Click here to shop.

    Get a free PDF tutorial with any online order from me in December!

    Leave a Reply

    Your email address will not be published. Required fields are marked *

  • Save time on finishing the inside of your cards with this trick!


    I’m excited to share these stunning snowflake cards with you today. We made them at my card clubs in December.
    Living in North Dakota, we usually see a lot of snow in the winter so these cards are great for many occasions.

    I used the Snowflake Kisses bundle seen here. It’s filled with wonderful greeting images and lots of snowflake dies.

    My colors include Pretty Peacock with Cloud Cover and Gorgeous Grape with Fresh Freesia. I think blues & purples are perfect for snowflakes. We used a blending brush to add more color to the large snowflake die-cut.

    After creating the cards above I thought I’d try combining the colors on the large die-cut.

    Isn’t that pretty? I just love combining Gorgeous Grape with Pretty Peacock on the Fresh Freesia die-cut. Blending Brushes make this a breeze!

    Look how we finished the inside.

    I wanted to add snowflakes to the inside of the card but didn’t want to die-cut tons of them for my club gals. So I came up with creating a snowflake stencil.
    I cut multiple snowflakes from a piece of card stock and we used Blending Brushes to add pretty snowflakes to our White layer. I truly love the effect it gives.

    If you’d like the free project sheet for this card click here. You can download or print it.

    See how this card is made in the video below. I also shared a second Snowflake Kisses fun fold card.

    *You’ll receive a PDF with multiple projects featuring this product
    after the 20th of the month.
    ~~~

    The Last Chance list has been updated!
    Click here to shop.

    Get a free PDF tutorial with any online order from me in December!

    Leave a Reply

    Your email address will not be published. Required fields are marked *


Notice: LeeAnn Greff, Independent Stampin’ Up! Demonstrator, Manager. The content of this website is my sole responsibility as an independent Stampin’ Up! demonstrator and the use of, and content of, the classes, services, or products offered on this website is not endorsed by Stampin’ Up! Copyright 2025