/


Latest Post

Last of our Team swaps include a neat technique and a fun fold


Today I'm sharing the last three card swaps from my Team in October.  Our theme was winter or Christmas. 

First is Roxann's card. It's a Christmas village scene! 

She used the Yuletide Village stamp set seen here.  She also used the Falling Snow background stamp; which she heat embossed with White powder. 

She fussy cut all of these homes, church and trees!  It's so pretty and real looking!  

~~~

Next is a fantastic technique made by Tracey.  You might think she used designer paper here….. 

It's not! She made her own stamped background using watercolor paper and three colors of ink. Here's how she did it:

She thoroughly wet the watercolor paper before stamping the snowflake images in the following inks: Pool Party (looks like green here), Balmy Blue & Boho Blue. When you stamp on the wet paper the ink travels and blends together but leaves a faint impression of the snowflake images sometimes.  Simply gorgeous!

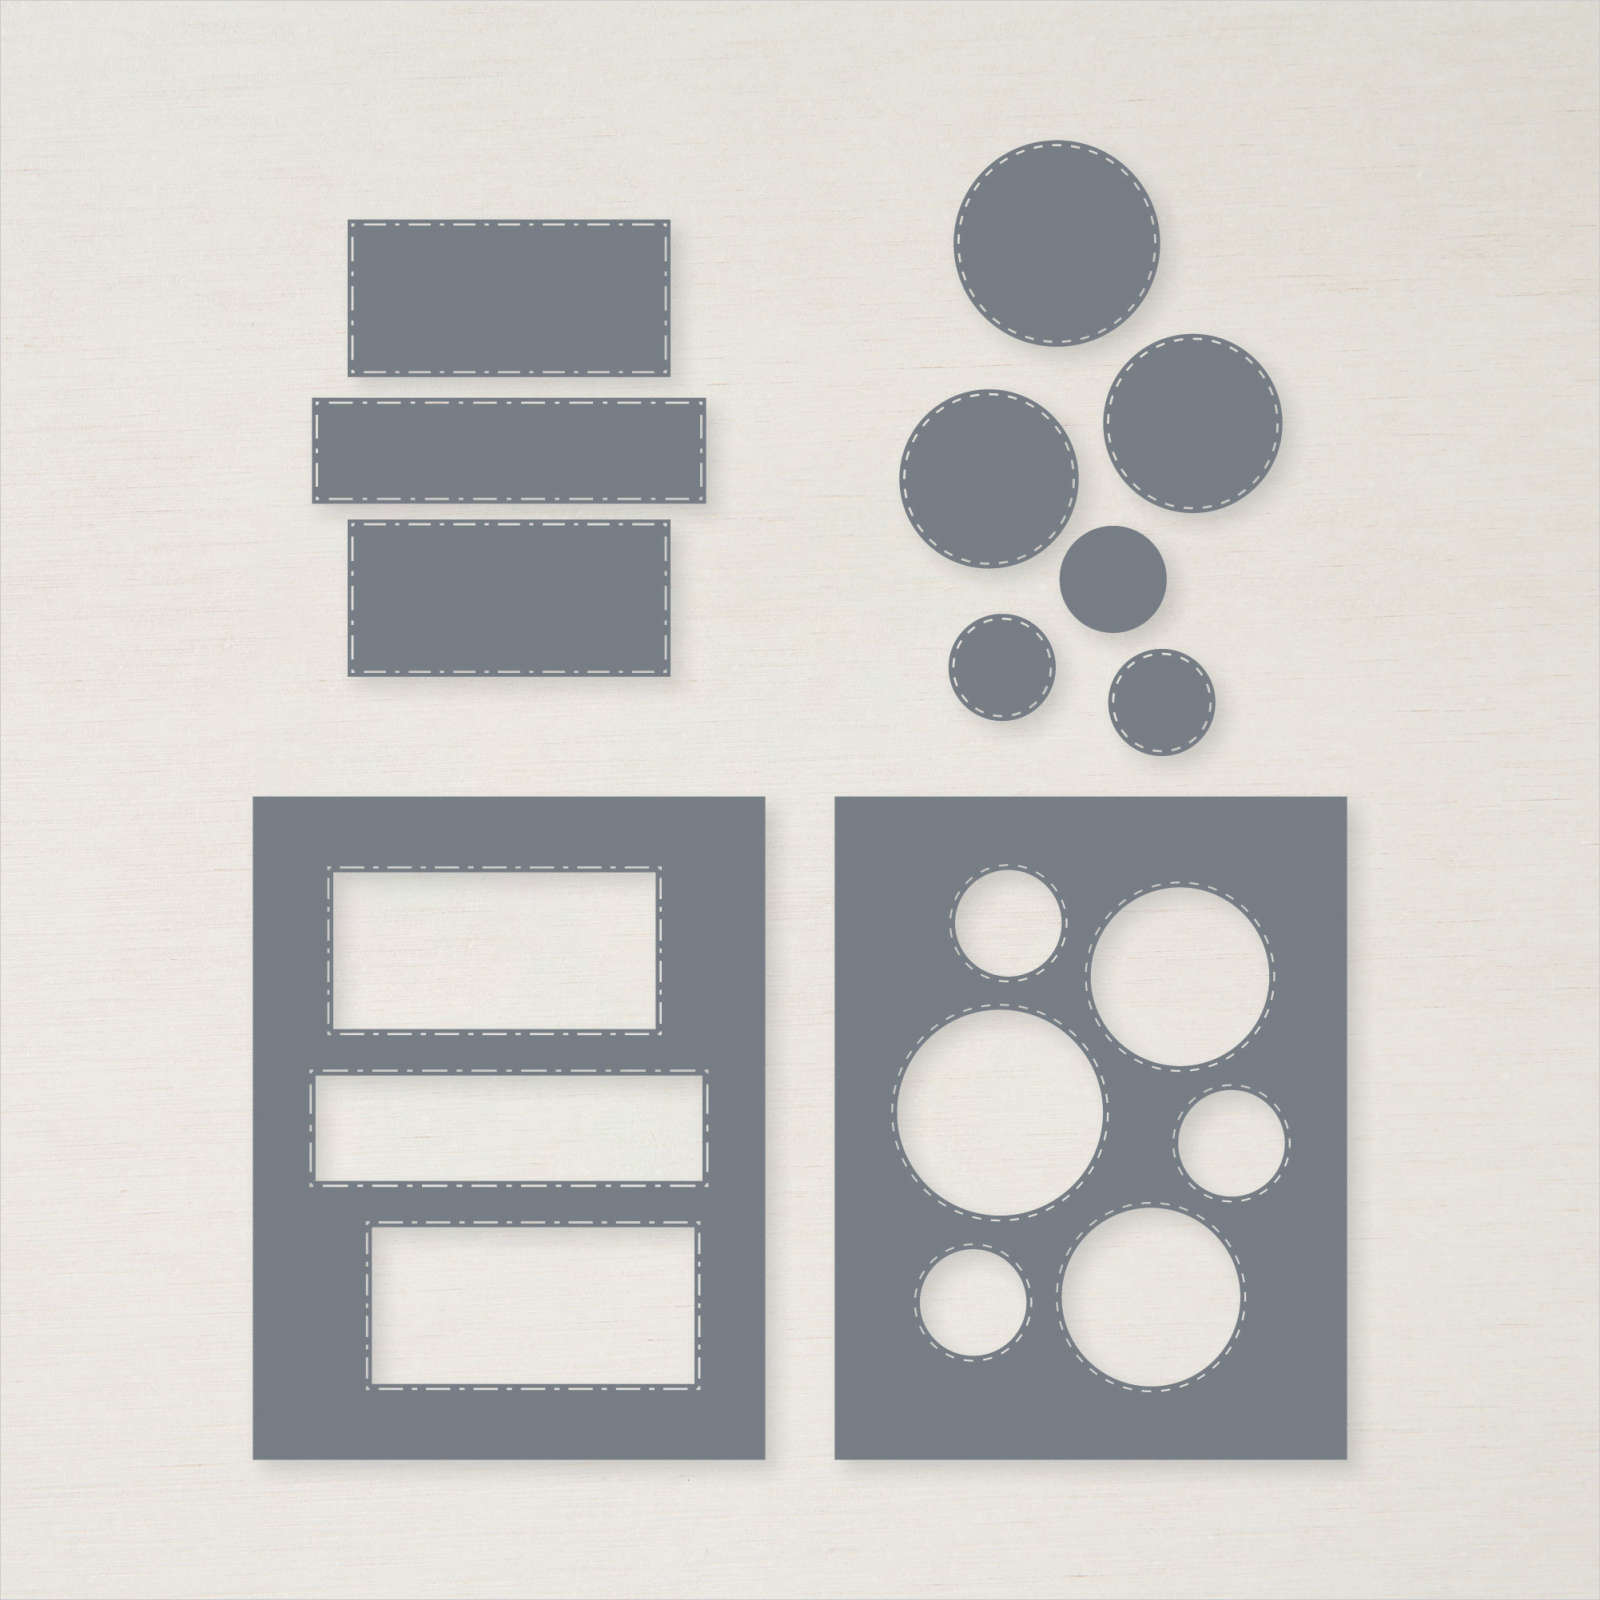
The snowflake die-cuts are from the Frozen Edges dies seen here. The greeting and snowflake images are from the Sparkling Snowflakes stamp set seen here. 

Measurements of the layers are as follows:

  • Card base 5 1/2" X 8 1/2" score at 4 1/4", Textured white layer 5 3/8" X 4 1/8", greeting strip 5 1/2" X 1"
  • Blue background is 4 1/8" X 3 1/4"
  • Watercolor paper strips – left to right – 1/2" X 3 1/2", 3/4" X 3 1/2", 1" X 3 1/2" and 1 1/2" X 3 1/2" 

~~~

Next is a pretty fun fold made by Rita. 

She used the Winter Meadow designer paper and the Encircled in Nature dies (seen here) for her trees.  The front panel (White) is adhered to a flap that is part of the card base.  It's a neat fold! 

Her card base measures 11" X 4 1/4", score at 2 1/4" & 5 1/2". Then make a mark at 1" from the top and 1" from the bottom on the 2 1/4" score line. You'll trim off the outer portion and that creates a flap for the White layer which measures 3 1/4" X 2". 

Thank you to all of my Flowerbug's for creating incredible cards for our October card swap.  My gals are super talented!!

~~~

October Specials:

*current host code link:  VGUD6UA7

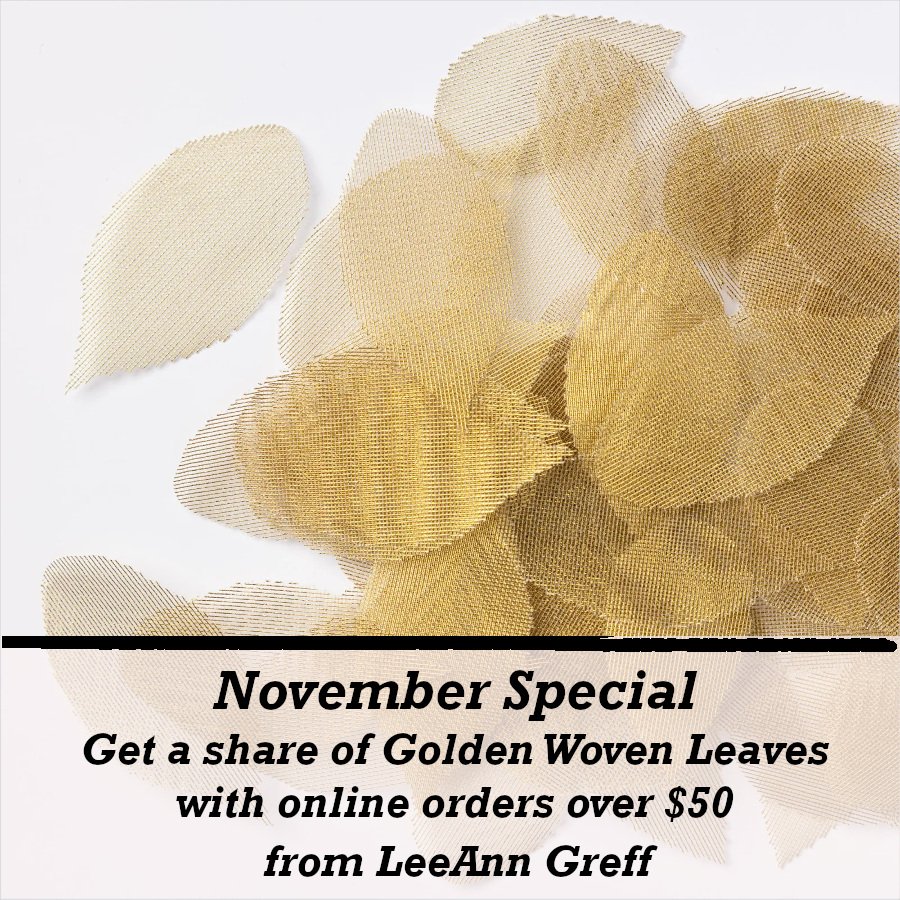
Get a share of Woven Golden Leaves  


~~~

Get an extra $30 in your Starter kit in October!  Click here to read more

~~~

The Kits Collection is on sale!  Check it out here.

~~~

       All online orders in October will receive a free PDF tutorial featuring the Season of Elegance suite

All Posts

  • Right Behind You; so cute!


    I chose the Right Behind You stamp set for my Flowerbug's Team swap this month.  Here's my card:

    This set is adorable!  And it has such fun greetings to go with the tandem bicycle as well. Click here to see it. 

    Details:

    • I used the 'ground' image to create grass by stamping it numerous times.
    • I used the Basic Border dies seen here to sponge the clouds.  Get my tips on this in the video below or click here. 
    • I used a mask to add the puppy in the basket. 
    • The greeting die-cut is from the Messages die. 
    • I used Stampin' Blends to color in the images.
    • I added a Metallic pearl to the spokes in the bicycle. 
    • The sun is simply sponged in the corner with Daffodil Delight ink. 

    As you can see it's an easy fun fold card.  Simply add one extra score line to your normal A2 card.  Score the 5 1/2" X 8 1/2" Crushed Curry card at 2 1/8" and 4 1/4".  The Basic Gray is 3 7/8" X 5 1/8" and the White is 3 3/4" X 5".

    I added grass and flowers to the inside to pull it all together.  

    Click on the video below to watch me make this card; it's the first project on this FB Live replay.  *You can also see how I made the Pinwheel Tower cards in the photo below.  

    ~~~

    July Specials! 

    Current host code: SBCRHZWG

    Designer Paper is on sale!  Click here to see all 9 of the discounted papers. 


    Online orders over $50 get a free DSP sampler from me!  It includes the Party Pattern host paper plus more! You'll get over 20 4 X 6" sheets of assorted papers.  Orders over $75 get even more!  

    My free PDF Tutorial for July's online orders includes the Simply Elegant & Beauty of the Earth suites. Get it FREE with any online order placed in July!


    Leave a Reply

    Your email address will not be published. Required fields are marked *

  • Pinwheel Tower fun fold cards are easy but a sure WOW!


    I shared this super fun card on Tuesday's FB Live video.  The video is shown below.  Or click here to watch on my FB page.  Don't forget to follow me so you are notified when I go live. 

    I used the Sweet Symmetry designer paper and the In  Symmetry stamp set.  Colors are Night of Navy, Just Jade, Calypso Coral, Bumblebee and Flirty Flamingo.  I also used Holiday rhinestones for the bling. 

    This has to be one of the easiest fun fold cards I've made that's also totally unique. And it uses an exact 5 1/2" X 8 1/2" piece of card stock. On each panel you can add a perfect layer (2 1/2" X 4") or have fun adding various pieces of CS or DSP and greetings or stamped images.  

    Here are the measurements for you: 

    Here's the video for you; click on the photo below. 

    ~~~

    July Specials!

    6 X 6" Designer Paper Share; see it here


    2 kits to go in July; see them here

    ~~~
     
    Current host code: SBCRHZWG

    Designer Paper is on sale!  Click here to see all 9 of the discounted papers. 


    Online orders over $50 get a free DSP sampler from me!  It includes the Party Pattern host paper plus more! You'll get over 20 4 X 6" sheets of assorted papers.  Orders over $75 get even more!  

    My free PDF Tutorial for July's online orders includes the Simply Elegant & Beauty of the Earth suites. Get it FREE with any online order placed in July!

    Leave a Reply

    Your email address will not be published. Required fields are marked *

  • Daisy Garden with Picture This dies


    Yesterday I shared a card featuring the Daisy Garden stamp set and today it's a totally different type of card.  

    The colors are Fresh Freesia, Black & White.  The daisy stamp peeks out from behind the window die cut circles made with the Picture This dies on a 4" X 5 1/4" piece of Black CS.  Can you see the stitches?

    These dies include both a large set of circles and another with three rectangles.  You can use the windows like shown above or the die cut circles or rectangles which I used here for the greeting.  

    Check out the Picture This dies here. 

    And here is another way to use these dies; with Designer Paper behind the window.  It's the gorgeous Expressions in Ink Specialty Designer Paper seen here; it was unavailable for almost a month.  And it was in stock for a week but it's unavailable again now until early August.  It's so popular!


    ~~~

    July Specials!

    6 X 6" Designer Paper Share; see it here


    2 kits to go in July; see them here

    ~~~
     
    Current host code: SBCRHZWG

    Designer Paper is on sale!  Click here to see all 9 of the discounted papers. 


    Online orders over $50 get a free DSP sampler from me!  It includes the Party Pattern host paper plus more! You'll get over 20 4 X 6" sheets of assorted papers.  Orders over $75 get even more!  

    My free PDF Tutorial for July's online orders includes the Simply Elegant & Beauty of the Earth suites. Get it FREE with any online order placed in July!

    Leave a Reply

    Your email address will not be published. Required fields are marked *


Notice: LeeAnn Greff, Independent Stampin’ Up! Demonstrator, Manager. The content of this website is my sole responsibility as an independent Stampin’ Up! demonstrator and the use of, and content of, the classes, services, or products offered on this website is not endorsed by Stampin’ Up! Copyright 2025