/


Latest Post

The deals end today! Plus In the Country & Sending Support sets; so easy to use!


Sadly today is the last day of Sale-a-Bration and the Starter kit promotion.  And the next one won't be until January of 2024!  


Did you know that purchasing the Starter kit is basically placing an order?  It's true!  You can pick out up to $175 in product for just $99! Or add on the mini die-cut & emboss machine for $129. AND that's with free shipping too; you just pay tax.

If you have a list of things you want, place an order with the Starter kit and for as long as you wish, enjoy the discount of 20% off all purchases. See more details here.

We've had almost 20 people join our group in the last few months! We're growing like gangbusters and would love to add you to our fabulous Flowerbug's as well. If you have any questions, message me here. 

~~~

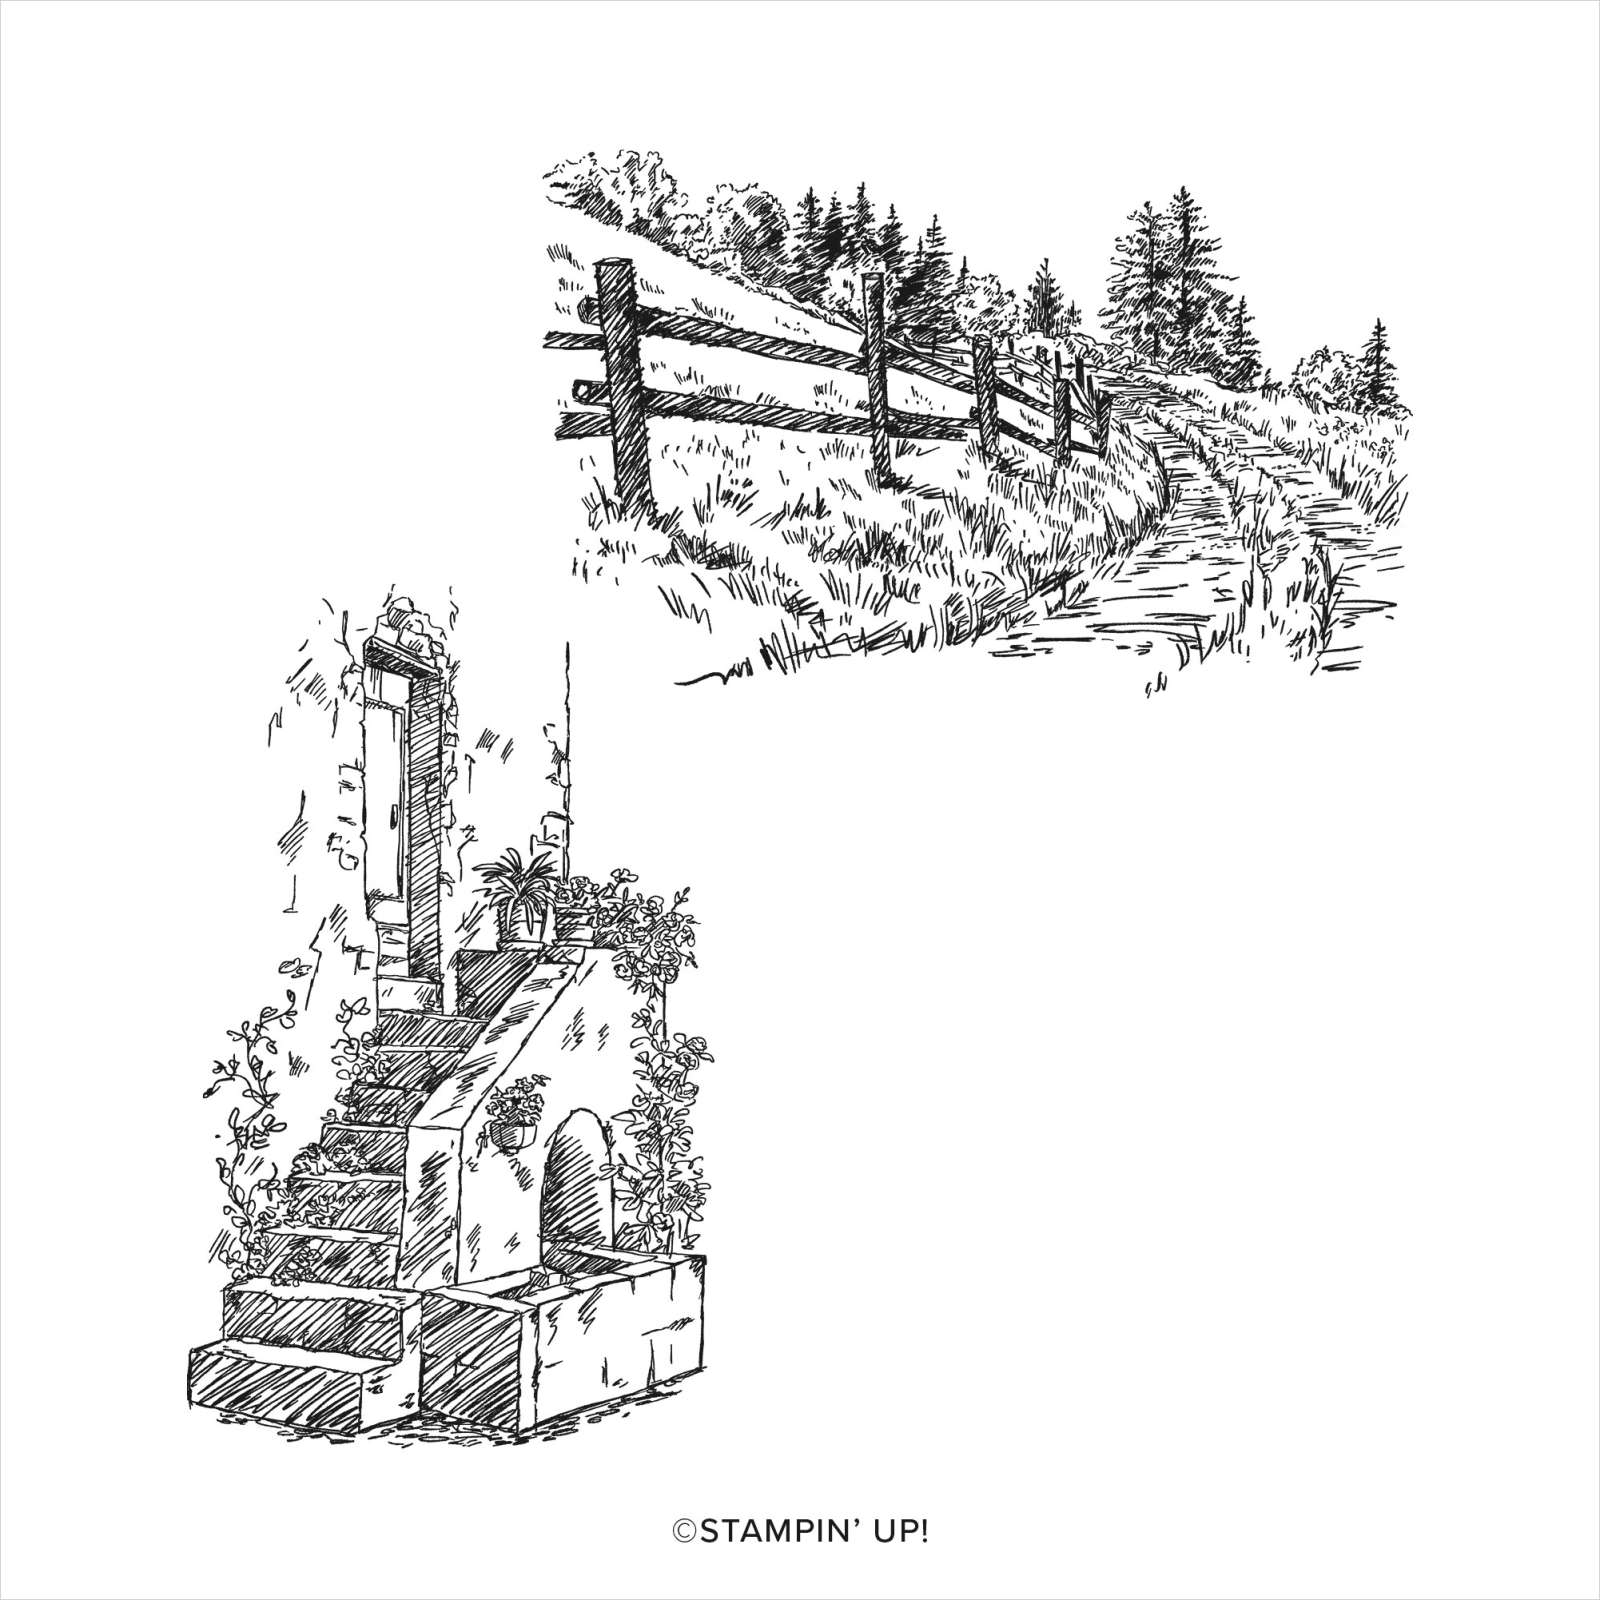
I've been highlighting some of my favorite SAB products the last few days and I'll end with a few sleepers – In the Country & Sending Support stamp sets. 

I've shared them on a recent video seen here.  But here are a nice bunch for you.  

As you can see above, you can decide to stamp in one color or add color to the images. See it here. 


And the greetings from the Sending Support set are some we've been wishing for!  See it here.

See all of the Sale-a-Bration items here.  

~~~

Best Deal Ever on the Starter kit here!

Choose $175 in products for just $129 plus the new mini machine!

Or choose $175 for $99 without a new Mini.  AMAZING!

~~~

February Host code:

TMJXFR2T

Get free Pastel Sequins with online orders over $55 when using the host code above!

 Earn free products with my loyalty rewards! 

Click here to download yours and earn a $50 shopping spree!

All Posts

  • Fun Fold card with two versions!


    Saturday was World Card Making Day!  Did you make time to stamp?  First; did you even know about it?  

    We had a few stamping events on my Flowerbug's Team group and Mystery Stamping was one of them.  I sent them measurements so they could prep for the card making event but they didn't have a photo of the card!  Just measurements and supplies.  Use any Designer Paper, etc…..  It was fun to see what they all made.  

    Below are the two fun fold cards I made.  

    The front of the card is cut short to reveal the Designer paper on the left (inside) of the card.  Above I used the Snowflake Splendor designer paper and the Snowflake Wishes stamp set & dies bundle.  This designer paper is on sale right now at 15% off.  See all of the papers on sale here: 

    Next is a card made with the Gilded Autumn specialty designer paper and the Beautiful Autumn stamp & punch bundle.  You can see the measurements for these cards below. 

    Here are the measurements:

    • 2 pieces of Designer Series Paper (3 1/4" x 4" plus a coordinating piece 1 3/4" X 4")
    • Coordinating card base (9" x 4 1/4" scored at 5 1/2")
    • neutral CS like White or Vanilla (2 1/2" X 3 1/2" and 3 3/4" X 3 1/4" for inside)
    • a coordinating layer of CS (2 5/8" X 3 5/8")

    ~~~

    October Specials!

    Current Host code is MJK7R2CU

    Designer Paper Sale; click here!

    Get a free package of Adhesive Backed Snowflakes in October with an

    online order over $45. 


    All online orders will receive my Tutorial of the Month featuring the Poinsettia Petals suite!

    Leave a Reply

    Your email address will not be published. Required fields are marked *

  • Don’t miss this fun technique; use those Designer Paper scraps!


    Do you have trouble tossing those small pieces of Designer Paper left from a project?  I sure do!  There has to be a way to use them, right?  Well you can use them easily with this technique! 

    See?  It's quite eye-catching isn't it?  I kept the cards very simple to highlight the paper.  Each one features the Celebration Tidings stamp set. The card above features the Plaid Tidings designer paper; it's on sale right now too!  

    Watch the video below to get the tips on how to create these.  You just need some 1/2" strips and a ruler. 

    The card above features the Magic in This Night Designer paper.  The card below is the Tis the Season Designer paper; both on sale in October here!  

    Watch the quick video below to get the tricks on this fun technique. 


    ~~~

    October Specials!

    Current Host code is MJK7R2CU

    Designer Paper Sale; click here!

    Get a free package of Adhesive Backed Snowflakes in October with an

    online order over $45. 


    All online orders will receive my Tutorial of the Month featuring the Poinsettia Petals suite!

    Leave a Reply

    Your email address will not be published. Required fields are marked *

  • Trio of Celebrate Sunflowers cards with video & an easy highlighting technique!


    Look at these gorgeous sunflower cards!  They were a big hit at my Card Clubs this month.  They could chose between Daffodil Delight, Poppy Parade and Calypso Coral ink for their sunflower. 

    We sponged each sunflower leaving the center without color except for a bit of Crumb Cake Blends marker.  I know it might not be realistic but I like the pop of White in the center for brightness. 

    Check out the Celebrate Sunflowers bundle here. 

    Then we used White Craft ink and Blender pens to highlight a few petals here and there on the sunflowers.  It's super easy! I created a video below so you can see how it's done. 

    Measurements:

    • Crumb Cake card 5 1/2" X 8 1/2", scraps for die-cuts
      Whisper White 3 1/2" X 4 3/4", plus a 3 1/2" piece for sunflower
      Early Espresso 3 5/8" X 4 7/8"
      In Good Taste DSP 1 3/4" X 4 3/4"


    ~~~

    October Specials!

    Current Host code is MJK7R2CU

    Designer Paper Sale; click here!

    Get a free package of Adhesive Backed Snowflakes in October with an

    online order over $45. 


    All online orders will receive my Tutorial of the Month featuring the Poinsettia Petals suite!

    Leave a Reply

    Your email address will not be published. Required fields are marked *


Notice: LeeAnn Greff, Independent Stampin’ Up! Demonstrator, Manager. The content of this website is my sole responsibility as an independent Stampin’ Up! demonstrator and the use of, and content of, the classes, services, or products offered on this website is not endorsed by Stampin’ Up! Copyright 2025