/


Latest Post

How to get more use of your Fragrant Forest stamp; cut it up!


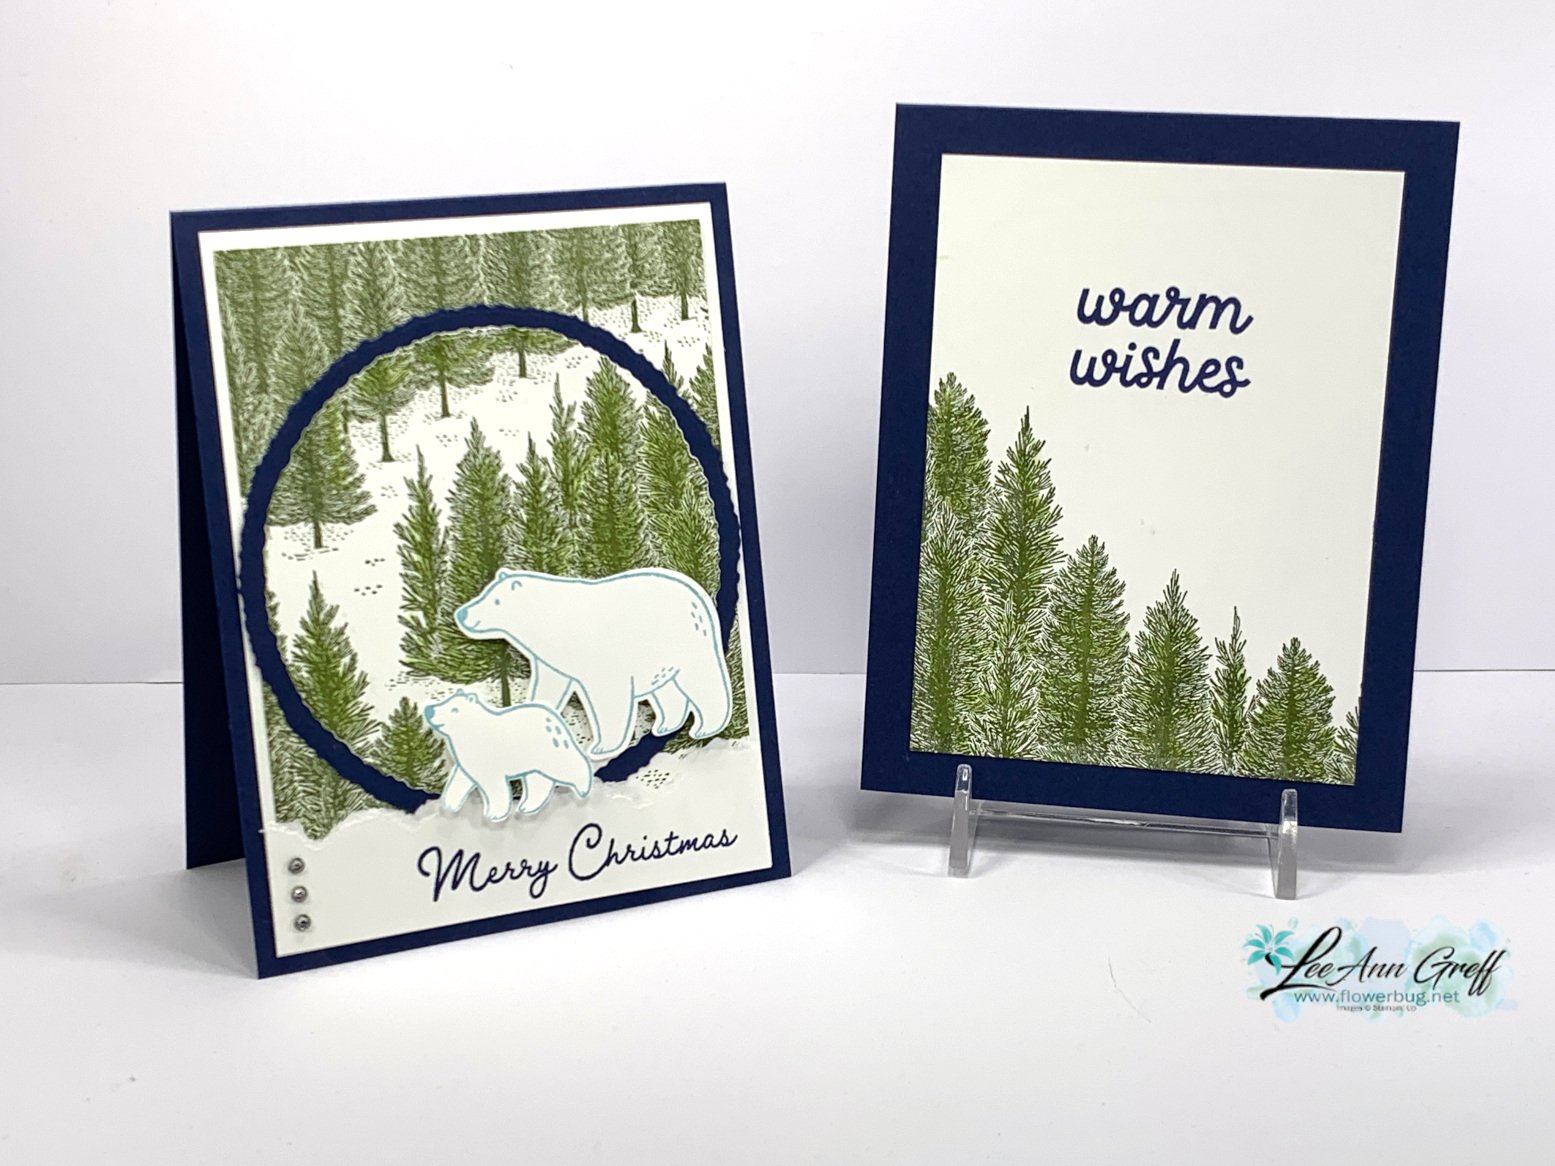
I shared this pretty card in last week's Live video. I featured the Fragrant Forest background stamp set seen here in all 3 projects. 

Today's card also features the Beary Cute stamp set & punch. It was available in a bundle but unfortunately the punch has sold out now.  But the stamp set is still available. 

I used Night of Navy with Mossy Meadow here. I stamped the entire White layer with the background stamp (watch the video with tips on getting even coverage with a background stamp) then cut the circle using the new Deckled Circle dies. I added it to a larger Navy Deckled circle die-cut which covered up the die-cut line from the first circle cut. 

The bears were stamped in Balmy Blue ink but in hindsight I'd like them in a dark gray ink on White.  The lower strip for the greeting is torn. 

I created a free project sheet for this card; click on this link to see it. Download Fragrant Forest & Beary Cute card  *subscribe to my blog so you don't miss a thing and can access all of my project sheets in one place! 
Are you wondering how I achieved the inside trees image without inking the entire stamp? Here's how!

I was trying to mask the stamp but it has lots of little pine needles between the tree layers.  It wasn't working so I thought, 'why aren't I trimming the stamp?'.  I have no problem doing it; it just isn't my first thought.  It works like a gem and makes it so much easier to use this pretty stamp set!
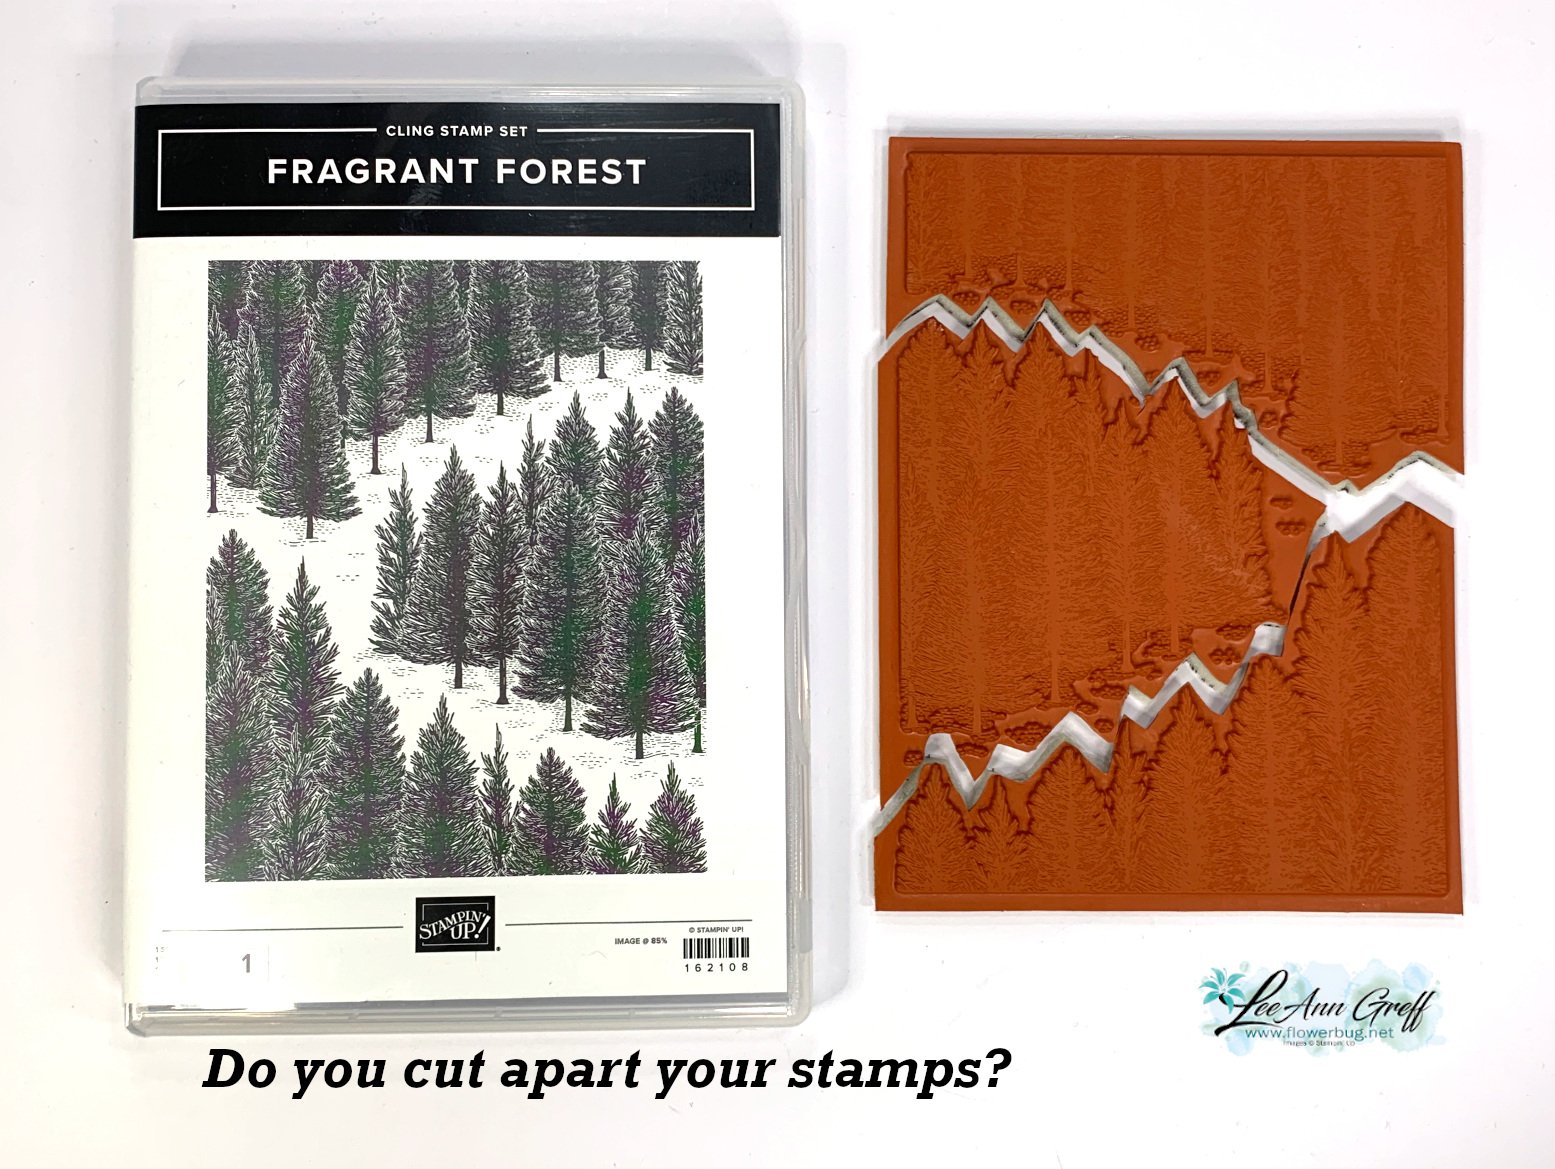
Do you cut your stamps apart? I tend to do it with images that have a greeting with it. Or if I like part of a greeting and want to use it separately. Honestly they fit right back together when put onto your block.  It just makes sense!  I encourage you to try it. 

Click here or on the photo below to watch my video.  Please subscribe to my YouTube channel too!  

~~~

December Specials: 

Get a free embellishment from the 2023 Holiday catalog with an

online order over $50


*current host codes:  PN2C7Z4E or 77277NNH

Love kits?  Check out my pre-cut card kits to go here!

I offer two new kits & tutorials each month!


All Posts

  • Sweet Songbirds is adorable on this cute card!


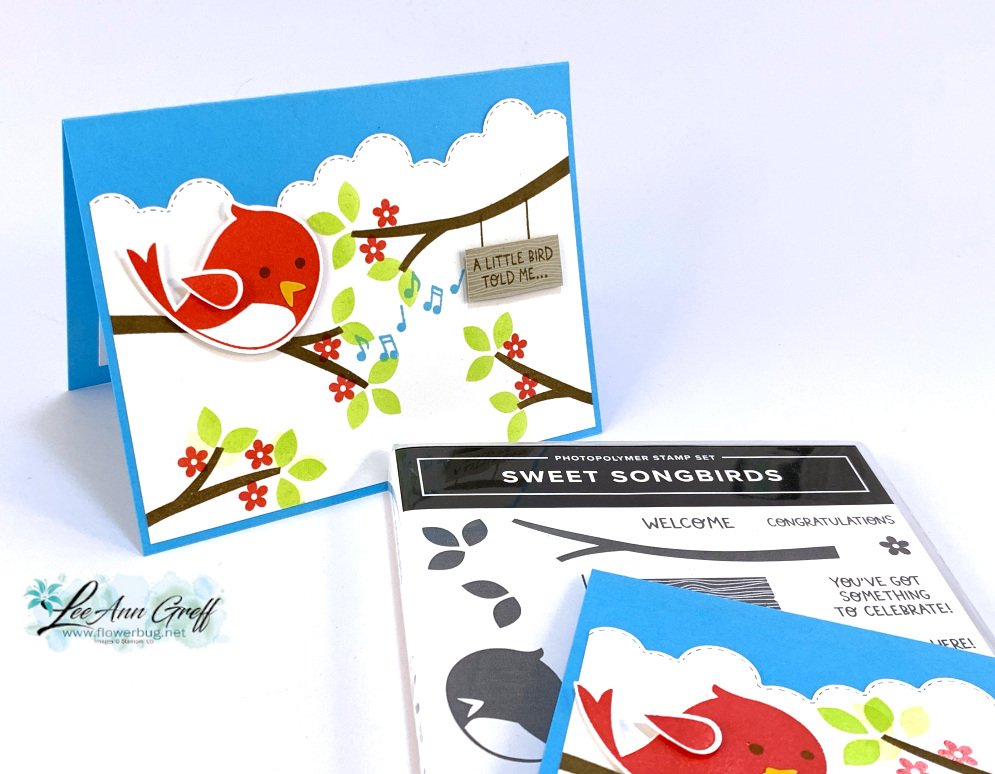
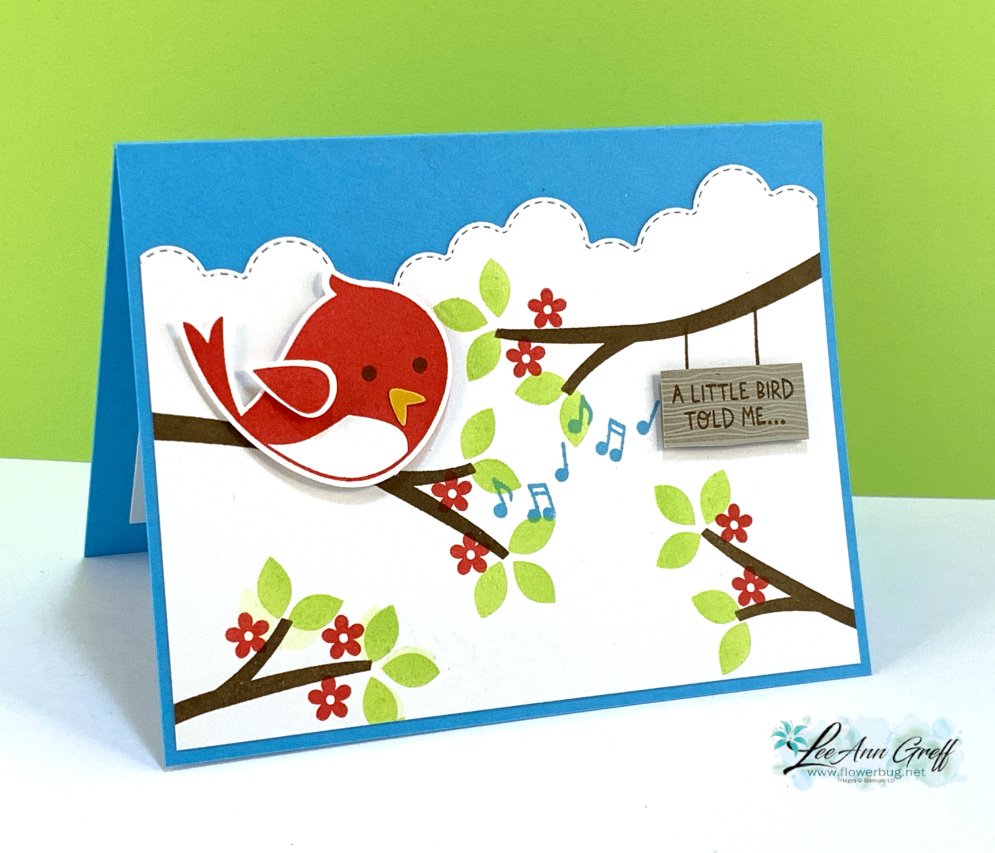
    We made this adorable card at my May card clubs; it features the Sweet Songbirds bundle and three new In Colors.

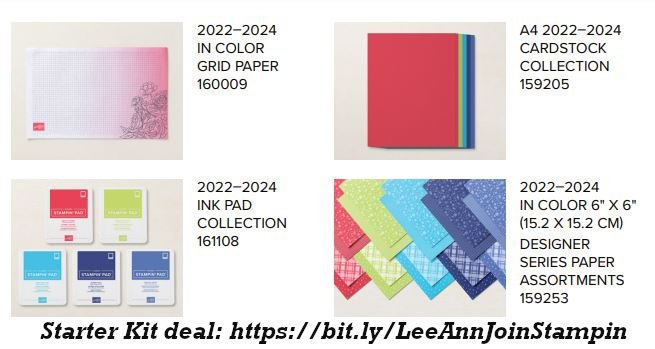
    The new colors include Tahitian Tide (turquoise), Parakeet Party (green) and Sweet Sorbet (red) along with Soft Suede.  

    I shot a video of the easy steps to create this card; I hope you watch it.  See it here or scroll down to watch it below. 

    That neat cloud border is created with the Basic Border dies seen here.  I love these dies!! 

    As you can see there are very few layers here; the stamped scene is all you need. 

    See the Sweet Songbird bundle here.  The bird & wing are stamped on a separate piece of White CS and punched out.  They're popped up as well as the sign (done on Sahara Sand CS).  

    Measurements:
    • Tahitian Tide card base 5 1/2" X 8 1/2" scored at 4 1/4"
    • White front 5 1/4" X 4", inside is 4 3/4" X 3 1/2", scraps for bird punches
    • Sahara Sand scrap for hanging sign

    Here's the video for you; click on the photo below to watch.  

    ~~~

    Get a bunch of NEW In Color products FREE in your Starter Kit! 

    It's $99 for $213 in products!!!  And Free Shipping! Click here. 


    Host codes: HUNR9DB6

     *click here to order 

    If your order is over $50 you'll receive a set of NEW embellishments from me.

    Don't forget about my loyalty rewards! 

    Click here to download yours and earn a $50 shopping spree!  


    Opt in for my New Catalog Designer Paper Share

    It's $26 plus shipping

    Leave a Reply

    Your email address will not be published. Required fields are marked *

  • Tea Boutique card with a pocket for a tea bag of gift card!


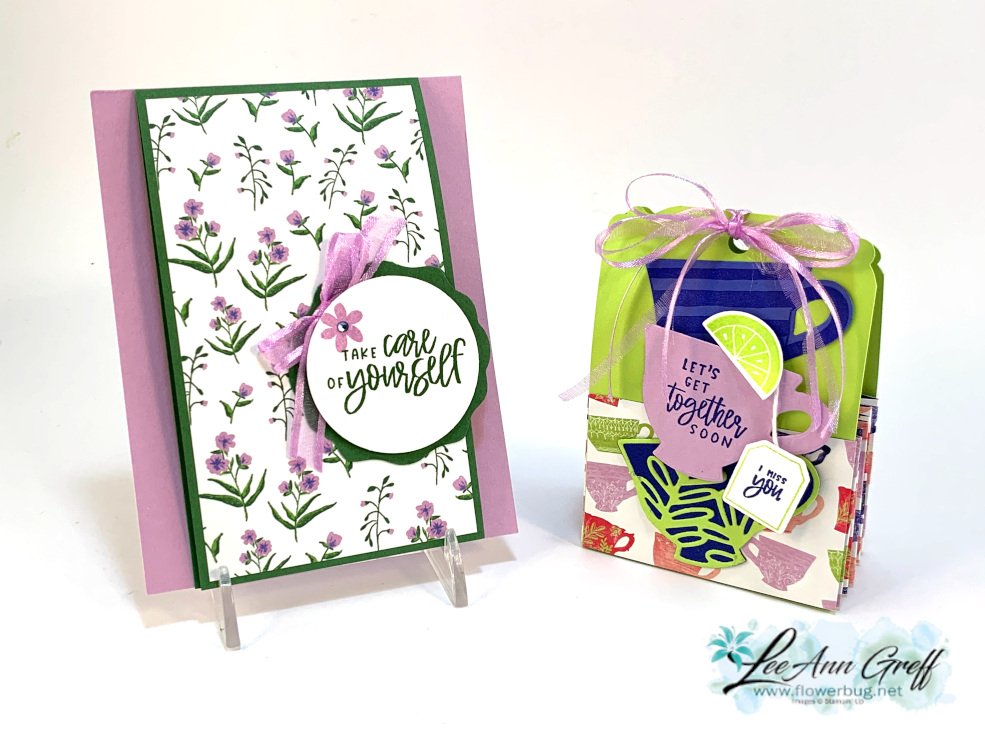
    Yesterday I shared the cute tea bag gift box below on the right.  Today I'll share details on the pretty card on the left.

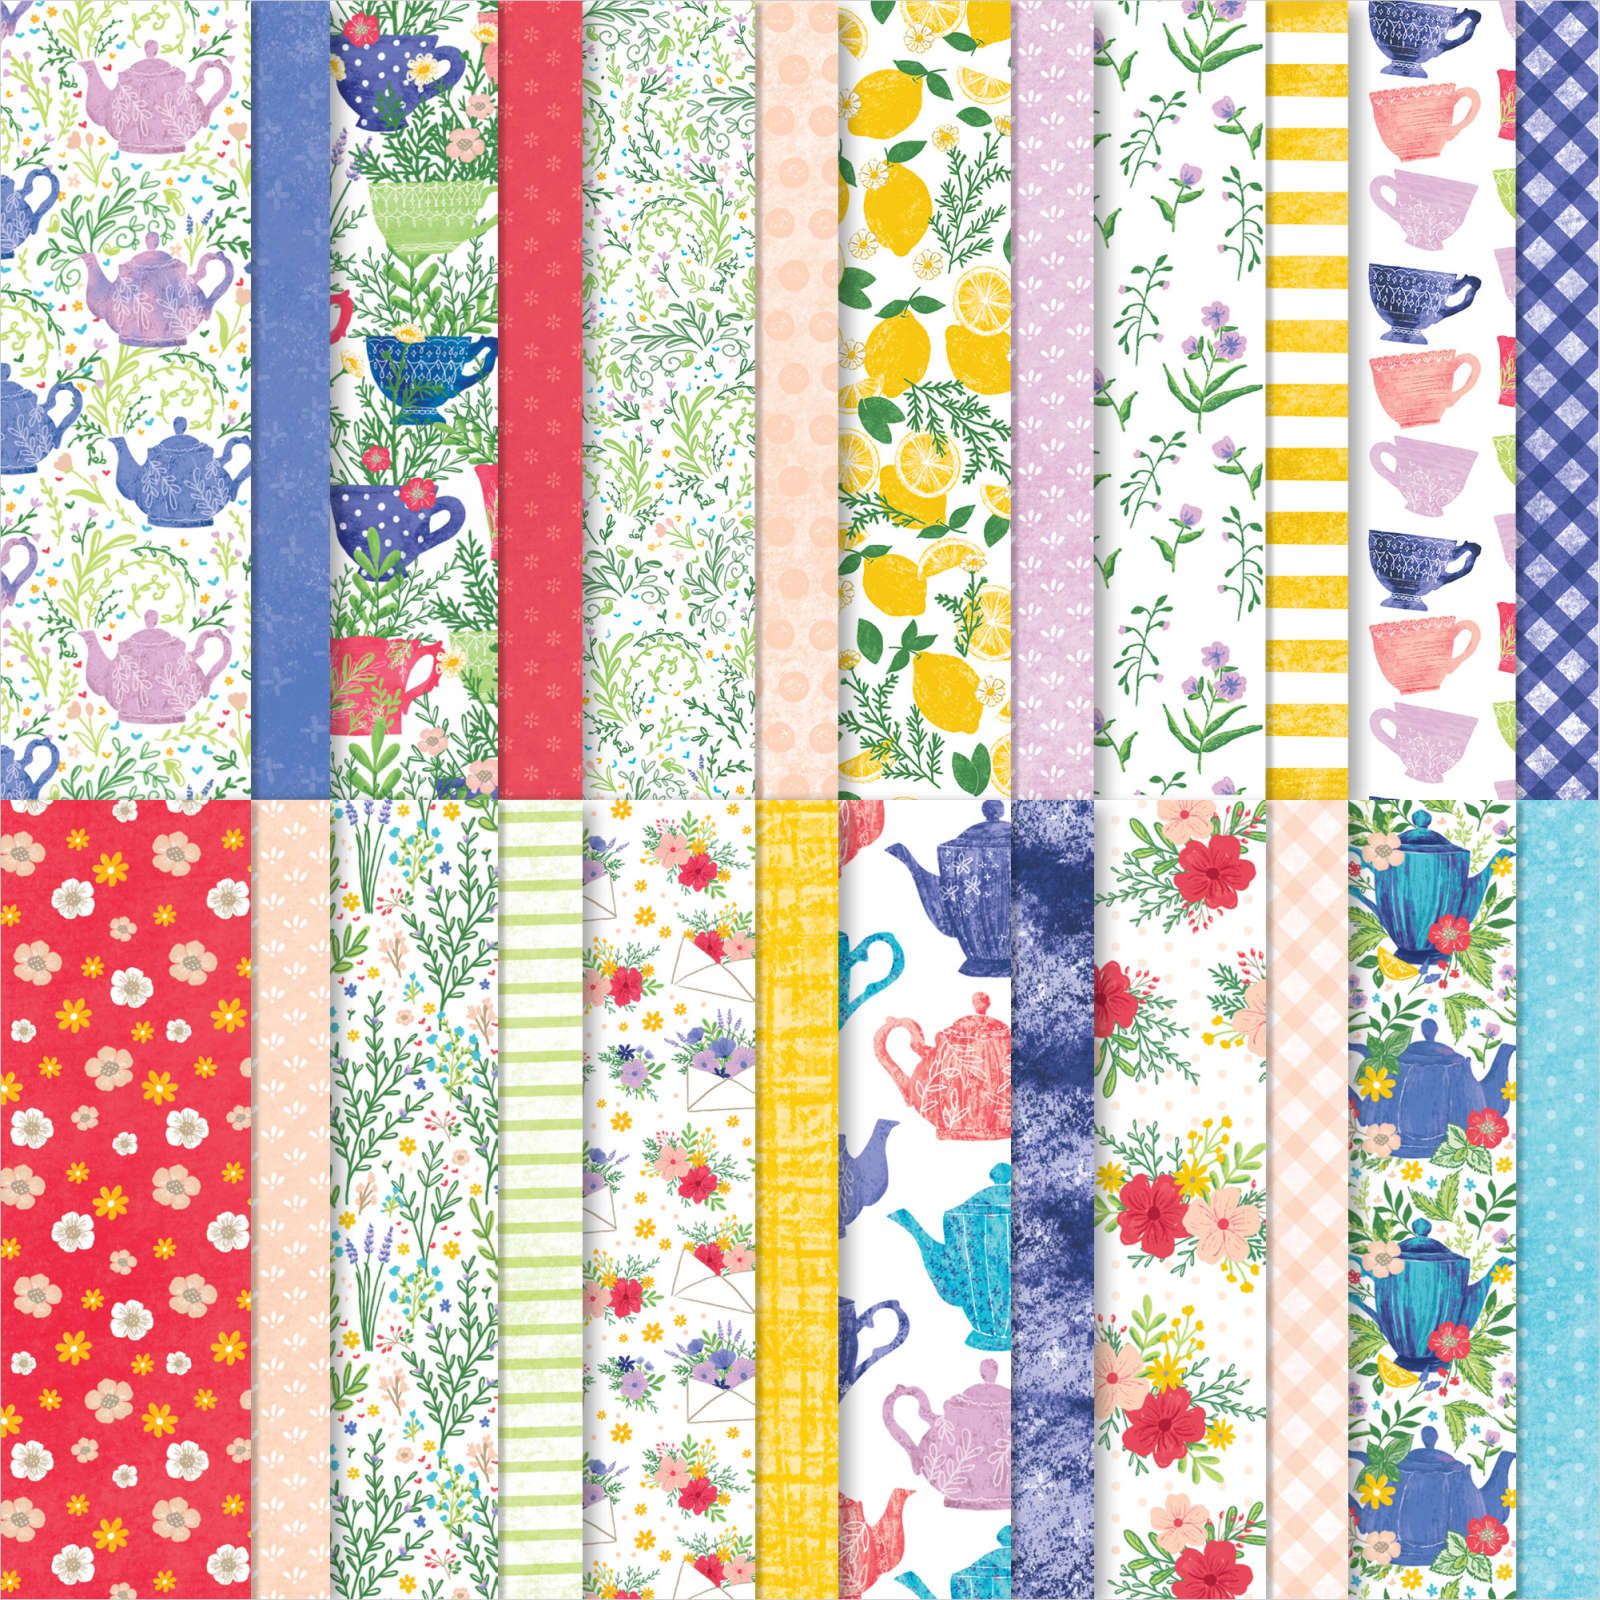
    Both projects feature the Cup of Tea bundle and the Tea Boutique designer paper seen here.  

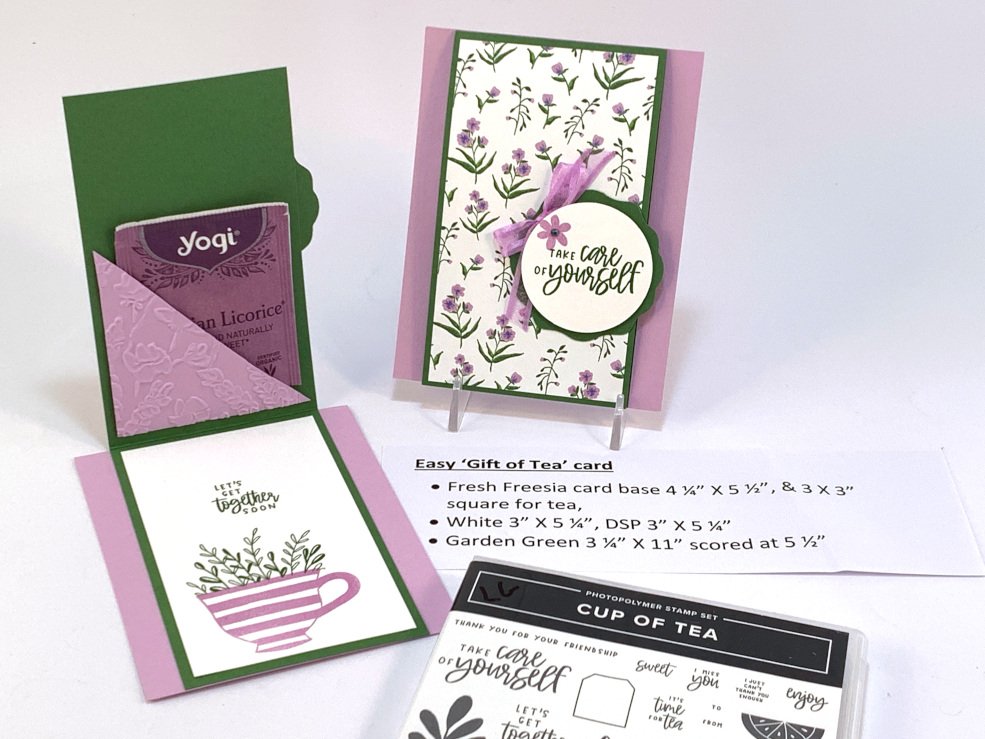
    The card is an easy fun fold where the card base is a quarter sheet of Fresh Freesia card stock.  The Garden Green piece is the part that opens and reveals the tea bag.  Of course the tea bag is optional and would work as a gift card holder also.  

    Here are the measurements:

    • Fresh Freesia card base 4 ¼” X 5 ½”, & 3 X 3” square for tea
    • Garden Green 3 ¼” X 11” scored at 5 ½”
    • Designer paper 3” X 5 ¼”
    • White inside 3” X 5 ¼”

    Click on the photo below to watch the video. Don't forget to subscribe to my YouTube channel while you're there!  

    ~~~

    Get a bunch of NEW In Color products FREE in your Starter Kit! 

    It's $99 for $213 in products!!!  And Free Shipping! Click here. 


    Host codes: HUNR9DB6

     *click here to order 

    If your order is over $50 you'll receive a set of NEW embellishments from me.

    Don't forget about my loyalty rewards! 

    Click here to download yours and earn a $50 shopping spree!  


    Opt in for my New Catalog Designer Paper Share

    It's $26 plus shipping

    Leave a Reply

    Your email address will not be published. Required fields are marked *

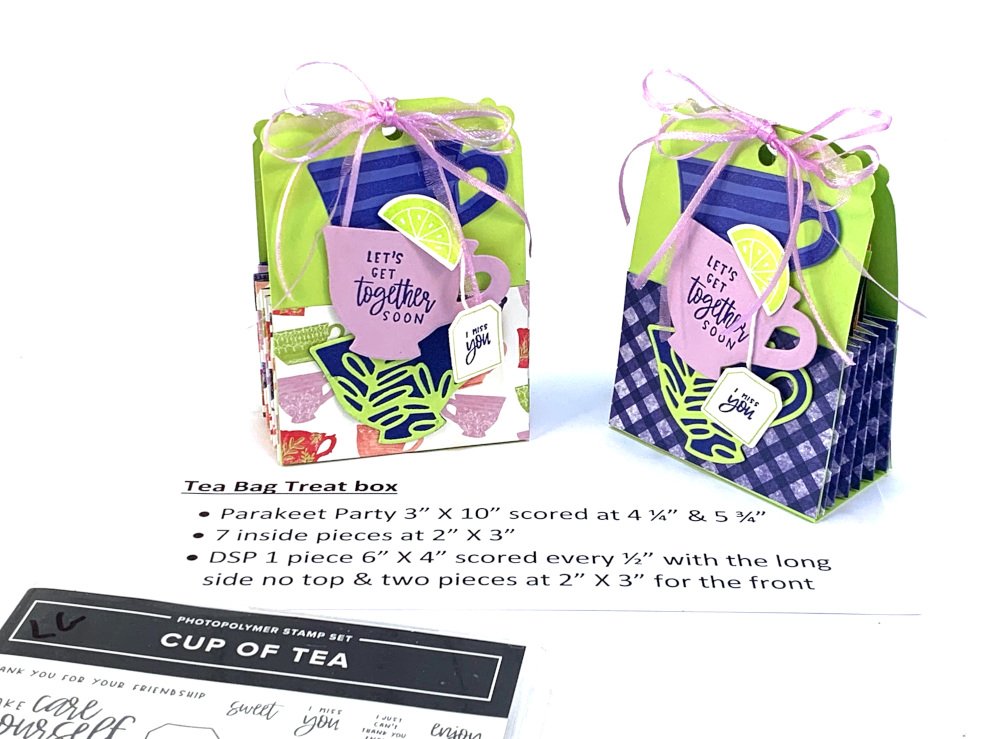
  • Video tutorial for a Tea Bag gift box that holds 6 bags of tea!


    On last Tuesday's live I made projects with the Tea Boutique suite.  If you missed it click here for the video and click here to get to my Facebook page. Follow me and you'll get notified when I am Live.  

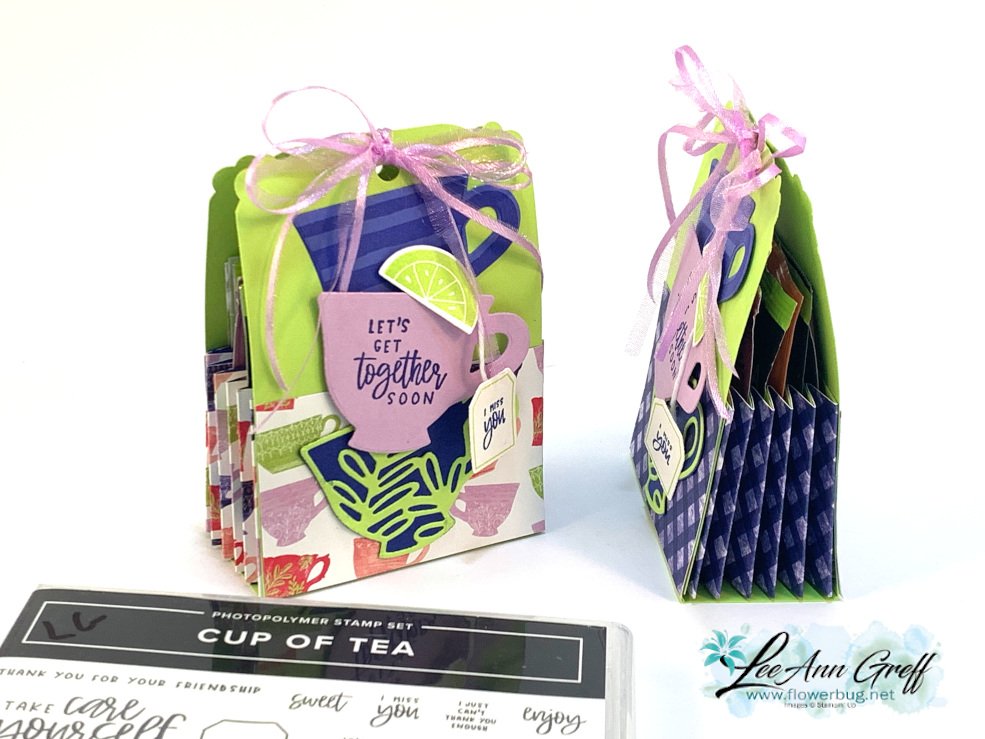
    This tea bag gift box is so cute!  It's about 3" X 4 1/2" and quite easy to make. I used the Cup of Tea bundle seen here for the stamped images and die-cuts. 

    The Tea Boutique designer series paper seen here includes all of our newest in colors so it's bright and colorful. I chose to use Parakeet Party for the main box and accents of Fresh Freesia, Starry Sky & Orchid Oasis.

    Here's a picture of the inside. There are two pieces of designer paper scored every 1/2" for the sides and card stock dividers between each fold for a tea bag.  

    I used a new punch called the Lasting Label punch for the top corner detail.  I share how in the video; you'll look at your punches in a whole new way! 


    Click on the photo below to watch the video. Don't forget to subscribe to my YouTube channel while you're there!  

    ~~~

    Get a bunch of NEW In Color products FREE in your Starter Kit! 

    It's $99 for $213 in products!!!  And Free Shipping! Click here. 


    Host codes: HUNR9DB6

     *click here to order 

    If your order is over $50 you'll receive a set of NEW embellishments from me.

    Don't forget about my loyalty rewards! 

    Click here to download yours and earn a $50 shopping spree!  


    Opt in for my New Catalog Designer Paper Share

    It's $26 plus shipping

    Leave a Reply

    Your email address will not be published. Required fields are marked *


Notice: LeeAnn Greff, Independent Stampin’ Up! Demonstrator, Manager. The content of this website is my sole responsibility as an independent Stampin’ Up! demonstrator and the use of, and content of, the classes, services, or products offered on this website is not endorsed by Stampin’ Up! Copyright 2025