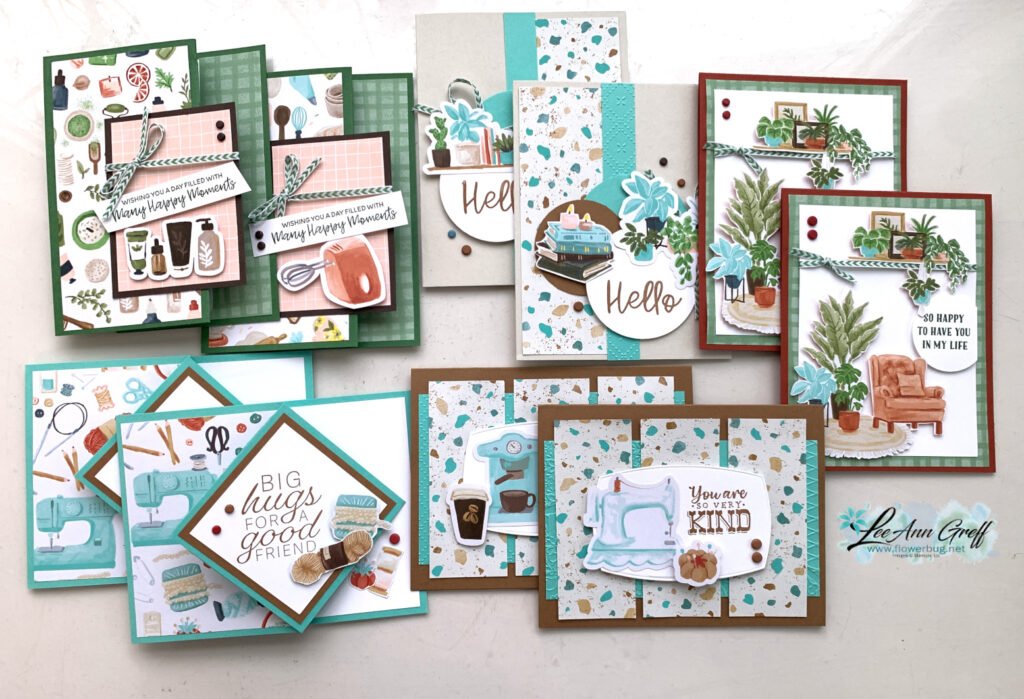
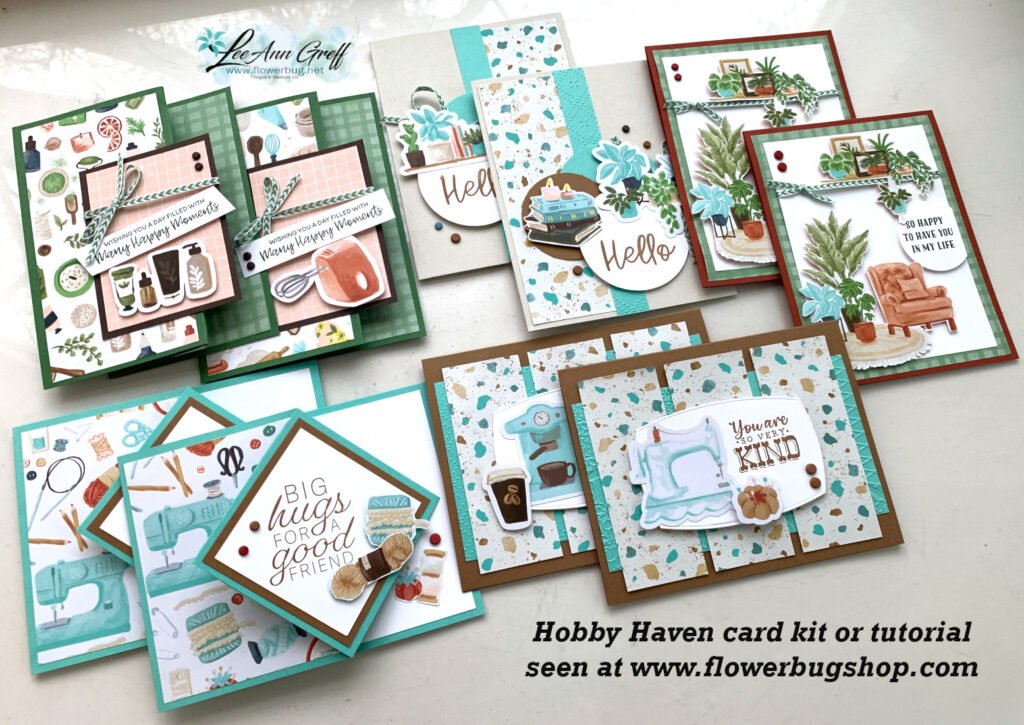
This new Hobby Haven designer paper is absolutely perfect for us crafters! The colors are fresh and it fits crafters, plant lovers and baker’s too.
I’m ahead of the game this month so these card kits will ship out next week; before Christmas. I have a limited supply so reserve yours soon!
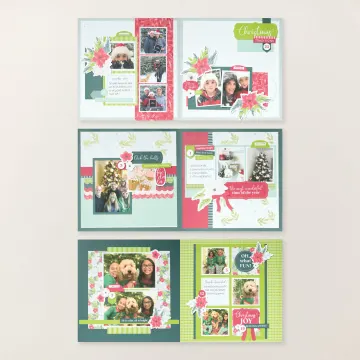
The pre-cut kit to go includes 10 cards, 1/2 pkg of the Hobby Haven designer paper, a share of the Earthy Matte dots and green chevron ribbon. Plus you’ll get the PDF tutorial too! All for $31. Reserve your kit here. You’ll need adhesives, greeting stamps and a paper trimmer to cut your new designer paper.
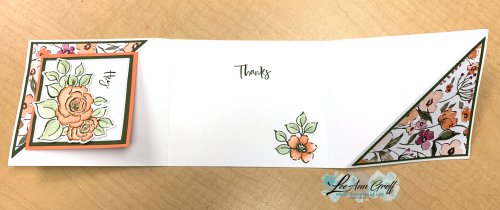
Or if you’d rather get the PDF tutorial click here. It’s just $16. The tutorial is emailed to you immediately after purchase.
The tutorial includes a link to a video tutorial exclusive to this kit.
Two of the 5 layouts are fun folds but all are unique layouts. You’ll love making them! *Don’t forget to browse all of my available kits in my shop here.
December Specials:
~~~
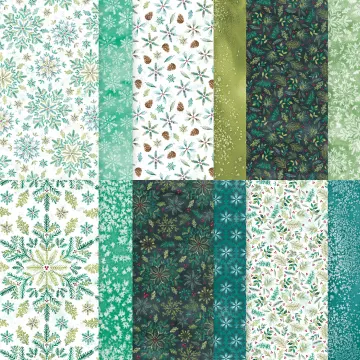
Get this product of the month for just $5 with any $75 purchase in December!

*You’ll receive a PDF with multiple projects featuring this product
after the 20th of the month.
~~~
The Last Chance list has been updated!
Click here to shop.

Get a free PDF tutorial with any online order from me in December!


Leave a Reply