/


Latest Post

Hand-Penned Cards Kit to go!


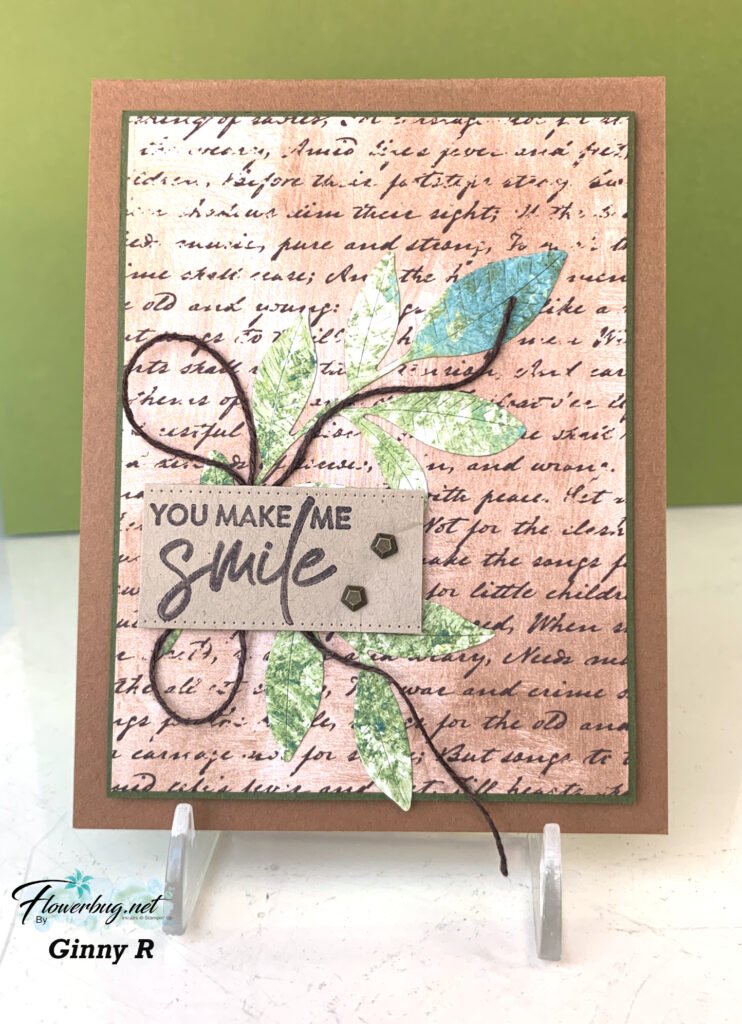
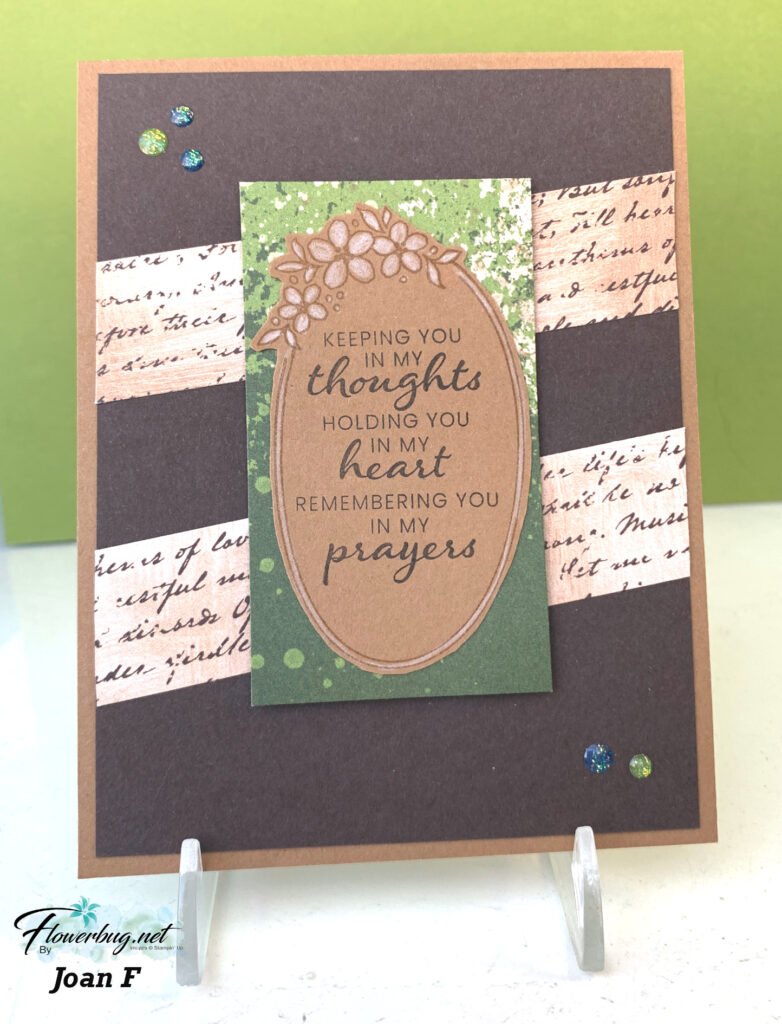
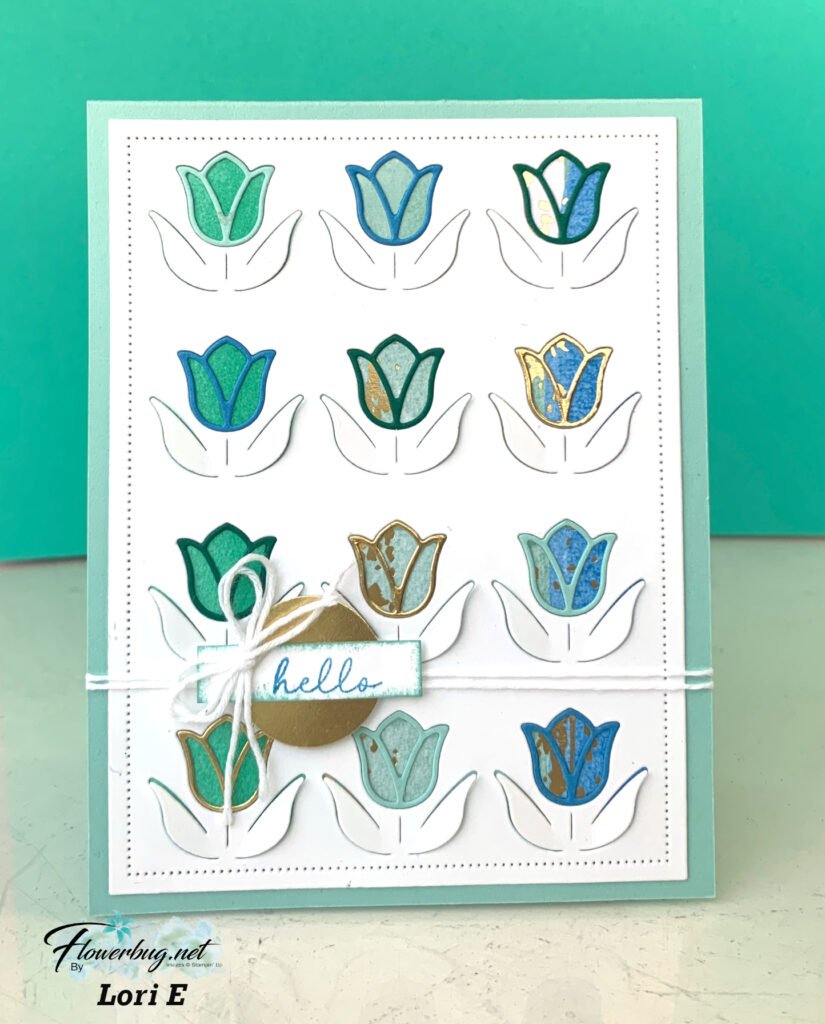
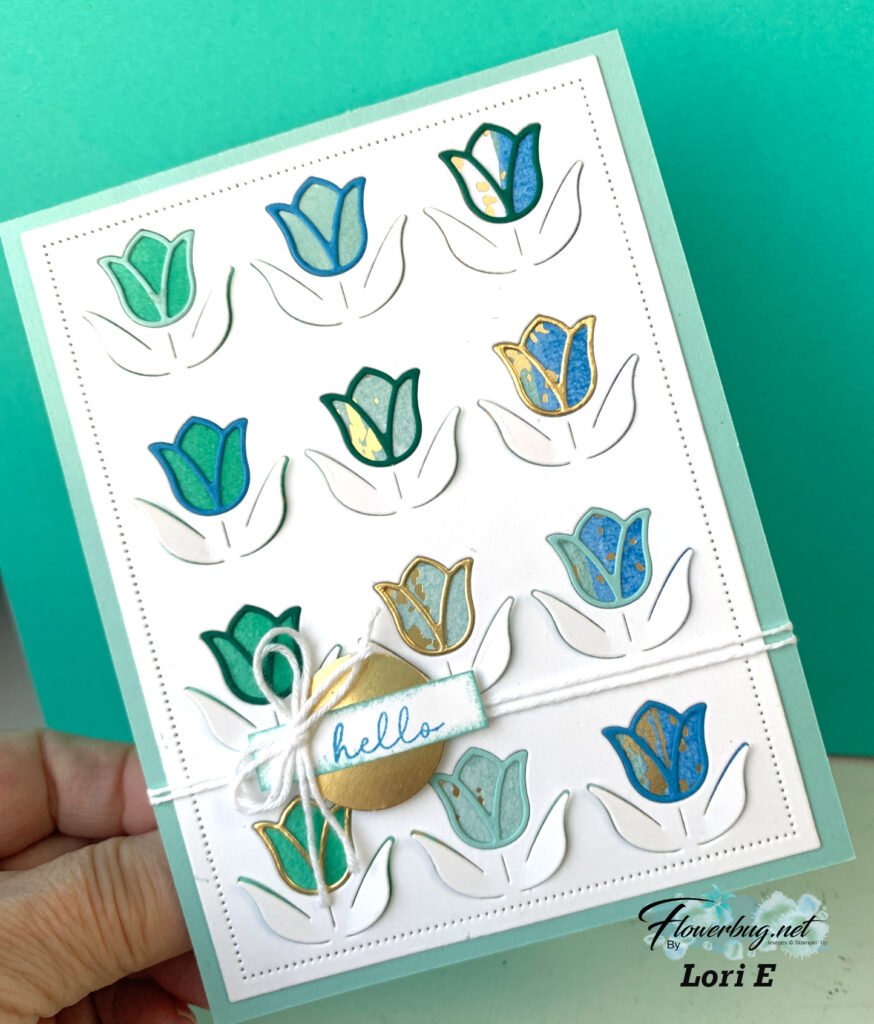
I had a few requests to feature the pretty Hand-Penned designer paper for a kit to go.  So I had a play with it and came up with these cards: 

This kit to go includes a 10 cards pre-cut kit with 2 each of 5 designs including many fun-fold cards.  *Opt in by June 18th to get it! 

You'll receive the following in this kit:

  • the 10 pre-cut cards including all pre-cut, punched & die-cut pieces needed to complete the cards.
  • 1/2 pkg of the Hand Penned designer paper (6" X 12") 
  • new Genial Gems
  • Pool Party sheer ribbon
  • the PDF Tutorial with photos, measurements, supplies used and step-by-step directions sent via email.

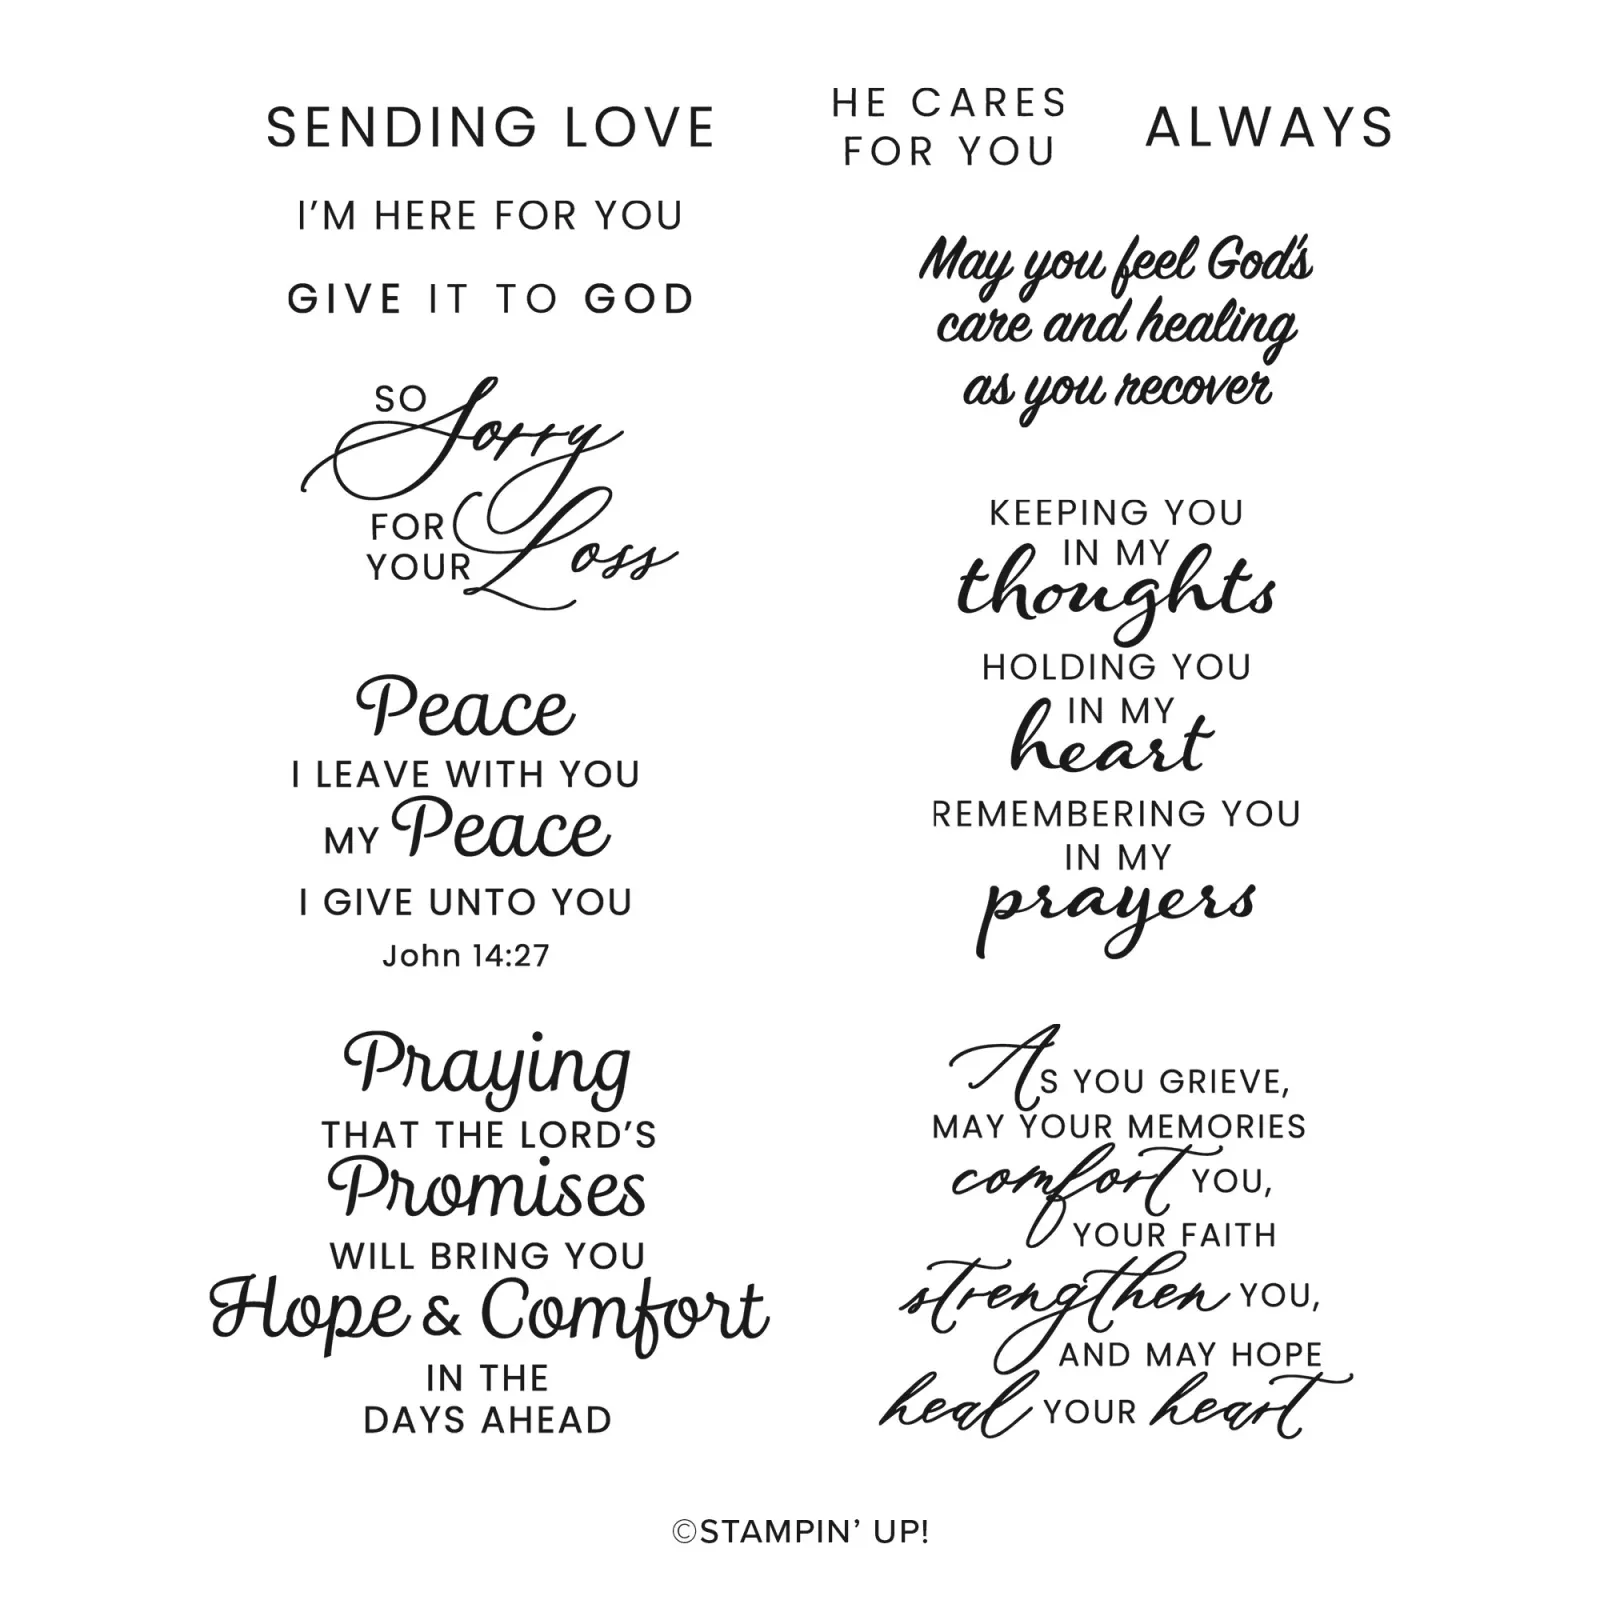
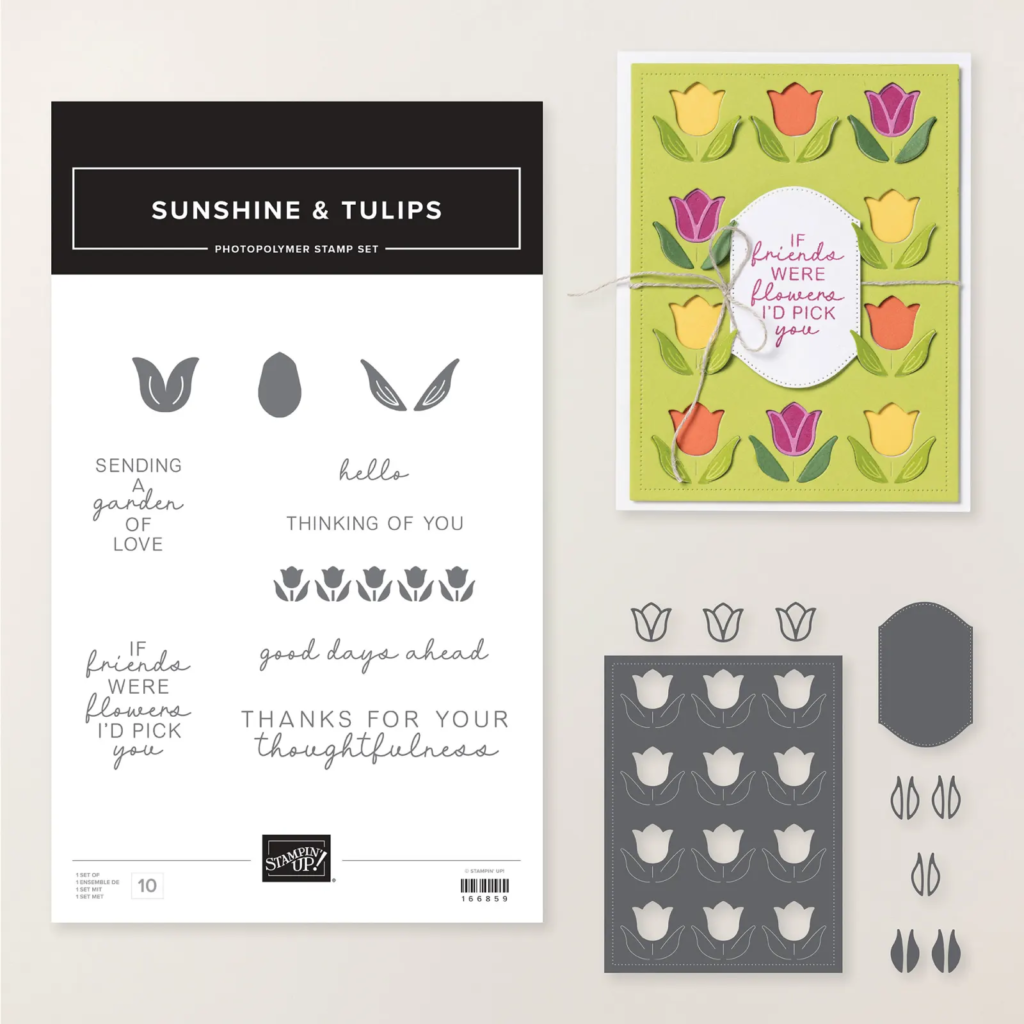
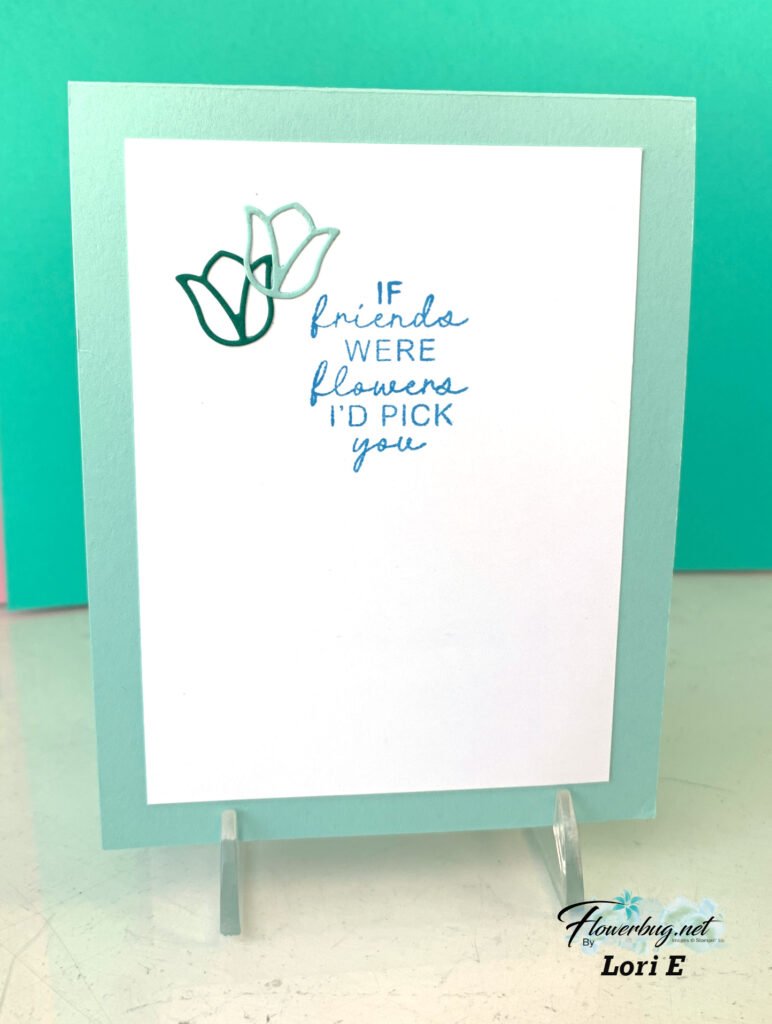
This kit does not include pre-stamped images. I used the fabulous greeting set called Create with Friends to finish the cards.  You can add this on to your kit to go at 10% off.  Email me for this option at lagreff60@gmail.com 

The inks I used are Mint Macaron, Misty Moonlight, Pale Papaya, Highland Heather and Pool Party but you can easily substitute others you own. 

Go here to get this kit to go by June 18th. It's just $28 plus shipping and you're getting $20 in actual product! 

Or click here for the PDF tutorial. 

**The tutorial will be emailed to you immediately after payment.  Please check your spam or junk folder for it. 

*I will have a second card kit to go this month as well.  I'll share that one in a few days.  You can save on shipping and choose both!  

June Specials:

The last chance list is out!  Check out the retiring and discounted products here. 


Host code: RB3VHBUK  Click here to order

Use this host code if your order is under $150. If it's over you'll still get the embossing folder but you'll also earn host benefits! Better yet, choose the Starter Kit and choose $125 in product and FREE Shipping as well!  Click here!

*All online orders in May receive a free PDF full of project ideas with 2 new catalog suites! 

All Posts

  • The Branching Out bundle is retiring! Check out this fun fold card with video tutorial!


    We made this card earlier this fall and I realize I haven’t shared it with you yet. I also made a video too – scroll down….

    The colors include Pecan Pie with Crumb Cake, Early Espresso & Shaded Spruce. I used various wood-like designer series papers for the side panel. See how it has a double fold?

    Also notice the ‘white’ snow on the pine boughs plus snow in the background. You can achieve that without heat embossing. We used White Craft ink and stamped over the pine. Easy & a fun accent!

    The stamp set is retiring but the dies are not. The bundle is on the last chance list now. Click here to see it.
    It’s been one of my favorite products in our Holiday catalog this year. It’s timeless and can be used for fall, winter or Christmas!

    Besides the video tutorial here’s a free project sheet for you too. Click here to download or print it.

    I’m glad the dies are not retiring but I have to say the stamp set is among my top 5 favorites!

    Below is the video tutorial which gives you tips on stamping the branches with the pines and pine cones.

    *You’ll receive a PDF with multiple projects featuring this product
    after the 20th of the month.
    ~~~

    The Last Chance list has been updated!
    Click here to shop.

    Get a free PDF tutorial with any online order from me in December!

    Leave a Reply

    Your email address will not be published. Required fields are marked *

  • Easy Holiday cards made from tags! Free project sheet & video tutorial.


    I look forward to receiving my Paper Pumpkin boxes each month. November’s Wrapped in Cheer kit featured holiday tags and I couldn’t waste an opportunity to make cards from them. I need a lot more Christmas cards than I do tags!

    I didn’t change the tag from the original except for the linen thread bow at the top. But I did add it to a Basic Beige textured layer and then onto a Cherry Cobbler card base.
    Now that is an easy card!

    To create the colored leaves inside the card I used the empty piece of paper from the kit where the leaves had been removed. I’m always looking for easy ways to add to the inside of my cards.

    There were two different tags in this kit. Aren’t they pretty?

    I used the embossing folder called Traditional Wreath 3D folder; it can be seen here. It’s discounted and available while supplies last.
    *The greeting is from the stamps in the kit.

    Below is the video tutorial for this card and more information on Paper Pumpkin.

    *You’ll receive a PDF with multiple projects featuring this product
    after the 20th of the month.
    ~~~

    The Last Chance list has been updated!
    Click here to shop.

    Get a free PDF tutorial with any online order from me in December!

    Leave a Reply

    Your email address will not be published. Required fields are marked *

  • Wrapped in Cheer tags for Christmas


    I shared the November Paper Pumpkin kit on last week’s live video. I just love receiving my crafty box in the mail each month! Easy crafting without a plan or step it up and use your creativity to change the projects.

    There were two different tags in this kit and each one includes multiple pieces. Aren’t they pretty? The embossing folder is called Traditional Wreath 3D folder and can be seen here. It’s discounted and available while supplies last.
    *The greeting is from the stamps in the kit.

    I used the tags to make Christmas cards which you can see below. All I did was add a textured layer and a card base. *I’ll share more details tomorrow.

    Remember that each month my subscribers and Team receive my bonus projects PDF. Lots of unique ideas to create with the contents of each box. Subscribe to Paper Pumpkin here.

    Below is the video where I share this kit, last months and how to make the cards too.

    *You’ll receive a PDF with multiple projects featuring this product
    after the 20th of the month.
    ~~~

    The Last Chance list has been updated!
    Click here to shop.

    Get a free PDF tutorial with any online order from me in December!

    Leave a Reply

    Your email address will not be published. Required fields are marked *


Notice: LeeAnn Greff, Independent Stampin’ Up! Demonstrator, Manager. The content of this website is my sole responsibility as an independent Stampin’ Up! demonstrator and the use of, and content of, the classes, services, or products offered on this website is not endorsed by Stampin’ Up! Copyright 2025