/


Latest Post

Greenery Lane card with the new Washi Tape


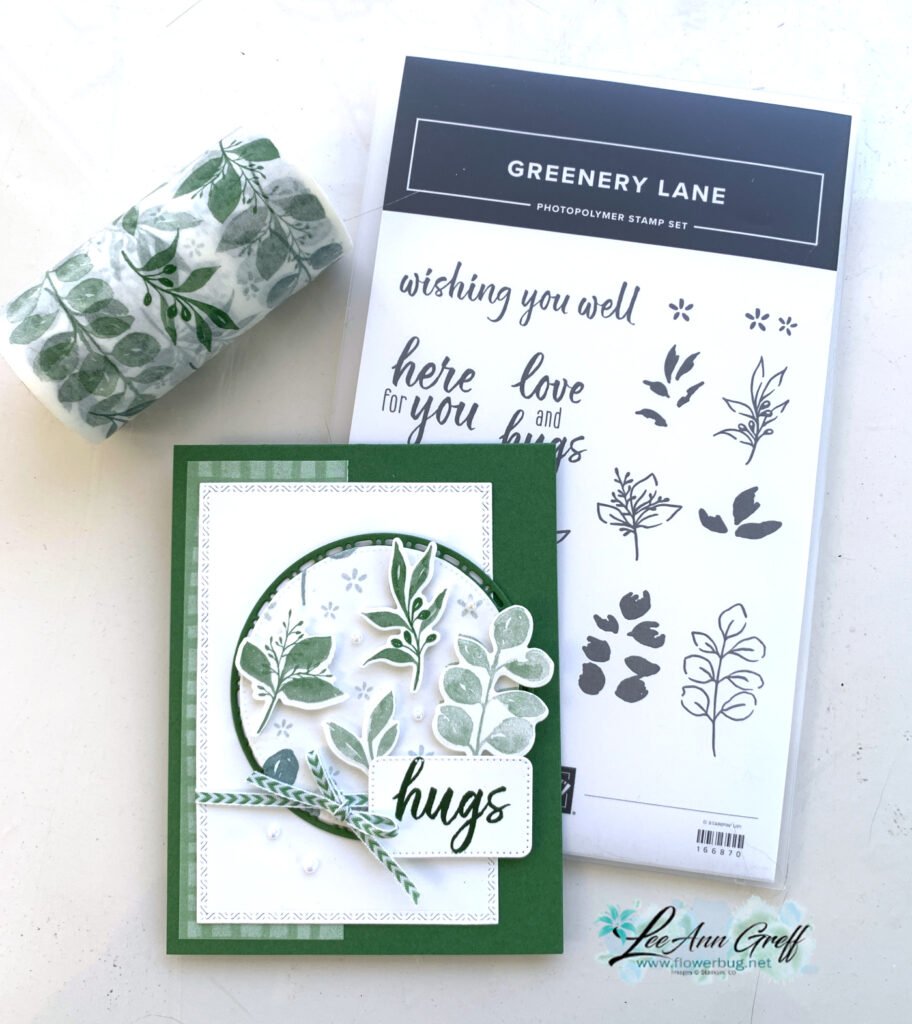
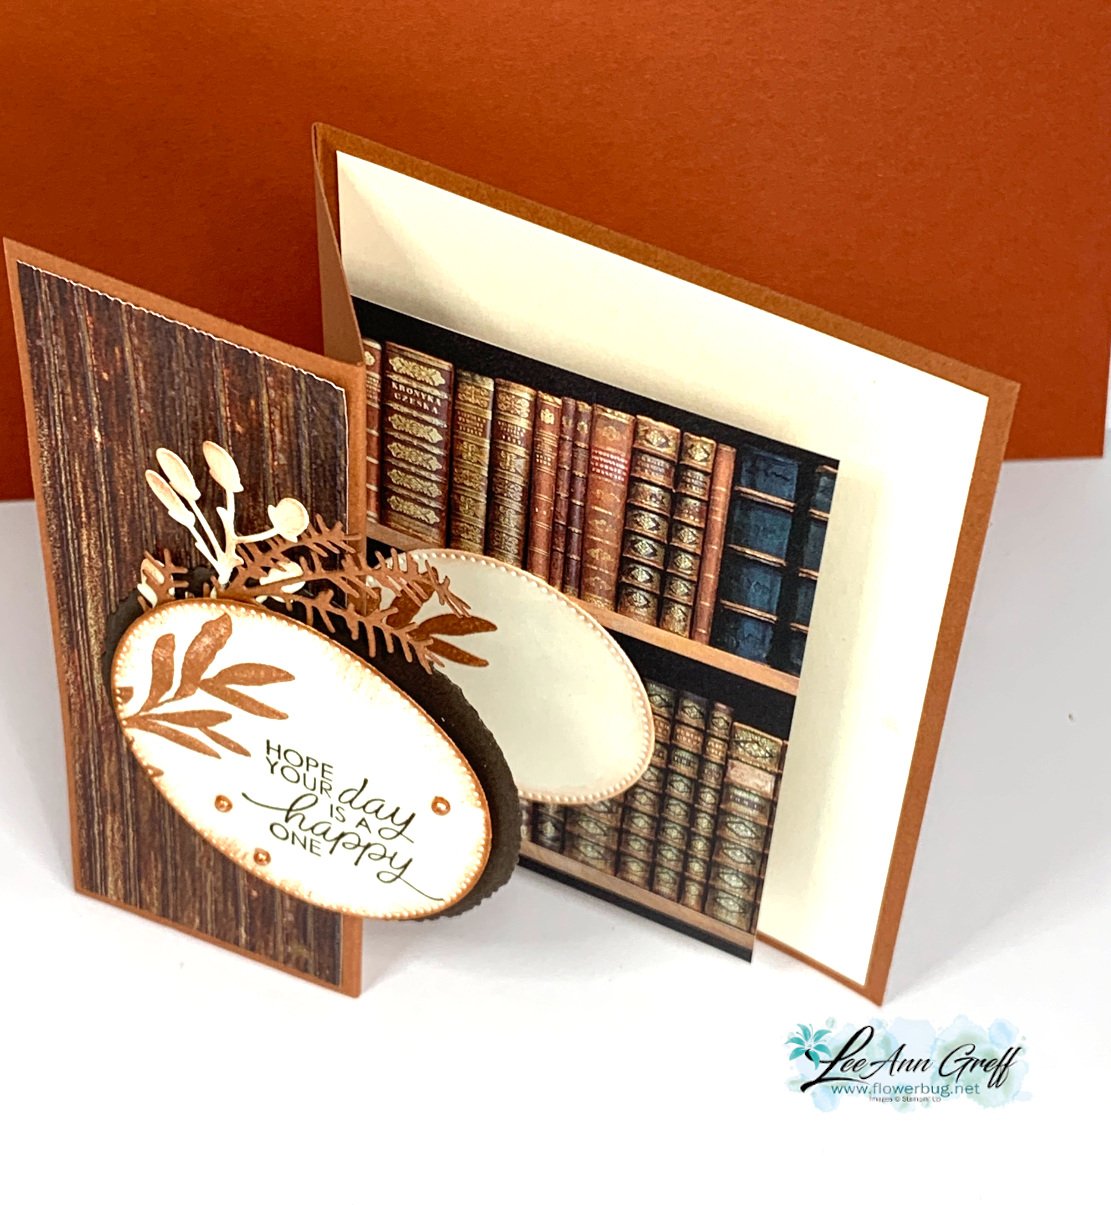
I was playing around with the Greenery Lane bundle and the new coordinating Washi Tape and created this card:

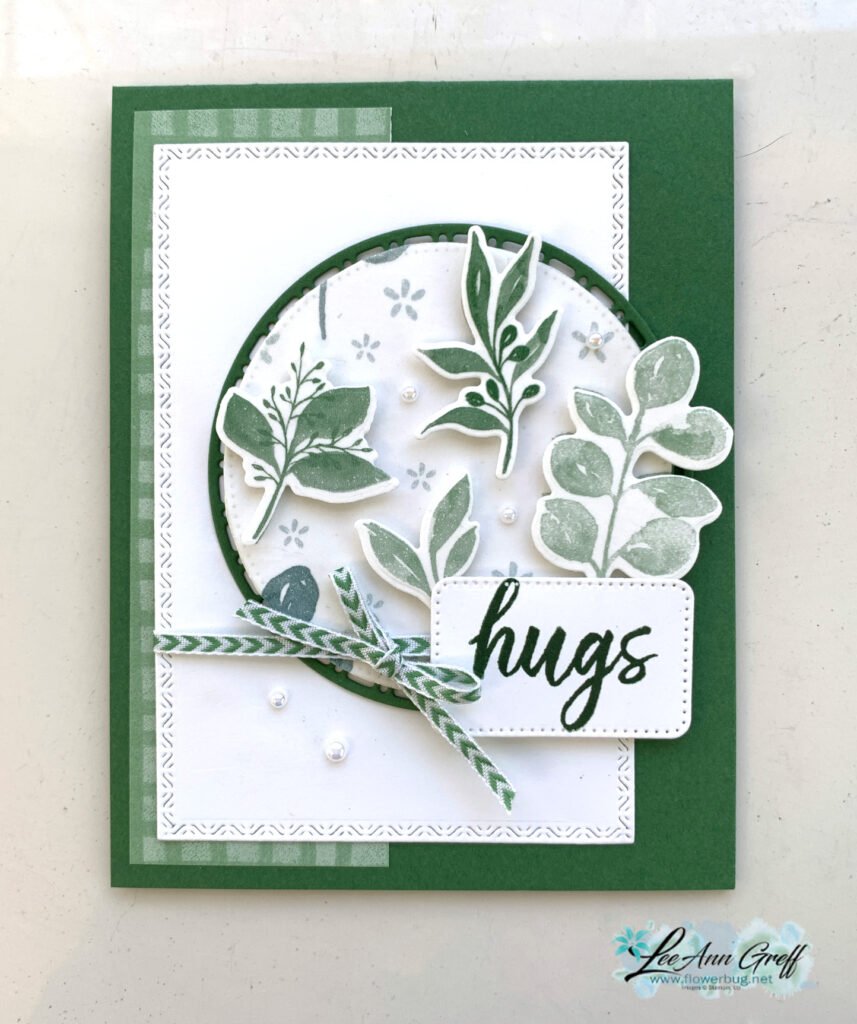
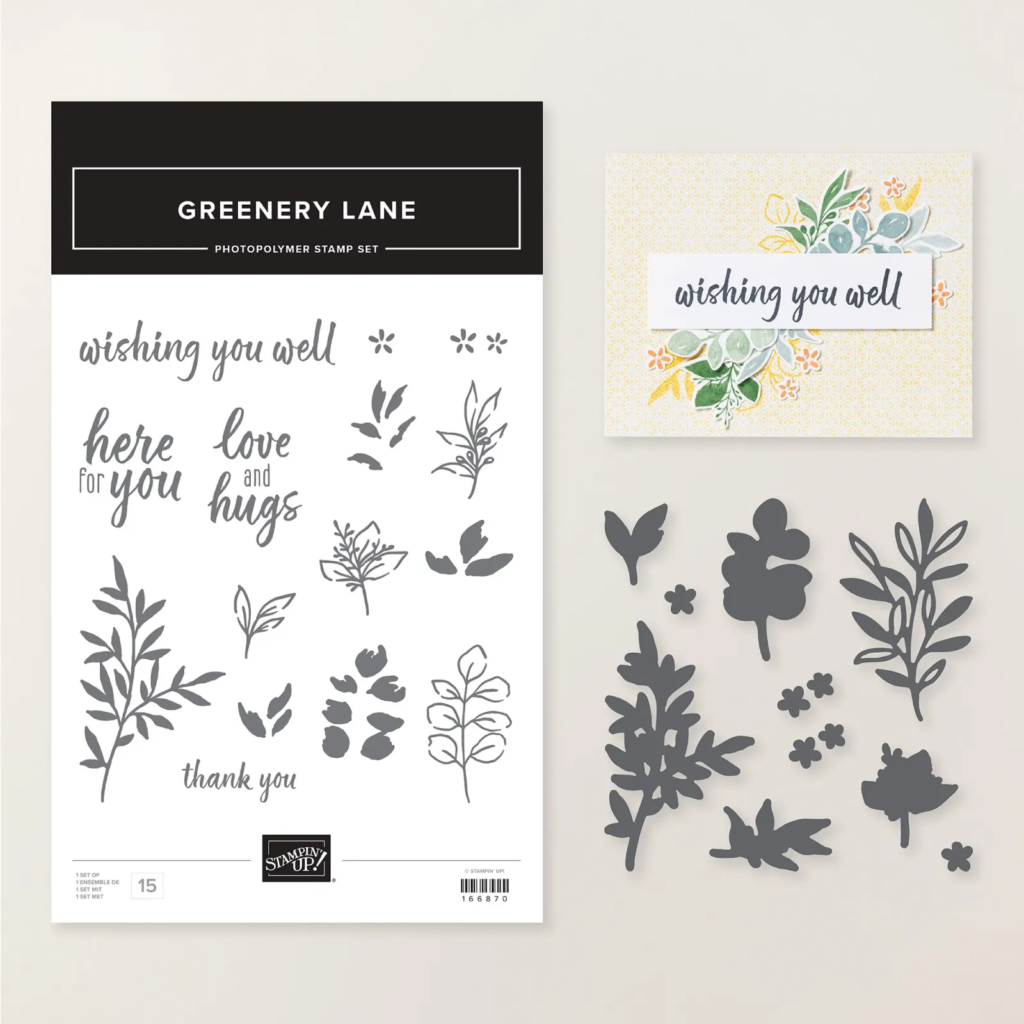
My colors are Garden Green with White; simple. I adhered the Washi Tape to a piece of White CS and then cut one piece into a large circle and used the coordinating dies to cut four of the leaves. You can see the bundle here and below.

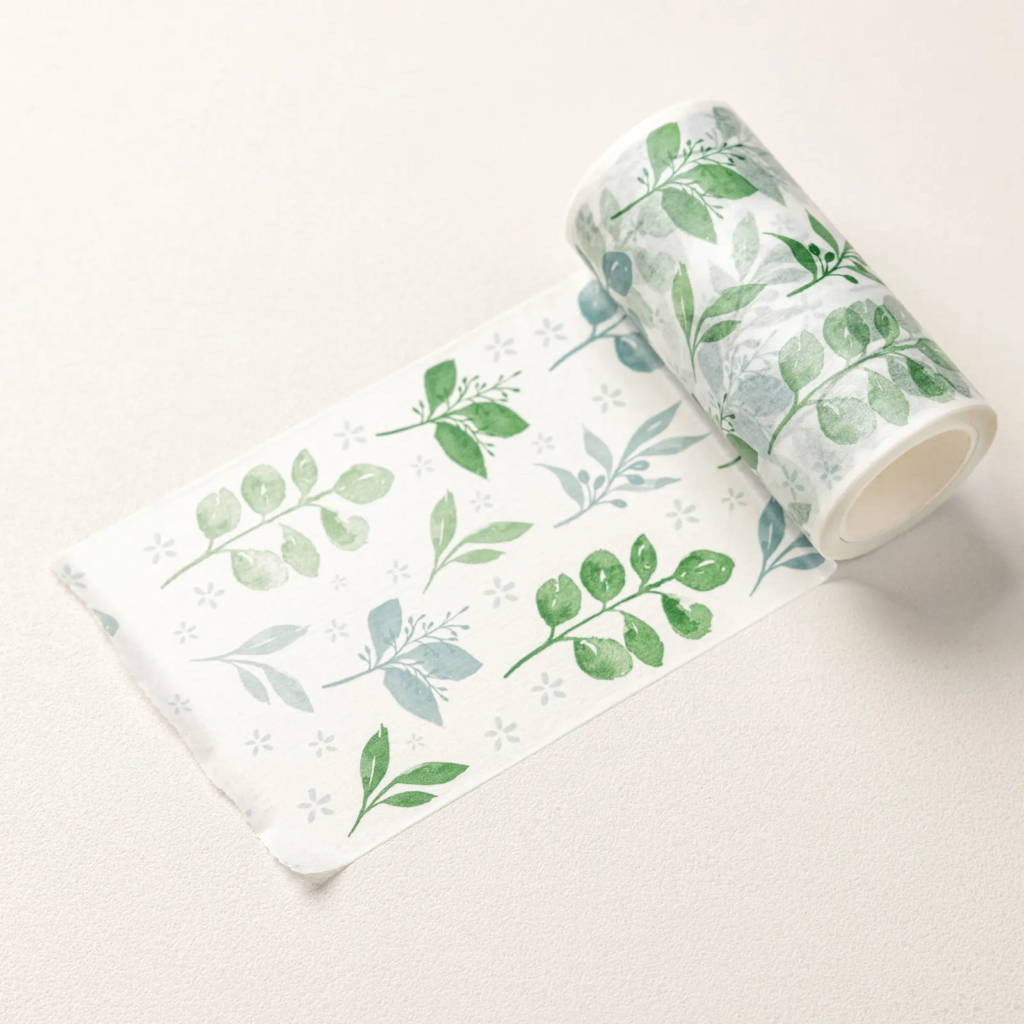
The Greenery Lane Washi tape coordinates with many of the dies in the bundle. It’s so pretty in shades of green. See it online here.

I also used the Nested Essential dies for the greeting, the Spotlight on Nature dies and the Textured Notes dies (unavailable right now but on the Last Chance list).

If you look at my greeting ‘hugs’ you’ll notice it’s not alone. I carefully inked just the ‘hugs’ with my ink pad since I wanted a short greeting.
I hope you like it and are inspired by product and the layout.

~~~

February Specials

Product of the Month is the new Painted Illusions 12 X 12″ designer paper

Get the NEW Stampin’ Positioner FREE when you choose the Starter Kit in February! Click here

Bonus Days – Redeem your coupons in February!

February’s PDF of the Month!

Two NEW kits just released here:

Check out the Last Chance List; new items are added and available

while supplies last

All Posts

  • Another way to use the Gorgeous Garden dies in a fun fold card with video tutorial


    I shared this beautiful card on a recent video.  I sure had fun with the colors on this card!

    It's a double-decker fun fold card.  It might look hard but it sure isn't!  All you need to add is a simple box between the middle layer and the inside back of the card.  Watch the video here to see how it's done.  

    Using our Blending Brushes I added the three colors (Tahitian Tide, Brilliant Blue & Gorgeous Grape) to a piece of White cardstock.  I then used the Garden dies to die-cut it out.  I adhered this to the back of the card base before adding the 'box' to create the double-decker fun fold card. 

    I created a second colorful die-cut so I could add extra details to the cards.   

    Supplies:

    • Basic White & Brilliant Blue card stock
    • Vellum Basics specialty paper seen here
    • Inks – Brilliant Blue, Gorgeous Grape & Tahitian Tide
    • Lasting Joy stamp set seen here
    • Gorgeous Garden dies
    • Basic 3D embossing folders seen here
    • Stylish Shapes dies for the circles
    • Scalloped Contours dies for the scalloped rectangle
    • Blending Brushes

    Double-decker card measurements:

    • White card 8 ½” X 5 ½” score at 2 1/8” & 4 ¼”, front textured layer is 1 7/8” X 5 ¼”,
    • White for die-cut 4” X 5 ¼”, Scalloped die-cut 3 1/8” X 4 ½”
    • Box is 3 ½” X 4” – score every ¾”
    • Circle die-cuts – 2 3/4" white & 3" blue 

    Here are both cards shown in the video below. 

    See the Gorgeous Garden dies here. 

    I made these cards on a recent video seen here.  Or click on the photo below to watch.  

    Don't forget to follow me on YouTube here or on Facebook here. 

     ~~~

    August Specials: 

     *current host codes: KY99RPXP 

    Free Gift with orders in August: 

    Get a pack of at least 5 beautiful cards with orders over $50 this month. 

    The more you order the more cards you get!

    *cards are previous card kits to go; over the top and many fun folds.  

    Leave a Reply

    Your email address will not be published. Required fields are marked *

  • Gorgeous Garden dies & Blending Brushes; wow!


    Check out this beautiful card made with the Gorgeous Garden dies!  


    I think it's stunning.  Don't you love the pretty blending of the greens? I simply added one color to the finished die-cut.  I cut it out from Lemon Lime Twist cardstock and added Pretty Peacock ink with a blending brush in a few areas.  Easy!  

    I was surprised that the finished color (after adding Pretty Peacock to Lemon Lime Twist) was close to Shaded Spruce.  Who knew?!  So I added a 1/4" strip to the left edge of the card to bring in that color and also stamped the greetings in Shaded Spruce too.  

    Tip: Adding your colors in two or more ways to your project gives them a cohesive look. For example if I use green card stock I will add a layer of green or a stamped image. If you struggle with choosing color combinations stick with just two colors.  Or better yet try a monochromatic card – add one color to a neutral like white, browns or black.  

    I used the Lasting Joy set for my greetings.  I really love this set with the mixed fonts; I find I use it often.  

    I added a stitched circle to the left side to anchor the greeting.  Both of these dies are from the Stylish Shapes dies; they're a must have! See them here.  

    Here are the Gorgeous Garden dies. 

    I made these cards on a recent video seen here.  Or click on the photo below to watch.  

    Don't forget to follow me on YouTube here or on Facebook here. 

     ~~~

    August Specials: 

     *current host codes: KY99RPXP 

    Free Gift with orders in August: 

    Get a pack of at least 5 beautiful cards with orders over $50 this month. 

    The more you order the more cards you get!

    *cards are previous card kits to go; over the top and many fun folds.  

    Leave a Reply

    Your email address will not be published. Required fields are marked *

  • More Earthen Textures card ideas


    Here is another simple but pretty card I made on last week's Live video. 

    It features the Earthen Textures stamp set & dies bundle.  Unfortunately the dies are in low inventory so they may be unavailable soon.   But they'll be back I'm sure.  You can see them here.  

    I'm not quite ready for fall yet but I do love this color combination of Pecan Pie & Pretty Peacock.  A little touch of gold adds some elegance with the Gold Distressed paper and Festive Pearls.  I added more detail with a stitched edge with the Stitched with Whimsy dies. That notebook die-cut edge is from the Gorgeously Made dies seen here.  

    And here's a very simple version with a similar layout: 

    I didn't even add any bling or embellishments to this one.  I think it needs something… maybe gold pearls? 

    I stamped the vase in Pecan Pie on Basic White and die-cut it out.  Then added another die-cut of the handles from our Gold Distressed paper. The greeting is heat embossed with White embossing powder on Pretty Peacock card stock. 

    The nice thing about this layout is you can get 5 card fronts from one 8 1/2" X 11" paper when using my 5 at a time layouts.  See them here on this post. 

    You can see more Earthen Textures cards on the video here.  Don't forget to subscribe to either my FB page here to join in the Live's each Tuesday morning.  Or follow me on YouTube here.  

    ~~~

    August Specials: 

     *current host codes: KY99RPXP 

    ShopwithLeeAnn.com

    Redeem your Bonus Days coupons in August!  

    Free Gift with orders in August: 

    Get a pack of at least 5 beautiful cards with orders over $50 this month. 

    The more you order the more cards you get!

    *cards are previous card kits to go; over the top and many fun folds.  

    Leave a Reply

    Your email address will not be published. Required fields are marked *


Notice: LeeAnn Greff, Independent Stampin’ Up! Demonstrator, Manager. The content of this website is my sole responsibility as an independent Stampin’ Up! demonstrator and the use of, and content of, the classes, services, or products offered on this website is not endorsed by Stampin’ Up! Copyright 2025