/


Latest Post

Gorgeously Made with a neat background technique & video tutorial


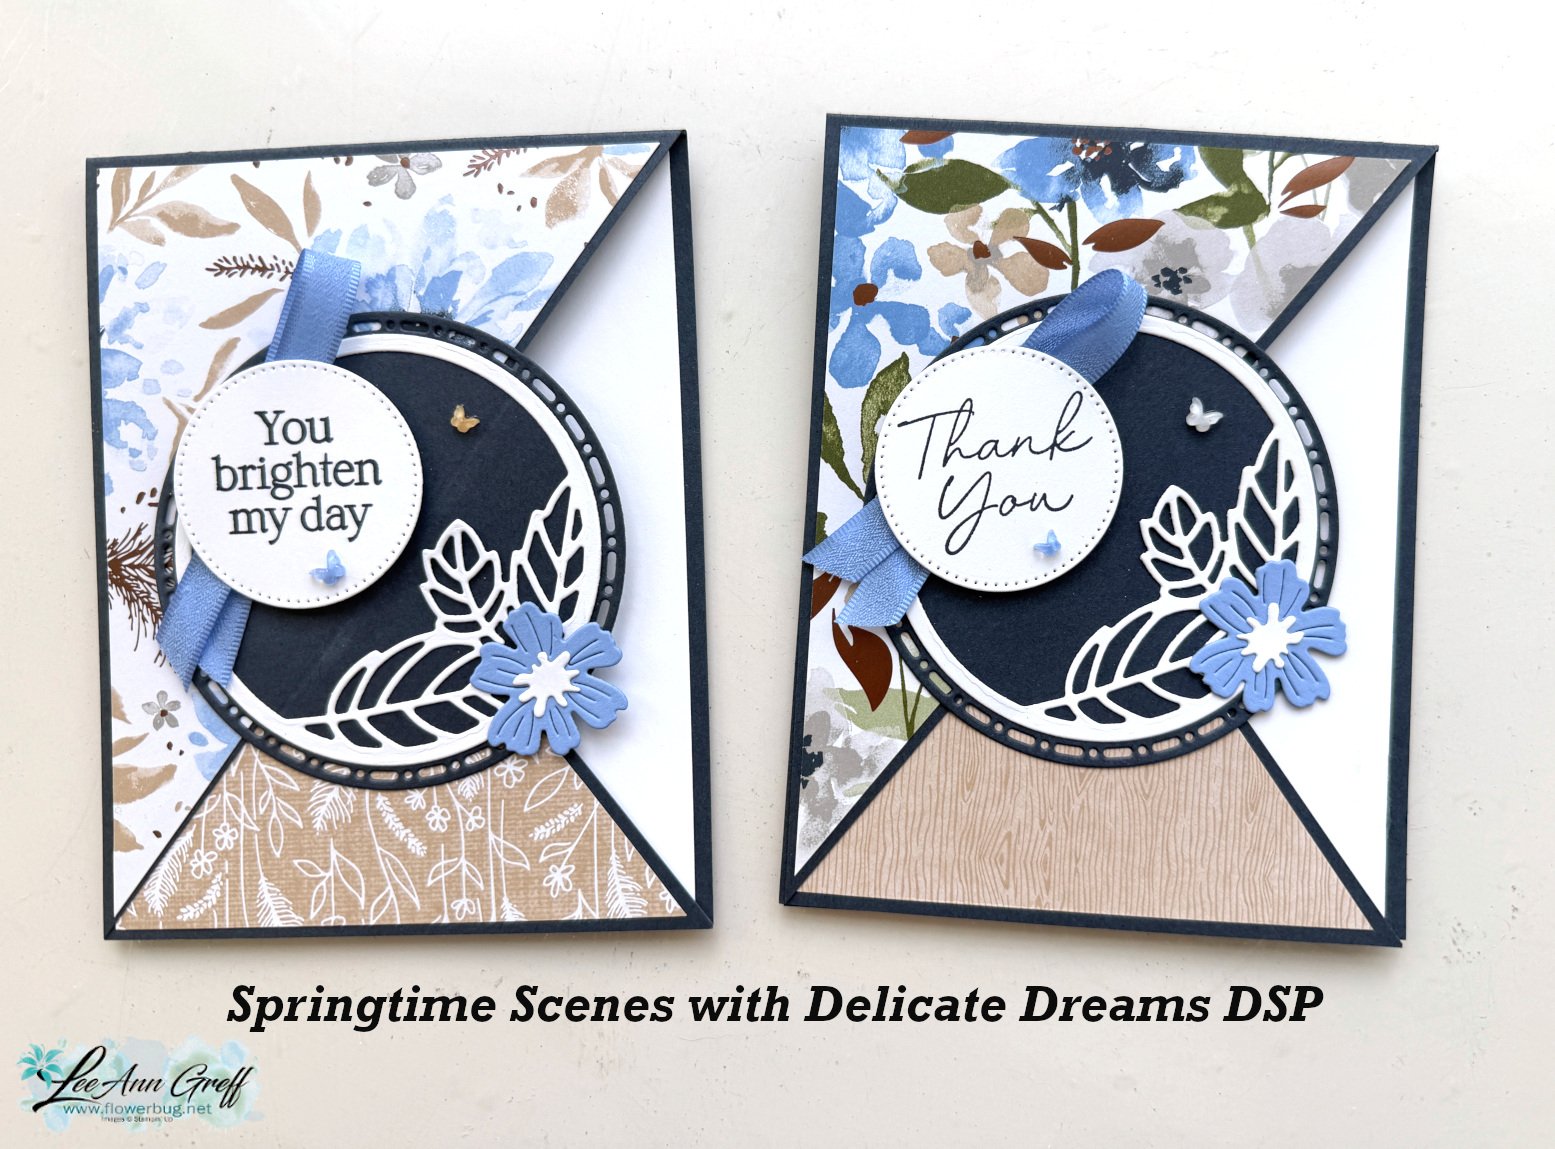
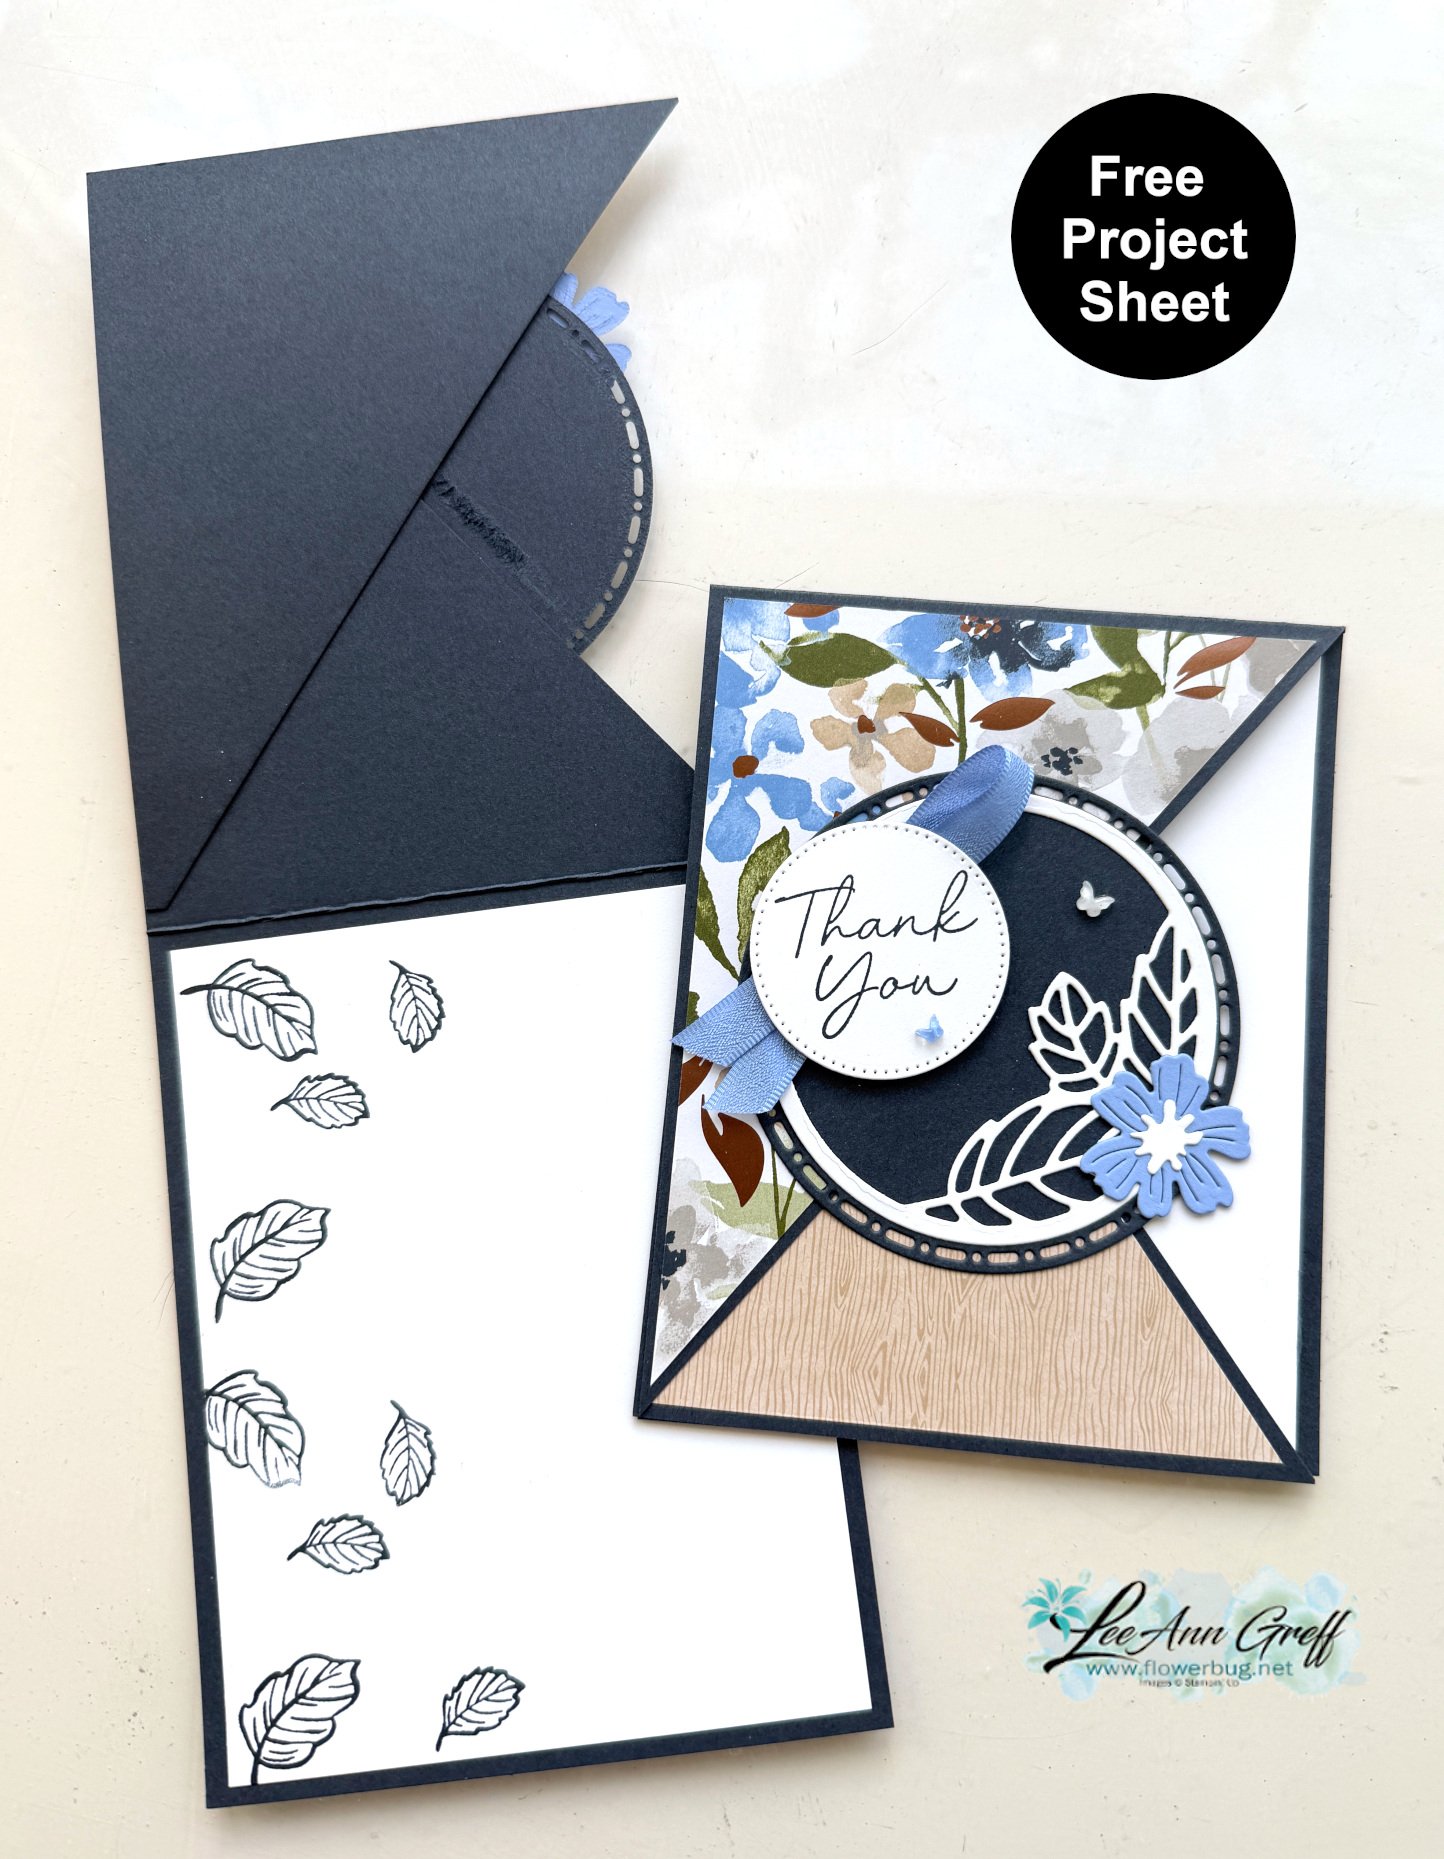
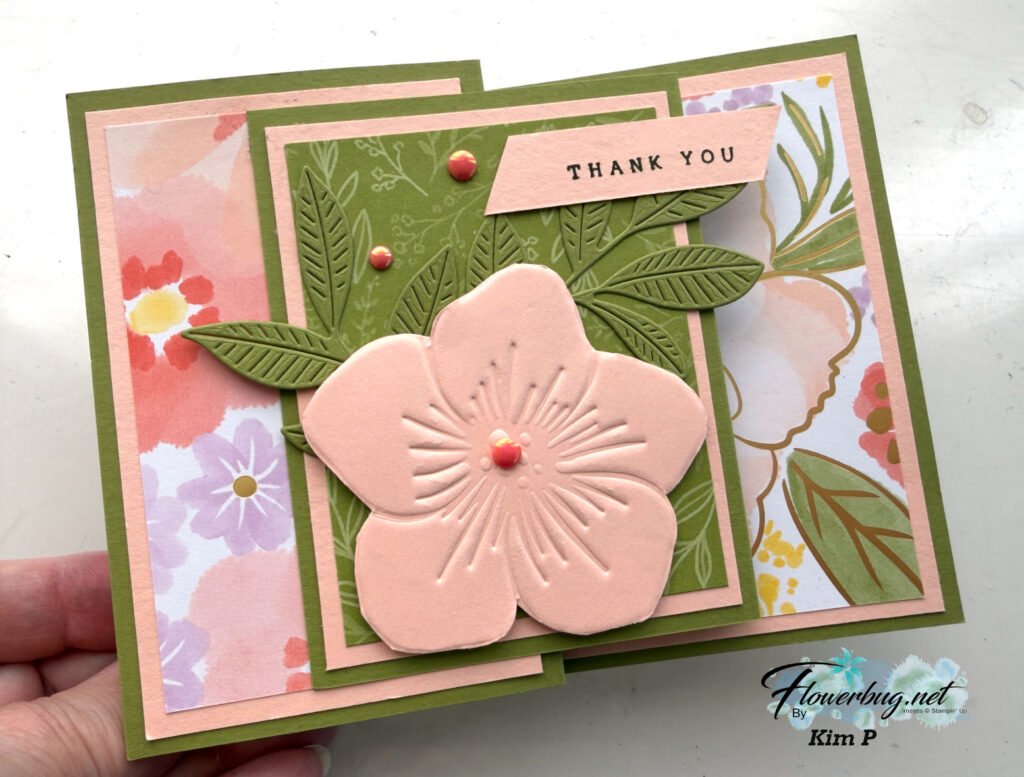
I shared this card as part of my Tuesday Live video last week.  I was featuring the Gorgeously Made bundle.  Check out the background! 

I focused on creating a pretty, textured background under the main image. Here are the steps:

  1. I first stamped the foliage image with Boho Blue ink onto Boho Blue card stock.
  2. Next I textured it with the Exposed Brick embossing folder seen here. (It's one of my favorite folders.)
  3. Lastly I dragged my White Craft ink pad over the texture. Tip: use a very light touch or ensure your ink pad is a little bit dry. I LOVE the look of this so much!  

I used the same foliage image for the inside of the card as I did the pretty background, stamping once in full strength Boho Blue ink and stamping again without reinking.  

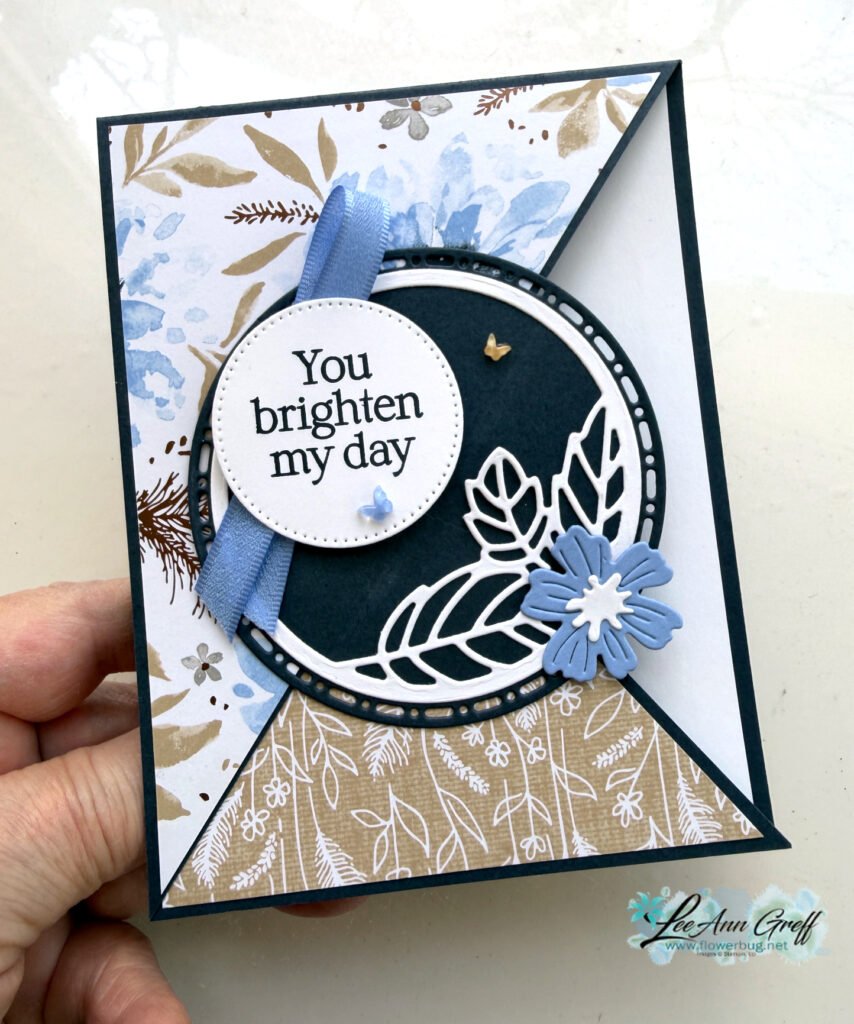
I stamped the other large leafy image from the Gorgeously Made set on the Countryside Corners white die-cut. I added the print image a few times in second generation Boho Blue ink (this means stamped off once). It's layered on a Navy die-cut before adding to the card base.  

The greeting is heat embossed on Navy using White embossing powder. The die-cut is from the Stylish Shapes dies – my go-to dies for greetings. 

There's just something special about a monochromatic card; this time in blues.  If you're going for an elegant or cohesive look try using just one color in varying hues.  Greens, blues and browns are some of my favorite choices.  

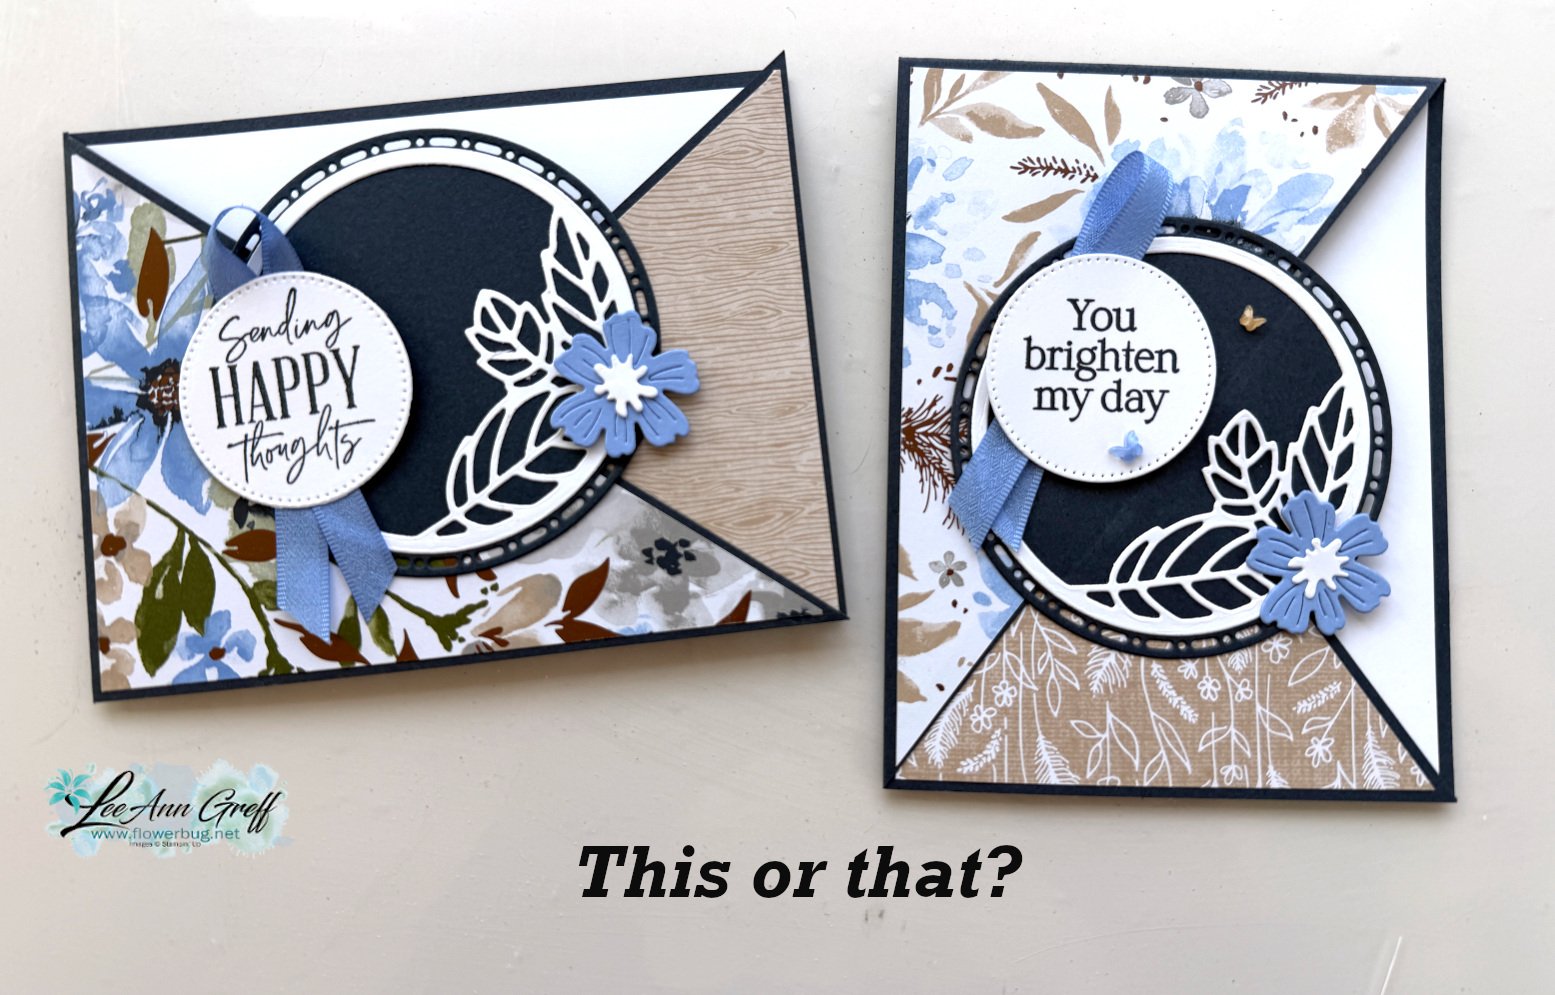
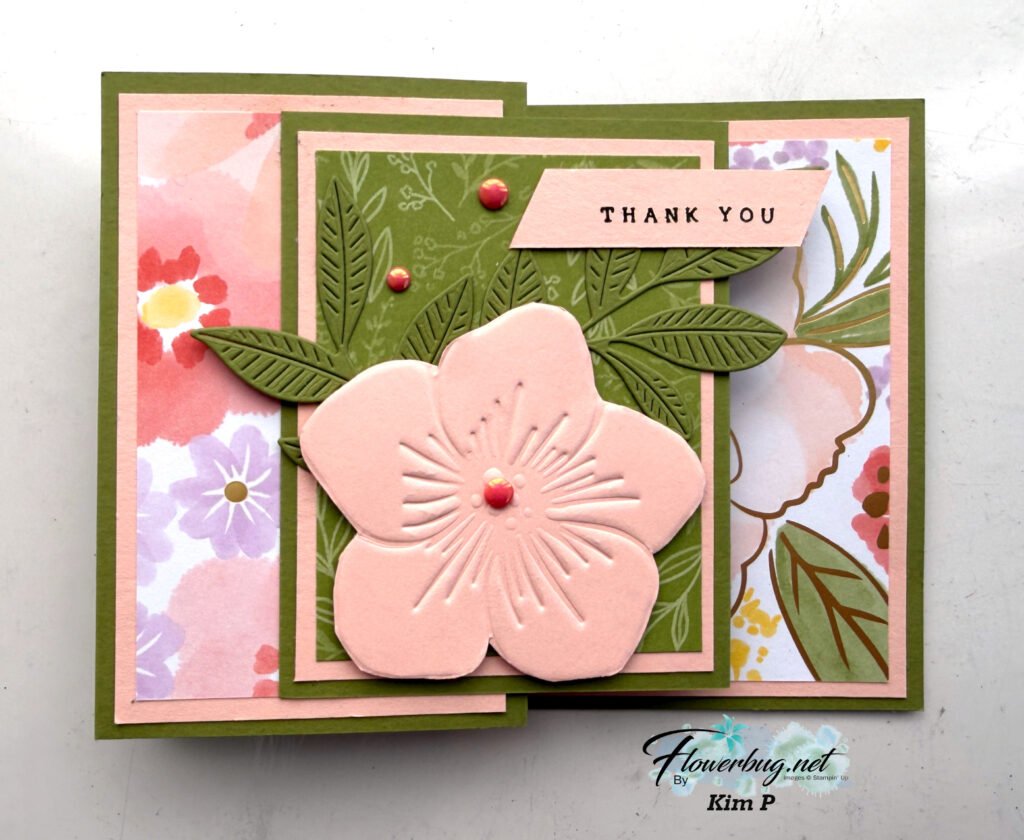
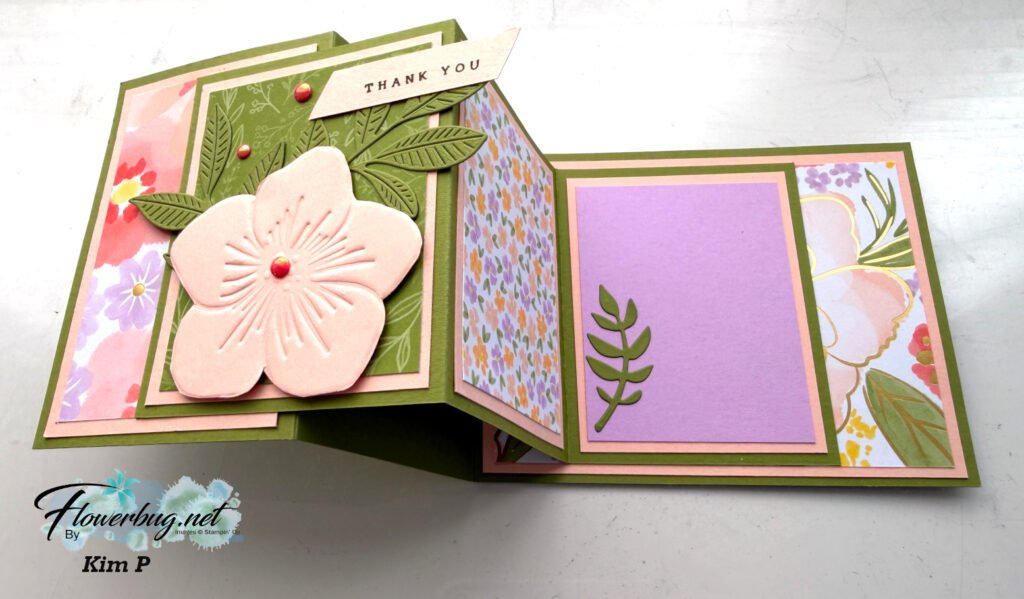
Click here or on the photo below to watch the video.  It's the first project featured; the other is a super fun 'fancy fold' card.  

 ~~~

July Specials: 

Bonus Days!

Get a $5 coupon for each $50 order you place in July.  Redeem in August!


Clearance Rack update!

See all items available here

 NEW Online Exclusives will be available

See them all here

~~~

I have 3 free card kits left!  It includes a new Beautifully Happy stamp set 

with online orders over $65; must use a host code.

 *current host code: XNYX2DWG

All Posts

  • Springtime Scenes diagonal fold – 2 ways!


    I’m excited to share this neat card with you today. We made it at my April Card Clubs.

    Isn’t it beautiful? It features the Springtime Scenes bundle seen here and the Delicate Dreams DSP seen here. This DSP is so pretty they cannot keep it in stock! Be sure to add your email to the product so you get notified when it comes back in stock.

    This card might look like it’s difficult but it’s as simple as trimming off one half of the card front at a diagonal and flipping it over. Yup; that’s it! Watch my video below to see how it’s done.

    My colors include Secret Sea, Hydrangea Hue (new in color), White and Crumb Cake. The largest circle is from the Spotlight on Nature dies seen here. The small White circle is from Stylish Shapes dies.

    We tried this layout in both landscape & vertical position. Which do you prefer?

    I created a free project sheet for this card with measurements, directions, photos and supplies listed. Click here to download or print it.

    Below is the video tutorial with tips on assembly.

    Leave a Reply

    Your email address will not be published. Required fields are marked *

  • Flash Sale on select products; one day only!


    Stampin’ Up! is offering a one day sale on select products; mostly memory keeping but many items are great for card makers too.

    Check it out here.

    Leave a Reply

    Your email address will not be published. Required fields are marked *

  • Lovely & Beautiful fancy fold card swap with measurements


    Kim made this amazing card for our April Team swap:

    She combined new and current products for this beautiful card cased from Karen Hadler. That beautiful textured flower is from an upcoming bundle called Opulent Oasis. It includes a new die that textures; it’s called Textured Impression dies. I’ll share more details on this new product soon. It will be released on May 5th in the 2026 May-August catalog.

    The designer paper is called Lovely & Beautiful and can be seen here. The pretty leaf die-cut is from the Nature’s Symphony dies.
    Here’s how it looks once opened:

    So many layers!! The card stock colors include Old Olive, Petal Pink and Fresh Freesia.

    Measurements:

    – Olive card base 11″ X 4 1/4″ score at 2 3/4″ & 5 1/2″, second piece – 9″ X 3 34″ scored at 3″ & 6″
    – Petal Pink layers 2 1/2″ X 4″ and 5 1/4″ X 4″ on the large piece. 3 pieces at 2 3/4″ X 3 1/2″ on the shorter piece
    – DSP 1 1/4″ X 3 3/4″ and 5″ X 3 3/4″ on the large piece. 2 pieces at 2 1/2″ X 3 1/4″ on the shorter piece
    – Fresh Freesia 2 1/2″ X 3 1/4″

    I hope you enjoyed seeing her gorgeous card. More swaps soon!

    April Specials:

    Check out the Last Chance list here; these items go fast!

    Product of the Month is the Eyelet Blooms dies

    *Get a free 12 project tutorial when you redeem this POM from me!

    ~~~

    Free PDF tutorial featuring the Delicate Whispers suite!

    Leave a Reply

    Your email address will not be published. Required fields are marked *


Notice: LeeAnn Greff, Independent Stampin’ Up! Demonstrator, Manager. The content of this website is my sole responsibility as an independent Stampin’ Up! demonstrator and the use of, and content of, the classes, services, or products offered on this website is not endorsed by Stampin’ Up! Copyright 2025