/


Latest Post

Gorgeous Season of Green & Gold card kit to go; now with video!


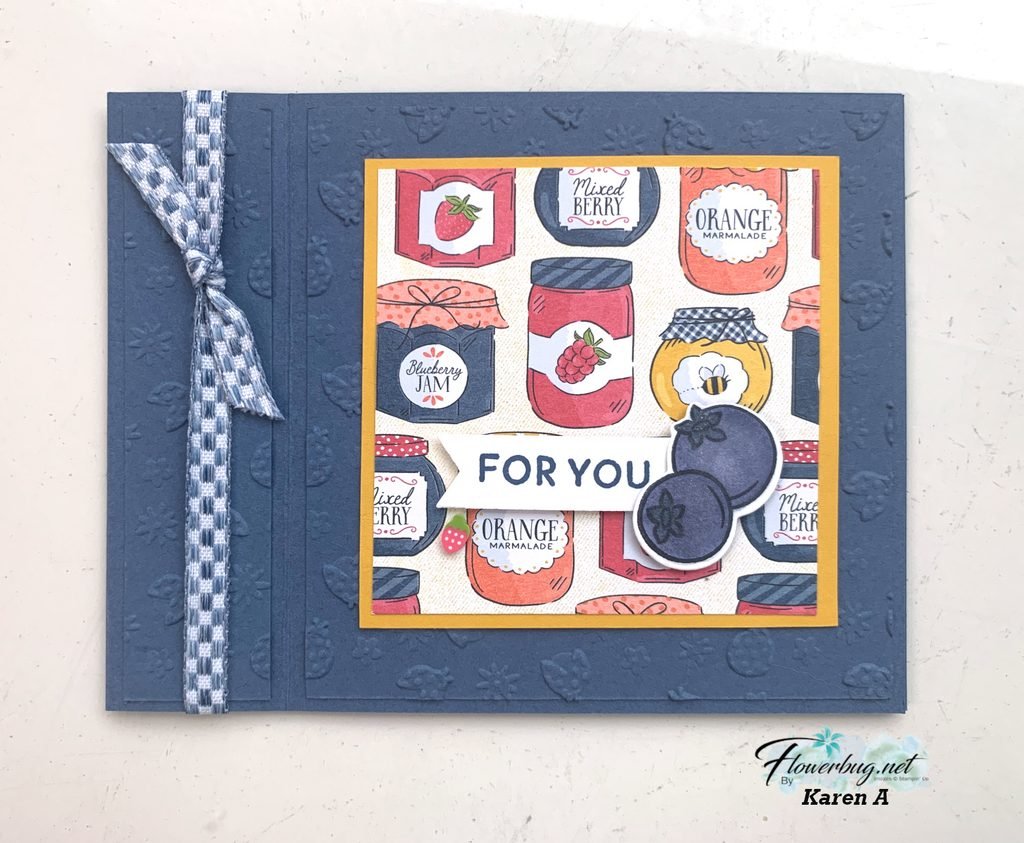
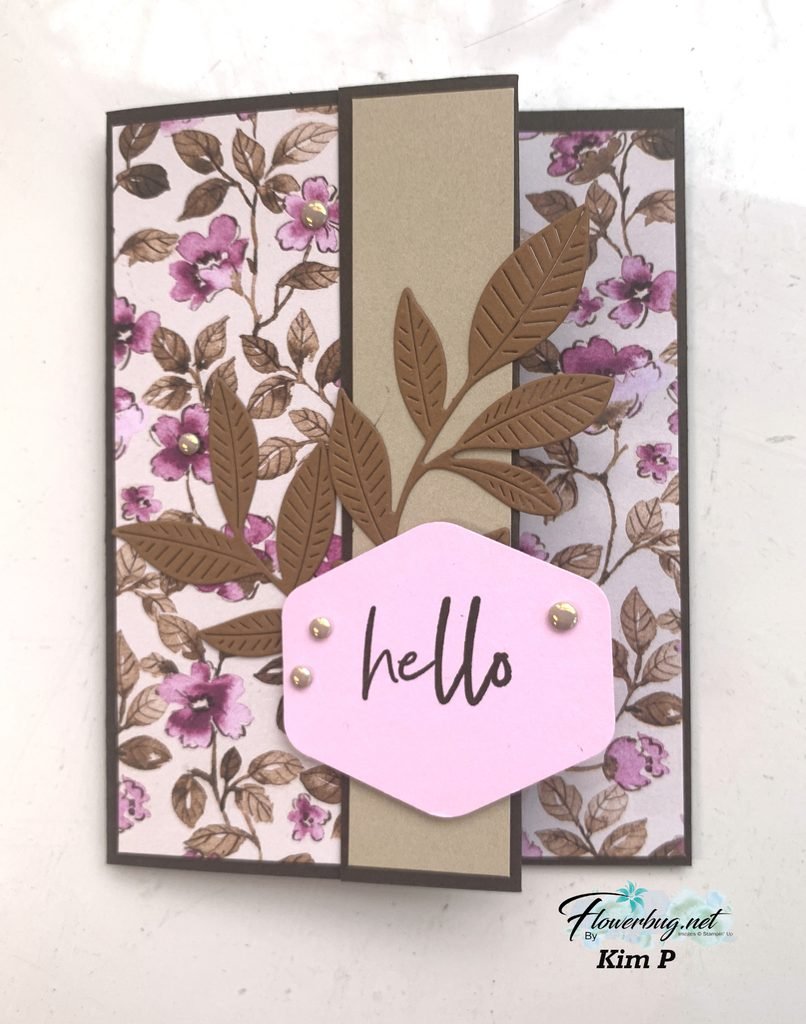
The gorgeous Green & Gold foil specialty paper is the star of these beautiful cards.  

Aren't they pretty?  The patterns include gold foil on one side of each sheet. 4 of 5 designs are fancy folds. 

You have a choice between a pre-cut kit or a PDF tutorial.  Both now include a video tutorial!

The tutorial includes photos, measurements, the supply list and step by step instructions. You'll also receive a link to an unlisted video tutorial. This will be sent via email after purchase.  

The kit to go is $31 and includes the following:

  • 10 pre-cut cards with die-cuts
  • 1/2 pkg. Season of Green & Gold DSP (6" X 12")
  • a share of Iridescent sheet ribbon and Neutral sequins
  • the PDF tutorial & video link

Click here to pre-order the kit to go. Click here to purchase the PDF tutorial $16. 

The PDF tutorial will be sent to you immediately after purchase.  Please check your spam or junk folder. 

You'll need inks, greeting images, a scissors (some fussy cutting), adhesives and a paper trimmer to cut your new designer paper. 

Products used:

  • Stamps – Everyday Greetings & Greetings of the Season
  • Inks – Garden Green, Mossy Meadow
  • Cardstock – Garden Green, Mossy Meadow, Old Olive, Gold Foil, Vanilla, White
  • Dies & Folders – Stylish Shapes, Unbounded Love, Magical Meadow, Thoughtful Wishes, Golden Greenery, Greetings of the Season dies. Distressed Tile, Exposed Brick & Timber embossing folders. 
  • Other – Die-cut machine, adhesives, paper snips scissors, Paper trimmer

Save $$ on shipping if you order more than one kit.  See them all at my shop here. 

~~~

September Specials:

*current host code links: ENS36KE4 or ZN49FXMV


~~~

Check out the new Scrapbooking Line from Stampin' Up! 

See the Brochure here

~~~

All online orders will receive a free PDF tutorial featuring the

Splendid Autumn suite

All Posts

  • Save time on finishing the inside of your cards with this trick!


    I’m excited to share these stunning snowflake cards with you today. We made them at my card clubs in December.
    Living in North Dakota, we usually see a lot of snow in the winter so these cards are great for many occasions.

    I used the Snowflake Kisses bundle seen here. It’s filled with wonderful greeting images and lots of snowflake dies.

    My colors include Pretty Peacock with Cloud Cover and Gorgeous Grape with Fresh Freesia. I think blues & purples are perfect for snowflakes. We used a blending brush to add more color to the large snowflake die-cut.

    After creating the cards above I thought I’d try combining the colors on the large die-cut.

    Isn’t that pretty? I just love combining Gorgeous Grape with Pretty Peacock on the Fresh Freesia die-cut. Blending Brushes make this a breeze!

    Look how we finished the inside.

    I wanted to add snowflakes to the inside of the card but didn’t want to die-cut tons of them for my club gals. So I came up with creating a snowflake stencil.
    I cut multiple snowflakes from a piece of card stock and we used Blending Brushes to add pretty snowflakes to our White layer. I truly love the effect it gives.

    If you’d like the free project sheet for this card click here. You can download or print it.

    See how this card is made in the video below. I also shared a second Snowflake Kisses fun fold card.

    *You’ll receive a PDF with multiple projects featuring this product
    after the 20th of the month.
    ~~~

    The Last Chance list has been updated!
    Click here to shop.

    Get a free PDF tutorial with any online order from me in December!

    Leave a Reply

    Your email address will not be published. Required fields are marked *

  • The new Swirled Designs bundle is super fun!


    I had to point you to the new Swirled Designs bundle in our newest Online Exclusives release. It has the neatest sets of dies and stamps in it!

    See what I mean? The extra layers on the dies make them super playful and the stamps will be great for stamping backgrounds. Basic shapes like ovals and stars are something we’ll always use for multiple occasions.

    Look closer at this card made by Stampin’ Up! I love when we get new product that’s unique and we haven’t seen before.

    See what I mean? You can use the stamps to add the details to the inside of the die-cut shapes like above. I just love this card! See this bundle here.

    *You’ll receive a PDF with multiple projects featuring this product
    after the 20th of the month.
    ~~~

    The Last Chance list has been updated!
    Click here to shop.

    Get a free PDF tutorial with any online order from me in December!

    Leave a Reply

    Your email address will not be published. Required fields are marked *

  • The Branching Out bundle is retiring! Check out this fun fold card with video tutorial!


    We made this card earlier this fall and I realize I haven’t shared it with you yet. I also made a video too – scroll down….

    The colors include Pecan Pie with Crumb Cake, Early Espresso & Shaded Spruce. I used various wood-like designer series papers for the side panel. See how it has a double fold?

    Also notice the ‘white’ snow on the pine boughs plus snow in the background. You can achieve that without heat embossing. We used White Craft ink and stamped over the pine. Easy & a fun accent!

    The stamp set is retiring but the dies are not. The bundle is on the last chance list now. Click here to see it.
    It’s been one of my favorite products in our Holiday catalog this year. It’s timeless and can be used for fall, winter or Christmas!

    Besides the video tutorial here’s a free project sheet for you too. Click here to download or print it.

    I’m glad the dies are not retiring but I have to say the stamp set is among my top 5 favorites!

    Below is the video tutorial which gives you tips on stamping the branches with the pines and pine cones.

    *You’ll receive a PDF with multiple projects featuring this product
    after the 20th of the month.
    ~~~

    The Last Chance list has been updated!
    Click here to shop.

    Get a free PDF tutorial with any online order from me in December!

    Leave a Reply

    Your email address will not be published. Required fields are marked *


Notice: LeeAnn Greff, Independent Stampin’ Up! Demonstrator, Manager. The content of this website is my sole responsibility as an independent Stampin’ Up! demonstrator and the use of, and content of, the classes, services, or products offered on this website is not endorsed by Stampin’ Up! Copyright 2025