/


Latest Post

Gorgeous Night Divine Fun fold card


We held our monthly Team swap this weekend and I'm thrilled to share the cards with you! Our themed was Christmas cards. 

First is this stunning card made by Roxann:

She chose the Night Divine bundle seen here. Unfortunately I noticed the stamp set is out of stock now; it should be back in a few weeks.  She also used the O Holy Night designer paper seen here.  

Here's the bundle: such beautiful greetings and the dies…!! 

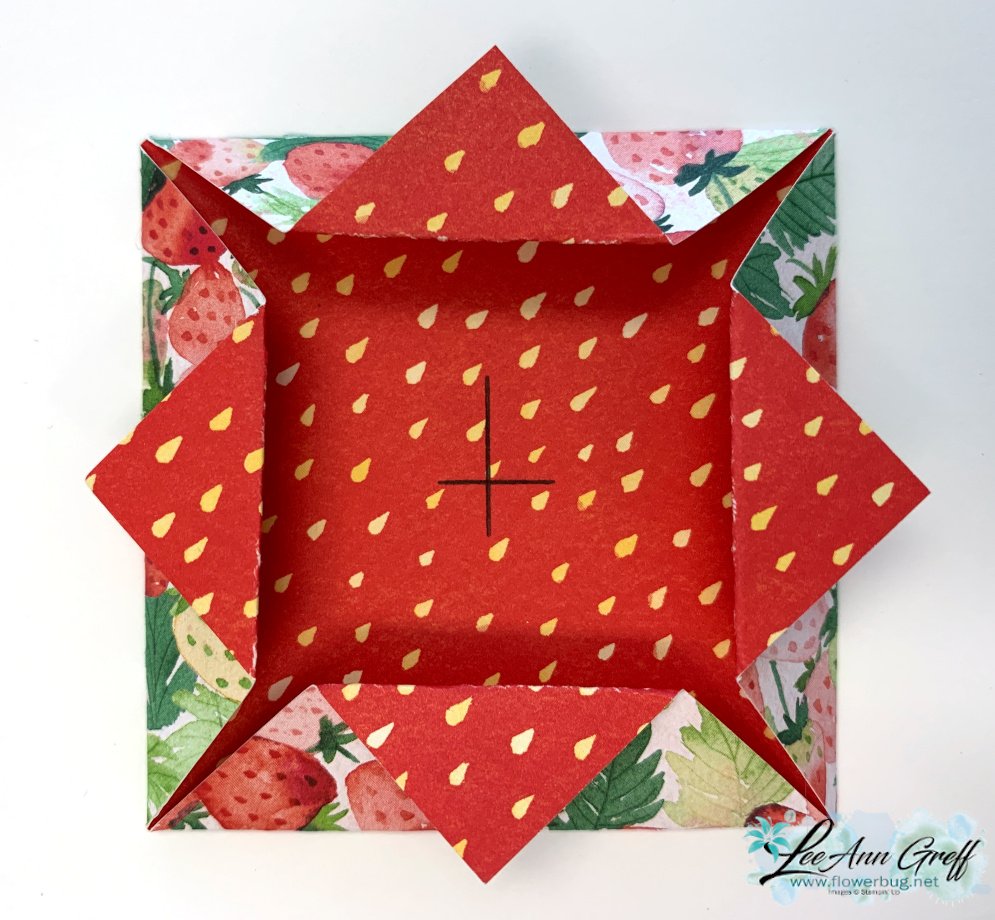
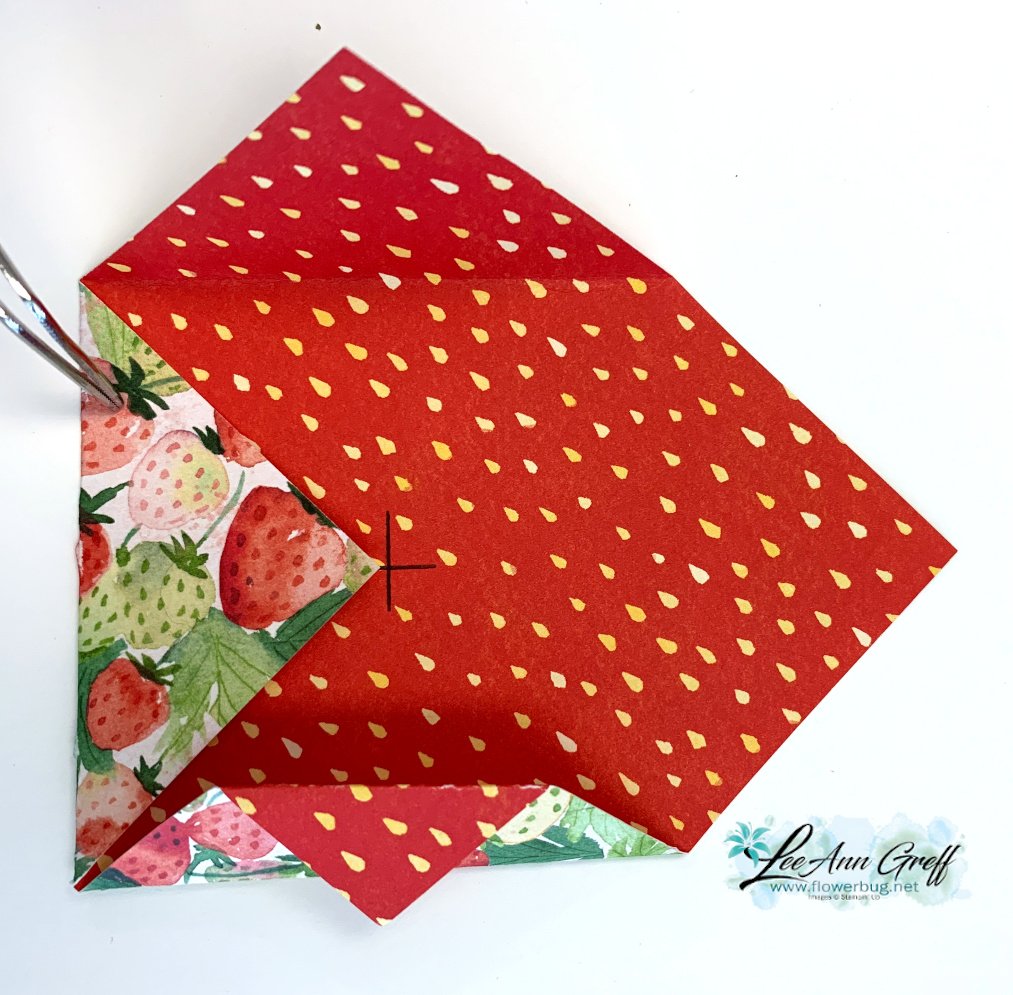
You can see her fun fold a little better in this image below:

Measurements:

  • Night of Navy card base 5 1/2" X 8" score at 1", 2" and 5", panel under greeting is 1 7/8" square 
  • left vertical piece 3 1/4" X 5 1/2" score at 4"
  • Vanilla inside front and back are 5 1/4" X 2 3/4", greeting 1 3/4" square
  • Designer paper 5 1/5" X 7/8" strip on lower front, 3 1/8" X 1 3/4" panel under nativity, sky is 3 1/8" X 2 1/2" 

Here's the back side; she textured it with the Stars at Night embossing folder and added a donkey die-cut.  

The O Holy Night designer paper has been in and out of stock the past month of so.  It's currently back in stock!  

Love to make cards & swap?  Join my Flowerbug's Team in October with the Starter Kit deal seen below and be a part of the fun! 

More Team swaps coming tomorrow; stop back in! 

~~~

October Specials: 

Amazing Starter Kit choices! 

Choose one and enjoy the 20% discount on all future orders! Click here

Today through Wednesday is free shipping on Stampin' Up! orders over $75!  It's a great time to pick up those items you've had on your list. 

*current host code: HTHK4TQU or Y7VMN2TC

*Get free glitter gems with online orders over $55 (Please use a host code)

All Posts

  • Easiest Shake Card Ever; plus the quickest Christmas cards you can make!!


    Have you wanted to make a shaker card but didn't want to deal with the Foam Adhesive and window sheets?  Well I have a solution for you!  Use a clear envelope!  Yes; it works beautifully!

    I used one of the Wonder of the Season cards, cutting it down to 4" X 5 1/4" and adding another layered strip.  I then inserted it into one of our clear envelopes (seen here) and folded the excess to the back, securing it with Tear & Tape.  Then I added some Sequins for Everything and sealed it up.  It's adhered to a Real Red card base and the greeting is adhered to the front. 

    The stamps are from the Tag Buffet stamp set. 

    You can watch how I did this in the video below; it's one of the first projects. 

    In the video I also shared the Wonder of the Season Memories & More projects.  These cards are beautiful and filled with gold & red foil accents.  I love these because they are super quick & easy!  All I added were some Red rhinestones!  No stamping or extra card stock!  

    Here are a few I made:

    Remember I only used three products on these!  All you need are the cards (seen here) and the cards & envelopes (seen here) and Red Rhinestones.

    You can use the 3 X 4" cards for the pretty card bases so the foil accents show.  Or flip the front to the inside and use the larger 4" X 6" cards on the front.  This way you can still see that pretty foil on the inside! 

    Watch the video below to see these projects & more! 

    December Ordering Special: 

    Current Host code is NQHKDKZR

    Order online here

    All online orders will receive my 16 Christmas cards class PDF!

    Get a free package of 220 Red Rhinestones from me with an online order over $50 using the host code above.


    Leave a Reply

    Your email address will not be published. Required fields are marked *

  • Wow Peace & Joy card!


    Look at this amazing card Jacki made for our Flowerbug's swap last month!  Count the layers! 

    I count 8 layers on the front alone!  She used lots of Holiday catalog products to make this gorgeous card including the following:

    • Peace & Joy Bundle seen here
    • Brightly Gleaming Specialty DSP
    • Plush Poinsettia Specialty paper seen here
    • Snowflake Adhesive Backed sequins

    Aren't those Joy dies amazing? They include all 3 layers of the greeting.  It also includes the words Joy & Peace too. 

    December Ordering Special: 

    Current Host code is NQHKDKZR

    Order online here

    Get a free package of 220 Red Rhinestones from me with an online order over $50 using the host code above.


    Leave a Reply

    Your email address will not be published. Required fields are marked *

  • Video with Stampin’ Up! Stitched Dies for some easy WOW cards!


    Look at these fun and unique cards made with the Stitched Triangle dies!  

    Aren't they neat?  Our Stitched dies are quite versatile and can be used in a variety of ways as you can see! 

    I used the Well Said stamp set, Well Written & Stitched Triangle dies.  The DSP is 5 1/4" X 4" and the Vellum ¾" X 4”

    These cards were created on last week's FB Live video.  If you're not following me yet here's the link to my FB page.  Be sure to like & follow so you catch them every week on Tuesdays at 11 am CT.  

    Check out the Stitched Rectangle cards below.  I cut all of the Playful Patterns Designer Paper layers at the same time using just 2 dies.  

    How did I do it?  Start out with a piece measuring 5 1/4" X 4" and choose the 3rd & 6th dies from the outside.  Perfect layers! 

    I then layered the Designer Paper with card stock and added a die-cut greeting from the Best Year stamp set. 

    Supplies & Measurements:

    • Coastal Cabana, Crushed Curry, & Calypso Coral
    • Tasteful Label dies, Detailed Bands dies, rhinestones
    • DSP – 5 ¼” X 4”, and cut with dies at 3 ¾” X 3” & 3 1/8” X 1 ¾”
    • CS – 4 5/8” X 3 ¼” and 3 3/8” X 2”

    Remember you can find me here on Facebook 6 times a month! 

    ~~~

    Today's the last day for my November specials:

    Current Host code is NQHKDKZR

    Order online here


    All online orders receive my FREE Curvy Celebrations 22 project PDF Tutorial! 

    Below are the Multipurpose Glue stands we're making. They're available in my Shop here.  


    We can fit three in a box for almost the same shipping cost. They are $6 each and shipping is about $3-4 in US.   They make great gifts for your stamping friends!  

    Leave a Reply

    Your email address will not be published. Required fields are marked *


Notice: LeeAnn Greff, Independent Stampin’ Up! Demonstrator, Manager. The content of this website is my sole responsibility as an independent Stampin’ Up! demonstrator and the use of, and content of, the classes, services, or products offered on this website is not endorsed by Stampin’ Up! Copyright 2025