/


Latest Post

Gorgeous Blackberry Beauty Cards Kit to Go!


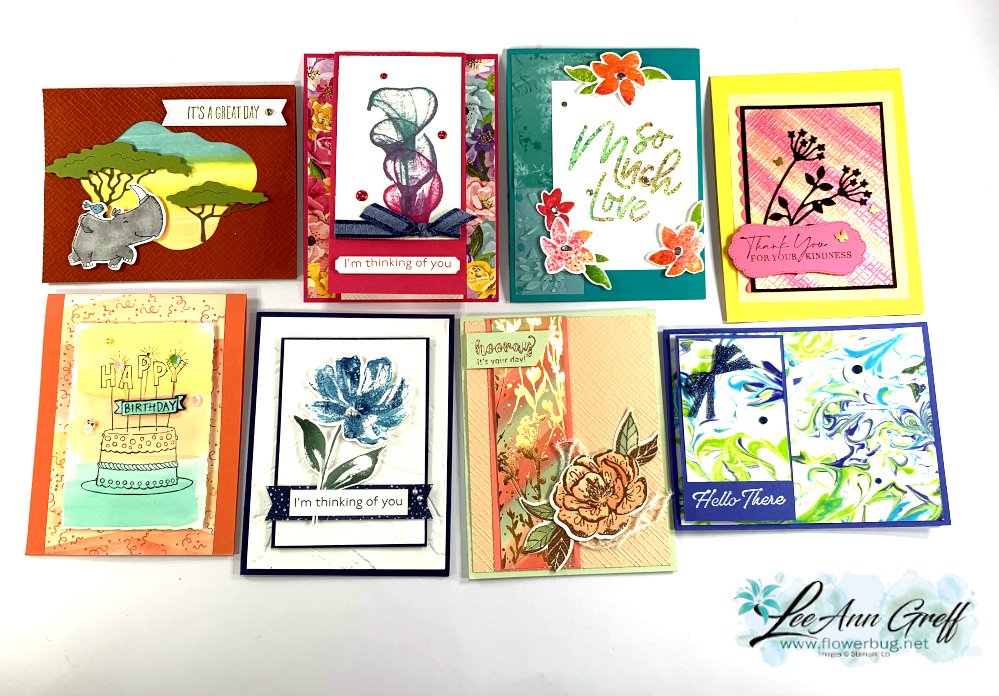
I couldn't wait to get my hands on this gorgeous Blackberry Beauty Specialty designer series paper!  It is even prettier in person.  I knew I had to feature it for my August card kit to go. These beautiful cards came together almost effortlessly!  
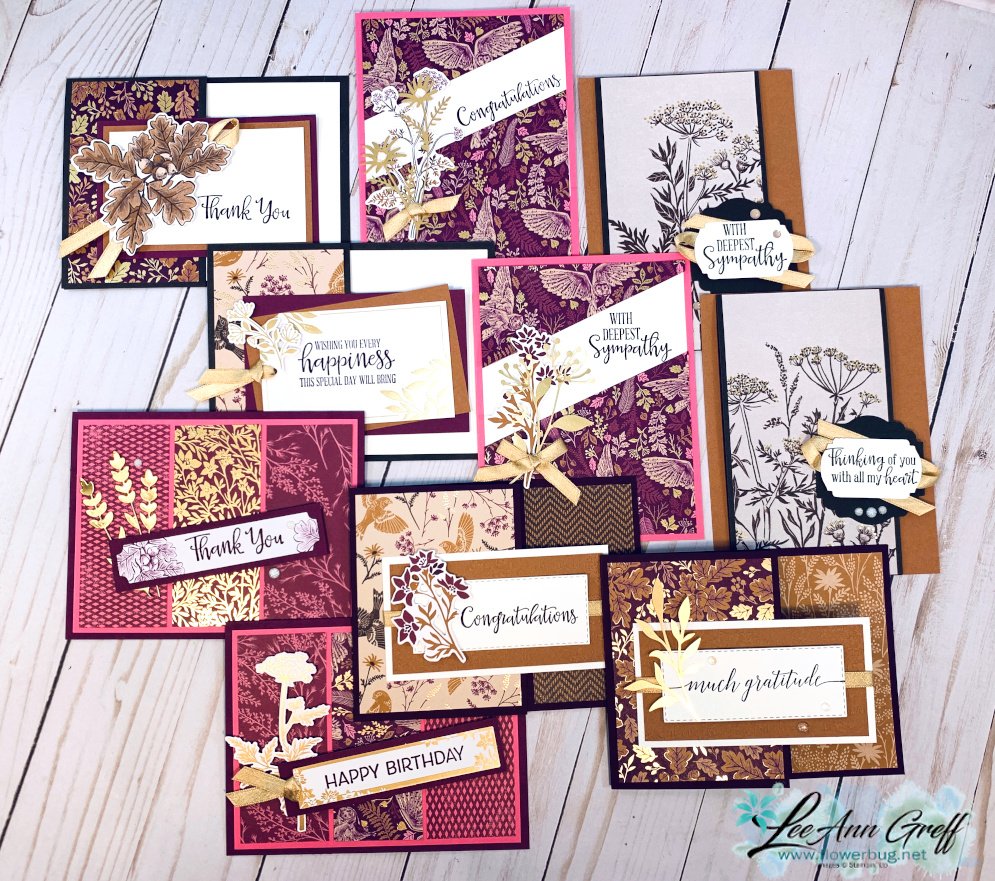
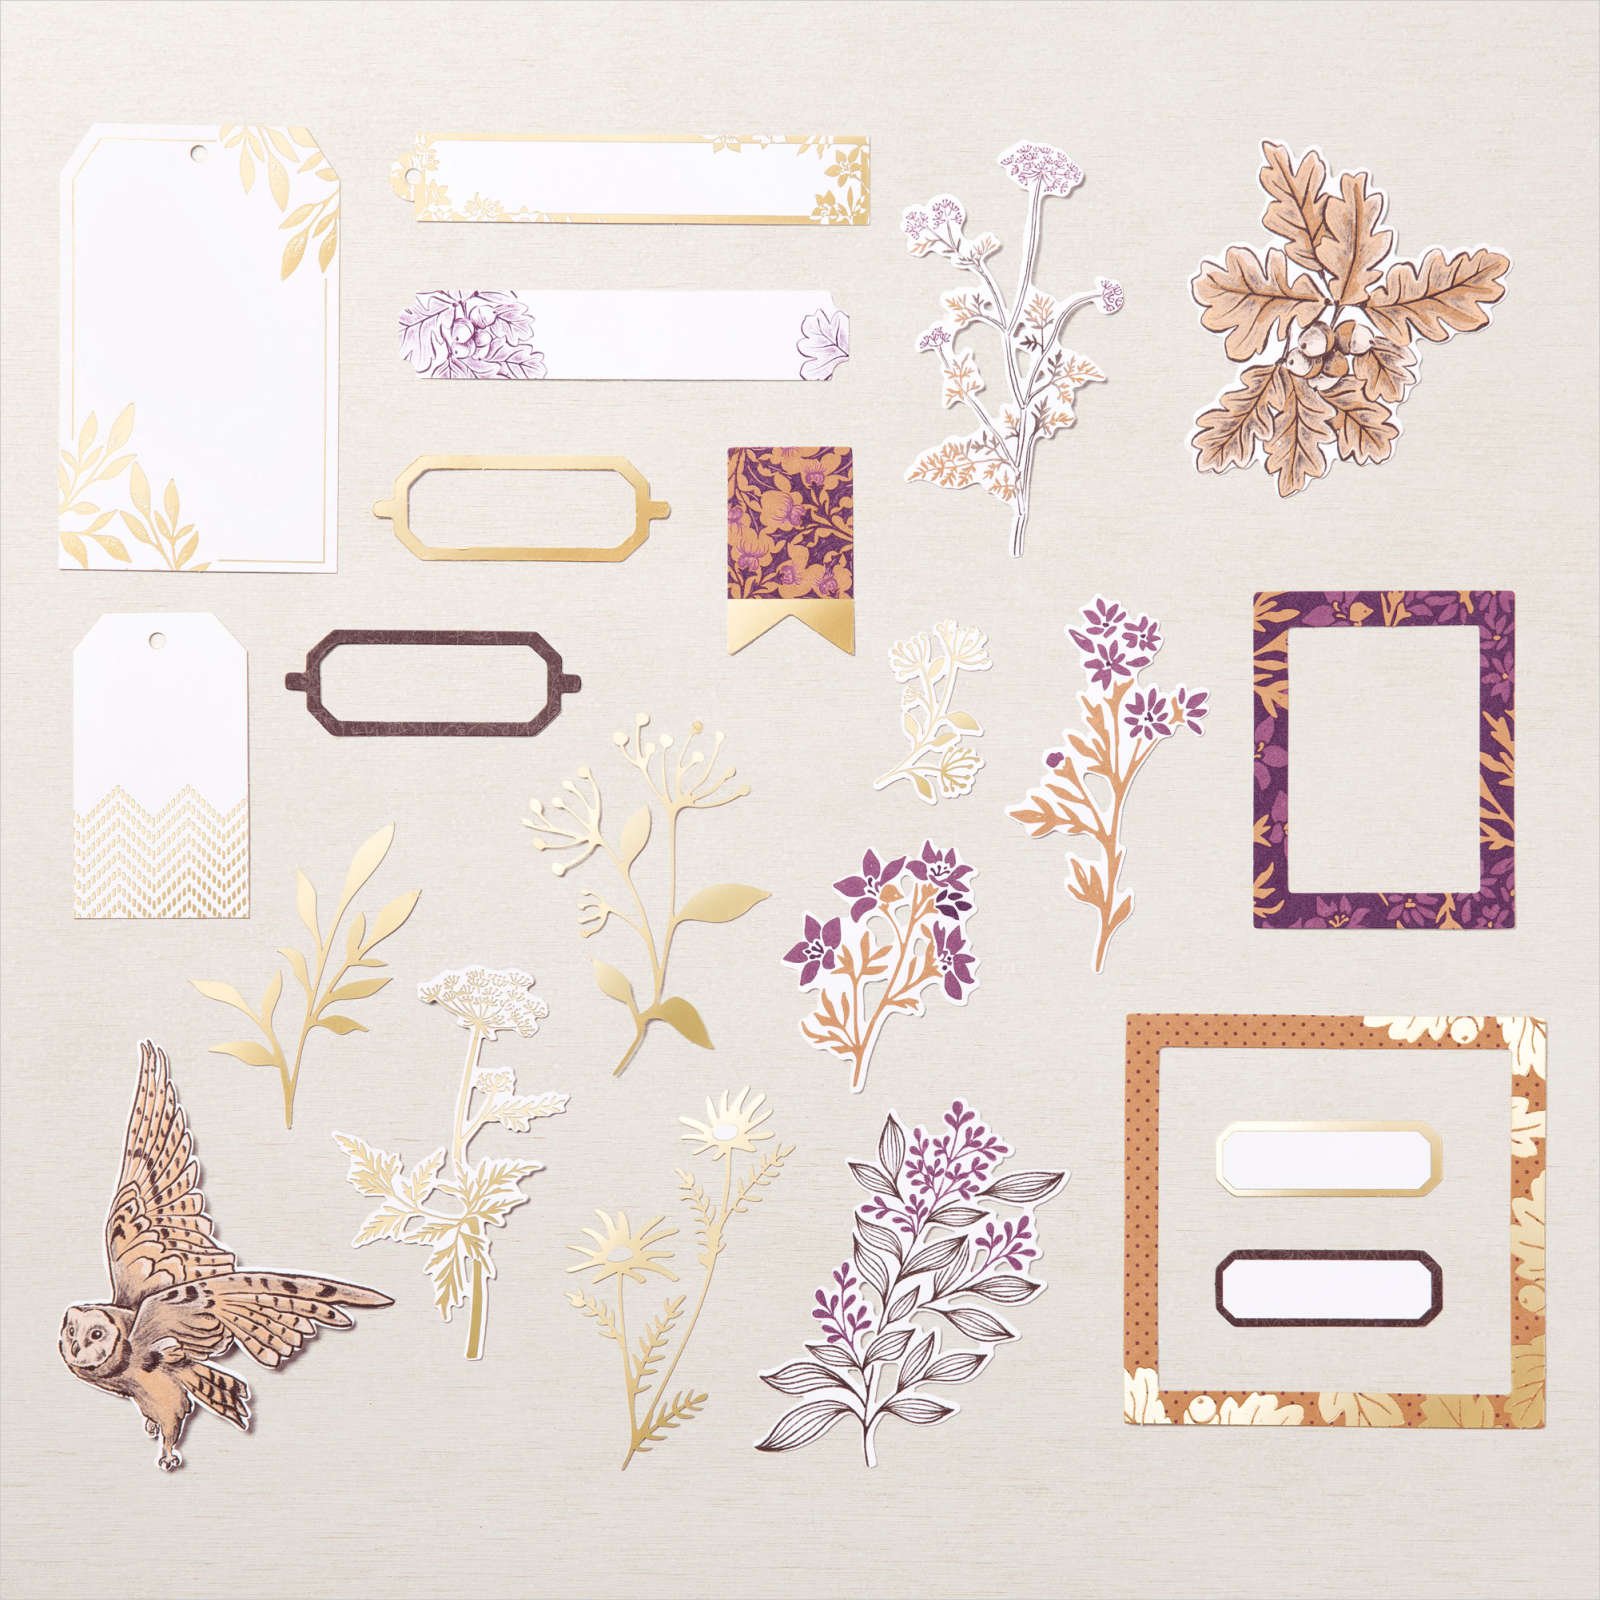
This specialty paper# is stunning with the gold foil accents.  And the coordinating Blackberry Beauty Ephemera pack includes beautiful printed die-cuts and tags. The colors featured in it are Blackberry Bliss, Polished Pink, Early Espresso, Cinnamon Cider, Rich Razzleberry & Gold. 


If you'd like to get this pre-cut cards kit to go, be sure to opt in by August 22nd here. The kits are mailed out at the end of August.  Or you can choose the PDF tutorial here. 

This kit includes the following:

  • 1/2 pkg of new Blackberry Beauty Specialty DSP (6" X 12")
  • a share of the Elegant Faceted gems
  • Gold shimmer ribbon
  • 1/2 pkg of the Blackberry Beauty Ephemera pack
  • 10 pre-cut cards; 3 of the 5 designs are fancy folds!
  • the PDF tutorial including measurements, photos, supply list & step by step directions ($15 value)

The kit does not include pre-stamped images, adhesive or stamps. I used a few stamp sets for greetings including the Peaceful Moments, Heartfelt Wishes and Artistically Inked sets. You can easily substitute stamps you already own. 

*This kit will be mailed at the end of August, unless there are back orders. 

Go here to order the kit to go. It's $28 plus shipping.

Click here to purchase the PDF tutorial. $15

The PDF tutorial is emailed to you immediately after payment. 

*This kit is what my monthly kit subscribers will receive.  I have a 2nd kit option I'll share with you tomorrow. 


I shared my retired BOGO items for sale on FB Live last week.  There are over 99 items left; mostly stamps, dies, bundles and embossing folders.  You can see video here on YouTube.   However the most updated list is  in the album here on my FB page. *I update & delete items as they are sold.

This sale will stay open through August 14th.  If you have a list of current Stampin' Up! items you want to buy why not double dip and get lots more free with this BOGO?!  


~~~

August Specials

Host code: 7JB43RUH

*click here to order

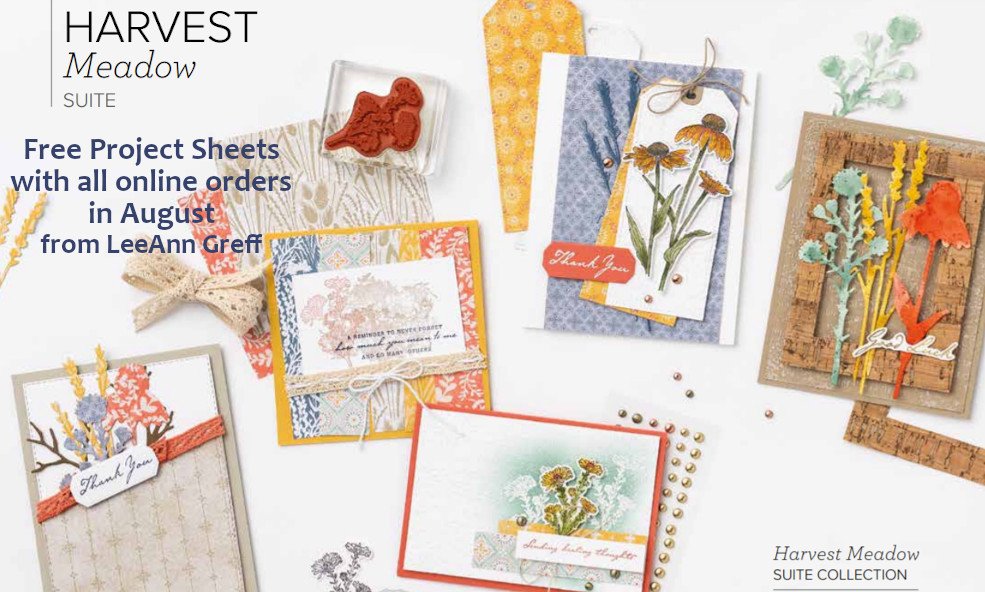
All online orders will receive a free PDF tutorial filled with projects featuring

the Harvest Meadow Suite!
Get the Cute Star Adhesive-Backed Sequins with a $50 online order from me in August! 

Use this host code: H9HJQNC6

All Posts

  • Baby ‘Swipe’ Technique; two awesome examples!


    Our Flowerbug's March swap theme was to use a technique featuring an ink refill.  The projects were incredible! 


    Today I'm featuring two cards using a technique called 'Baby Swipe'.  What is it?  It's where you roll up a baby wipe and drop ink refill liquid on the edge and use it to swipe across your paper.  Super fun to try.  

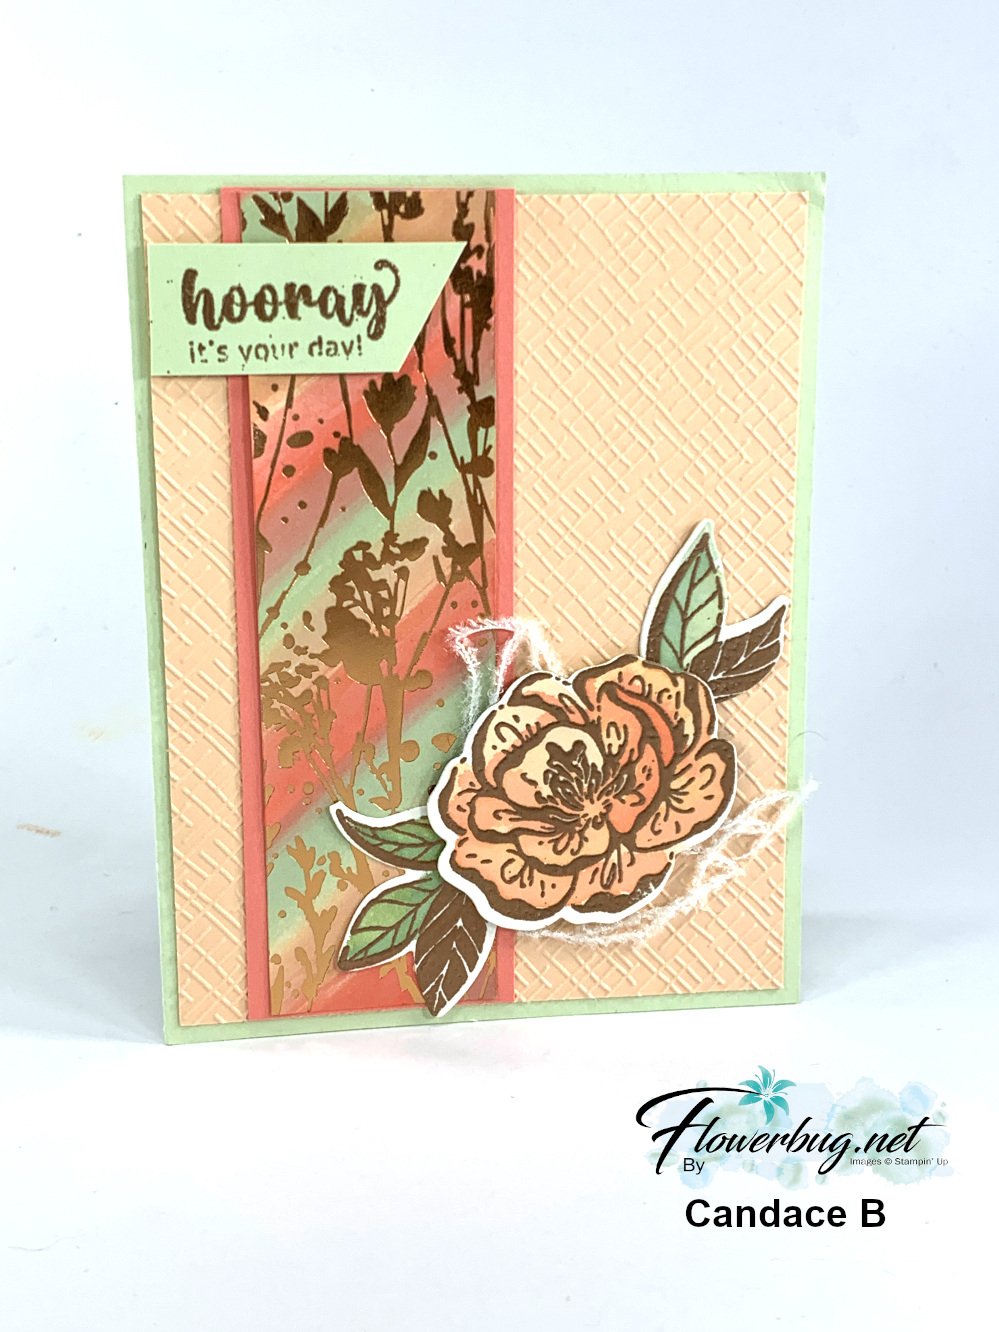
    Candace chose to use the Irresistible Blooms bundle and the pretty Naturally Gilded specialty paper seen here.  These items are on the Online Exclusives site and available for a limited time.  

    Her colors include Petal Pink, Soft Sea Foam and Flirty Flamingo.  This specialty DSP works wonderfully for this because the surface is glossy. Once you're done adding ink use a tissue or soft cloth to wipe away the excess ink.  It will not adhere to the foil areas.  

    She used Copper embossing powder on her flower, leaves and greeting.  The texture is from the new Basics 3D embossing folder pack.  These are currently out of stock but will be back in May or earlier. 

    ~~~

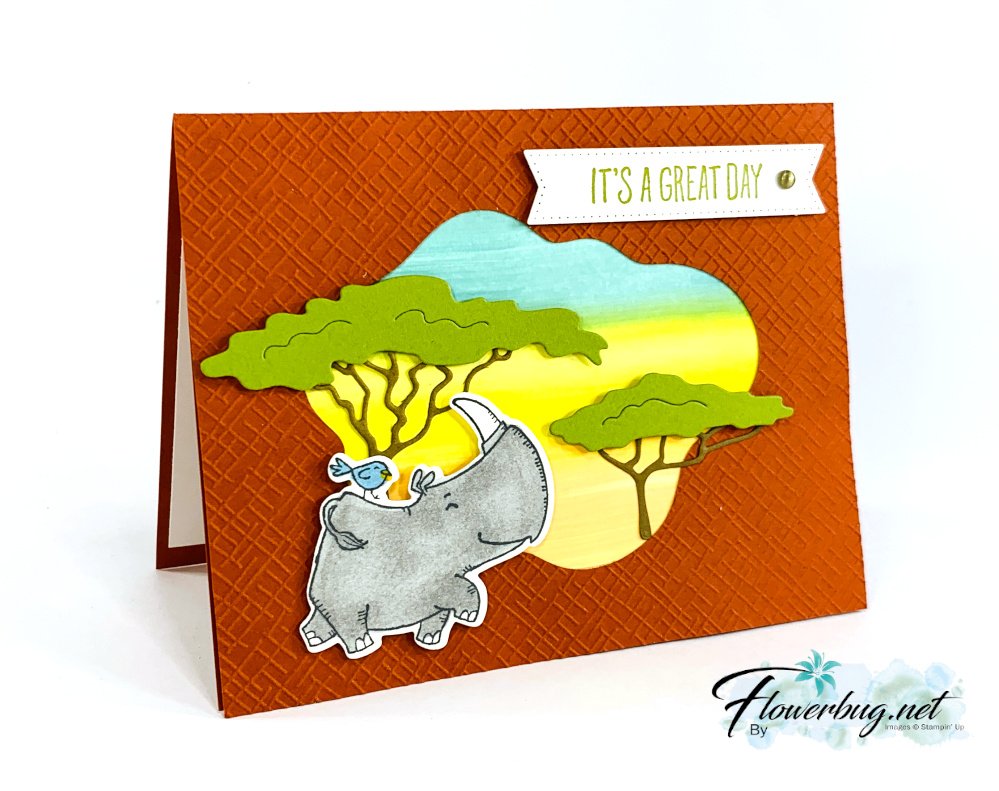
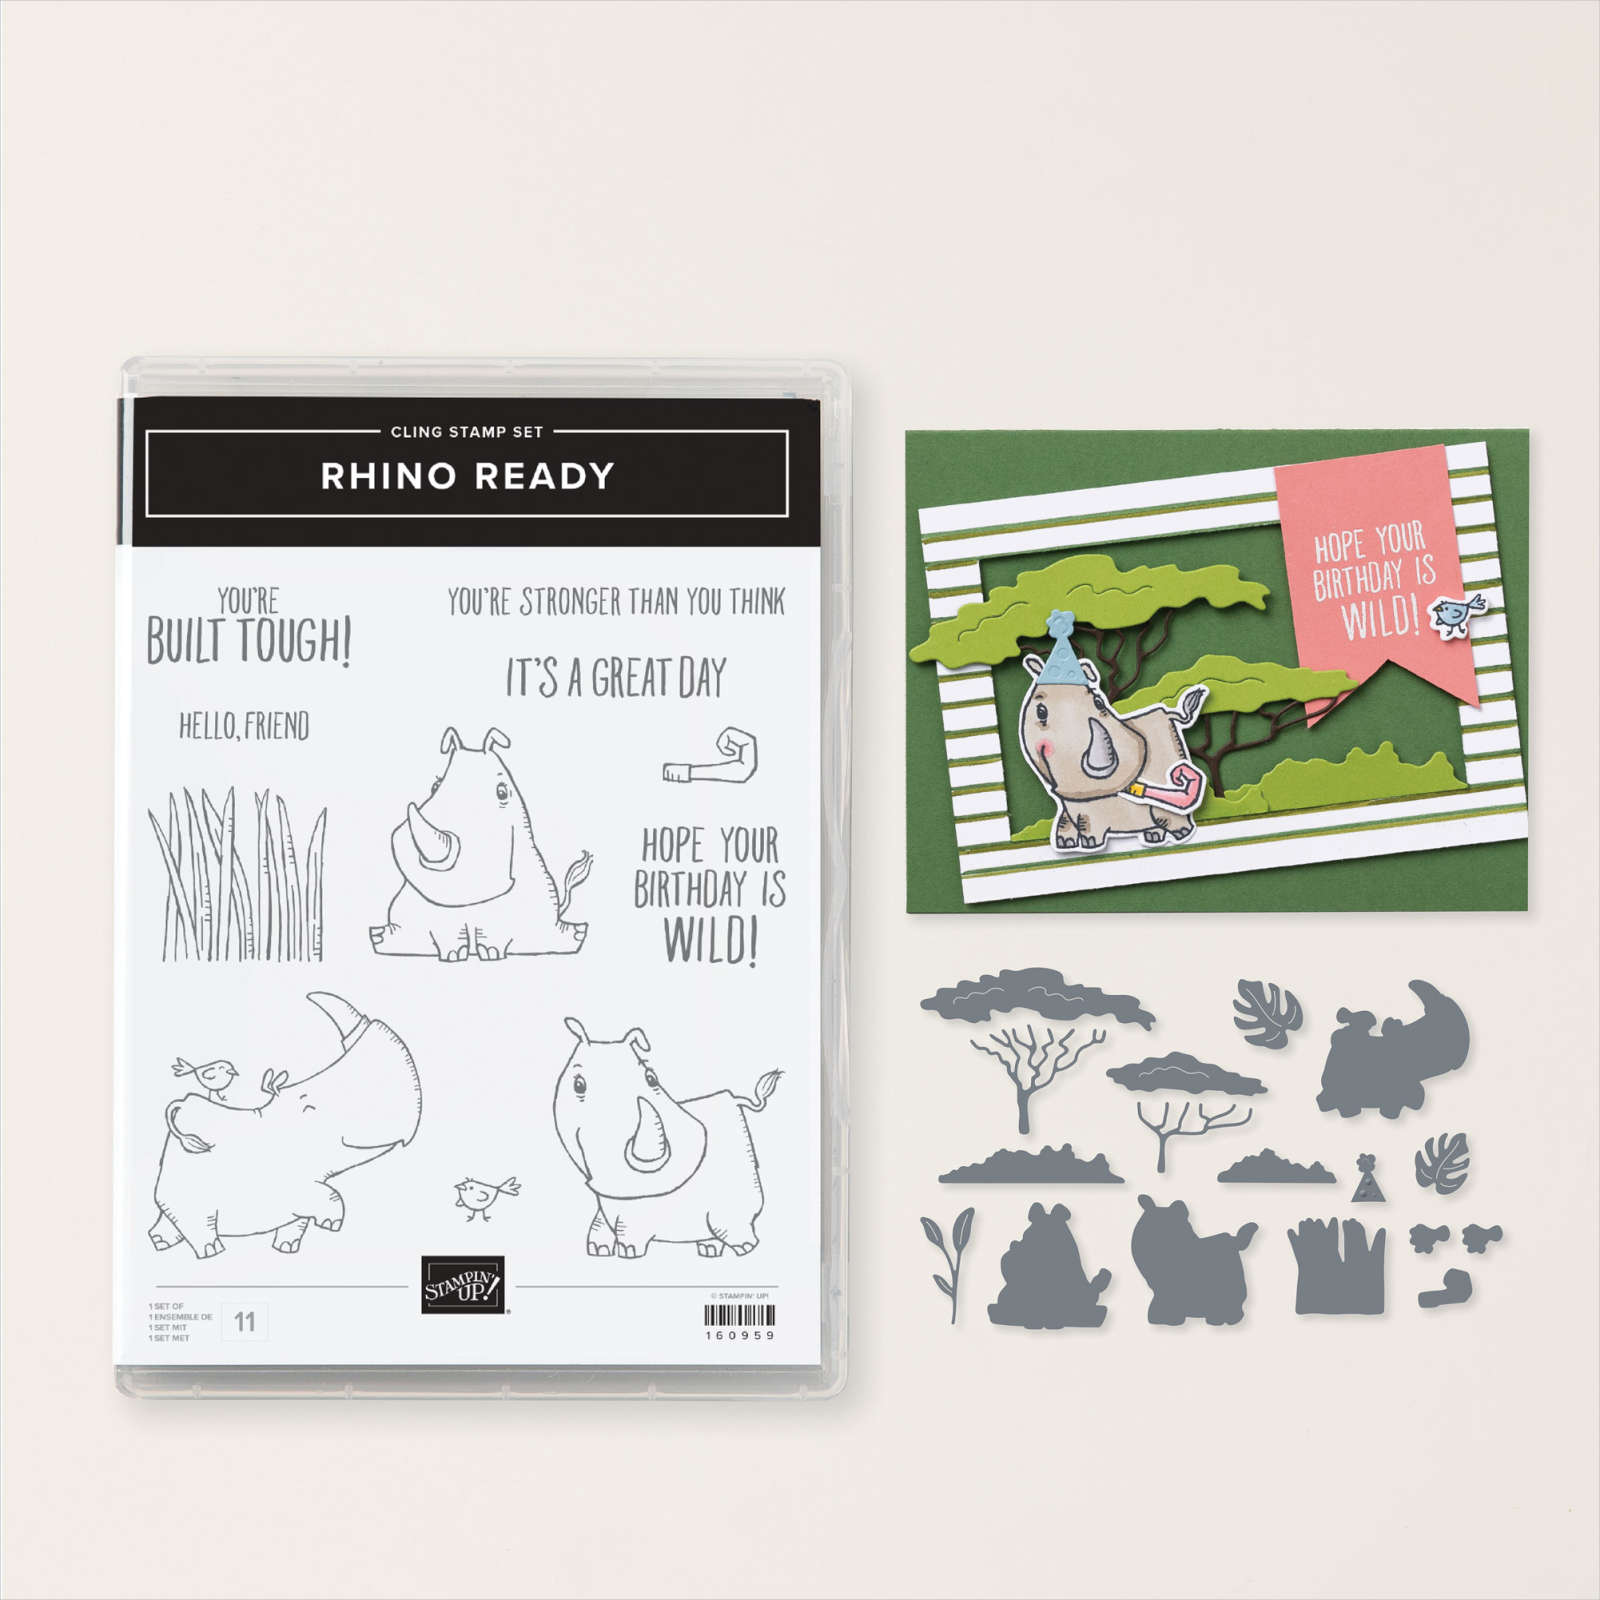
    Next is a gorgeous scenic card made by Brenda. She also chose to use one of the new Online Exclusive products; the Rhino Ready bundle. 

    She used the same embossing folder on the Cajun Craze layer and die-cut a window using the Diorama dies seen here.  I think her scene is stunning!   

    I believe her colors are Balmy Blue, Daffodil Delight and Petal Pink for her sunset/baby swipe technique.  

    Those trees and rhino dies are all from the Rhino Ready bundle seen here.  

    Below I demonstrate the baby 'wipe' technique. Click here or on the photo below to watch.

    ~~~

    March Specials:

    See the new Online Exclusives here! 

    *current host code: BFE4C2KM

    Get a free class kit with online orders over $55 when using the host code above!

    Earn free products with my loyalty rewards! 

    Click here to download yours and earn a $50 shopping spree!

    Leave a Reply

    Your email address will not be published. Required fields are marked *

  • Baby Wipe technique – 2 great swaps by my Flowerbug’s


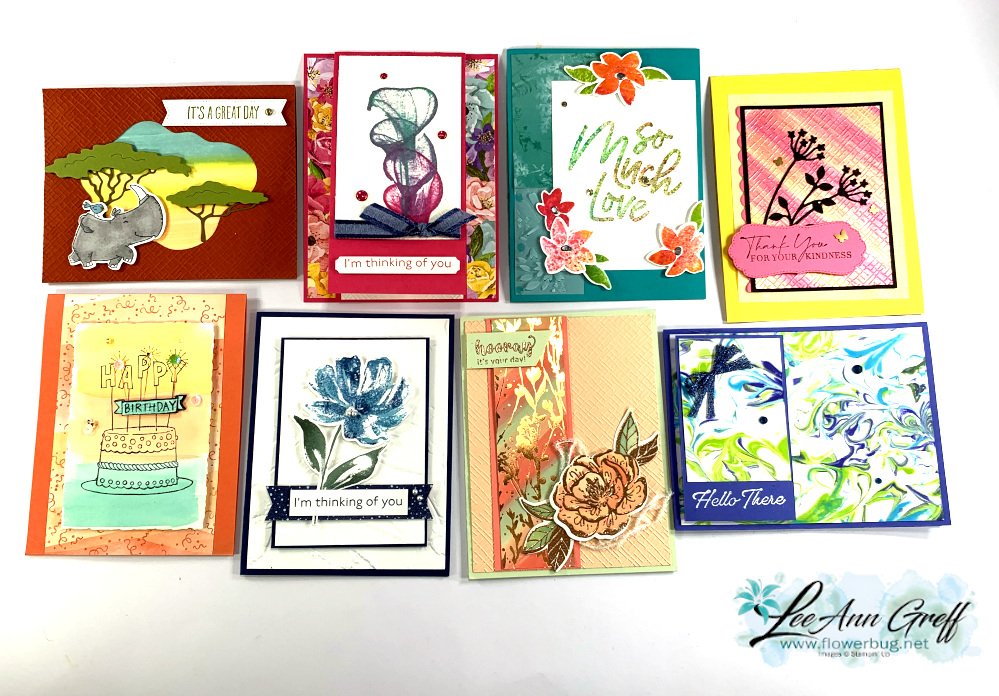
    Our March card swap theme was to use a technique with a re-inker or an ink refill.  There are lots of fun techniques out there that you need ink refills for. 

    These first two feature the Baby Wipe technique; one of my very favorites for getting multiple colors on solid images! 

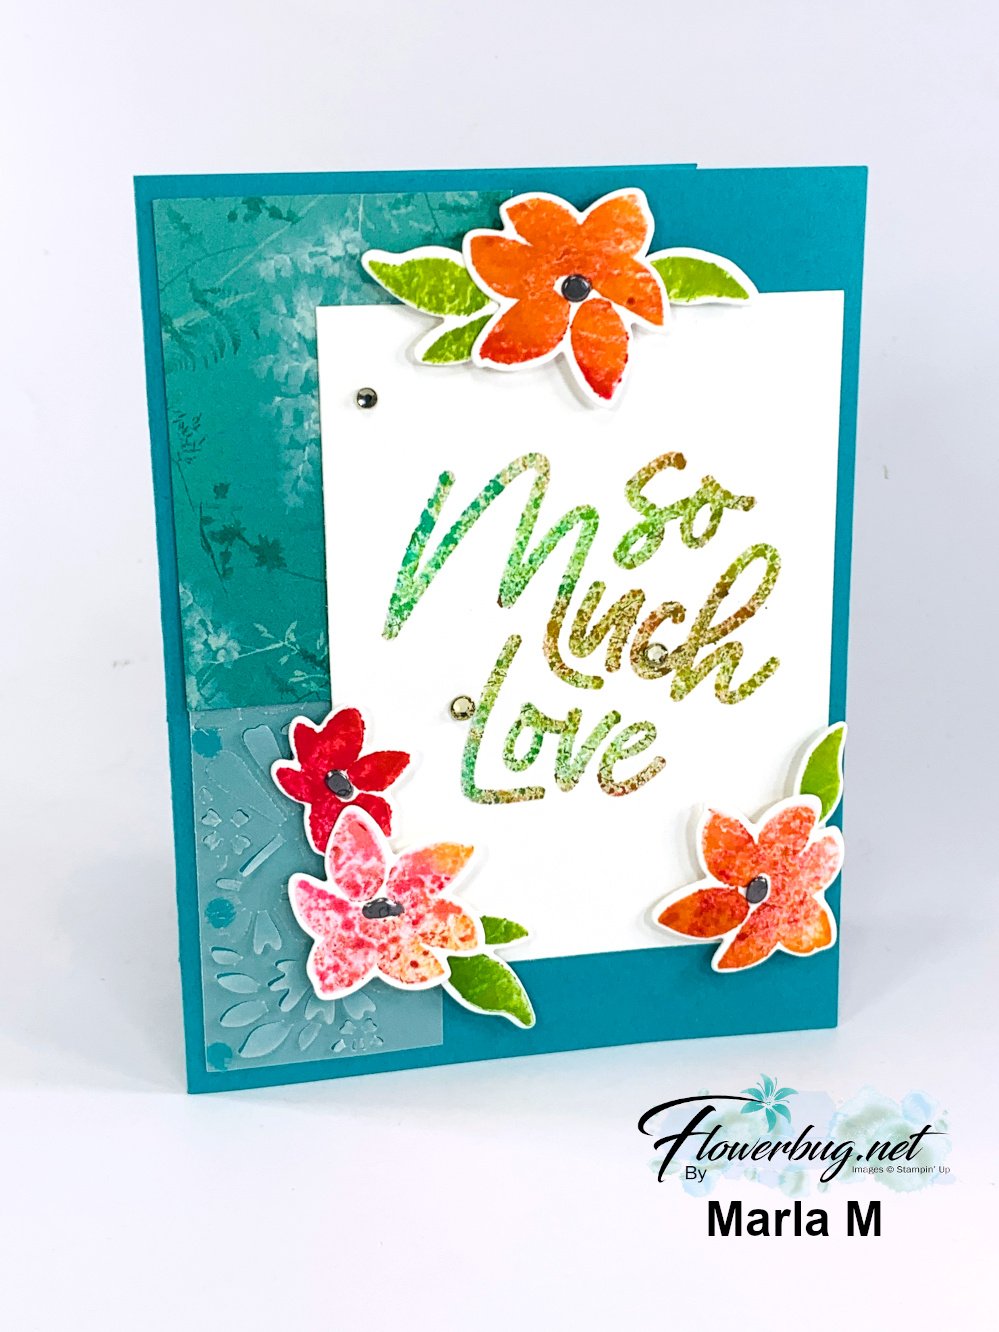
    This first card was made by Marla where she featured the Love for You bundle seen here.  

    I believe her colors include Bermuda Bay, Granny Apple Green, Melon Mambo and Calypso Coral.  She even stamped her greeting in the baby wipe technique.  Watch my video today here   (or later on my YouTube channel here) to see how it's done.  It's absolutely fun!!

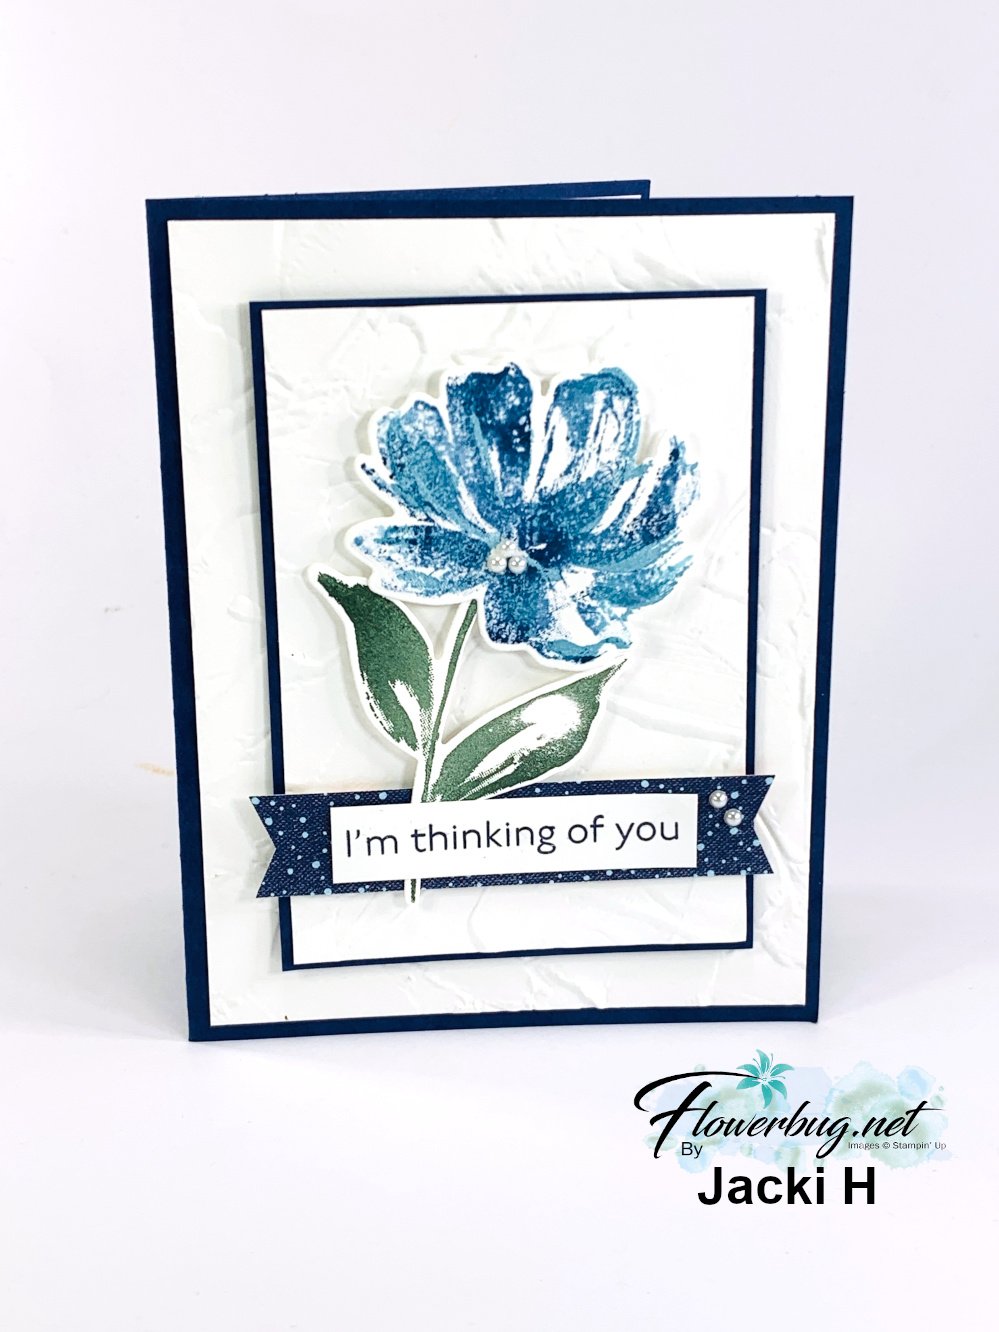
    Next is a pretty card made by Jacki with the Art Gallery stamp set and Floral Gallery dies.  

    I believe her colors include Navy, Garden Green and Tahitian Tide.  Her White layers are textured with the Painted Texture 3D embossing folder seen here.  

    Come back for more tomorrow! Click here or on the photo below to watch the video.

    ~~~

    March Specials:

    See the new Online Exclusives here! 

    *current host code: BFE4C2KM

    Get a free class kit with online orders over $55 when using the host code above!

    Earn free products with my loyalty rewards! 

    Click here to download yours and earn a $50 shopping spree!

    Leave a Reply

    Your email address will not be published. Required fields are marked *

  • Shaving Cream & Watercolor techniques with tips for success


    This week I'm sharing the swap cards my Flowerbug's Team made for our March card swap. The theme was to use a technique featuring ink refills. 

    Each one is fabulous!

    This first card was created by Paula who used the shaving cream technique.  It looks a little bit like tie dye!  

    Tips on the Shaving Cream technique.  It's fun but a bit messy. 

    1. Fill a container with about an inch of shaving cream. Your container should be large enough to fit the card stock you're coloring. *tip; cheap shaving cream works just fine! 
    2. Smooth out the cream.  Add drops of your ink colors onto the cream. Take a knife and swirl the ink into the cream. Don't do this too much or you'll make 'muddy' colors.  
    3. Lay your card stock onto the swirled cream and press lightly. Use gloves if you don't want inky fingers.  
    4. Remover your card stock and wipe off the excess cream. Set aside to dry.  
    5. You can use regular card stock or glossy if you have it. 

    She used Orchid Oasis, Parakeet Party & Tahitian Tide inks and regular Basic White card stock. 

    She even die-cut a few corner elements for the inside of her card. These dies are from the Fabulous Frames dies seen here

    Next is a pretty card made by Ginny using the Best Day stamp set seen here.  She cased a card from the Jan-June catalog.  Check out the sample on page 67.  This is a great reminder that there are wonderful ideas in our catalogs! 

    She stamped the image on watercolor paper and colored it using our Water painters.  I believe her colors include Calypso Coral, Pool Party & Daffodil Delight.  

    Here are a few helpful tips for successful water-coloring.

    • Wet your paper before you add color. Watercolor paper is THE BEST for smooth blending. 
    • First wet only the area you want colored; blue for example. Then dip your brush in ink you've added to a block or other slick surface.
    • I either press my ink pad onto a clear block or add ink drops to the block or a paper plate. 
    • Saturate your wet brush in the ink and paint color onto the previously wet area. 
    • Let dry before adding another color that touches it or they'll bleed together.  

    More techniques coming tomorrow!  Stop back in. 

    ~~~

    March Specials:

    See the new Online Exclusives here! 

    *current host code: BFE4C2KM

    Get a free class kit with online orders over $55 when using the host code above!

    Earn free products with my loyalty rewards! 

    Click here to download yours and earn a $50 shopping spree!

    Leave a Reply

    Your email address will not be published. Required fields are marked *


Notice: LeeAnn Greff, Independent Stampin’ Up! Demonstrator, Manager. The content of this website is my sole responsibility as an independent Stampin’ Up! demonstrator and the use of, and content of, the classes, services, or products offered on this website is not endorsed by Stampin’ Up! Copyright 2025