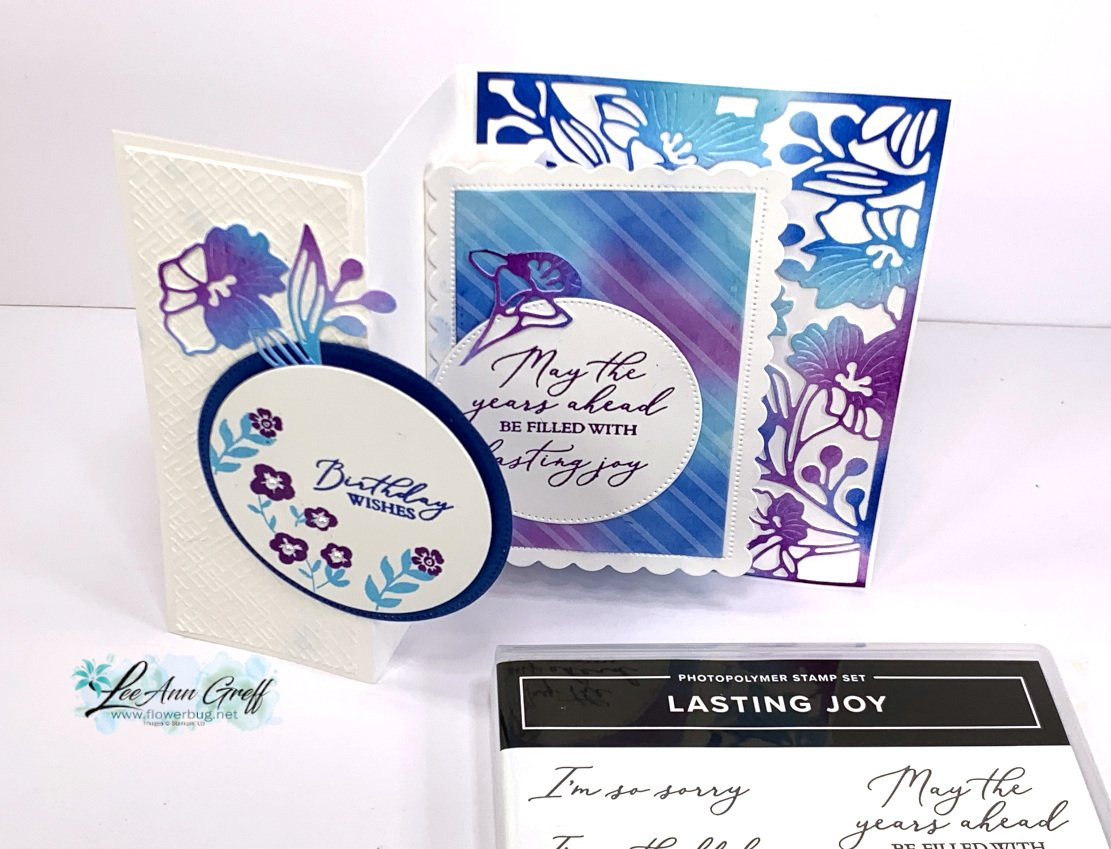
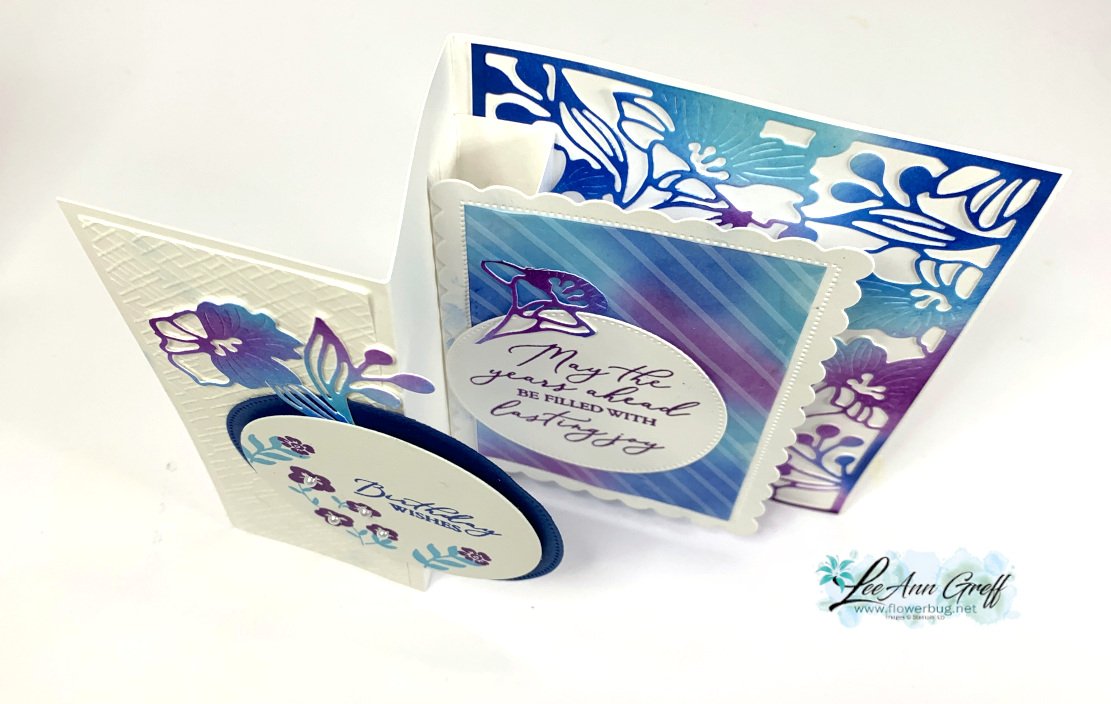
It's a double-decker fun fold card. It might look hard but it sure isn't! All you need to add is a simple box between the middle layer and the inside back of the card. Watch the video here to see how it's done.
Using our Blending Brushes I added the three colors (Tahitian Tide, Brilliant Blue & Gorgeous Grape) to a piece of White cardstock. I then used the Garden dies to die-cut it out. I adhered this to the back of the card base before adding the 'box' to create the double-decker fun fold card.
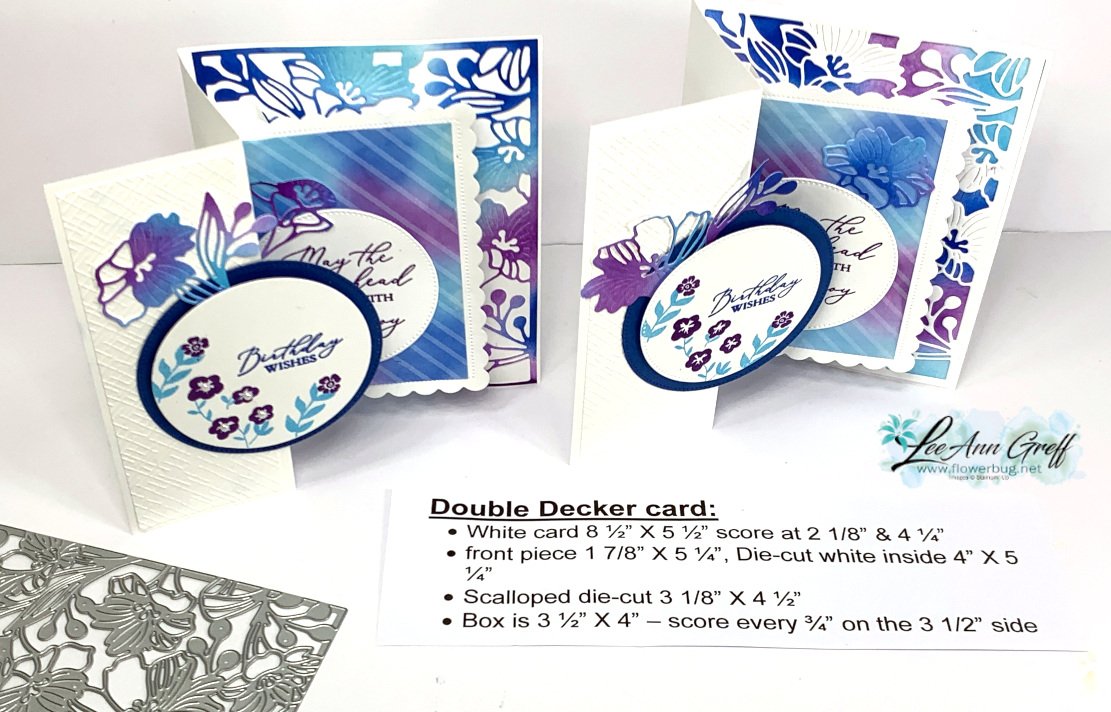
I created a second colorful die-cut so I could add extra details to the cards.
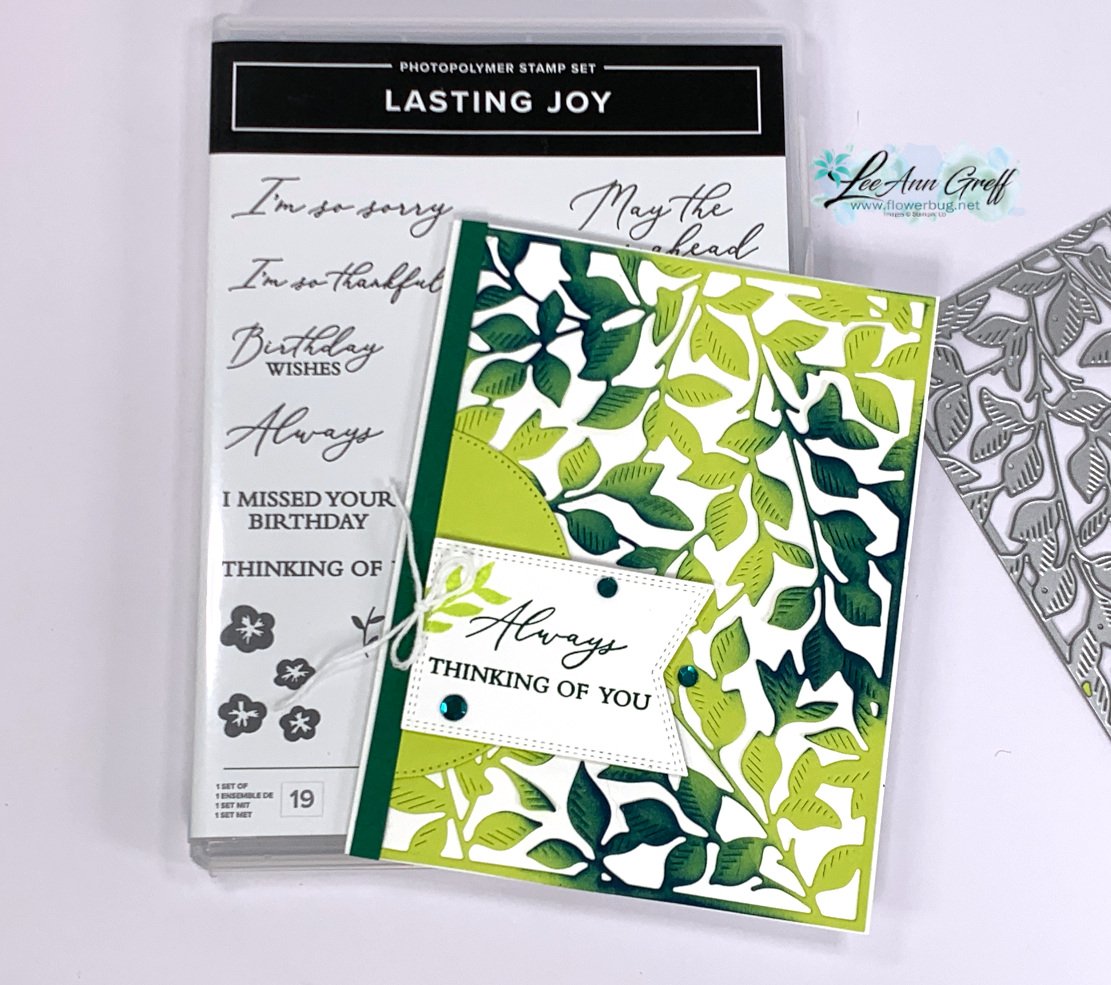
I think it's stunning. Don't you love the pretty blending of the greens? I simply added one color to the finished die-cut. I cut it out from Lemon Lime Twist cardstock and added Pretty Peacock ink with a blending brush in a few areas. Easy!
I was surprised that the finished color (after adding Pretty Peacock to Lemon Lime Twist) was close to Shaded Spruce. Who knew?! So I added a 1/4" strip to the left edge of the card to bring in that color and also stamped the greetings in Shaded Spruce too.
Tip: Adding your colors in two or more ways to your project gives them a cohesive look. For example if I use green card stock I will add a layer of green or a stamped image. If you struggle with choosing color combinations stick with just two colors. Or better yet try a monochromatic card – add one color to a neutral like white, browns or black.
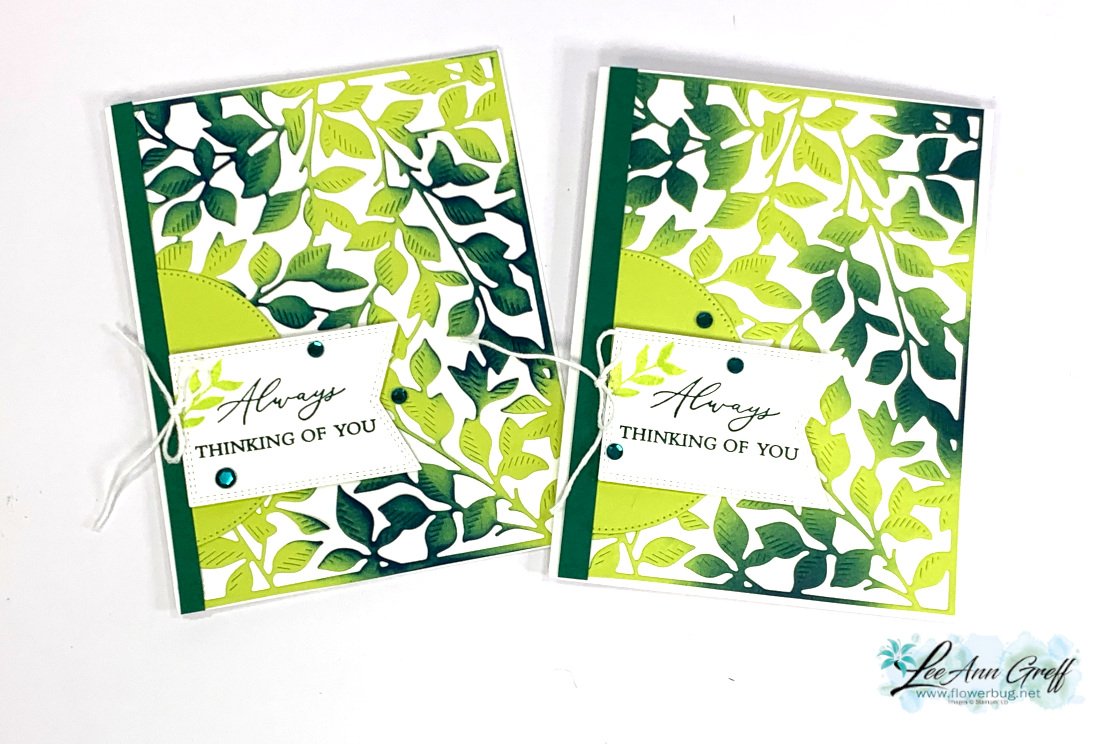
I added a stitched circle to the left side to anchor the greeting. Both of these dies are from the Stylish Shapes dies; they're a must have!See them here.
Notice: LeeAnn Greff, Independent Stampin’ Up! Demonstrator, Manager. The content of this website is my sole responsibility as an independent Stampin’ Up! demonstrator and the use of, and content of, the classes, services, or products offered on this website is not endorsed by Stampin’ Up! Copyright 2025


Leave a Reply