/


Latest Post

How to make the embossing folder the star of your card; with video!


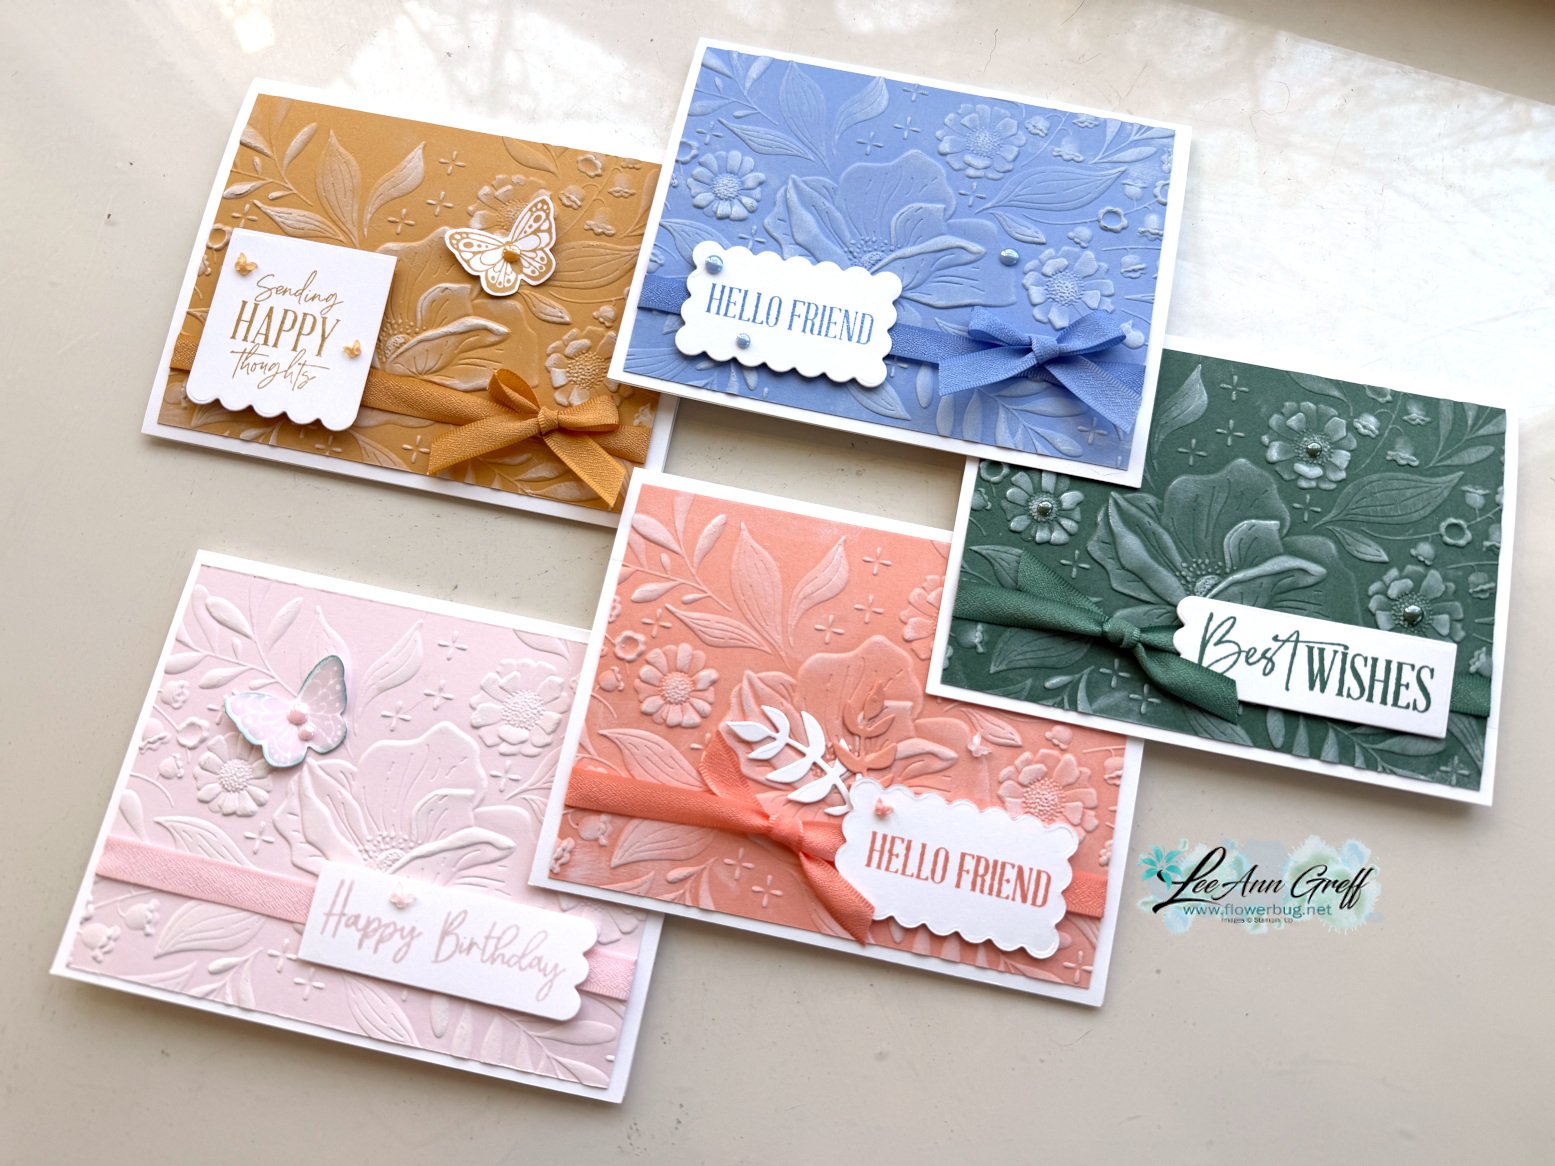
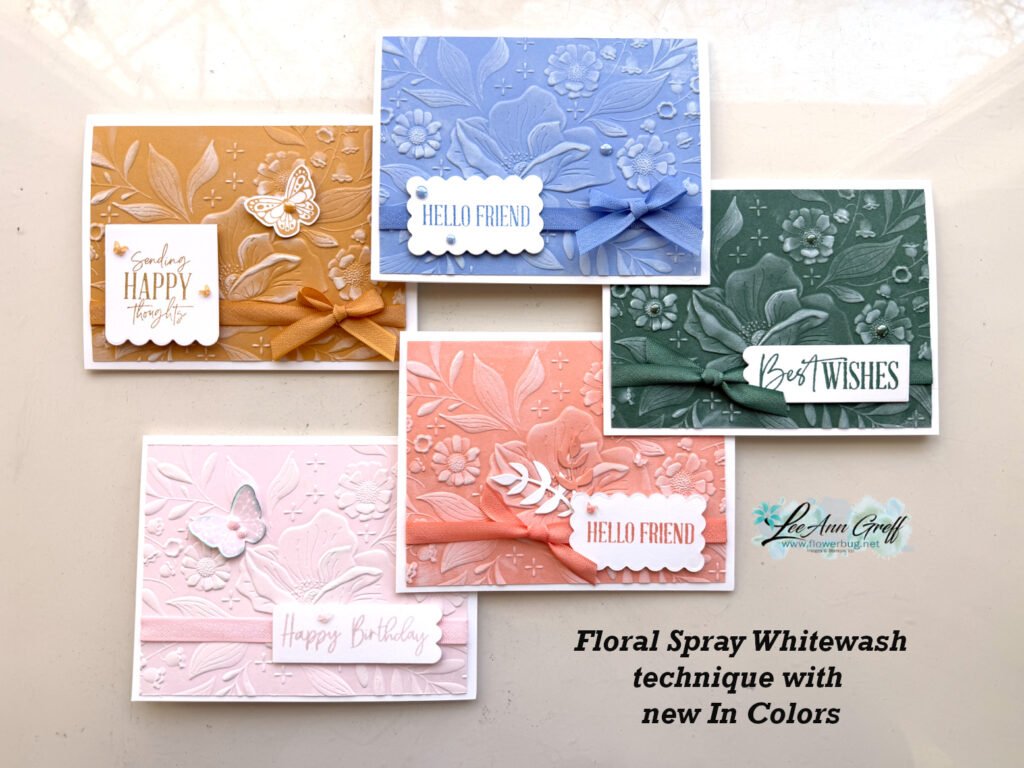
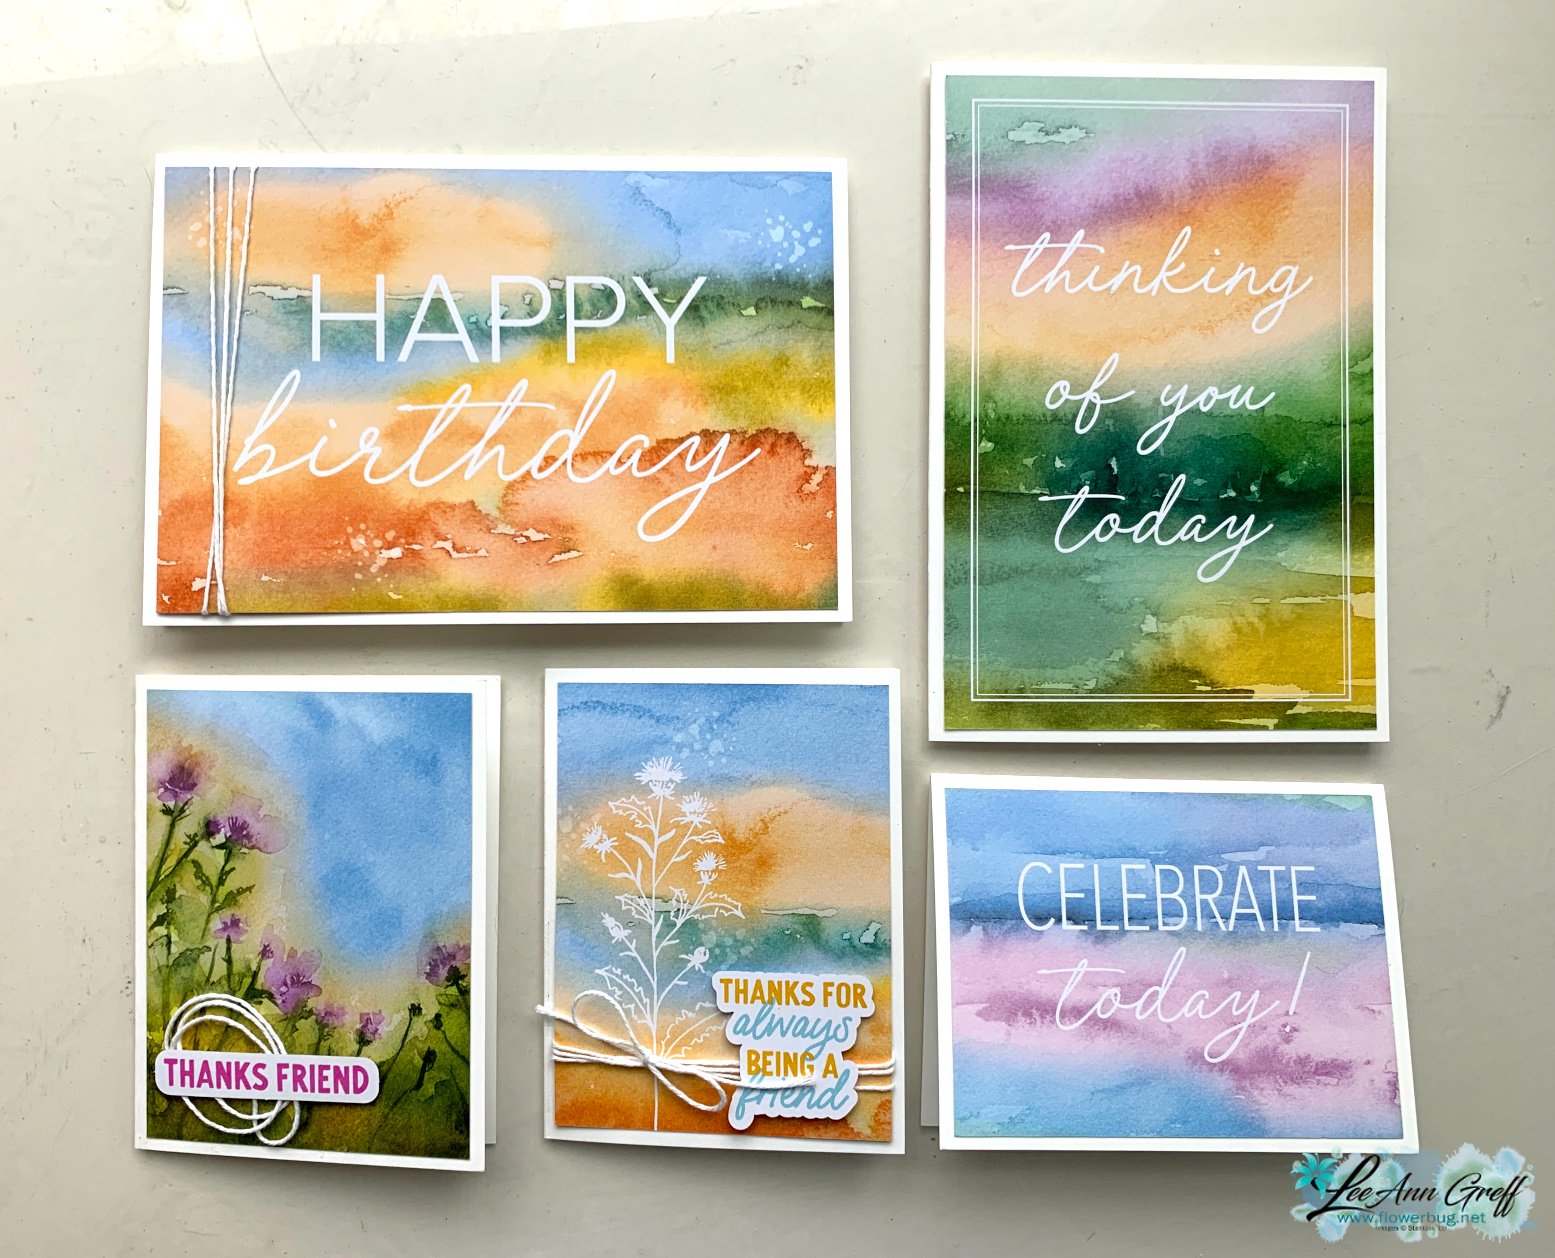
I shared a few ways to highlight the texture on your 3D embossing folders on last week’s video. I shared the cards I created with the 5 new In Colors and how it’s done.

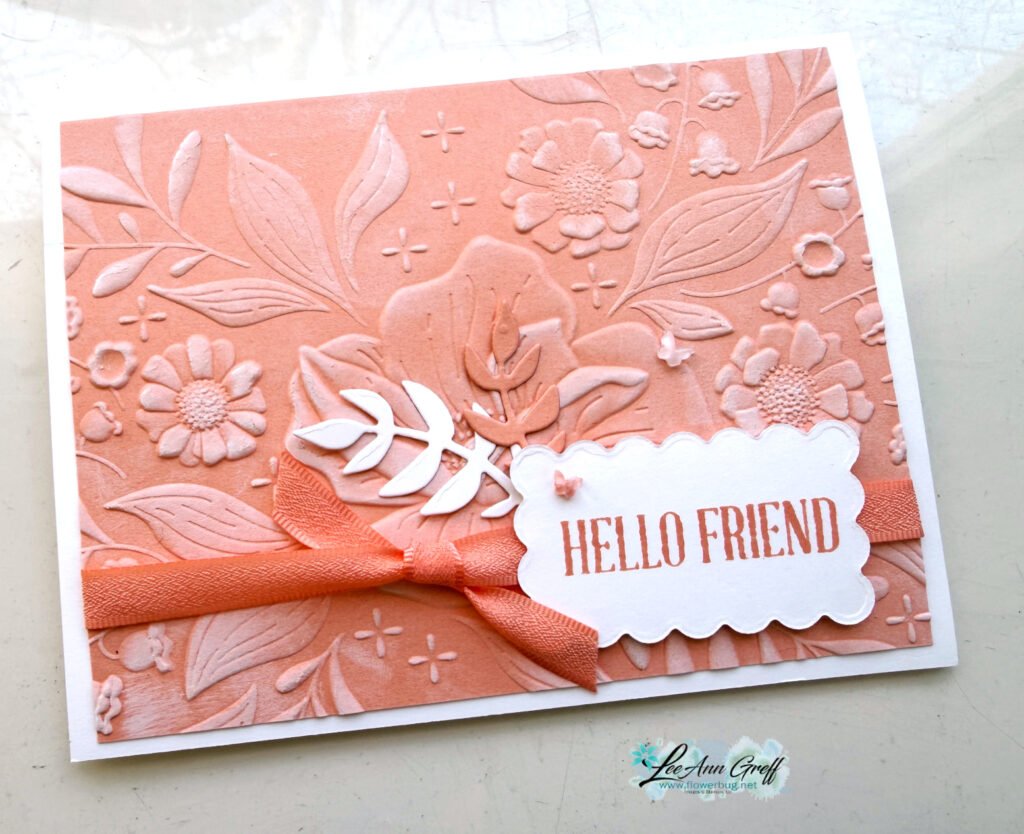
This is the Floral Spray 3D embossing folder seen here. It’s currently out of stock unfortunately. Please put your name on the list to be notified when it’s back.

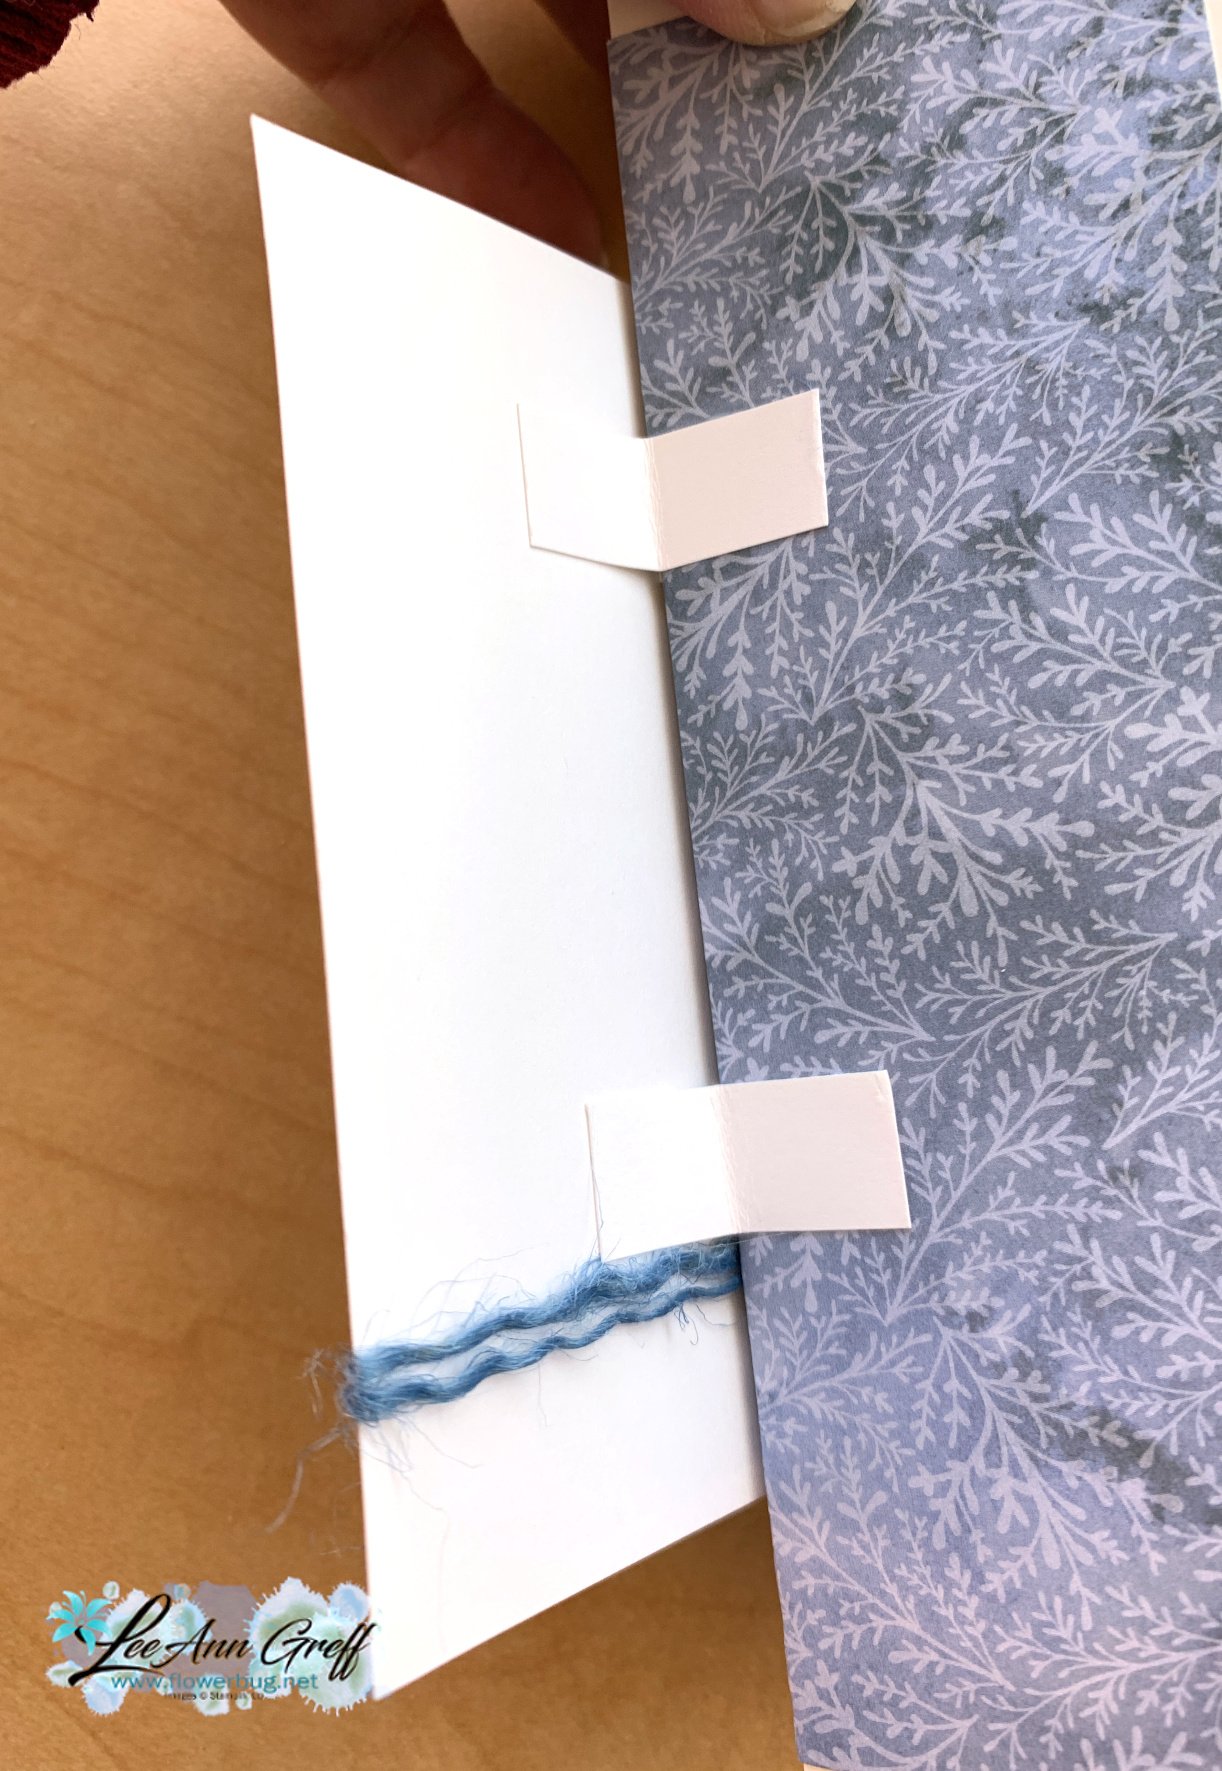
Steps: I textured the CS first. Then rubbed my Craft White ink pad over it lightly. It catches on all the pretty raised areas, highlighting them beautifully. This can take some practice and I recommend you ink pad not be fully inked.

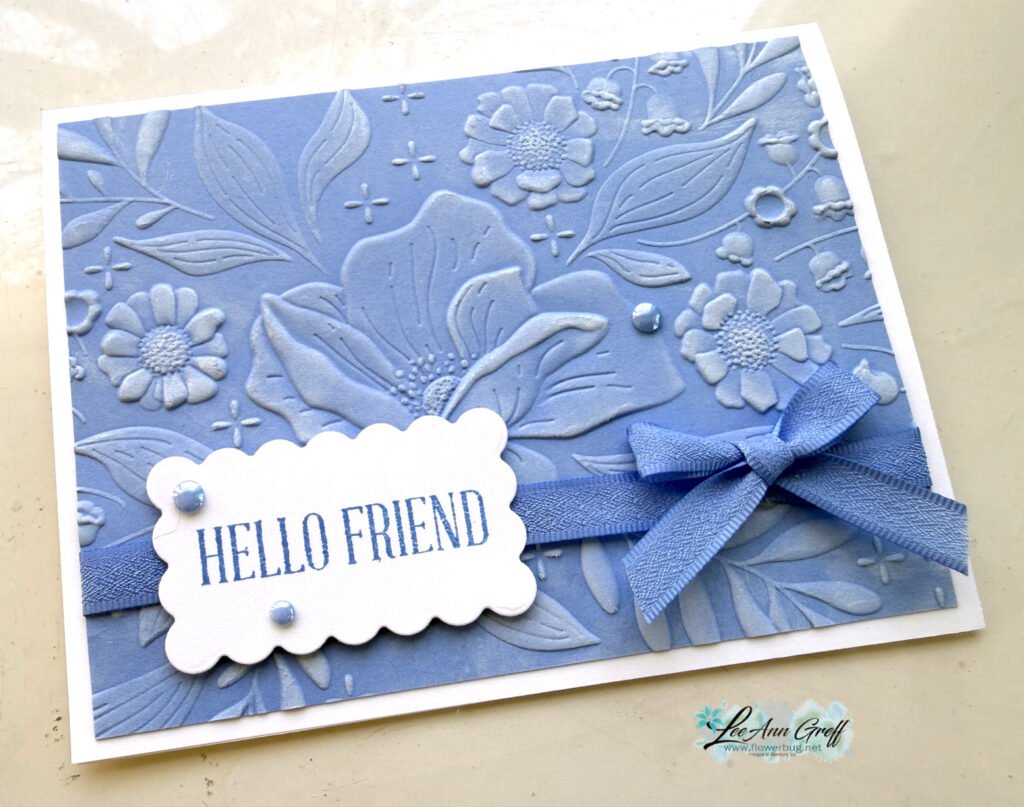
I wrapped matching In Color ribbons across the cards and added a greeting. So simple but stunning in person.

The greeting die-cuts are from the Scalloped Blooms dies seen here. The greetings are from the Opulent Oasis & Balloon Festoon stamp sets.

Of course this technique; I’m calling it ‘white-washing’ shows up best on darker card stock. Here’s one I did with the Fern & Flora embossing folder seen here:

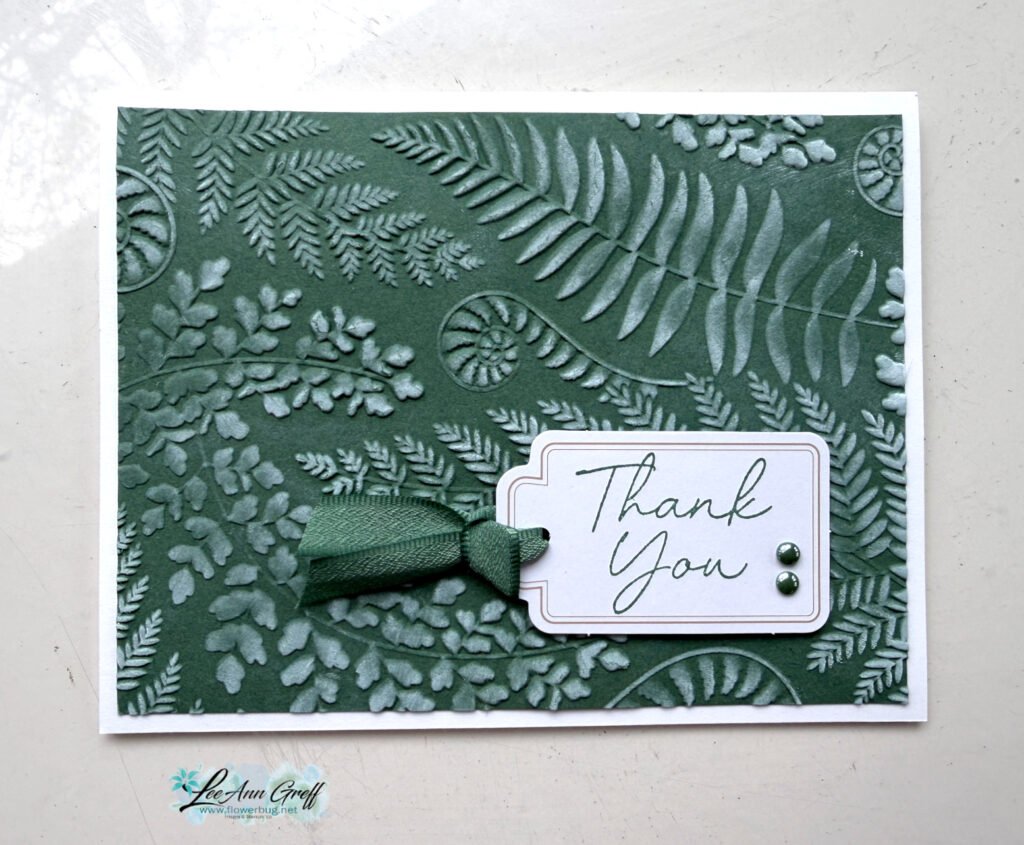
This is our new Peaceful Pine in color. The greeting tag is from the new Classic Labels Mix & Match ephemera seen here. Love these pretty White labels!

Below is the video tutorial with tips for success on this technique.

I still have a few Mystery Boxes left! It’s a buy one get two free deal! Each box is valued at over $200 and is shipped to you FREE when you place a $100 order from me (before tax & shipping).

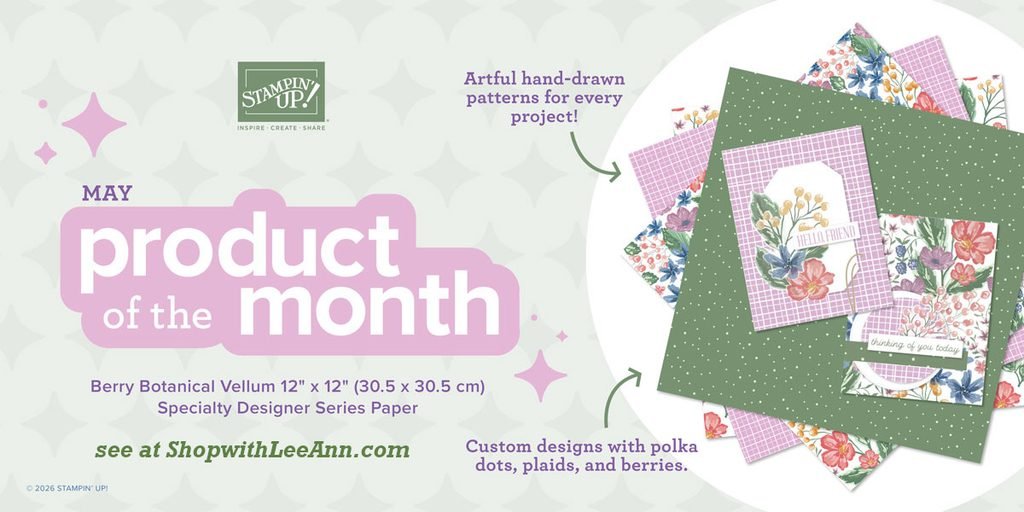
Be sure to grab a Product of the Month once your order is over $75.

All Posts

  • Thoughtful Wishes bundle with a neat masking effect


    What do you think of this monochromatic card?  

    The colors include Very Vanilla with Pecan Pie & Early Espresso. I used quite a few new Annual Catalog products here. 

    Products used:

    • Thoughtful Wishes bundle seen here
    • Country Woods designer paper
    • So Swirly embossing folder seen here
    • Countryside corner dies for my mask (now seen online)
    • Unbounded Love stamp set

    I added ink inside a die-cut mask with a Blending Brush & Pecan Pie ink before I textured it with the So Swirly embossing folder.  I love the effect! 

    ~~~

    May Specials: 

    *current host code link:  9AWSF9T9

    Click on the pictures above or below to get to my new catalog shares – choose from designer papers or a ribbon share. 

    ~~~

    All online orders in May will receive a free project tutorial and if your order is over $50 I'll also send you a pre-cut card kit!

    Leave a Reply

    Your email address will not be published. Required fields are marked *

  • Unbounded Beauty card; an easy layout you’ll love to copy!


    I created this card for my free project tutorial this month – it features the Unbounded Beauty suite. This tutorial is free to everyone who orders from me online. 

    My colors include Petunia Pop, Basic White and a bit of Summer Splash with the In Color glimmer paper.  The pretty designer paper is called Unbounded Beauty and can be seen here. 

    The greeting stamp & die-cut are both from the same suite – the Unbounded Love bundle seen here.  

    Measurements: 

    • card base 5 1/2" X 8 1/2" score/fold at 4 1/4"
    • Designer paper – start with a piece measuring 3 1/2" square. Cut from the left at 1/2", 3/4", 1" and 1 1/4"
    • White is 4 1/4" X 3" plus a scrap for greeting die-cut

    If you're loving this pretty designer paper you might consider opting in for my Unbounded Beauty card kit to go.  It includes 10 pre-cut cards, approximately $20 in product and the free tutorial – all for $29 plus shipping.  See it here. 


    There's also a PDF tutorial option for those who have their own supplies at www.flowerbugshop.com. 

    ~~~

    May Specials: 

    *current host code link:  FCJ937QT or 9AWSF9T9

    Click on the pictures above or below to get to my new catalog shares – choose from designer papers or a ribbon share. 

    ~~~

    All online orders in May will receive a free project tutorial and if your order is over $50 I'll also send you a pre-cut card kit!

    Leave a Reply

    Your email address will not be published. Required fields are marked *

  • Beautiful but quick cards with the Thoughtful Journey Memories & More card pack


    I shared this card on last week's FB live video. It starts out with the Thoughtful Journey Memories & More cards and a Basic White Memories & More card base. 

    I scored the blue card and the front half of the card base in half.  Then added a few short pieces of card stock behind the front layers so that layer pops up. 

    The size of these pieces do not matter at all.  Some people use one thicker piece on each side; I used two thin pieces.  It allows the top layer to move independently from the front of the card.  See how it's done in this video. 


    You can see these Memories & More cards here. They come in a pack of 28 – half are 3 X 4" and the rest are 4" X 6". They fit our Basic White Memories & More card bases and envelopes perfectly.  They're also a great way to create larger than our usual cards – 4 1/4" X 6 1/4" finished size.  

    I made more beautiful cards with these products, adding a bit of twine to some along with a few printed greetings from the Saying Something Ephemera pack. 
     

    You can see the Saying Something Ephemera pack here.  It's FULL of tons of greetings you can just add to a card or scrapbook page.  I was thrilled when I saw these in the catalog. They're a perfect solution for quick crafting.  

    Sometimes you want or need to be able to make quick cards; these items are a wonderful way to do that!

    ~~~

    May Specials: 

    *current host code link:  FCJ937QT or 9AWSF9T9

    Click on the pictures above or below to get to my new catalog shares – choose from designer papers or a ribbon share. 

    ~~~

    All online orders in May will receive a free project tutorial and if your order is over $50 I'll also send you a pre-cut card kit!

    Leave a Reply

    Your email address will not be published. Required fields are marked *


Notice: LeeAnn Greff, Independent Stampin’ Up! Demonstrator, Manager. The content of this website is my sole responsibility as an independent Stampin’ Up! demonstrator and the use of, and content of, the classes, services, or products offered on this website is not endorsed by Stampin’ Up! Copyright 2025