/


Latest Post

Fun ‘Retro’ Tune In card with free project sheet & video tutorial – get this bundle on sale now!


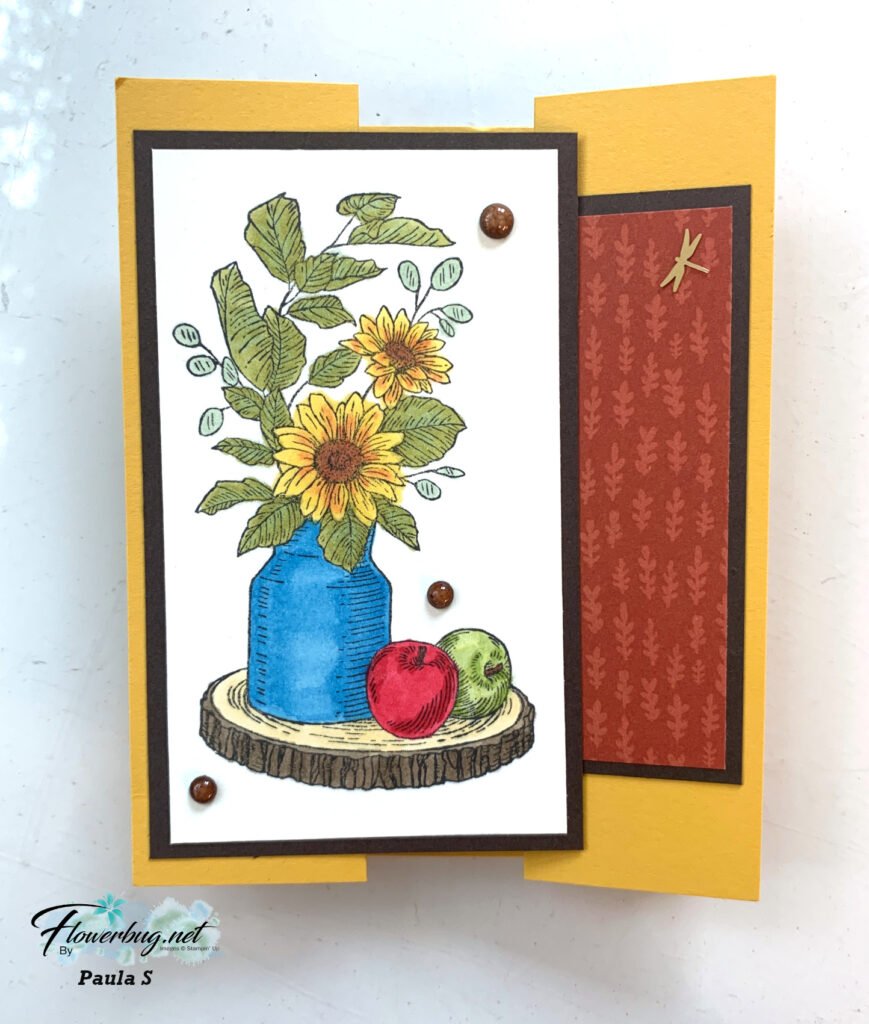
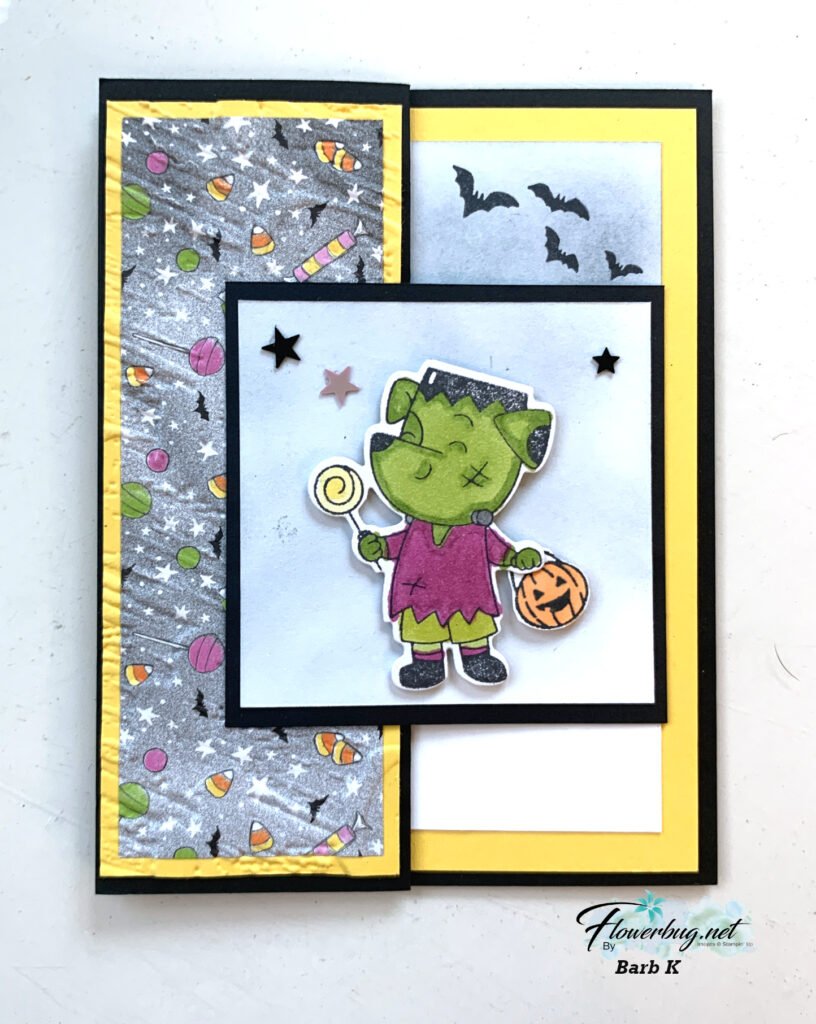
Here's the second card I shared on last week's Live video featuring the Tune In bundle.  I love the fun colors so much! 

My colors include: Night of Navy, Azure Afternoon, Pumpkin Pie, Lemon Lime Twist, Smoky Slate and Granny Apple Green. I chose the greens & blues from the Full of Life DSP I used. 

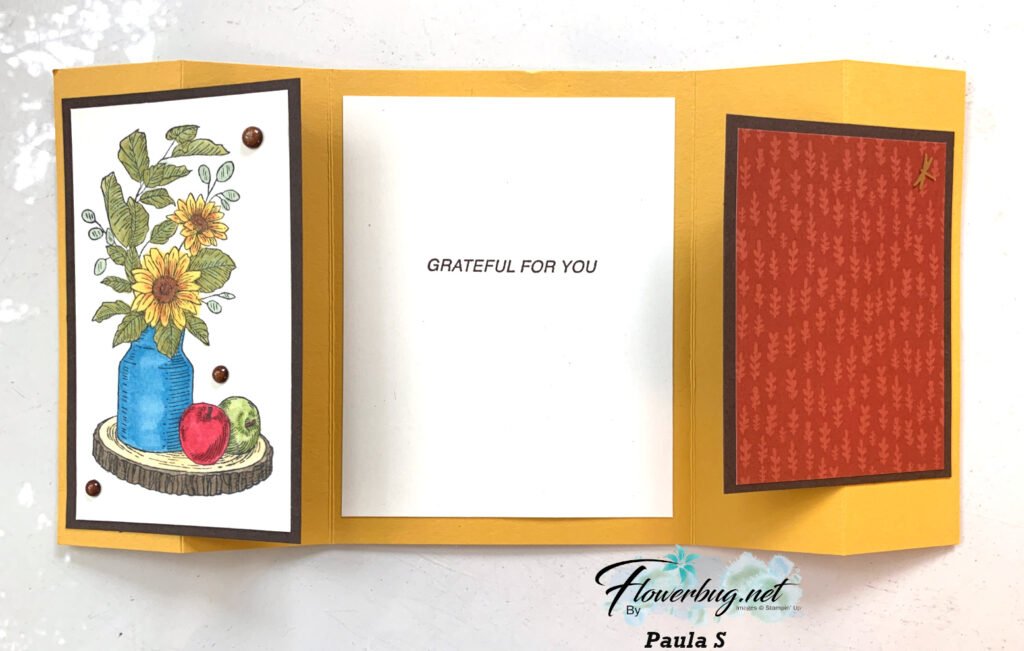
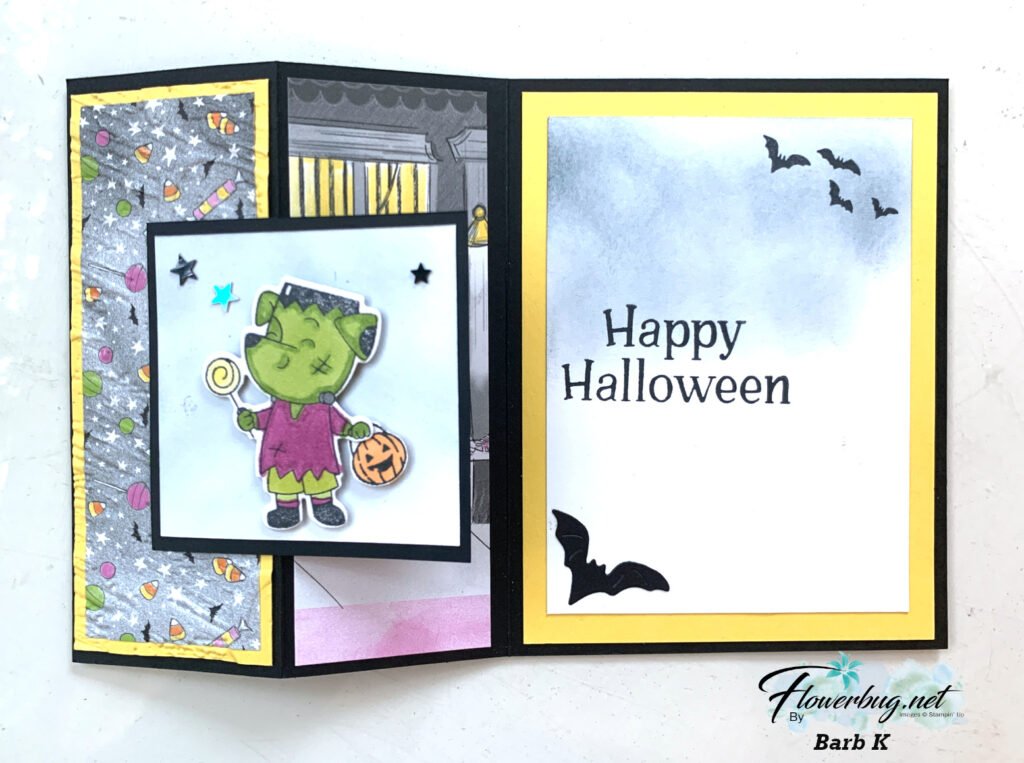
Here's the inside view: 

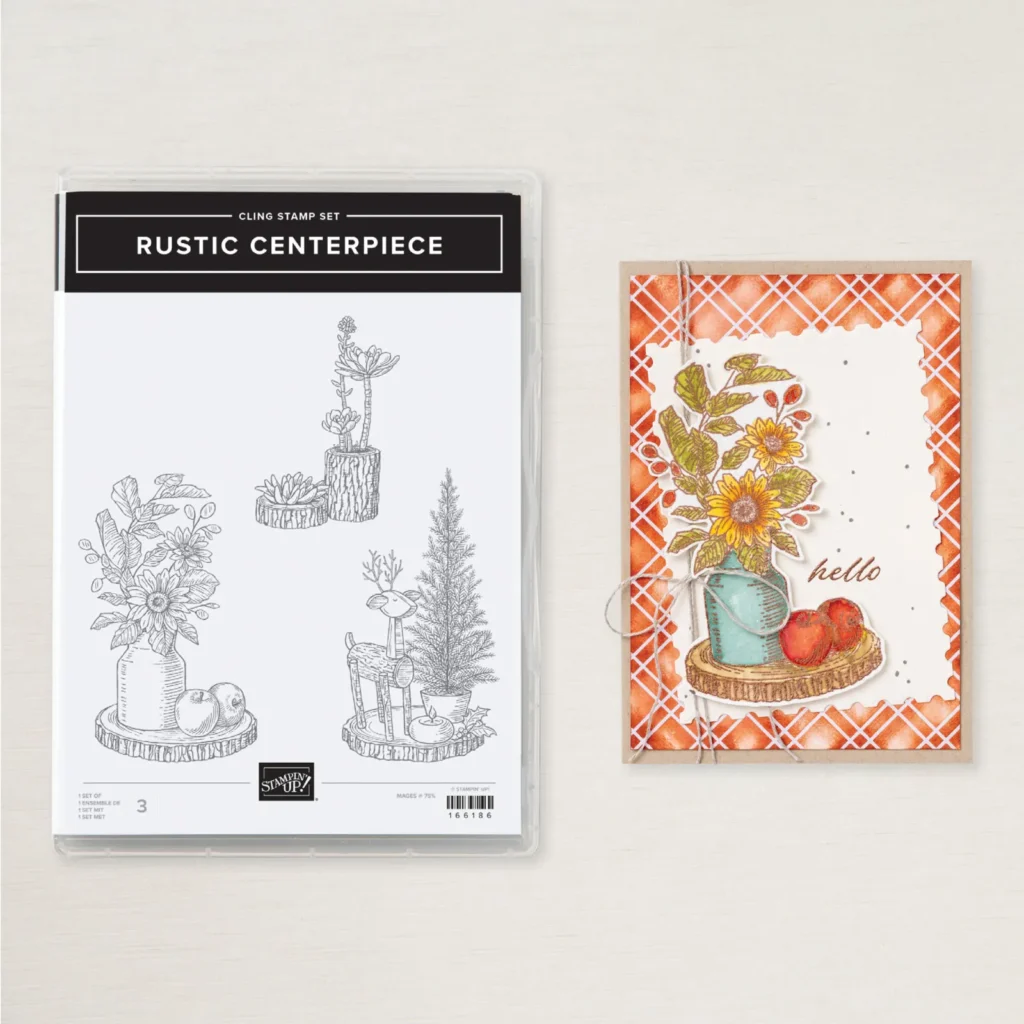
This neat stamp & die bundle is discounted in June; grab it now while it's on sale! This bundle is an extra 10% off in June – was $41.25 and is now $36.75. A great price for this neat bundle! See it here.

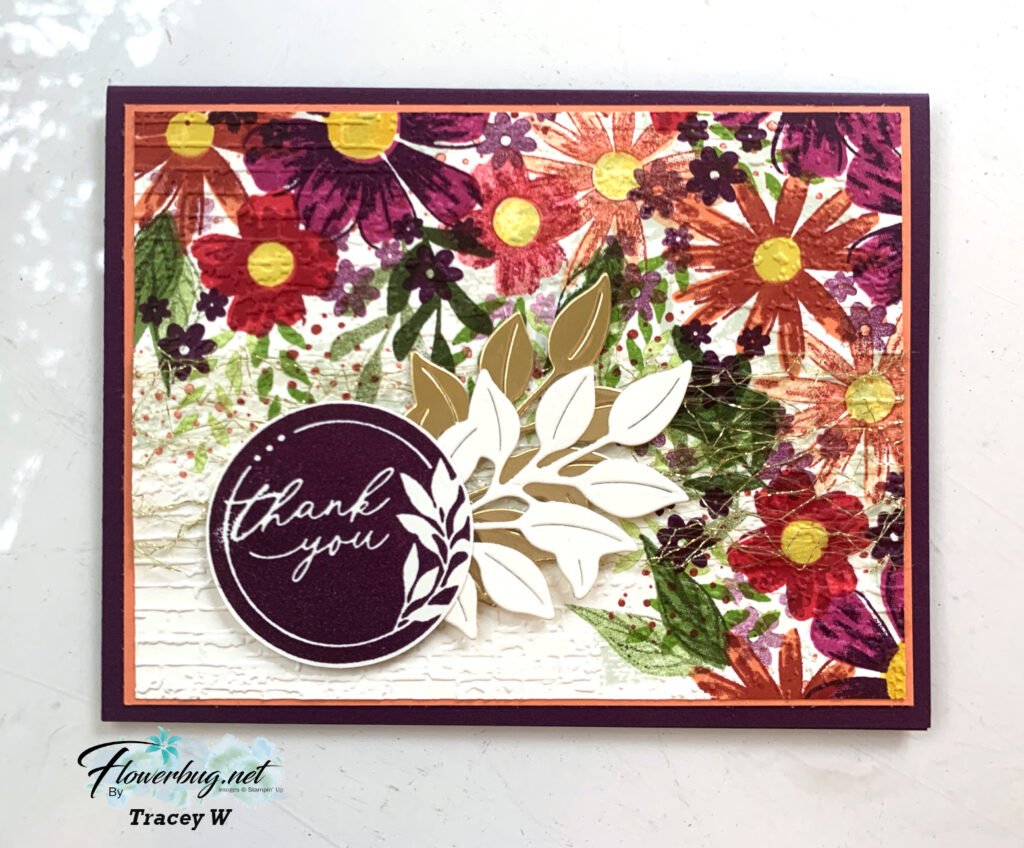
I decided to change it up during the video and create the same card in landscape view:

Exact same measurements and products used.  Which do you prefer? 

Here's the free project sheet for this card; click on the following link to download or print it: Download Tune In Retro card

 I absolutely love the stamps & dies in this bundle. What a great set to use for teens or guy cards! 


See all of the Stamp & Die bundles on sale in June here. 

Below is the video tutorial for this colorful card as well as a fun fold card using the Tune In Bundle.  

~~~

June Specials: 

*current host code links: GF24T6XG or 3A73HXYB

~~~

All online orders receive my free tutorial of the month & if your order is over $55 you'll also receive a free gift from me

All Posts

  • Two more fun fold card swaps by my Flowerbug’s; with measurements!


    Today I'm sharing a few more fun fold cards from our June Team swap with my Flowerbug's.  Our theme was to do a fun fold card using at least one new In Color.  Their cards are amazing!  I'll be sharing them all week!

    First is Marla's card made with the Florals in Bloom DSP seen here.  

    It starts out as a book binding fold… but look what's inside!  An explosion card! 

    Measurements:

    • Card base 11" X 4 1/4" scored at 4 1/4" & 5 1/2"
    • DSP in front 4" square, 1" X 4" strip
    • DSP inside is 6" square. Score in half twice and once diagonally. Adhere only the flat (non-scored) squares to the card inside. 
    • inside white 2 3/4" square

    ~~~

    Next is Jacki's amazing card; who also chose the Florals in Bloom DSP. 

    Her colors include the new Secret Sea (dark blue) with Peach Pie & Pumpkin Pie. Her stamp set is 'With You in Mind' and the 'Delightful Wishes bundle' for the flowers.  Here's how it opens: 

    Measurements:

    • White card bases – two pieces at 10 1/4" X 4" scored at 4 3/4". It's then scored from the bottom left corner to the upper right at 4". The center flat panels overlap each other. 
    • Secret Sea – 3 3/4" square, cut in half on the diagonal – 1 for each side, panel under greeting 3 1/8" square, sides are 5/8" X 3 3/4"
    • DSP 3 1/2" cut in half on the diagonal – 1 for each side
    • White front 3" square, white inside 5 1/4" X 4"

    Isn't it neat?  Her inside greeting is from the Notes & Totes stamp set seen here.  

    ~~~

    June Specials:

    The Suite Sale is on! 

    Buy one get 50% the second item – on all available suite products. 

    Shop here or see products below: 

    ~~~

    Last Chance List has been updated!  see it all here. Don't miss out on the deals!

    ~~~

    Earn free card kits in June with online orders! Get 4 kits with a $50 order and orders over $80 receive all 6 cards. All you need are greetings, gems and adhesives to assemble. 

    Order here 

    ~~~

    Get my Celebratory Sips PDF tutorial free with any online order in June!

    Leave a Reply

    Your email address will not be published. Required fields are marked *

  • Irresistible Designs emboss resist technique with free project sheet & video


    I shared this card on last week's Live video. I wanted to feature the new Irresistible Designs specialty paper seen here in the new Annual catalog.  It has printed/embossed patterns that are perfect for the emboss resist technique.  

    Which color do you prefer? Are you a yellow or a purple person?  

    My colors include Lemon Lolly, Basic Gray, Smoky Slate and Highland Heather. For inks I chose Lemon Lolly, Smoky Slate and Highland Heather. 

    I cut my strips first, then blended the inks on. I textured the center Smoky Slate layer with the Glass & Gardens embossing folders.  The circle die-cut is from the Spotlight on Nature dies.

    I stamped the greeting twice; first on the circle and again on a small piece of card stock.  I fussy cut the 'Celebrate' out and added it with Stampin' Dimensionals.  This was such an easy card! 

    Here's the free project sheet for these cards: Click on the following link to print or download it.  Download Paper Tags with Irresistible Designs

    I featured the Paper Tags bundle for this card and another one below.  See it here. 

    You can see the other card I shared during the video below.  Besides the emboss resist technique on the diagonal I featured the Joseph's Coat technique.  See it here.  

    Here's the free project sheet with directions, photo, measurements and a supplies list: Download Paper Tags Joseph's Coat card

    Below is the video tutorial for this card and another I shared in the video:

    ~~~

    June Specials:

    The Suite Sale is on! 

    Buy one get 50% the second item – on all available suite products. 

    Shop here or see products below: 

    ~~~

    Last Chance List has been updated!  see it all here. Don't miss out on the deals!

    ~~~

    Earn free card kits in June with online orders! Get 4 kits with a $50 order and orders over $80 receive all 6 cards. All you need are greetings, gems and adhesives to assemble. 

    Order here 

    ~~~

    Get my Celebratory Sips PDF tutorial free with any online order in June!

    Leave a Reply

    Your email address will not be published. Required fields are marked *

  • Paper Tags Joseph’s Coat technique with video tutorial


    I played with the Paper Tags stamp set and the Irresistible Designs Specialty Paper for last week's video.  Here's my favorite project: 

    The colors include Daffodil Delight, Coastal Cabana and Gorgeous Grape in inks.  The card stock is Black, White, Daffodil and Highland Heather. 

    For the colored designer paper panel I started with a piece at 4" X 5" and blended the three inks on it diagonally. This Irresistible specialty paper seen here resists the ink where they printed the resist designs. Once you add ink, it reveals their pattern.  So cool!  

    After I blended the colors on I randomly cut the single panel into 5 pieces on the diagonal. I share how I did this in the video here. I adhered each panel one at a time starting in the corner. You may need to trim one of the pieces slightly to fit the card base.  


    For the inside of the card I stamped the greeting and added color to it with coordinating Blends markers. 

    Here's how you do the Joseph's Coat technique:

    1. Sponge or blend multiple colors onto your neutral cardstock. 
    2. Swipe the embossing buddy over this layer; tap off excess powder. 
    3. Ink the stamp image in Versamark ink; stamp onto the layer. 
    4. Immediately heat emboss with Black embossing powder. 

    Once I had my tag, I trimmed it by hand (there are coordinating dies) and added a few extra pieces to lengthen the tag and add more layers. I finished it off with a bow. 

    Here's the free project sheet with directions, photo, measurements and a supplies list: Download Paper Tags Joseph's Coat card

    Below is the video tutorial for this card and another I shared in the video:

    ~~~

    June Specials:

    The Suite Sale is on! 

    Buy one get 50% the second item – on all available suite products. 

    Shop here or see products below: 

    ~~~

    Last Chance List has been updated!  see it all here. Don't miss out on the deals!

    ~~~

    Earn free card kits in June with online orders! Get 4 kits with a $50 order and orders over $80 receive all 6 cards. All you need are greetings, gems and adhesives to assemble. 

    Order here 

    ~~~

    Get my Celebratory Sips PDF tutorial free with any online order in June!

    Leave a Reply

    Your email address will not be published. Required fields are marked *


Notice: LeeAnn Greff, Independent Stampin’ Up! Demonstrator, Manager. The content of this website is my sole responsibility as an independent Stampin’ Up! demonstrator and the use of, and content of, the classes, services, or products offered on this website is not endorsed by Stampin’ Up! Copyright 2025