/


Latest Post

Fragrant Forest & Countryside Corners in a fun fold layout with video


I've been sharing my Fragrant Forest projects from last week's Live; this is the third one. I have a video below to watch plus free project sheets for each card too.  See this stamp set here.
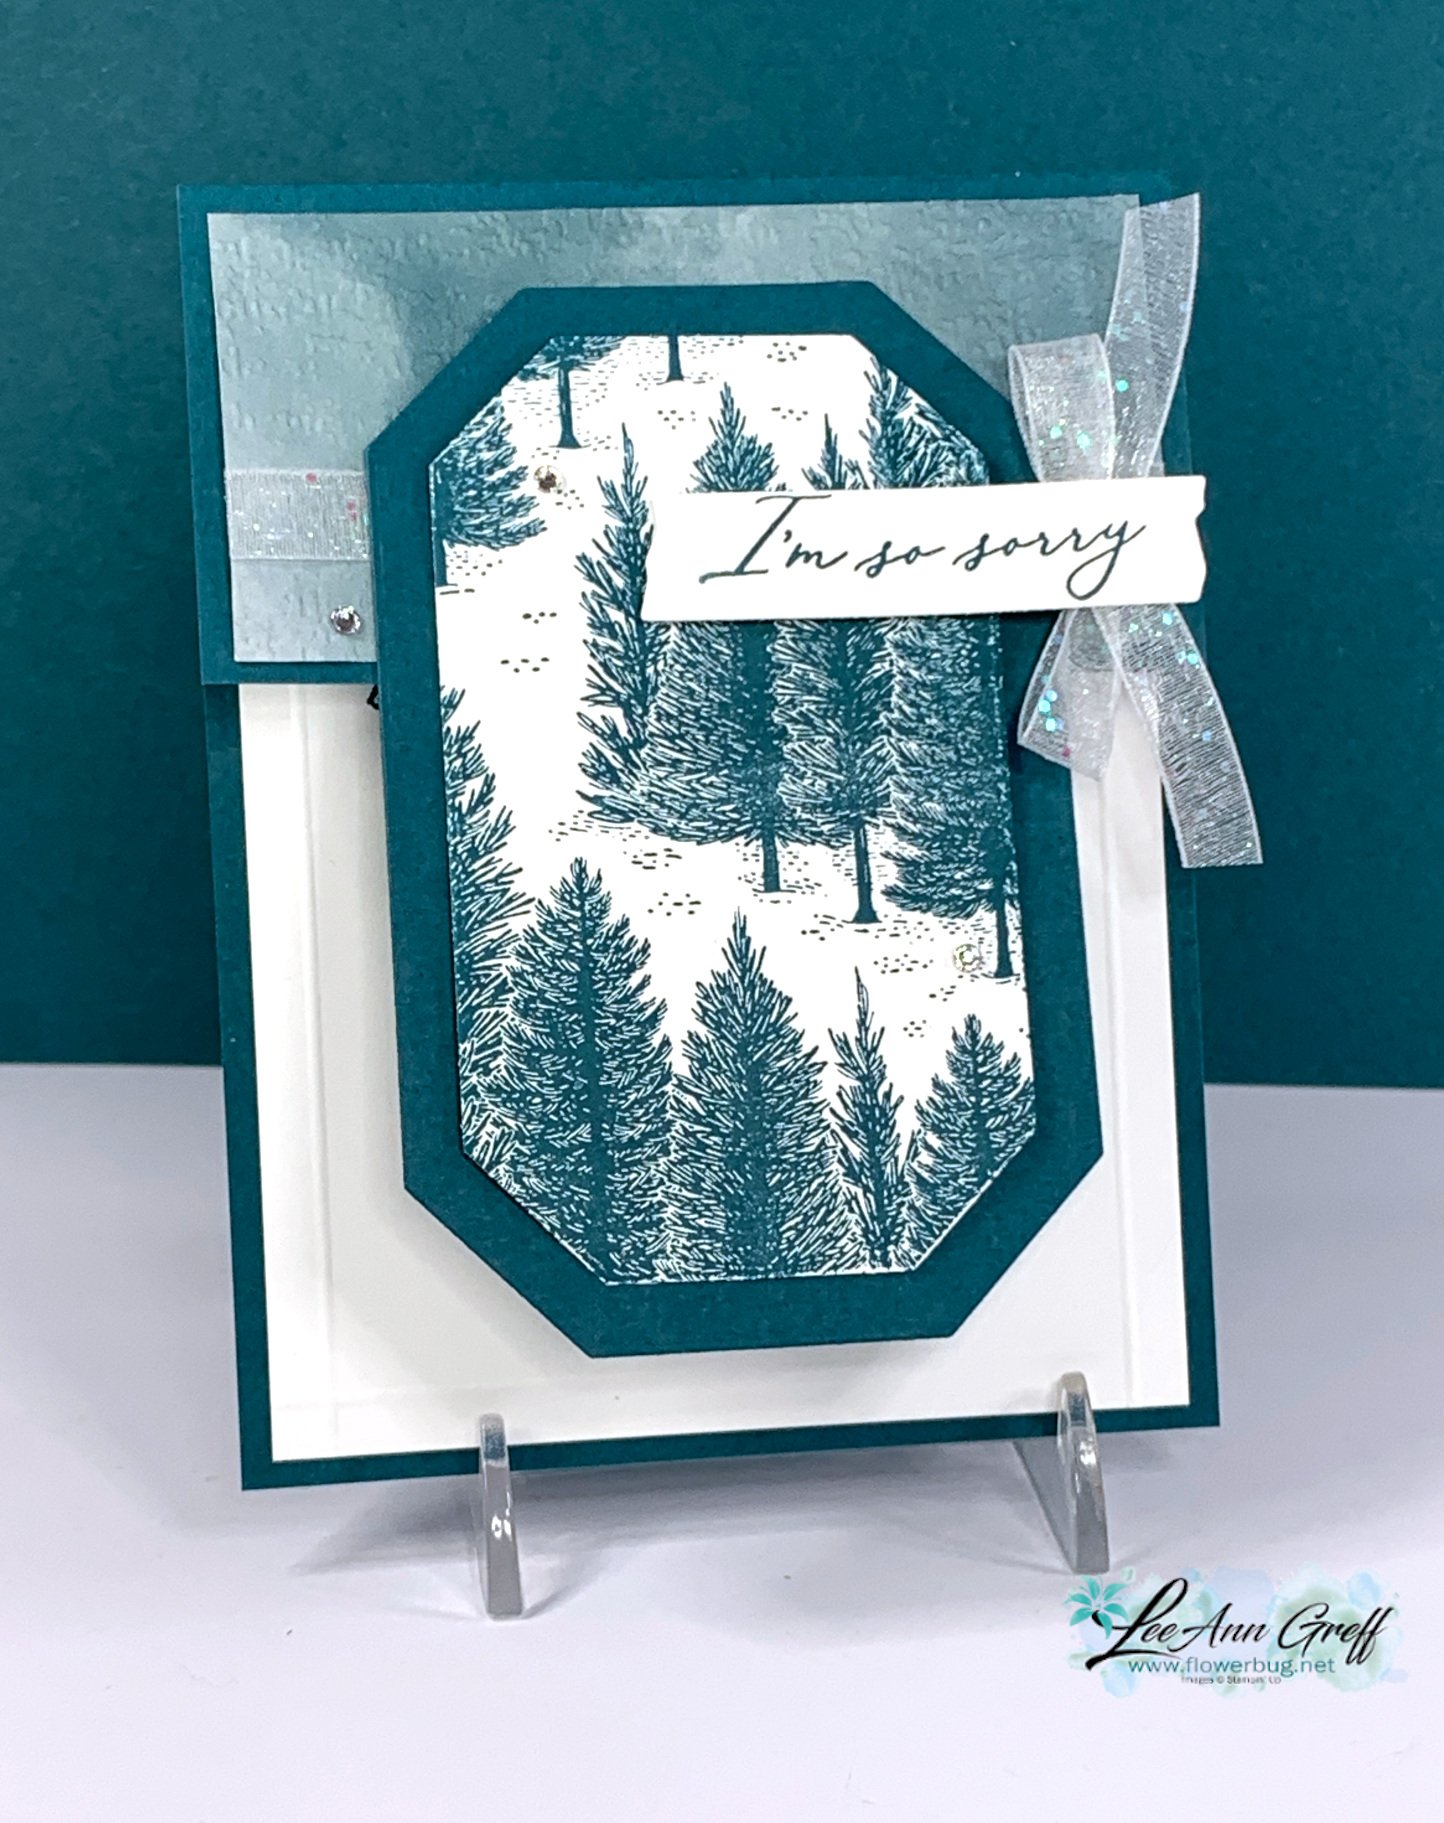
I chose a simple color combo of White & Pretty Peacock. The designer paper on the upper flap is the Hello, Irresistible from our Online Exclusives line. 

The die-cuts are the Countryside Corners from the Annual catalog; seen here. Can you see the raised lines on the inside white? I used my Simply Scored 1/4" from each edge. 

Here's the free project sheet with measurements, photo and more: Download Fragrant Forest Funfold card

I couldn't decide if I like the clean look of the card on the lower right or the added forest on the lower left card. Which do you prefer? 

Here's the inside view of the upper left card.  I used the Lasting Joy stamp set for my greeting and sentiments. I find I'm reaching for this one often. See it here. 
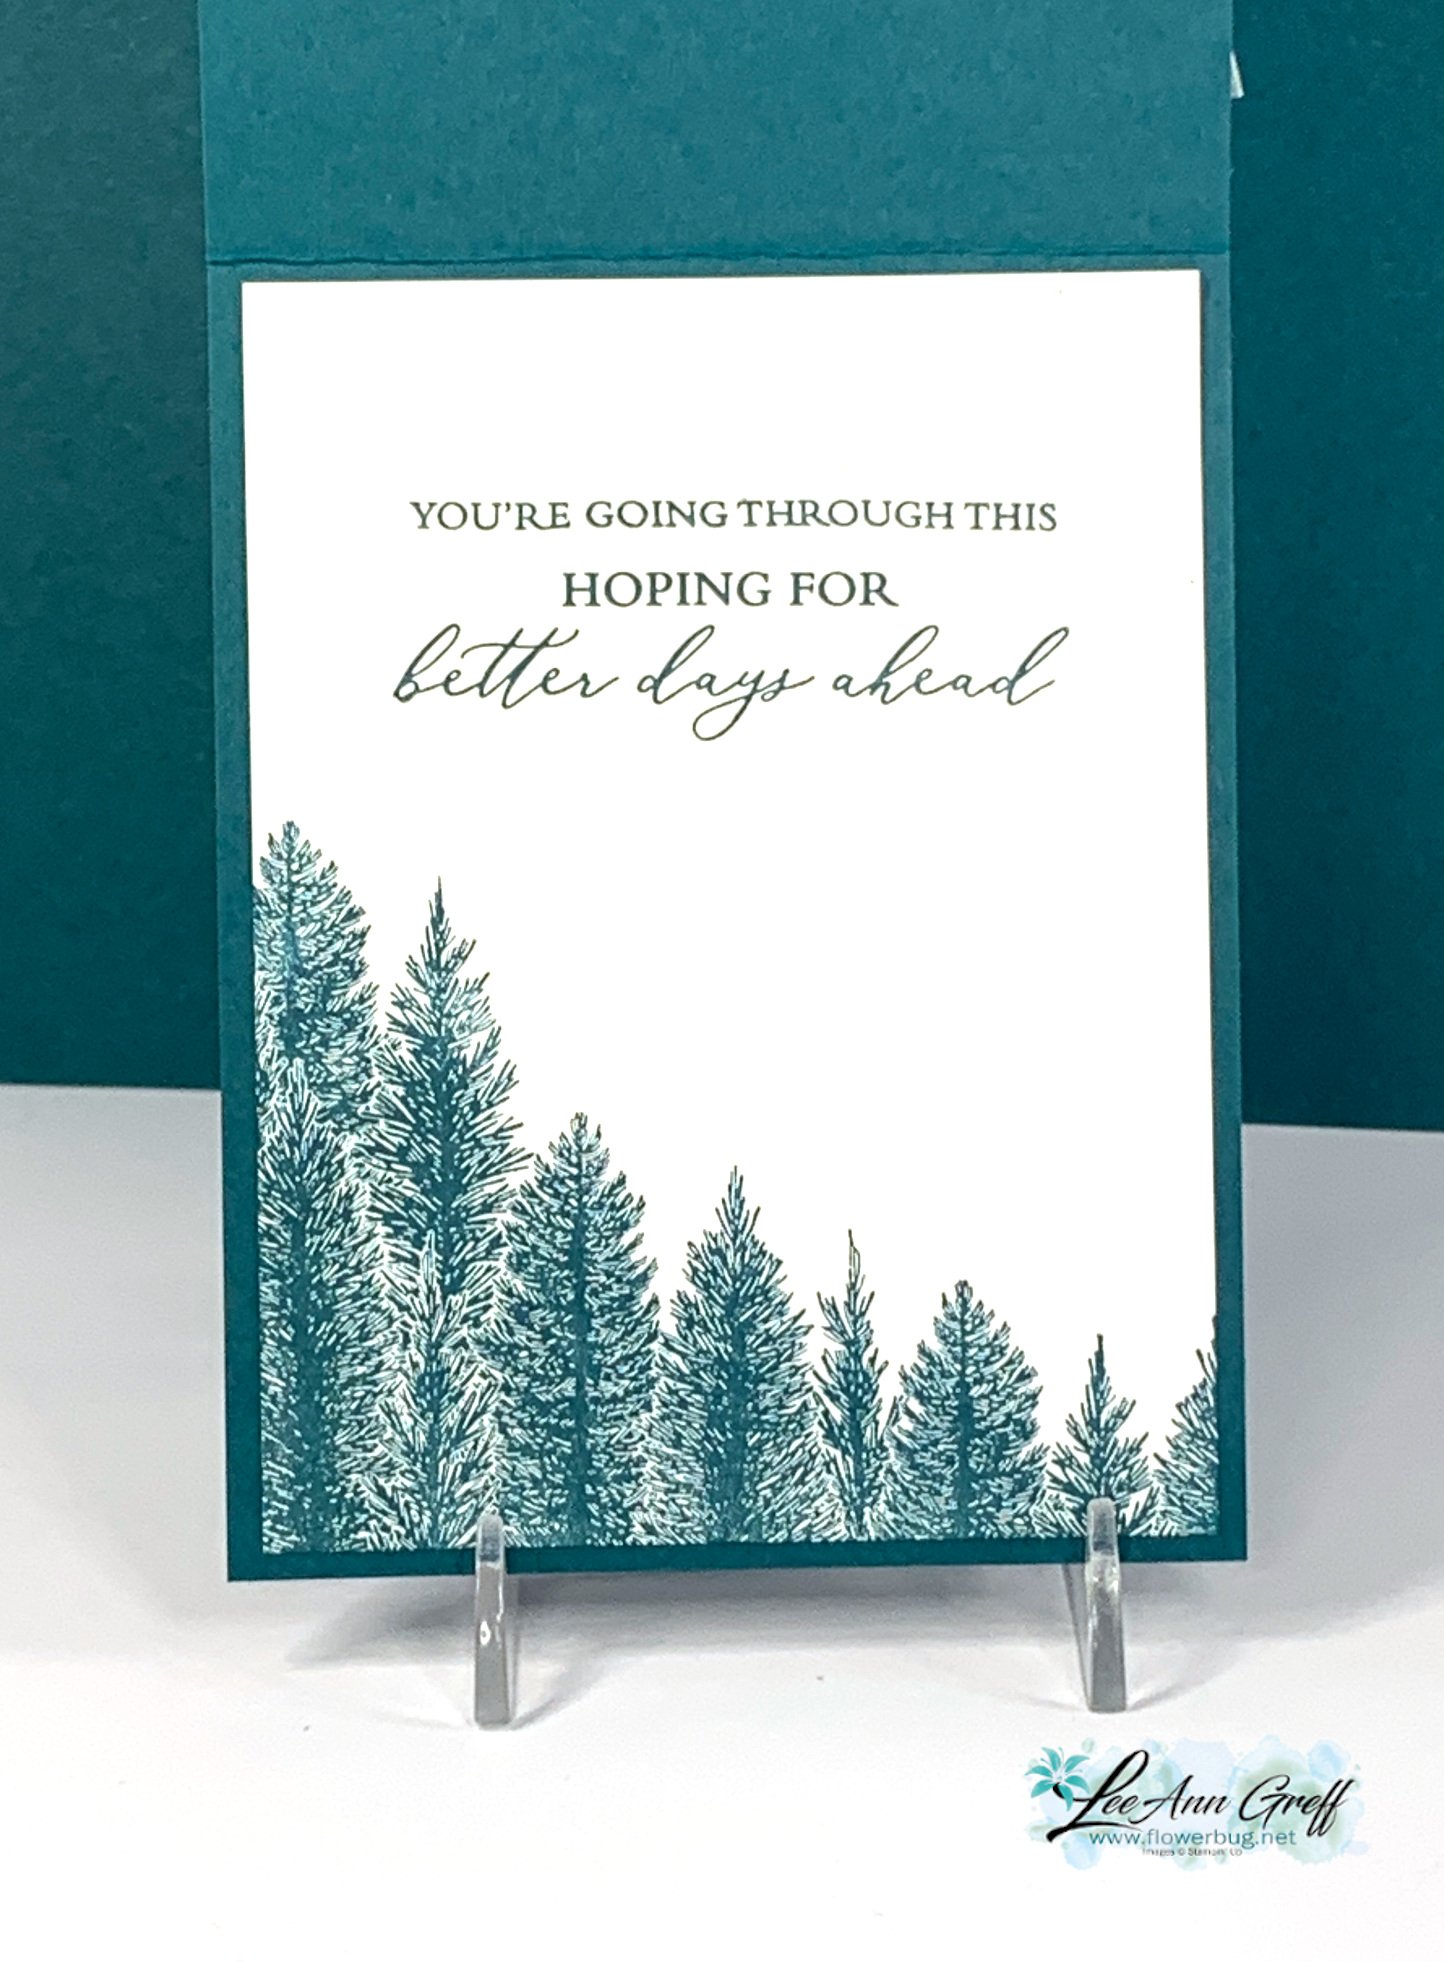
You might wonder just how I achieved inking only the bottom half of this stamp on the inside of the left card above. Watch the video here. 

I cut my stamp apart! 
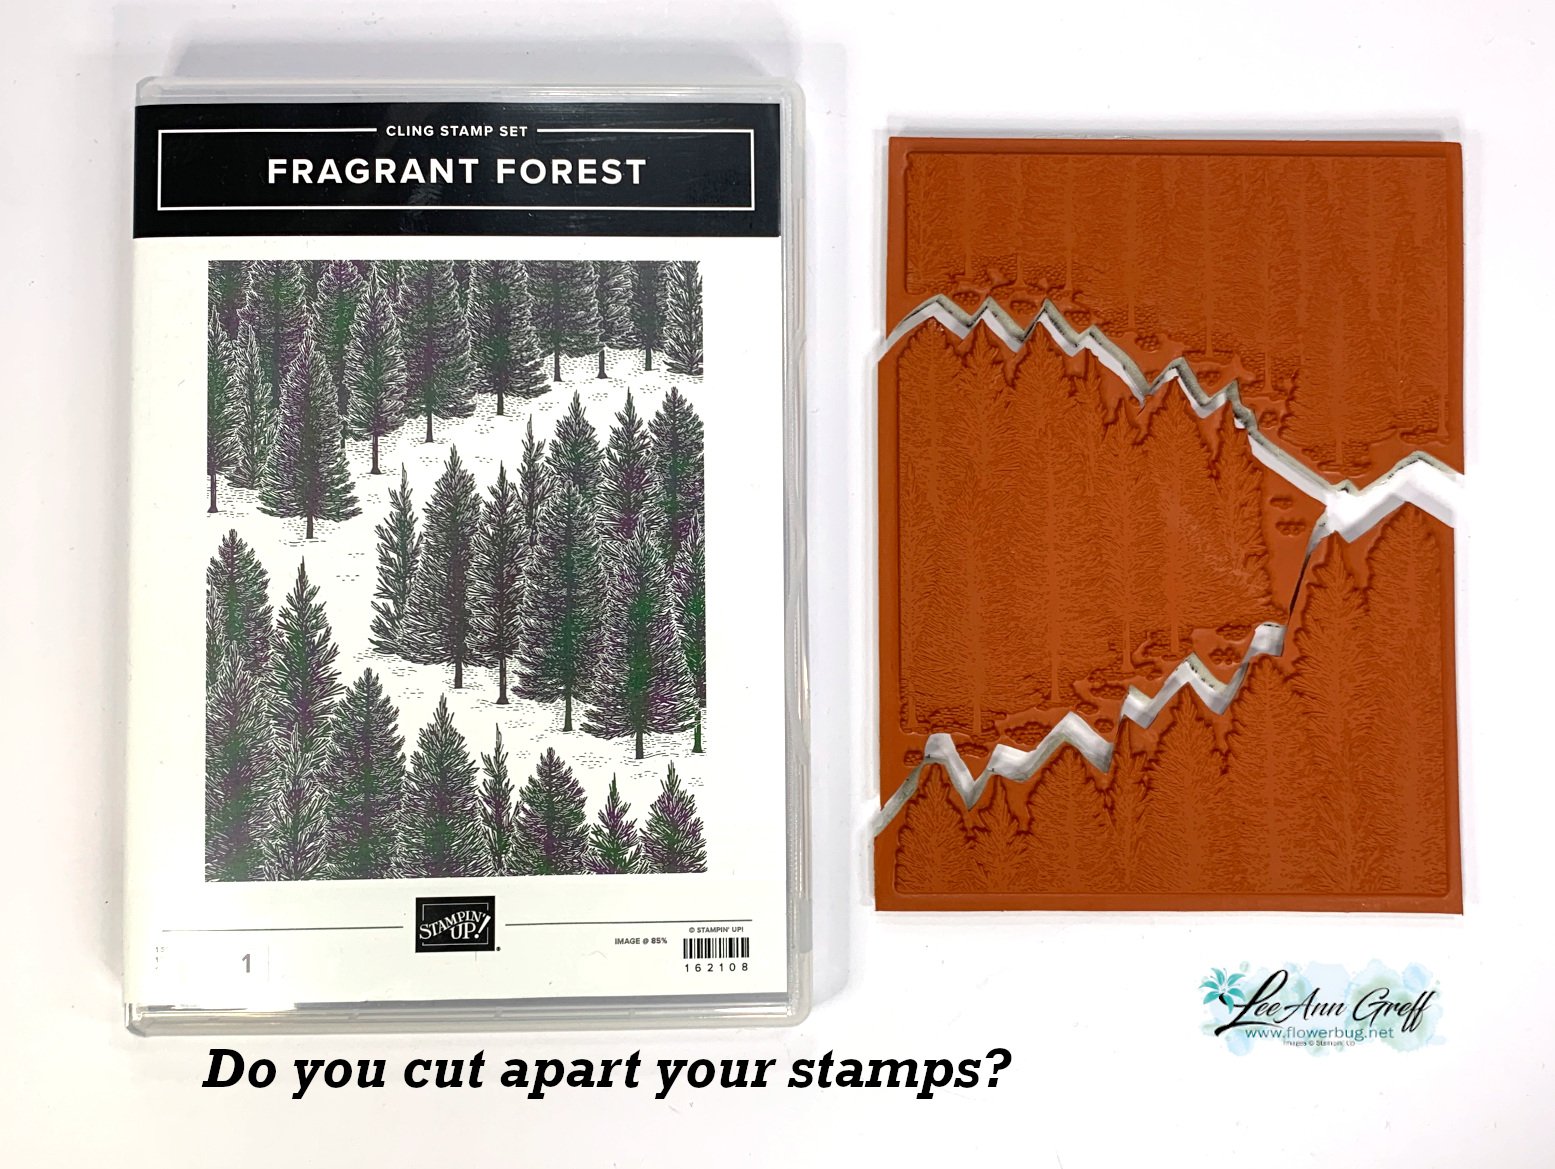
Cutting your stamps can make them so much more versatile!  And they fit right back together on your block if you do want to use the entire stamp.  Try it! 

Click here or on the photo below to watch my video.  Please subscribe to my YouTube channel too!  

~~~

December Specials: 

Get a free embellishment from the 2023 Holiday catalog with an

online order over $50


*current host codes:  PN2C7Z4E or 77277NNH

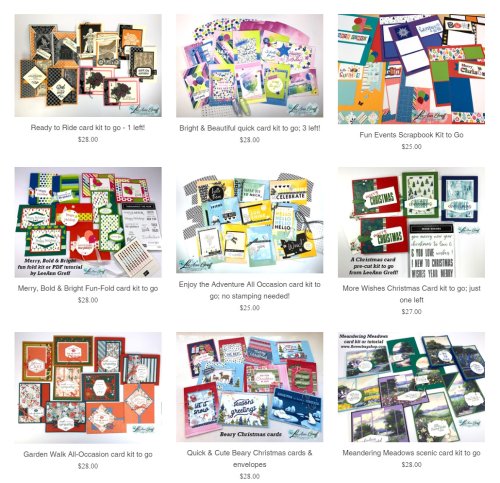
Love kits?  Check out my pre-cut card kits to go here!

I offer two new kits & tutorials each month!
 

All Posts

  • Water-coloring TWO ways with video tutorial!


    In August our Flowerbug's Team had our usual card swap – this time we featured either Sale-a-Bration or Holiday catalog products.  I chose to use both!  

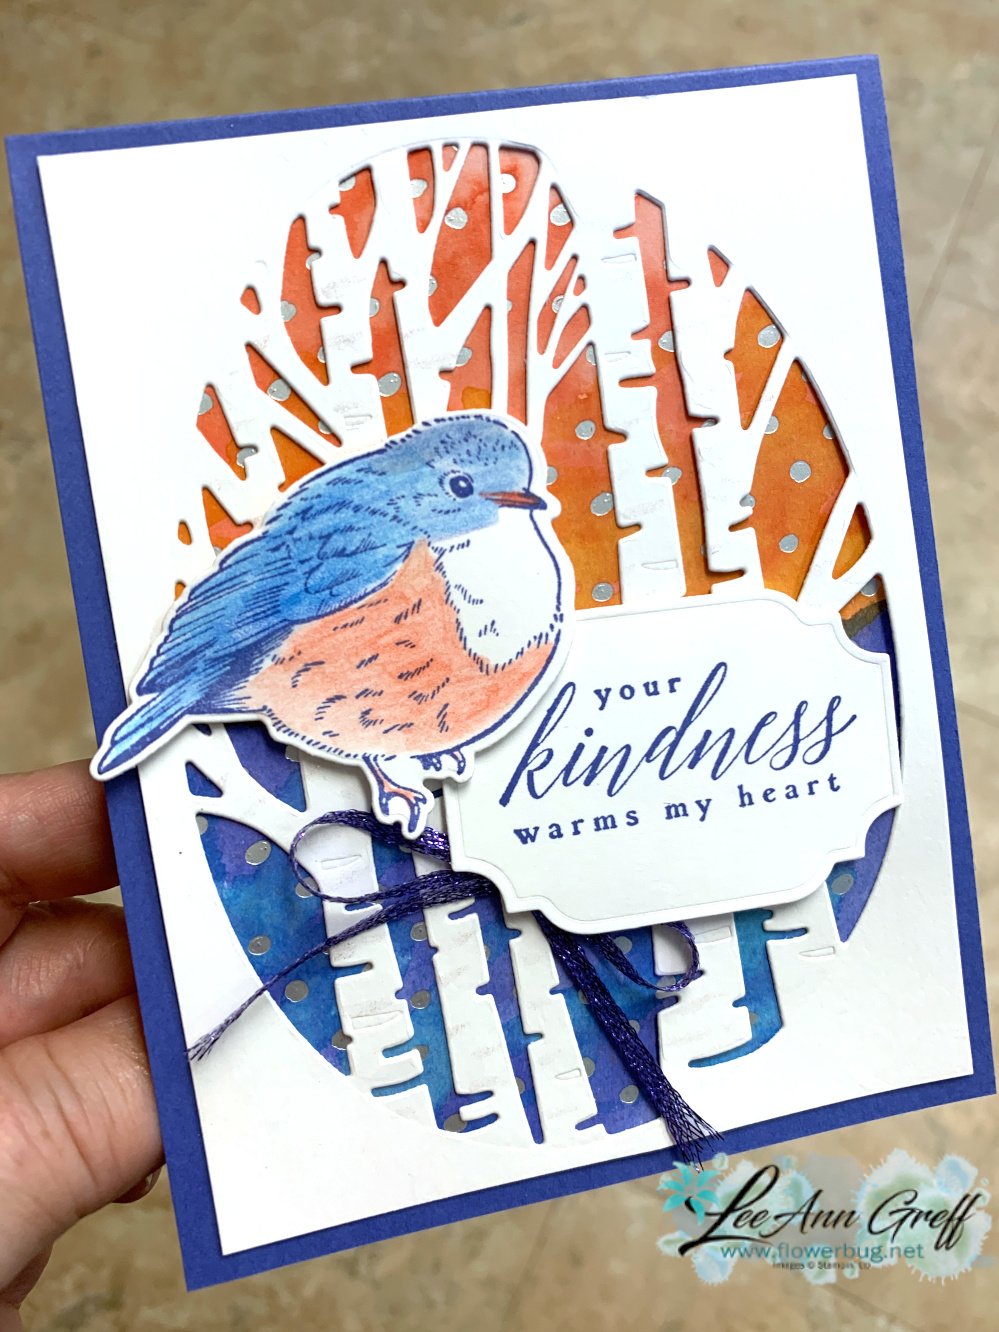
    I created this card for a few reasons; I wanted to use the Aspen dies (LOVE THEM) and also wanted to create a water-colored background.   What do you think?  

    I chose to use Orchid Oasis as my card base and added Calypso Coral, Crushed Curry and a bit of Tahitian Tide in the water-color wash at the bottom. 

    Be sure to watch the video below to see how it's done.  It's super simple and hard to mess up!  Honest!  

    Tips for a successful water color wash:

    • Wet the water before adding ink.  This is super important!  The ink will spread so much easier and without lines if the paper is wet. 
    • I used our Water Painters – but a paintbrush also works. 
    • Use a heavy paper such as watercolor paper, Thick White or Vanilla or Shimmer paper. Here I used our Silver & Gold DSP from the Sale-a-Bration catalog.  It worked but thicker paper is easier and has less chance of the paper fibers lifting. 
    • Let the paper dry between layers if you want a definite line between colors – like this sunset & water combo.  

    Other details:

    • I stamped the bird in Orchid Oasis and colored him in with our watercolor pencils and a blender pen.  
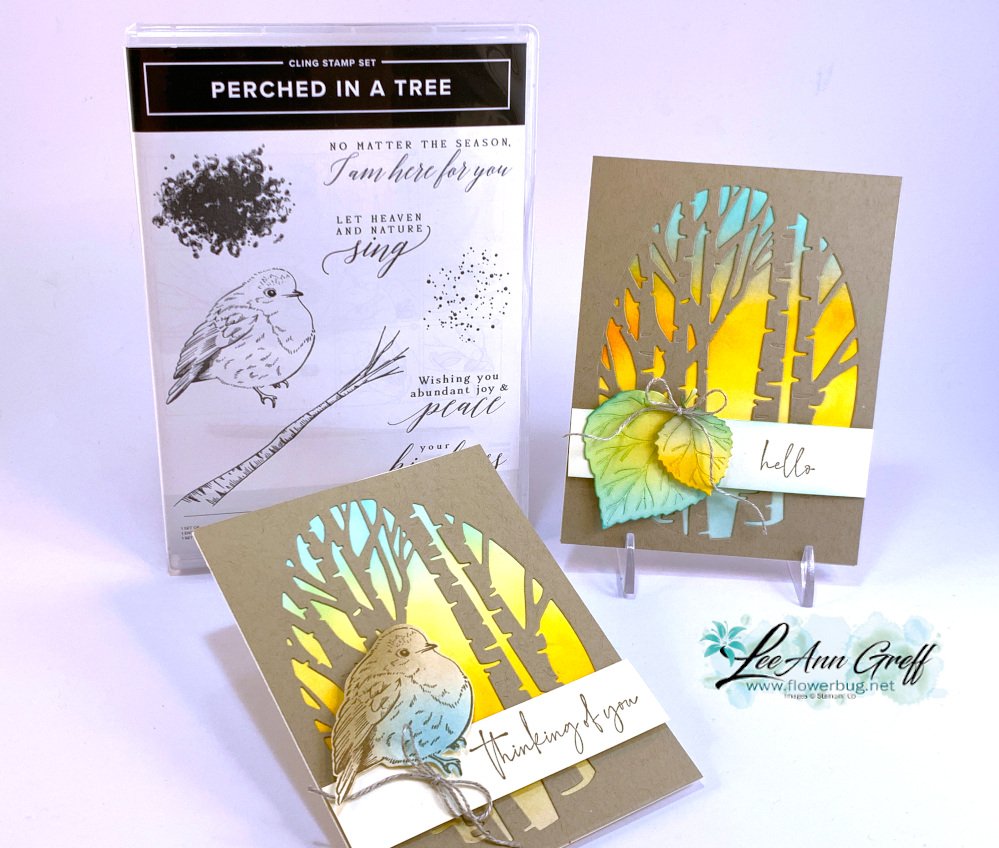
    • The greeting is from the Perched in a Tree stamp set – it's in a bundle with the Aspen dies I used here. 
    • The greeting die-cut is from the All That dies. 

    The Aspen dies are available in three ways – in the Bundle at a 10% discount, separately from the Perched in a Tree stamp set or free during August & our Sale-a-Bration promotion. 

    *Best buy: purchase the Perched in a Tree bundle in August and choose a $50 Sale-a-Bration choice for free!  See them all here. 

    ~~~

    August Specials

    Get free items here in August during Sale-a-Bration! 


    Host code: E22FXSSB


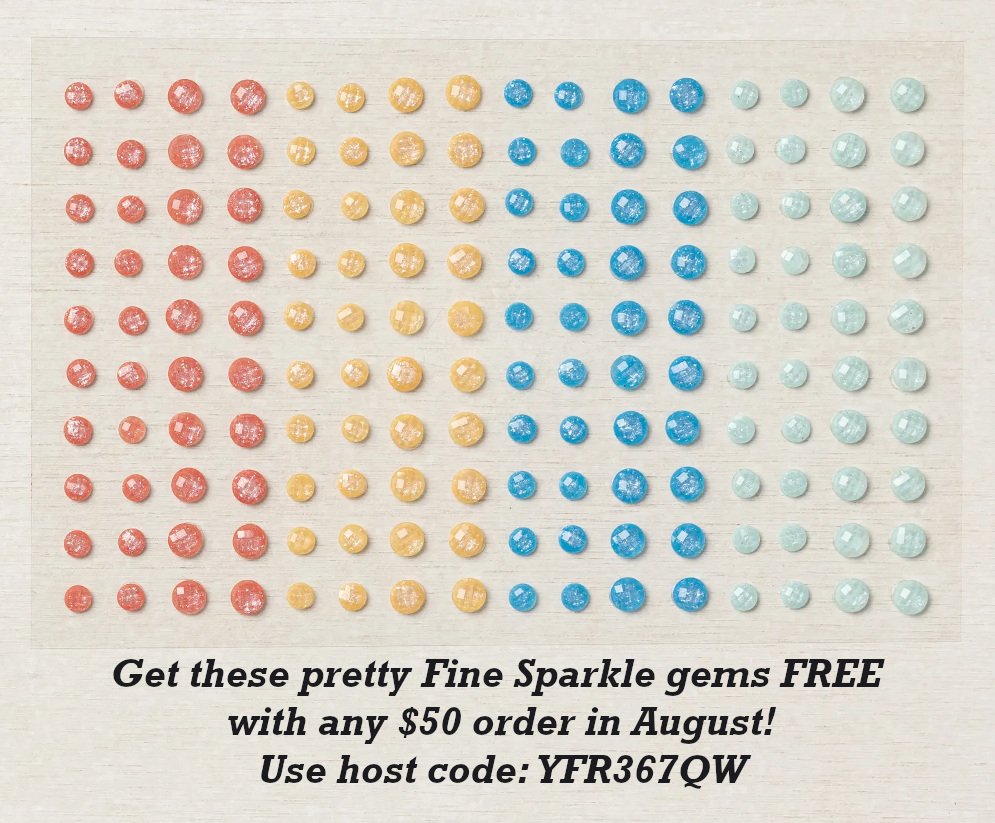
    Get these pretty gems free! *click here to order 

    Earn free products with my loyalty rewards! 

    Click here to download yours and earn a $50 shopping spree!

    Leave a Reply

    Your email address will not be published. Required fields are marked *

  • Perched in a Tree Ink Blending sunset technique


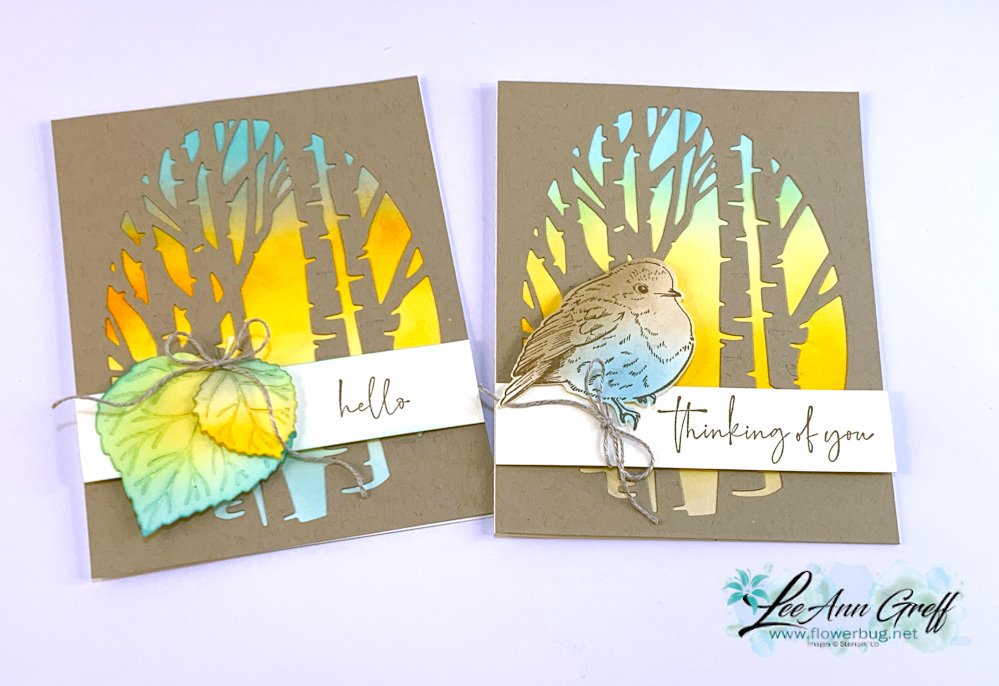
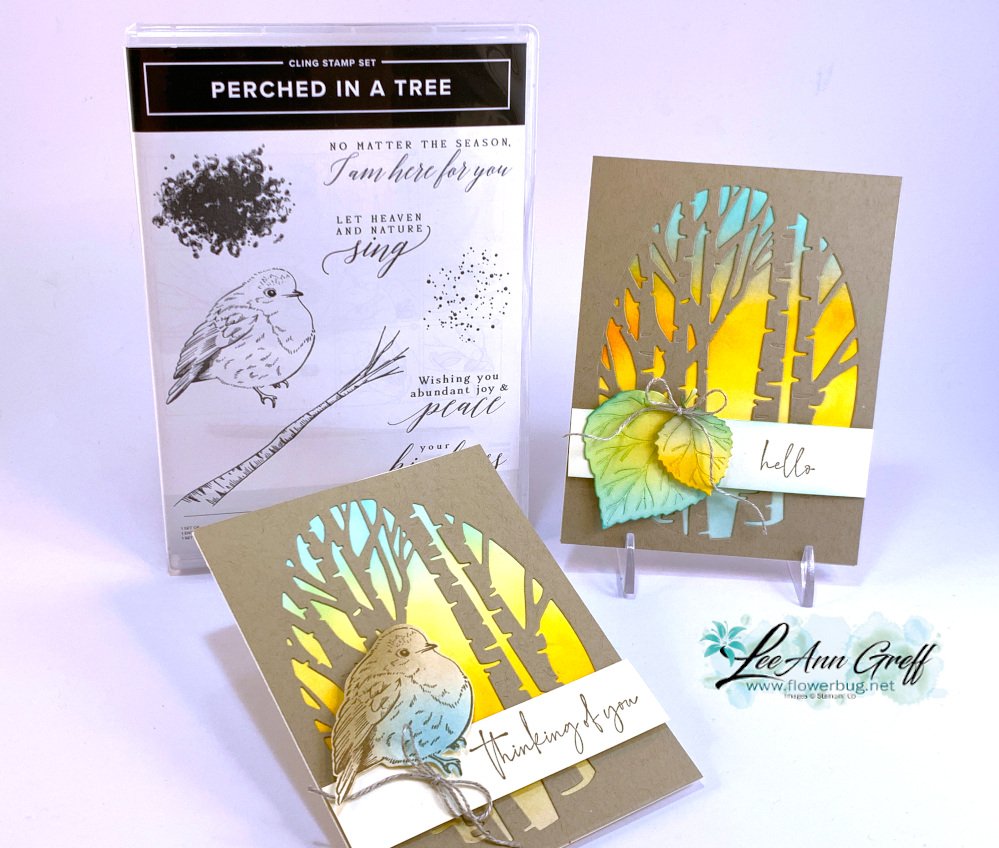
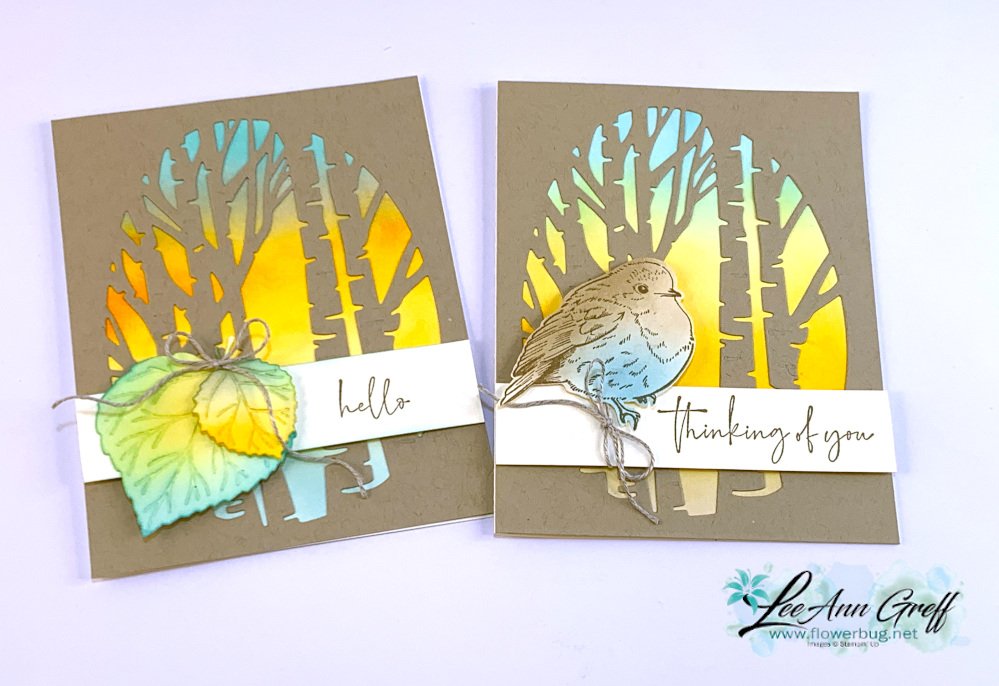
    I can't get enough of the Perched in a Tree bundle!  We made these cards at my August Card Clubs this month: 


    They had the choice of adding the bird or a set of die-cut, colored leaves.  We added color to both with our Blending Brushes using Crumb Cake & Balmy Blue for the bird and Bermuda Bay & Mango Melody on the leaves.  

    The greetings are from the Soft Seedlings stamp set stamped on a 1" X 4 1/4" Vanilla CS strip.  

    If you have trouble getting a smooth Ink Blending background please watch the video to catch my tips.  

    From the top down I used these colors:  Bermuda Bay, Mango Melody & either Balmy Blue or Crumb Cake on the bottom.  You might think I used a yellow color on the upper right card but it's just very light Mango Melody.

    The Aspen dies are available in three ways – in the Bundle at a 10% discount, separately from the Perched in a Tree stamp set or free during August & our Sale-a-Bration promotion. 

    *Best buy: purchase the Perched in a Tree bundle in August and choose a $50 Sale-a-Bration choice for free!  See them all here. 

    Below is the video; click on the photo below to watch.  Or here to see it on YouTube.  Don't forget to subscribe to my channel!  

    ~~~

    August Specials

    Get free items here in August during Sale-a-Bration! 


    Host code: E22FXSSB


    Get these pretty gems free! *click here to order 

    Earn free products with my loyalty rewards! 

    Click here to download yours and earn a $50 shopping spree!

    Leave a Reply

    Your email address will not be published. Required fields are marked *

  • Bewitching Bundle for my Artist of the Month series


    I'm excited to share these incredible projects made by Annette. She is our Artist of the Month as part of my Flowerbug's Team.  Each month we have a featured artist that showcases a stamp set or bundle.  For creating the projects they get to keep their new bundle as a gift.  

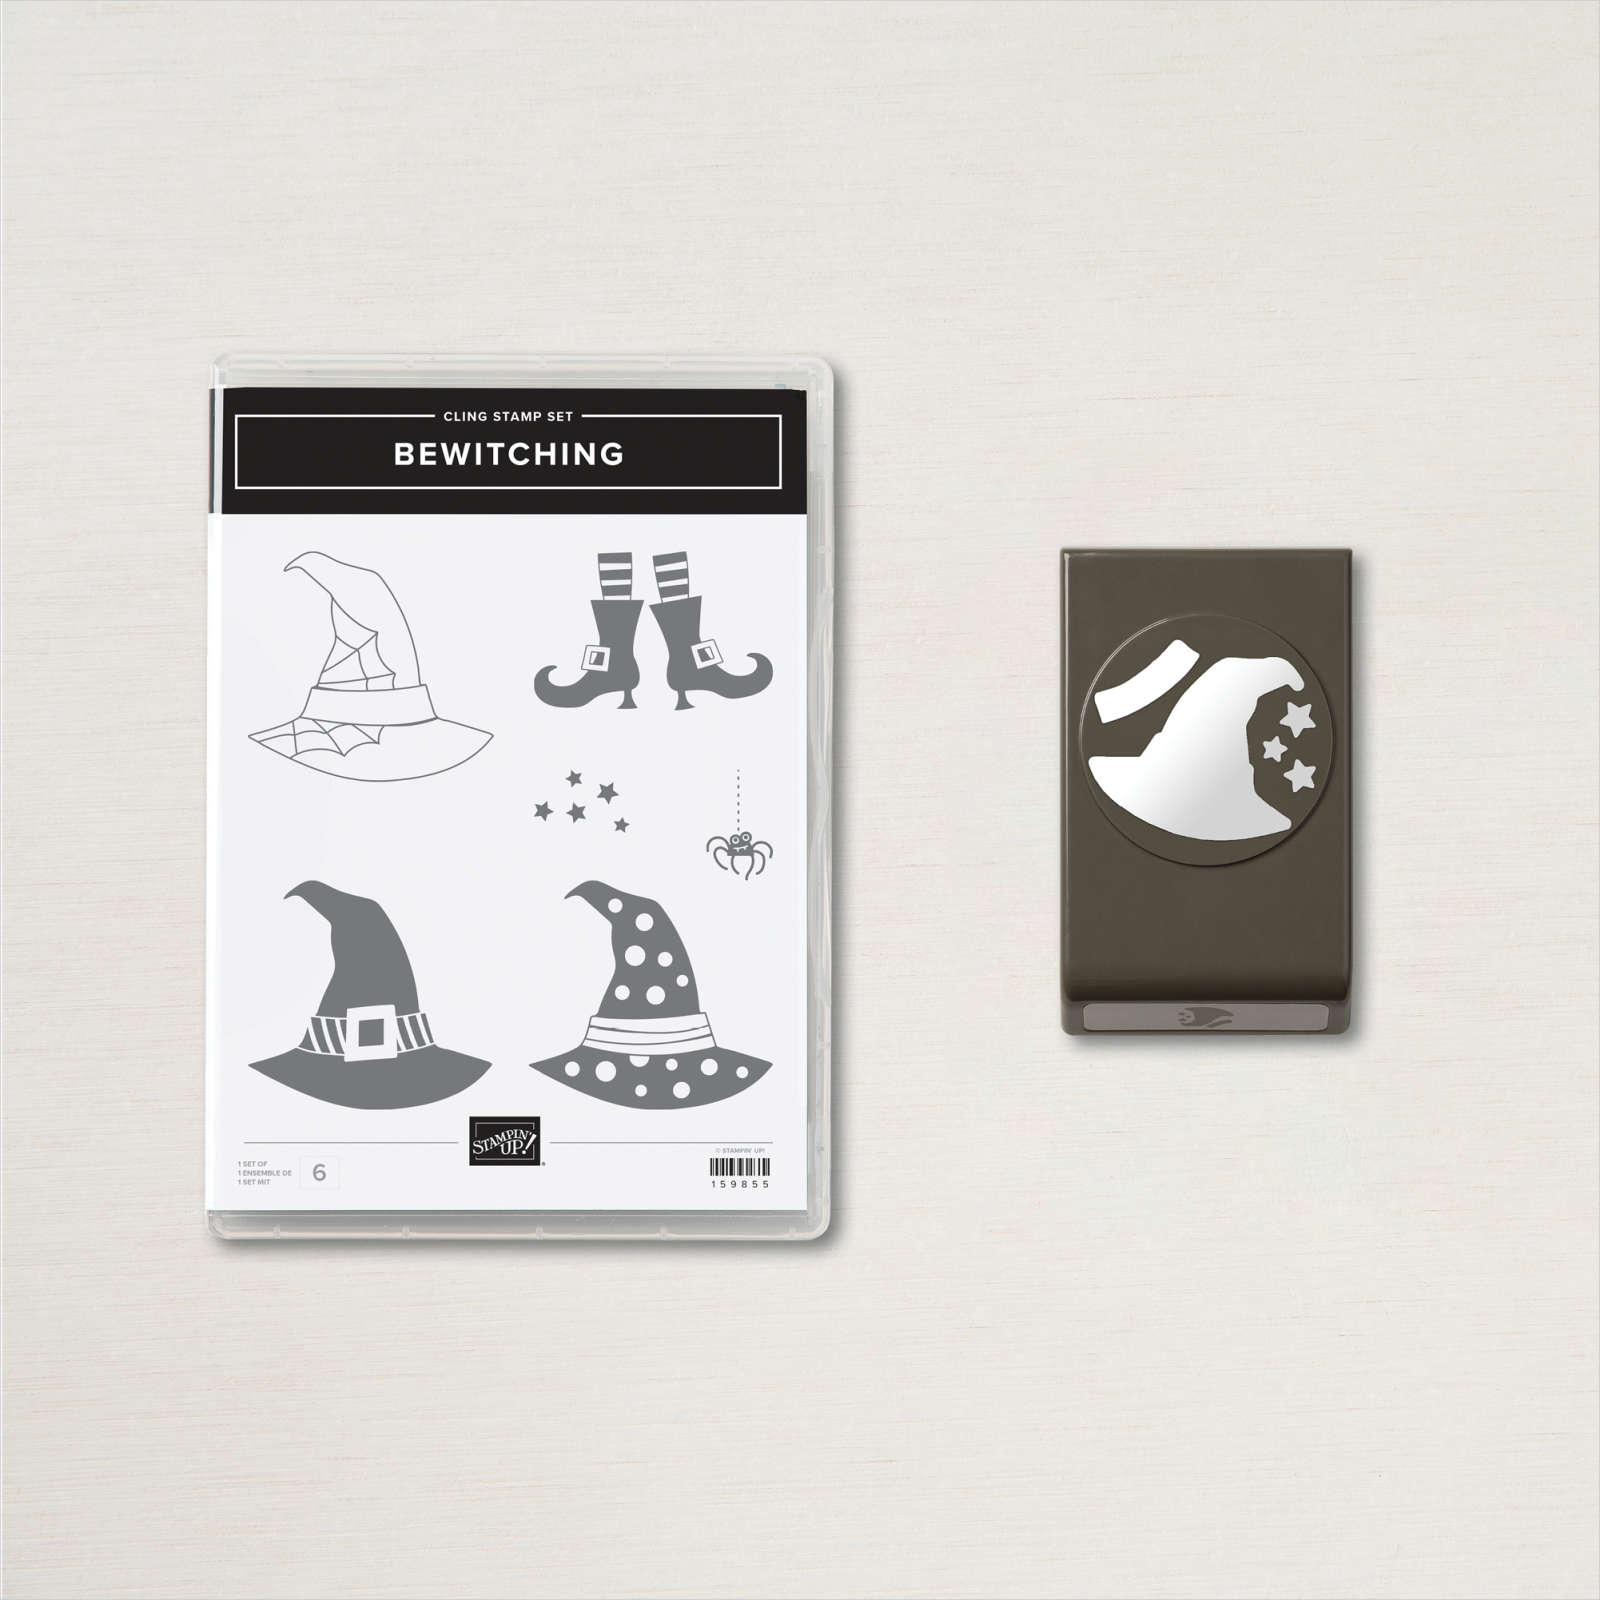
    She chose to use the Bewitching Bundle from the 2022 Holiday Catalog.  See it here. 

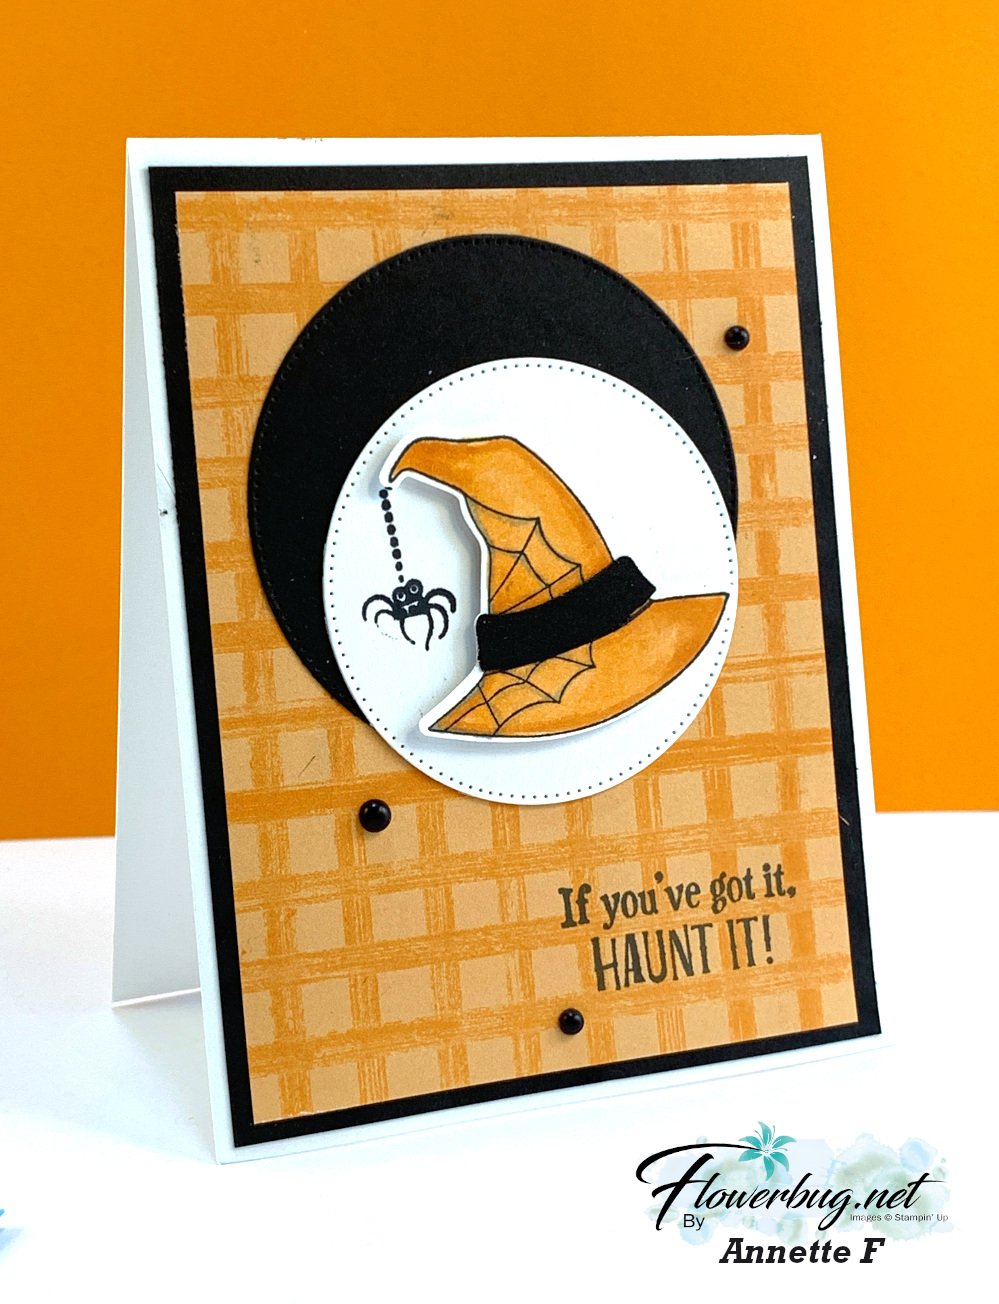
    First up today is an eye catching card featuring the Gingham Cottage designer paper. 

    She used Pumpkin Pie blends markers to color her hat and added a stamped spider and Black hat band.  The stitched circle die-cuts are from the Stylish Shapes dies.  Offsetting them adds a playful look to the card.

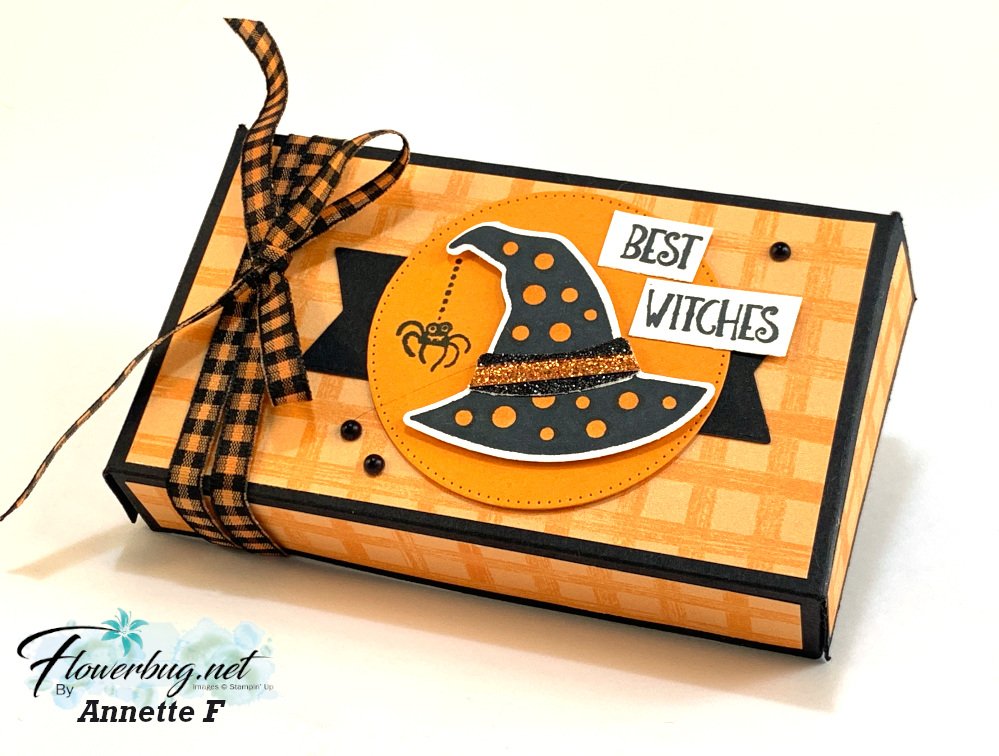
    Next is a super cute coordinating candy treat box: 

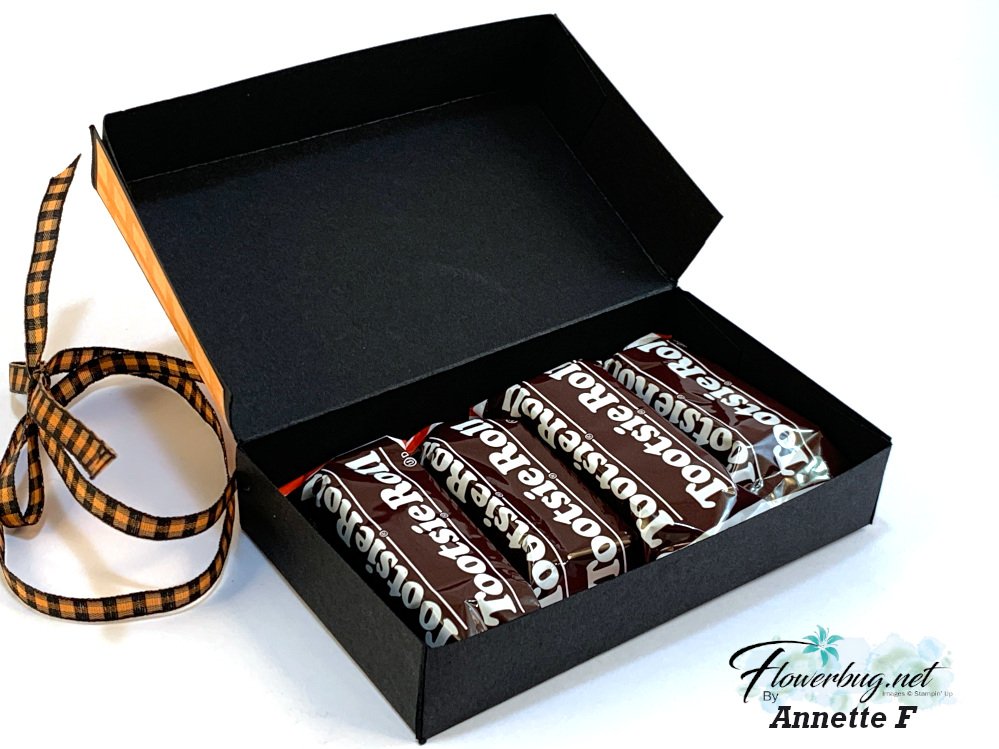
    She found the box pattern from Cathryn Themann.  It's about 5" X 3" in size and fits a row of Tootsie Rolls nicely.  


    She used the same Cottage Gingham designer paper as she did on the card above. Notice that cute Black & Pumpkin gingham ribbon?  She colored it with a Pumpkin Pie blends marker!  Perfect!  

    The circle and banner die-cuts are from the Stylish Frames dies seen here.  They're my 'go to' set of dies lately! 


    She added the perfect finish to her hat band; the Black & Pumpkin glitter washi tape.  

    Come back for more fantastic projects featuring the Bewitching Bundle tomorrow!  

    ~~~

    August Specials

    Get free items here in August during Sale-a-Bration! 


    Host code: E22FXSSB


    Get these pretty gems free! *click here to order 

    Earn free products with my loyalty rewards! 

    Click here to download yours and earn a $50 shopping spree!


    Leave a Reply

    Your email address will not be published. Required fields are marked *


Notice: LeeAnn Greff, Independent Stampin’ Up! Demonstrator, Manager. The content of this website is my sole responsibility as an independent Stampin’ Up! demonstrator and the use of, and content of, the classes, services, or products offered on this website is not endorsed by Stampin’ Up! Copyright 2025