/


Latest Post

Follow Your Art – more easy Double Wonder cards


I made another group of cards using the Double Wonder template. These are so quick and easy to make and the measuring sure isn't much when you consider it makes 11 cards!  

You start out with two pieces of 6" X 12" designer series paper. It does need to be double sided.

Download the template & directions here. Download Double Wonder cards & template

I chose to use the Follow your Art designer paper.  It will be perfect for all of my crafty friends and customers.  Did you know it's on sale right now?  It's just $4.60 instead of $11.50 right now?  It's on the Last Chance list here.  There are so many amazing deals right now! 

I'll show you each set of cards separately.  First up is Layout 1.  It's fun to mix and match the pieces of designer paper cut from the template. With double sided paper you get quite a few options.   

Next is Layout 2 using two 1" strips of DSP on each card.  You can jazz them up as much as you want; I kept them fairly simple using punches and die-cuts in my scraps. 

Lastly is Layout 3 and the bonus card on the right. 
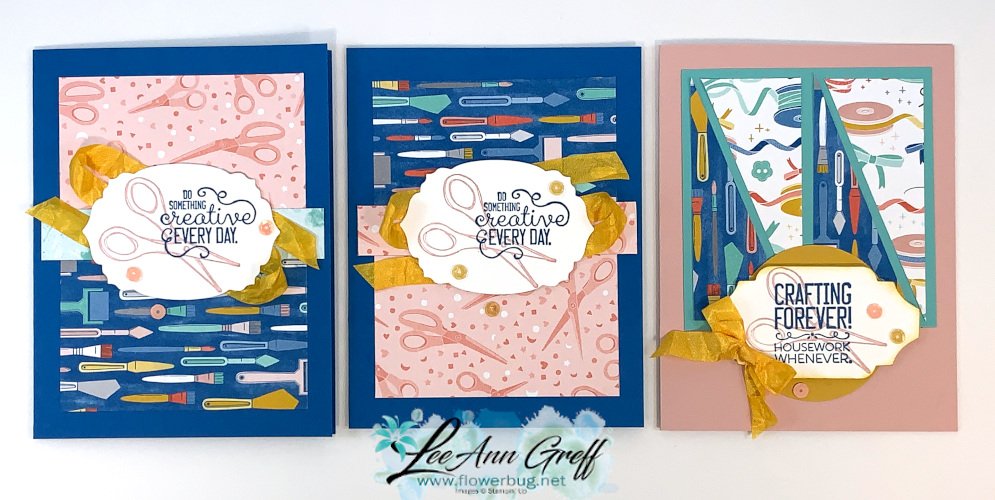
I used the Crafting Forever stamp set (retiring) and just a few colors of ink; Pacific Point, Blushing Bride and Crushed Curry for sponging.  I did use the Crushed Curry ribbon on many of these cards and the Gingham Gala adhesive backed sequins.  They are both on sale too! 

Don't miss out on the amazing deals; get them while you can. Click here.  I doubt we'll have many things on sale for awhile….

~~~

May Specials


Get my 'ALL Fun Fold cards tutorial' free with any online order.

It includes directions, photos and measurements for 18 fancy card folds!


May Host code is EYDJ4MQN

Get a free pkg. of Noble Peacock rhinestones from me if your order is over $55. 

Order online here

All Posts

  • How to achieve the Inked Block Technique; you only need 3 things!


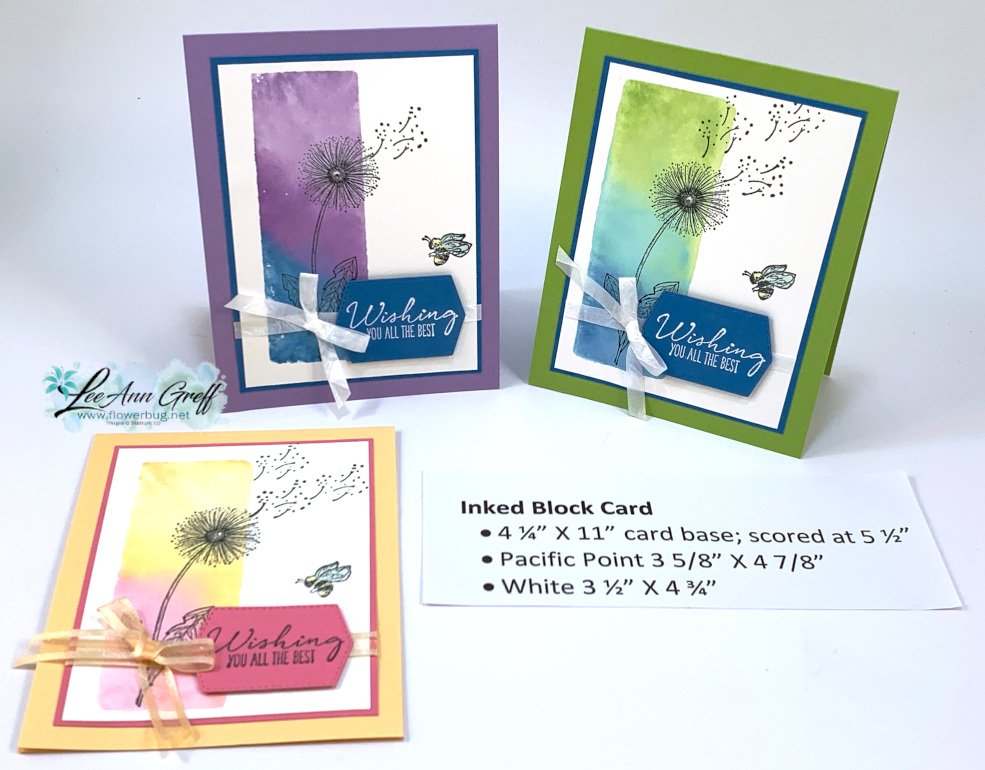
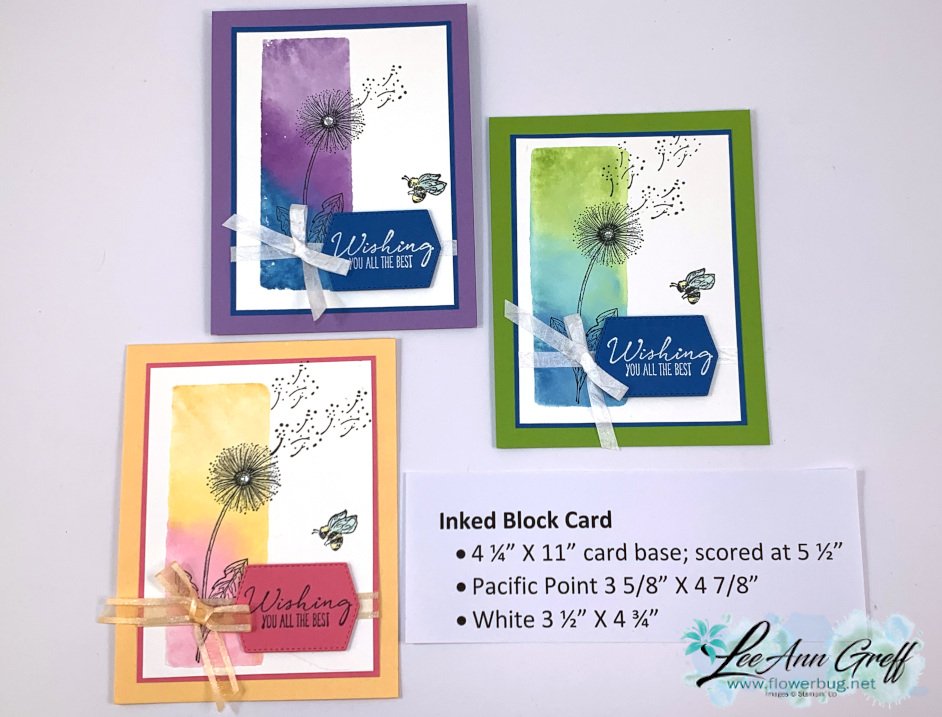
    I shared the Inked Block technique on Tuesday's Facebook Live video.  It's fun, easy and you need just 3 things!

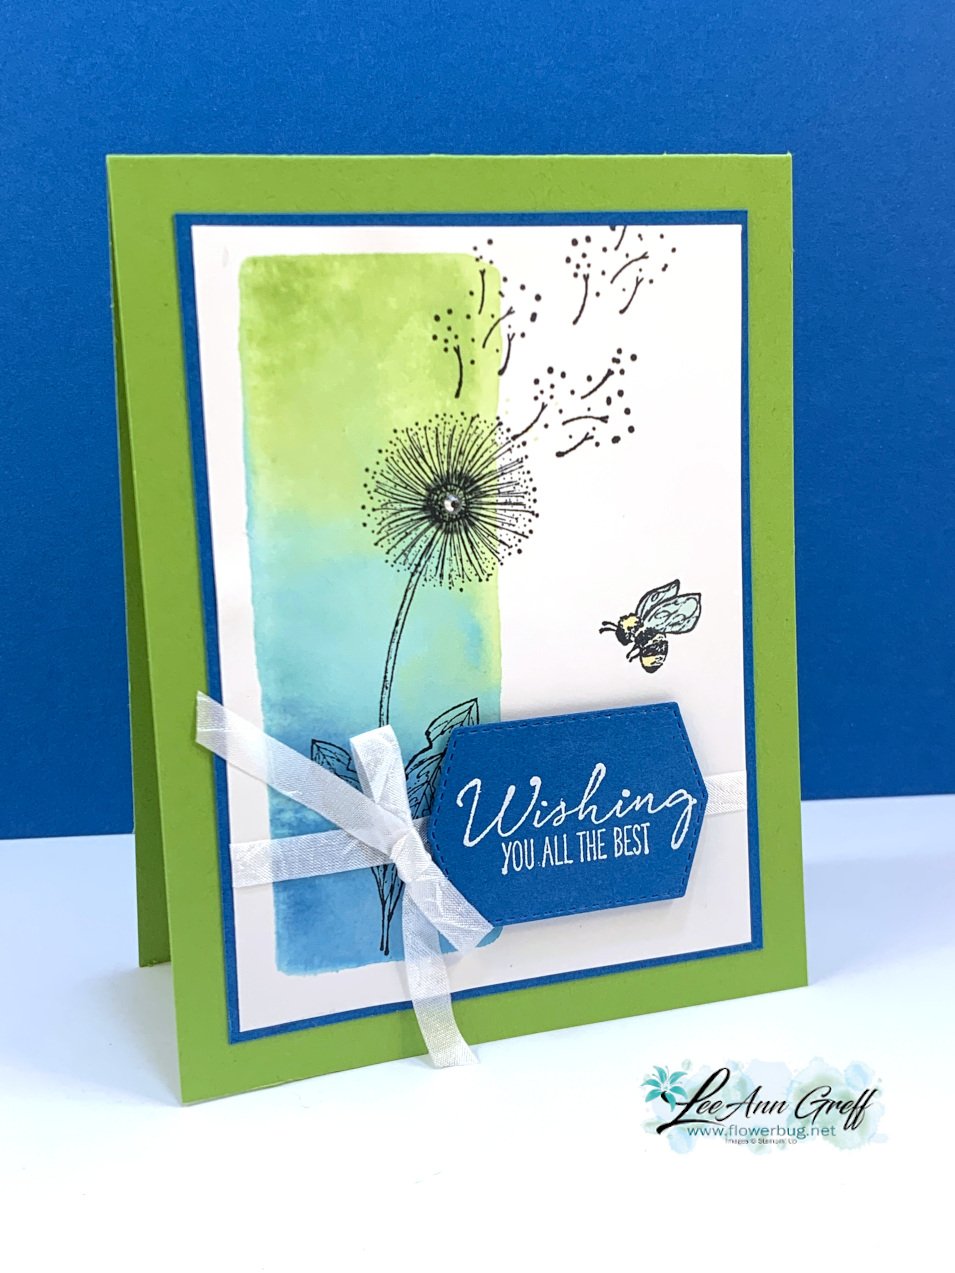
    I chose to feature the Garden Wishes stamp set & a variety of colors. This first one is Highland Heather, Gorgeous Grape & Pacific Point. 

    You need a clear block, Stampin' Write markers and a spritzer filled with water.  Below are the measurements for the cards. 

    Watch the video here to see how it's done.  It's the first of 3 projects I share.   

    Tips for success:

    • Use Stampin' Write 'water based' markers on your block; do not use Blends which are permanent markers.
    • Start with the lightest color first so you don't get a dark color on your marker tip
    • After filling up the block with ink (I colored on the diagonal) spritz it with water until dots form. 
    • The more water you add the better the inks blend.  But don't do too much or the colors blend too much. 
    • Press the block directly on your White card stock and hold for a few second. 
    • Have a tissue or paper towel ready to dab up excess water off the paper. 

    The Stampin' Write markers I used on this next card are Granny Apple Green, Coastal Cabana and Pacific Point.

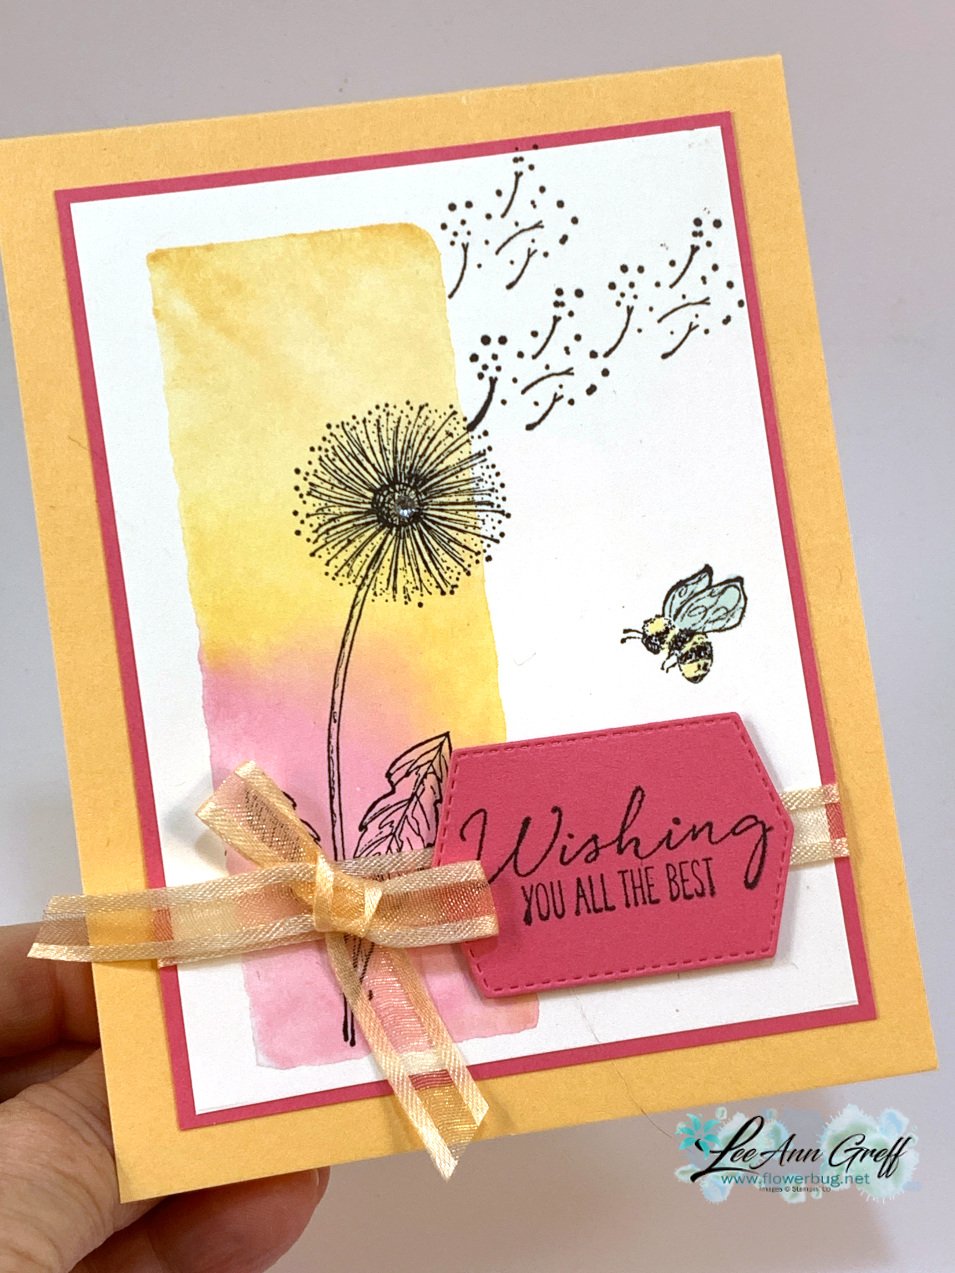
    The card below has a softer feel.  The colors are Pale Papaya, Pumpkin Pie & Polished Pink. 

    Which one is your favorite?  

    Click on the photo below to watch the video.  

    ~~~

    The Last Chance list is out!
    Tons of items from the 2021-22 Annual Catalog are retiring and many are deeply discounted from 20-50% off.
     
    Remember that these items are while supplies last and may run out. 
    Click here to see it all online along with the discounts.

    Host codes: 6QFA66WT

     *click here to order 

    If your order is over $50 you'll receive free Polished Dots or In Color jewels and 3 hand made cards from me.


    Don't forget about my loyalty rewards! 

    Click here to download yours and earn a $50 shopping spree!  

    Leave a Reply

    Your email address will not be published. Required fields are marked *

  • A cute box with free template and video tutorial too!


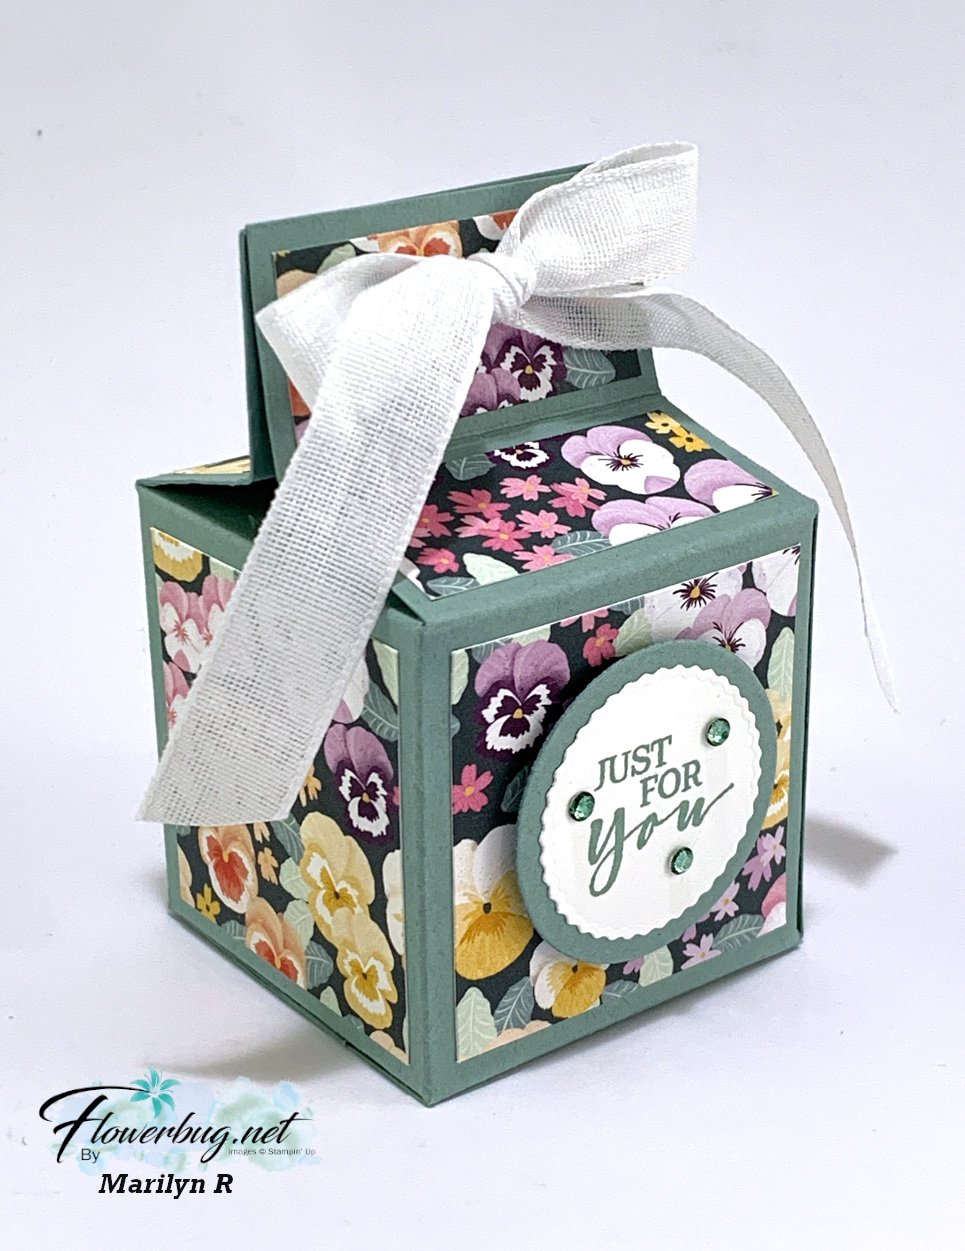
    Marilyn shared this sweet treat box at our last Flowerbug's Team Meeting.  She cased it from Pootles.  It looks almost like a mini milk carton.  

    Her box is 2 X 2" and 3 1/4" tall.  She used the Pansy Petals designer paper, Soft Succulent card stock and ink.  This pretty DSP is retiring now; get it here while supplies last. 

    I made one for a recent FB Live video too.  I chose to use the Flowering Fields DSP; it's so springy!


    They're made in Pear Pizzazz and Fresh Freesia card stock and the greeting is from the Celebrating You stamp set seen here.  The greeting tag is from the Stitched So Sweetly dies which are retiring now and available while supplies last!  See the dies here.

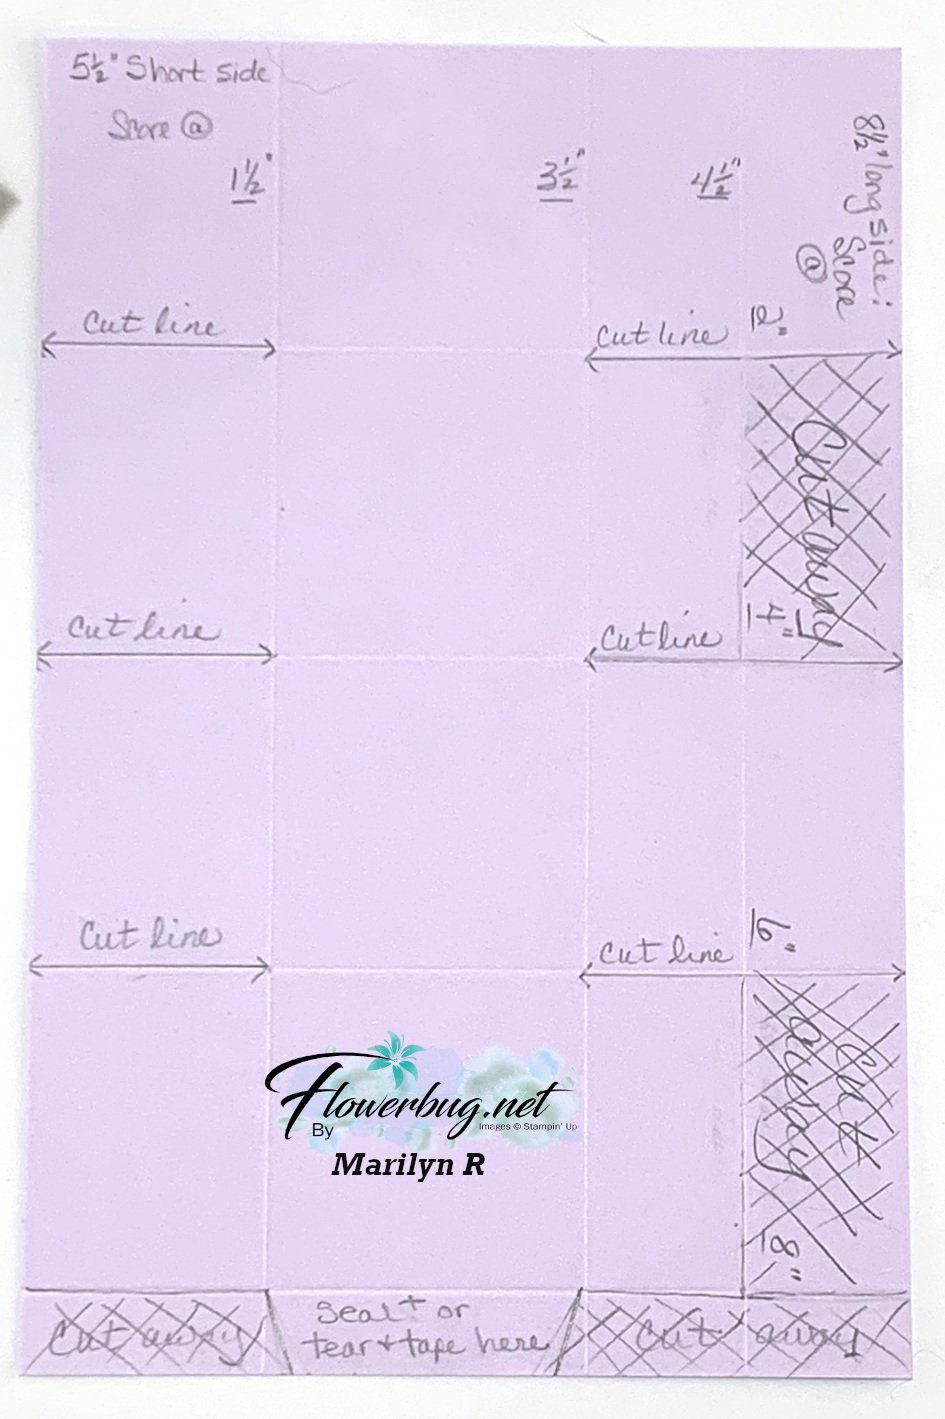
    She made up a template and another sheet of card stock showing you how it looks after trimming and cutting the template as shown. Watch the video here or below to see how it's made.  

    It's 5 1/2" X 8 1/2" and is similar to a 2 4 6 8 box.  Score on the short side at 1 1/2", 3 1/2" & 4 1/2".  Score on the long side at 2", 4", 6", & 8".  Then cut away the areas crossed off and cut up to the score lines as shown. 

    You'll need 4 pieces of Designer Paper measuring 1 3/4" square.  And 4 pieces measuring 1 3/4" X 3/4" for the top.  She punched two holes in the top flaps to thread ribbon through to tie in a bow.  

    Thanks so much for sharing this wonderful project Marilyn!  

    Here's the video; click on the photo below to watch it.  

    ~~~

    The Last Chance list is out!
    Tons of items from the 2021-22 Annual Catalog are retiring and many are deeply discounted from 20-50% off.
     
    Remember that these items are while supplies last and may run out. 
    Click here to see it all online along with the discounts.

    Host codes: 6QFA66WT

     *click here to order 

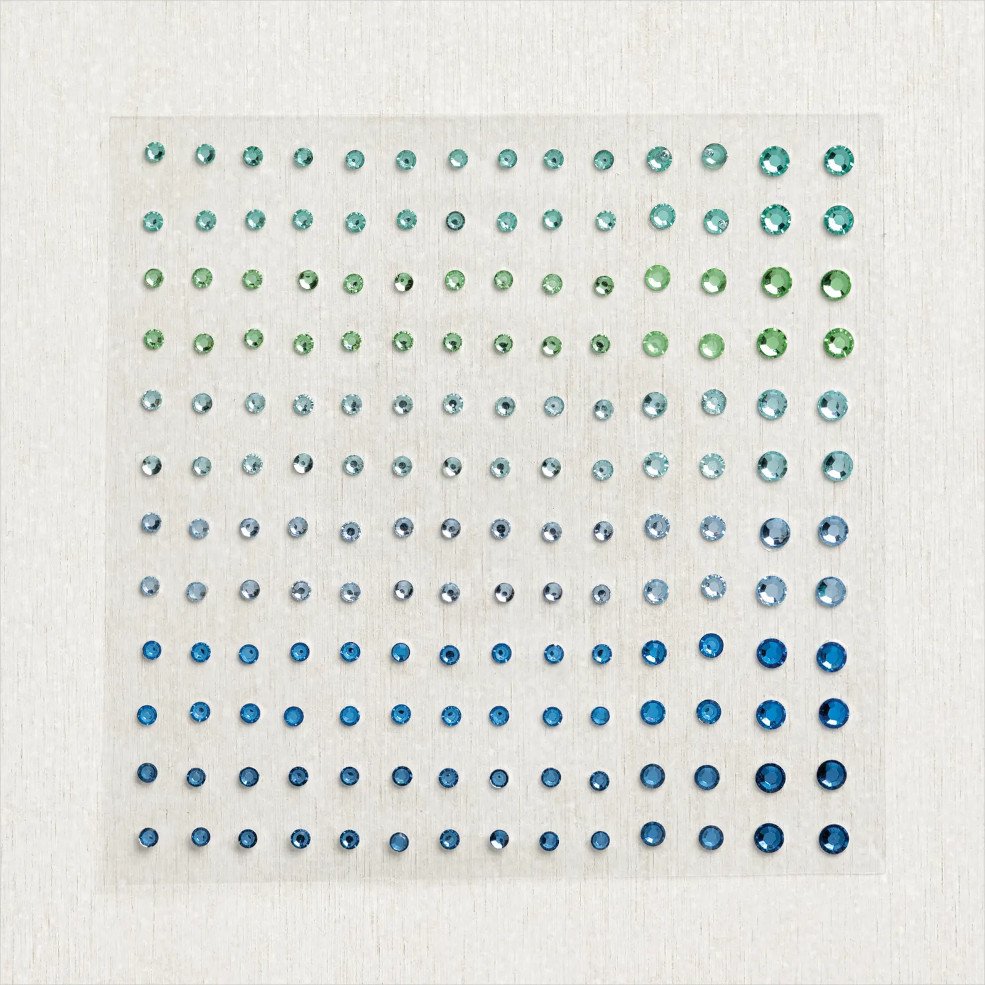
    If your order is over $50 you'll receive free Waves jewels (while available) or Polished Dots and 3 hand made cards from me.


    Don't forget about my loyalty rewards! 

    Click here to download yours and earn a $50 shopping spree!  

    Leave a Reply

    Your email address will not be published. Required fields are marked *

  • New Catalogs are coming; do you need one?! New Colors are gorgeous!


    The new 2022-23 Annual Catalogs are going live in early May.  I'm ordering some to be mailed out on March 31st.  They are free to those who have purchased from me in the last 6 months.  Let me know if you'd like one by tomorrow, March 30th.  

    If you haven't ordered from me before or lately, you can do so here.  Or send me $5 and I'll mail you one. Contact me here with questions.   

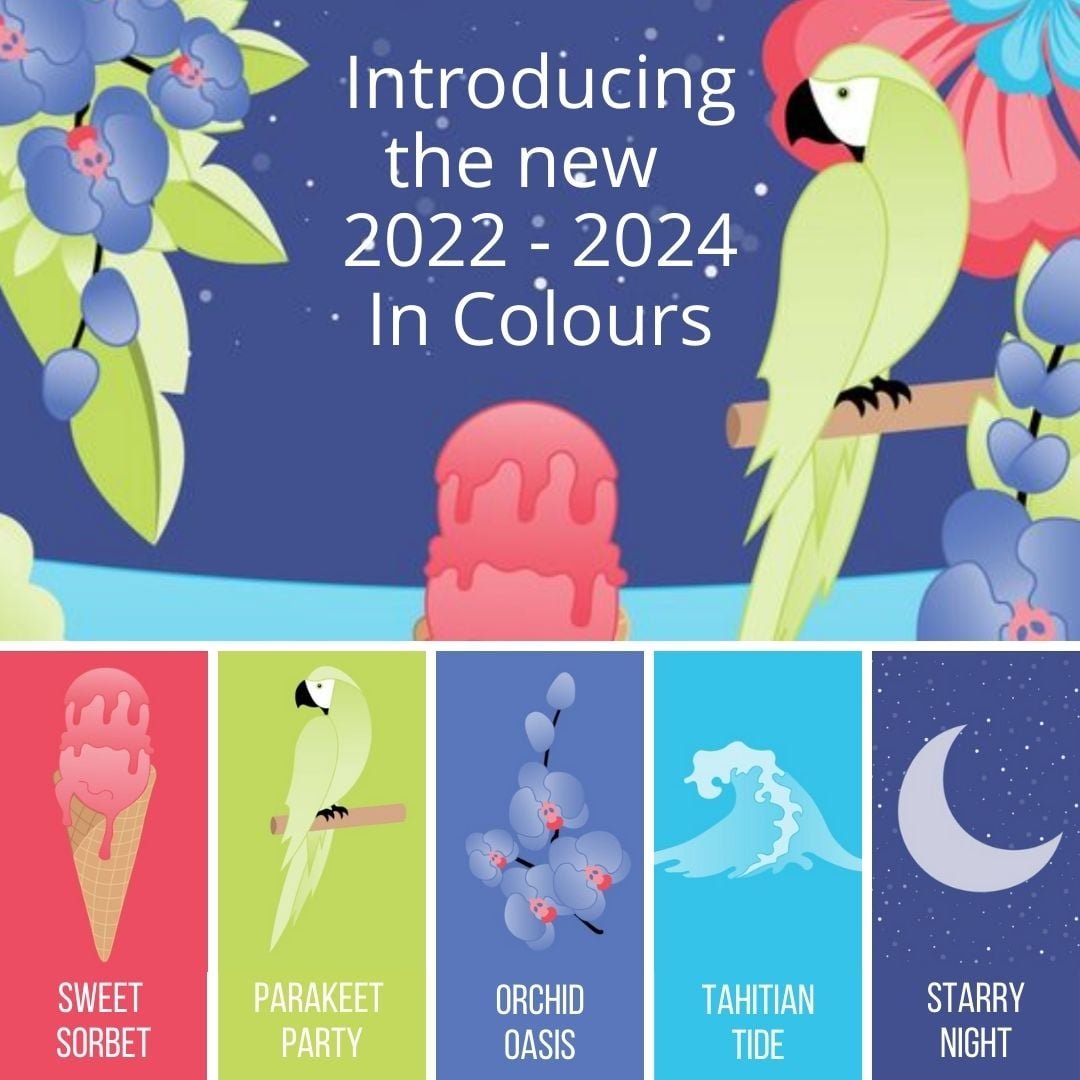
    The new 2022-2024 In colors are gorgeous; bright, bold and fabulous.  Here's a pretty graphic for you. 

    I always offer a big bundle of In Color products with the start of the new Annual Catalog.  I'll share the details of it in April.  It's so nice to get a bit of a nice variety and know that you have the card stock, ink and refills along with accessories to match!  I always include free product with purchase of my bundles.

    I'll also be offering a Designer Paper Share too.  Stay tuned!  

    ~~~

    The Last Chance list is out!
    Tons of items from the 2021-22 Annual Catalog are retiring and many are deeply discounted from 20-50% off.
     
    Remember that these items are while supplies last and may run out. 
    Click here to see it all online along with the discounts.

    Host codes: 6QFA66WT

     *click here to order 

    If your order is over $50 you'll receive free gems like our Polished Dots and 3 hand made cards from me.


    Don't forget about my loyalty rewards! 

    Click here to download yours and earn a $50 shopping spree!  

    Leave a Reply

    Your email address will not be published. Required fields are marked *


Notice: LeeAnn Greff, Independent Stampin’ Up! Demonstrator, Manager. The content of this website is my sole responsibility as an independent Stampin’ Up! demonstrator and the use of, and content of, the classes, services, or products offered on this website is not endorsed by Stampin’ Up! Copyright 2025