Stampin’ Up! has created a new Stampin’ Positioner for us! Since they had to take the Stamparatus off the market we’ve been waiting for a new tool for perfect stamping. Well, it’s now here!
As you can see in the photo above it’s a brand new design. It has two clear plates, easy to use magnets and a brand new ‘press’ type mechanism.
Right now for those who are a Demonstrator, it’s available to pre-order until February 2nd for $49. After that, the new Stampin’ Positioner will be added to the Starter Kit FREE in February!
The cost of the Starter Kit is $99 and includes $125 in product of your choice. But in February, they’ll add in the new Stampin’ Positioner to ALL Demo’s starter kits!
This is super exciting for us Demo’s now and also for those that join in February!
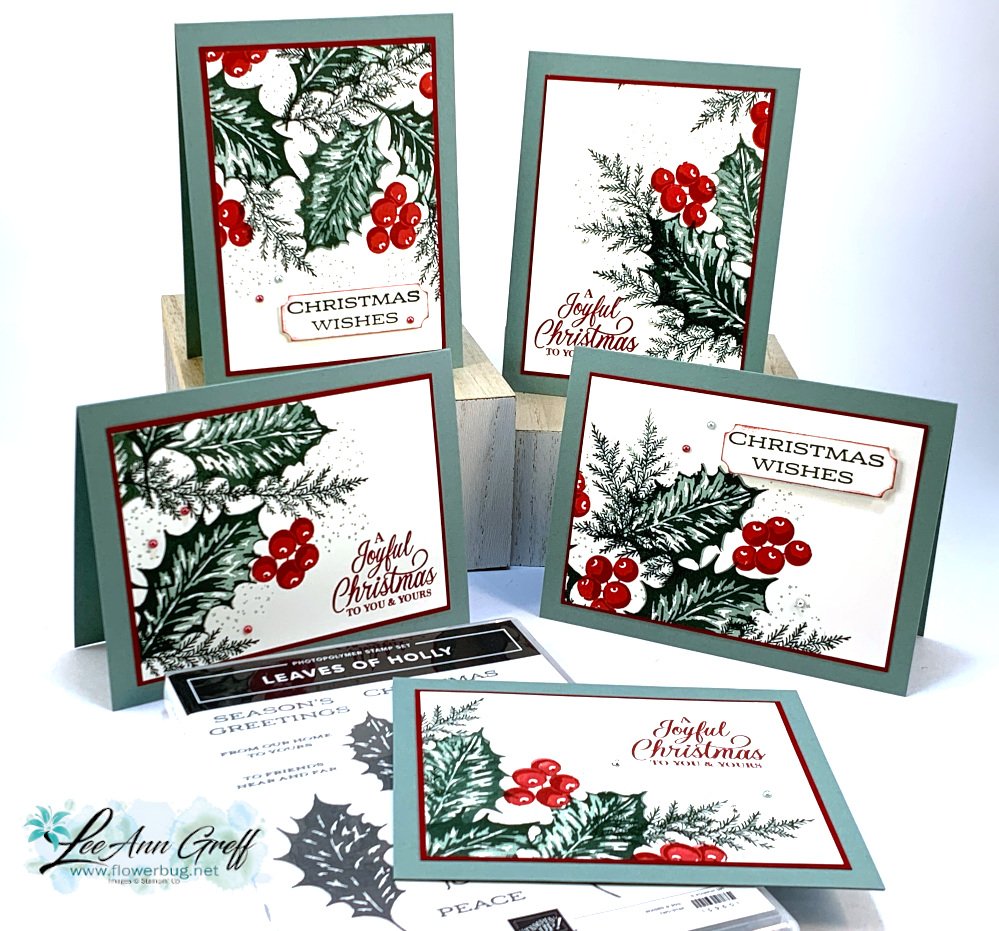
I am surprised that the stamp set and dies are both there along with the pretty Soft Seafoam ribbon and the Open Leaf Trinkets.*Both are now just $1.25! Click on the blue highlighted words to see these items in the Clearance Rack.
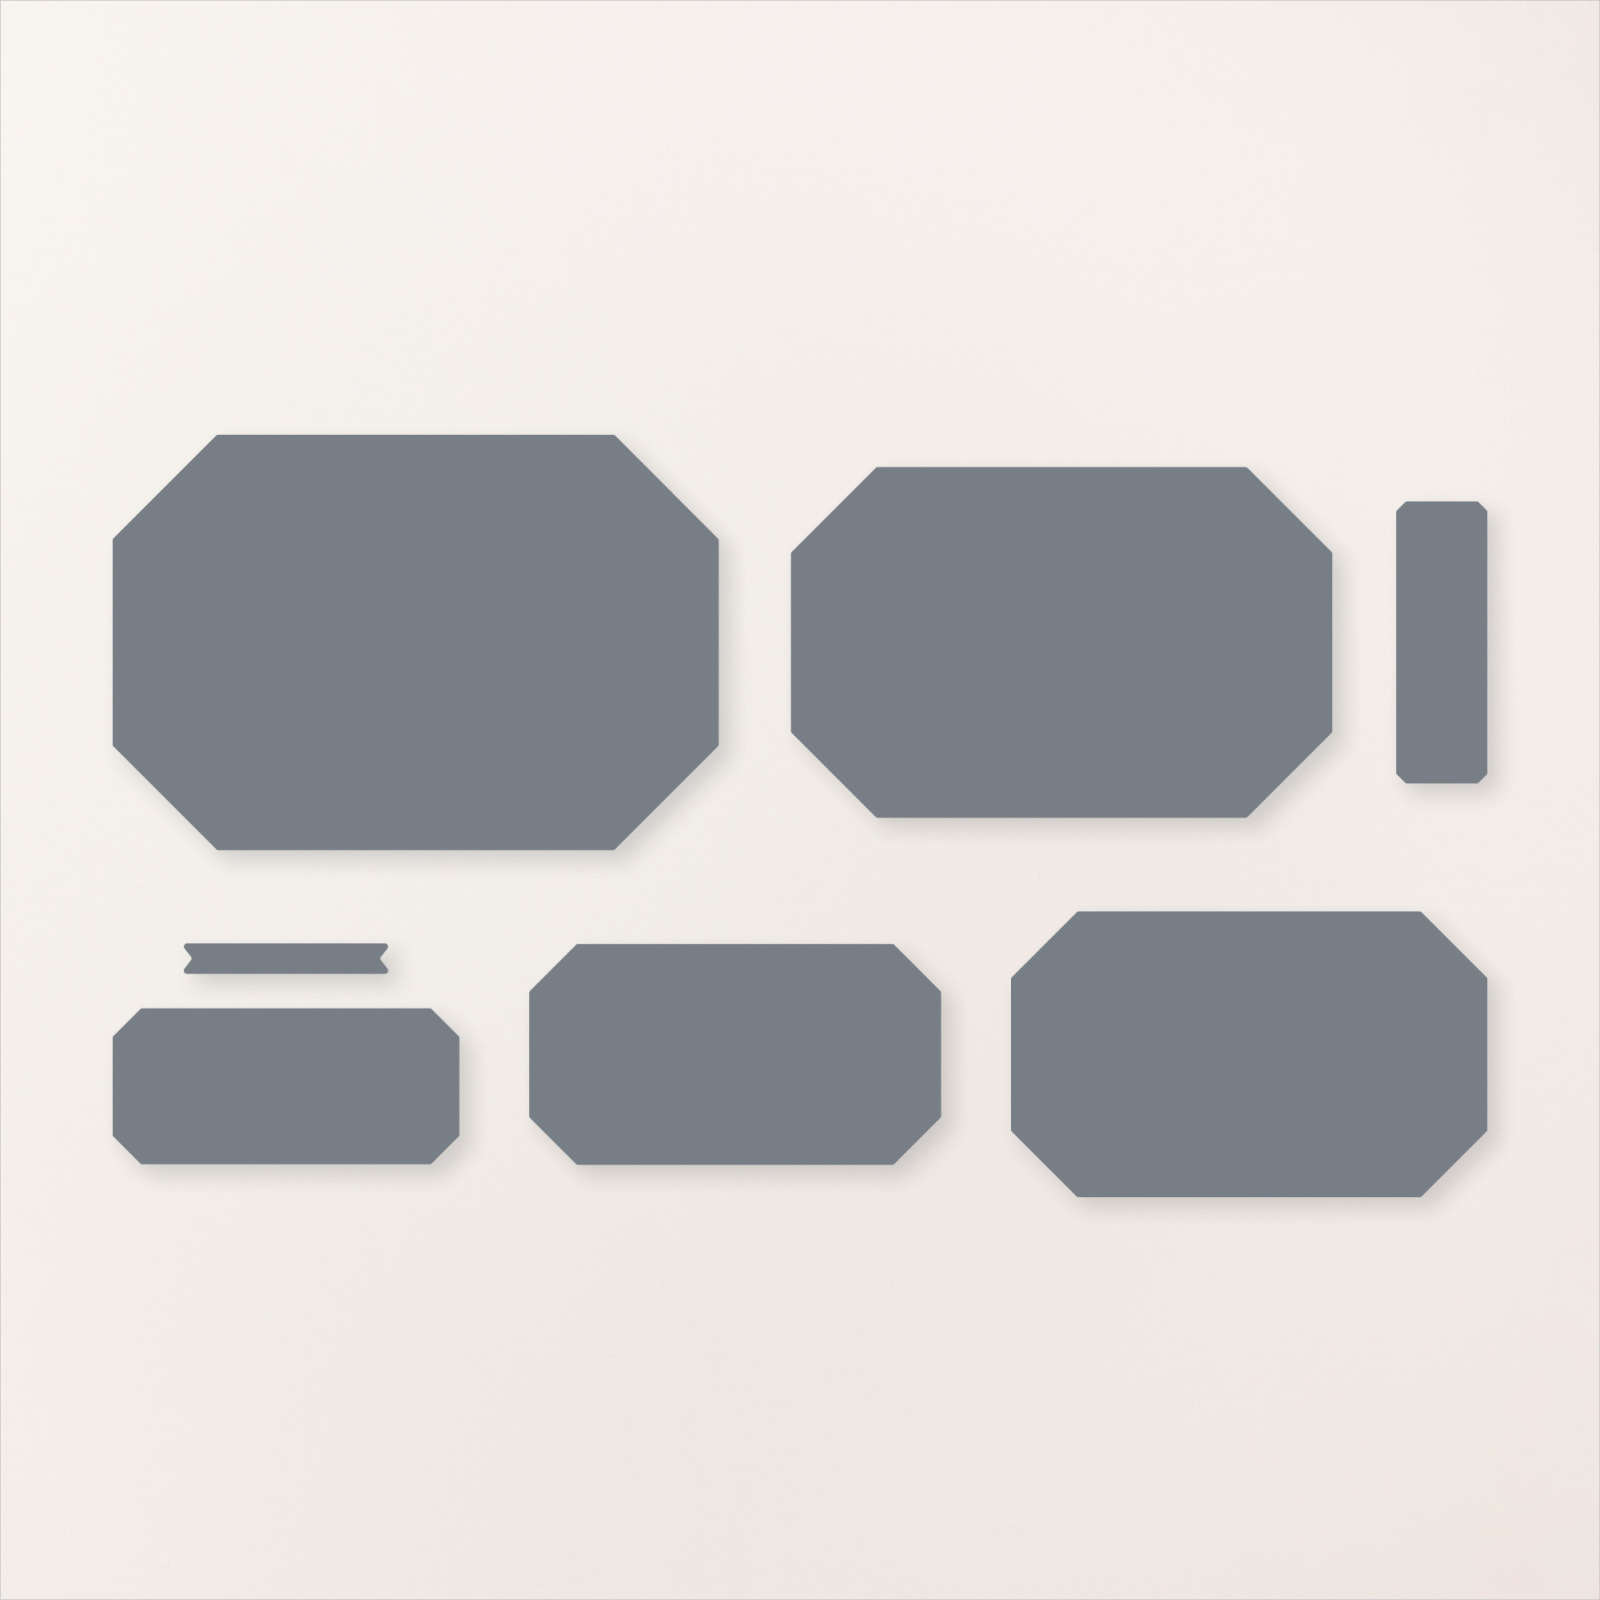
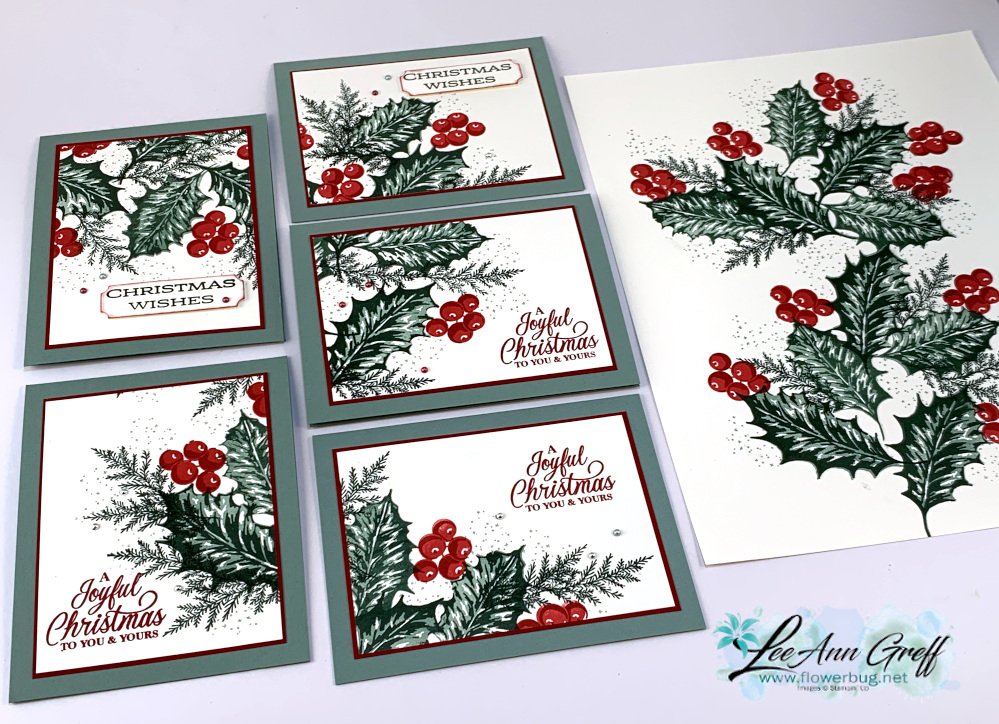
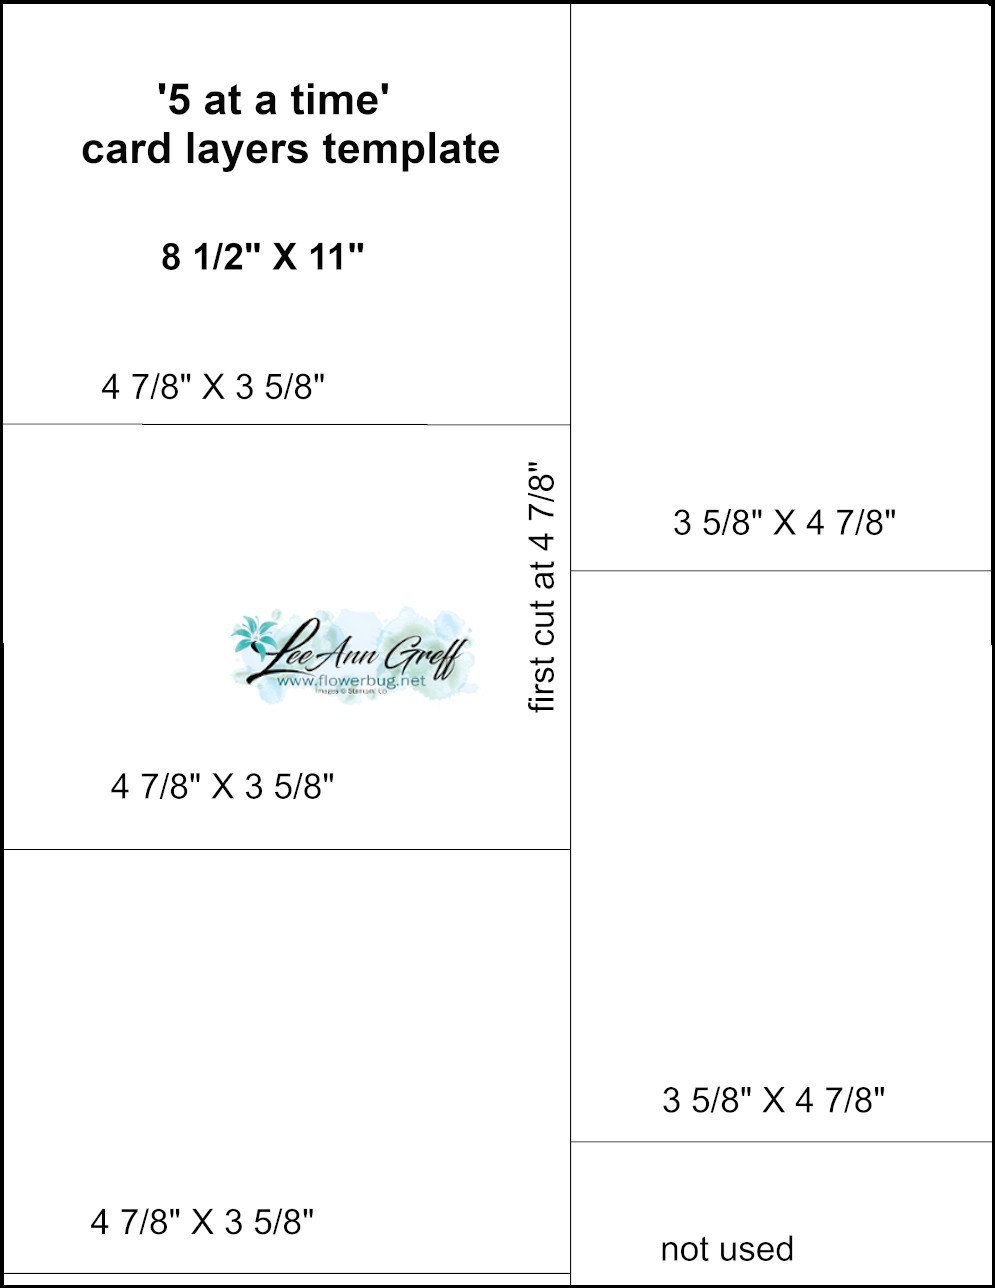
I call it the 5 at a time technique. You stamp one sheet of neutral paper and then cut it into 5 pieces using my template below. And the neat thing is the layers under the stamped White card stock are also cut using a template. Just 2 sheets of card stock to make 5 card fronts! *Watch the video below or click here.
See how I stamped down the center of the White card stock on the photo above? Next I cut it using the template below:
The first template is what you stamp on. The one below is for the layers under the stamped pieces. It's just 1/8" larger for a nice thin layered accent.
Pinwheel Tower Fancy Fold card with video & free projects sheet!
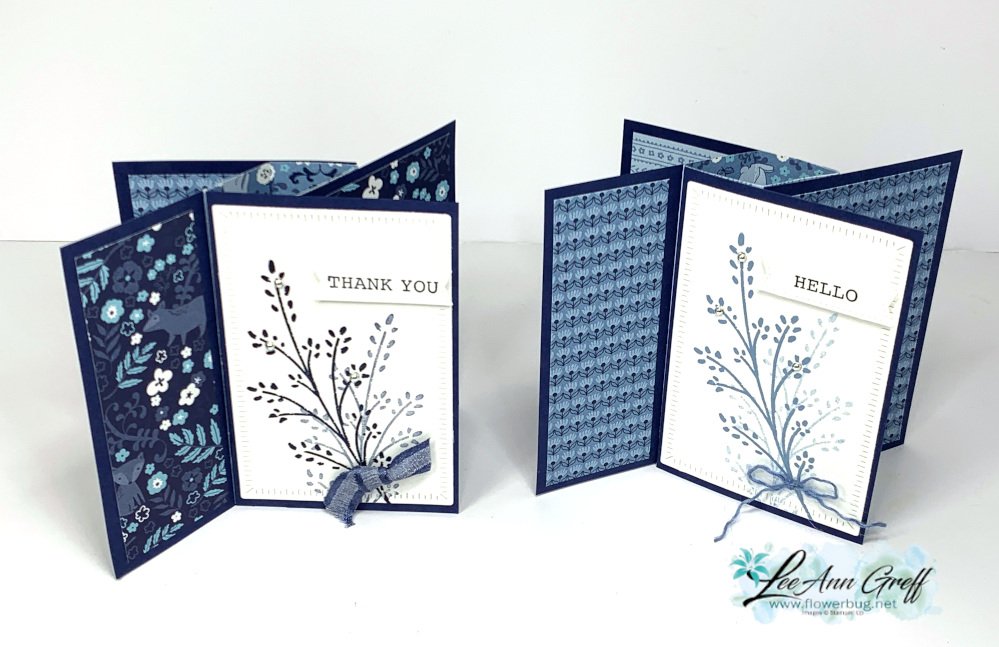
Here's another card we made at my July Card Clubs. I always try to feature one fun fold card and this was a doozy!
When they saw the many pieces they were a bit worried it would be hard. But as we made it together they loved it! Be sure to watch the video here or below; it's so much easier than it looks!
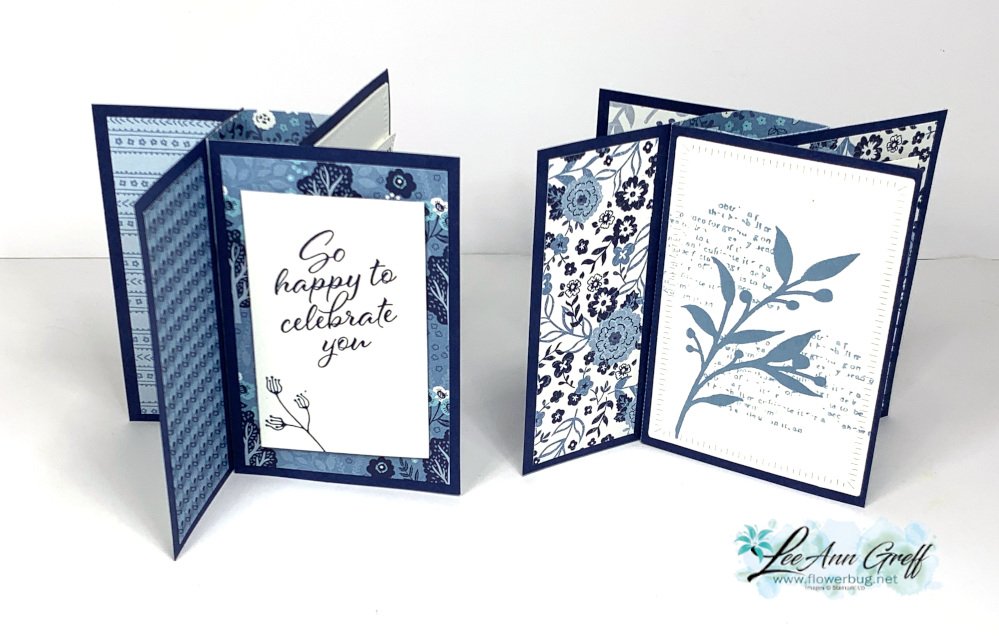
This card is super fun to play with; it reminds me of a 'never ending' card. You can turn and turn it and see something new each time. But the finished card lays flat and is 5 1/2" X 4 1/4" so it fits nicely in an envelope.
Besides the Gorgeously Made stamp set (seen here)I chose the Layering Leaves (seen here) for the pretty greetings and leaf images.
I chose to feature the Countryside Inn designer series paperseen here with it's many shades of Blue. I chose to use Night of Navy and White card stock, Navy and Boho Blue inks.
Each of the 4 panels of Navy card stock is adhered to the center 'tower' made from a 4 1/4" square of designer paper. Once you have your card base created it's simple to add the 6 pieces of DSP and your stamped panels.
I also used the Radiating Stitches dies seen here (online exclusive) and the Stylish Shapes dies for the greeting. The ribbon is the Night of Navy 3/8" bordered ribbon.
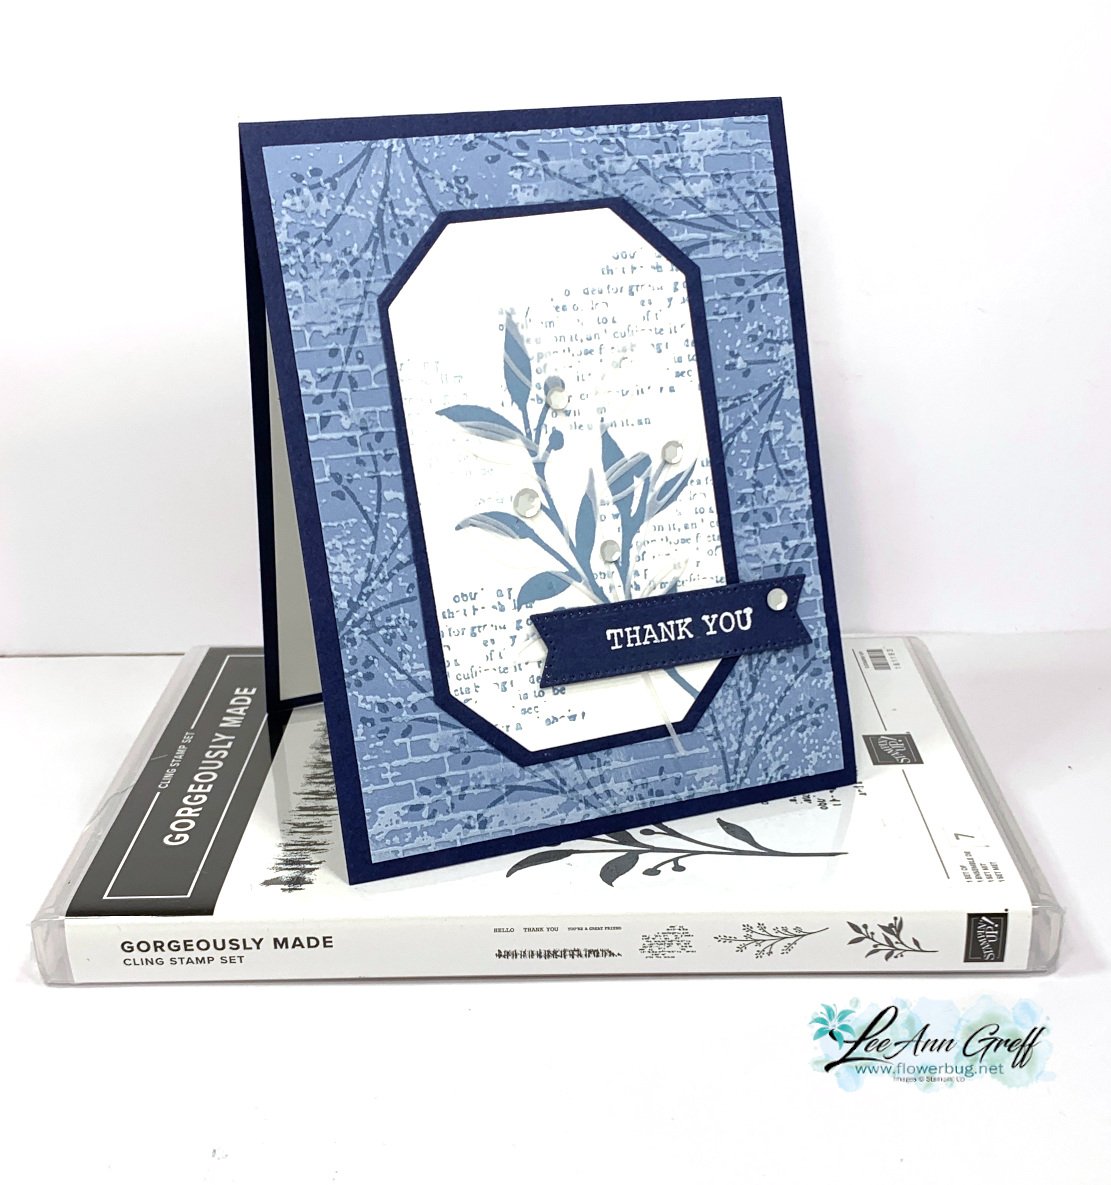
I focused on creating a pretty, textured background under the main image. Here are the steps:
I first stamped the foliage image with Boho Blue ink onto Boho Blue card stock.
Next I textured it with the Exposed Brick embossing folder seen here. (It's one of my favorite folders.)
Lastly I dragged my White Craft ink pad over the texture. Tip: use a very light touch or ensure your ink pad is a little bit dry. I LOVE the look of this so much!
I used the same foliage image for the inside of the card as I did the pretty background, stamping once in full strength Boho Blue ink and stamping again without reinking.
I stamped the other large leafy image from the Gorgeously Made set on the Countryside Corners white die-cut. I added the print image a few times in second generation Boho Blue ink (this means stamped off once). It's layered on a Navy die-cut before adding to the card base.
The greeting is heat embossed on Navy using White embossing powder. The die-cut is from the Stylish Shapes dies – my go-to dies for greetings.
There's just something special about a monochromatic card; this time in blues. If you're going for an elegant or cohesive look try using just one color in varying hues. Greens, blues and browns are some of my favorite choices.
Notice: LeeAnn Greff, Independent Stampin’ Up! Demonstrator, Manager. The content of this website is my sole responsibility as an independent Stampin’ Up! demonstrator and the use of, and content of, the classes, services, or products offered on this website is not endorsed by Stampin’ Up! Copyright 2025


Leave a Reply